S’mores ice cream hits the sweet spot between nostalgic and a little bit grown-up: a chocolate base that’s creamy instead of icy, toasted marshmallows that stay chewy in the best way, and graham cracker pieces that bring the whole campfire moment together. In the Ninja Creami, that classic flavor turns into a pint that scoops cleanly and doesn’t melt into a puddle the second it hits the bowl.
The texture works because the base has enough fat and sugar to freeze smoothly, but not so much cream that it turns greasy after spinning. The cream cheese helps the mixture stay supple after a full day in the freezer, and the toasted marshmallows go in at the end so they keep their little pockets of chew instead of disappearing into the base. A quick mix-in with the graham crackers keeps them from turning soggy.
Below, I’ll show you the little timing details that matter with the Creami, plus a few swaps for when you want the same s’mores feel with different ingredients on hand.
The chocolate base turned out smooth after one spin, and the toasted marshmallows stayed a little gooey instead of dissolving. The graham cracker pieces gave it that real s’mores crunch on top.
Like this Ninja Creami s’mores ice cream? Save it for the nights when you want toasted marshmallow, chocolate, and graham cracker in one cold, creamy pint.
The One Creami Mistake That Makes S’mores Ice Cream Icier Than It Should Be
The biggest problem with homemade s’mores ice cream is a base that freezes hard and spins into crumbs instead of cream. That usually happens when the mix is too lean or too watery. Here, the heavy cream and cream cheese give the Ninja Creami enough fat and body to spin into something soft and scoopable instead of brittle.
The other trap is adding the marshmallows and graham crackers too early. Marshmallows lose their texture in the base, and graham crackers turn soft and bland after a full freeze. Keep both out until after the first spin so you get actual contrast: creamy chocolate, chewy marshmallow, and crunchy crumbs.
What Each Ingredient Is Actually Doing In This Pint

- Chocolate milk or milk plus cocoa — This is the backbone of the ice cream. Chocolate milk gives you an easy, balanced base, while milk plus cocoa lets you control how deep and dark the chocolate tastes. If you use plain milk, the result is thinner and you’ll need the cocoa to carry the flavor.
- Heavy cream — This keeps the finished pint rich and smooth after freezing. You can swap in half-and-half in a pinch, but the texture gets a little lighter and less velvety. I wouldn’t go lower-fat than that unless you expect a firmer spin.
- Cream cheese — A small amount makes a big difference in the Creami. It helps the base freeze with a softer structure and keeps the flavor from tasting flat. Soften it first or it can leave tiny lumps that never fully disappear.
- Toasted mini marshmallows — These are the part that makes it taste like actual s’mores. Toast them lightly so they pick up a little caramel edge, but don’t melt them completely or they’ll vanish into the mix.
- Graham crackers — Crush them into small pieces, not dust. Bigger shards keep their crunch better after the mix-in cycle, and they give each bite that real campfire texture.
Freezing the Base Long Enough to Spin Cleanly
Blending Until the Cream Cheese Disappears
Blend the chocolate milk, cream, sugar, cream cheese, vanilla, and salt until the mixture looks completely uniform. The surface should be glossy, with no visible bits of cream cheese clinging to the sides or hiding at the bottom. If you leave little lumps behind, they freeze into stubborn flecks that the machine won’t fully smooth out later.
Freezing in the Pint Without Overfilling It
Pour the base into the Ninja Creami pint container and freeze it flat for 24 hours. Don’t go above the fill line, because the mixture needs room to expand as it freezes and the spin works best when the top is level. If the pint freezes on a tilt, the blade can shave one side more than the other and leave a rough texture.
Spinning, Then Adding the Mix-Ins
Run the Ice Cream setting first. If the texture looks powdery or crumbly, add 1 tablespoon milk and re-spin rather than trying to fix it with a lot of liquid all at once. Once the base is creamy, use the Mix-In function for the toasted marshmallows and graham crackers so they stay distinct instead of melting into the chocolate.
The Final Scoop and Topping
Spoon the ice cream into bowls right away and top with an extra toasted marshmallow if you want that finished campfire look. The marshmallow on top softens fast, which is part of the charm, but the ice cream underneath should still hold its shape. If you let the pint sit too long after spinning, it firms up again and the mix-ins get harder to distribute evenly.
How to Adjust This Pint Without Losing the S’mores Character
Dairy-Free Version
Use full-fat canned coconut milk in place of the heavy cream and a dairy-free chocolate milk or unsweetened plant milk plus cocoa for the base. The pint will taste a little more coconut-forward and freeze a touch firmer, but it still spins well if the base is blended smooth and given the full freeze time.
Extra Chocolate, Less Sweet
Add a tablespoon of cocoa powder even if you’re using chocolate milk, and cut the sugar back by 1 teaspoon if your chocolate milk is already sweet. That gives the ice cream a deeper, more grown-up chocolate note without losing the marshmallow and graham cracker balance.
Gluten-Free Swap
Swap in gluten-free graham-style crackers or a crunchy gluten-free cookie that tastes similar. The flavor stays on theme, but the texture can be a little more delicate, so add the pieces at the very end and pulse gently with the Mix-In setting.
Storage and Reheating
- Refrigerator: Not recommended. This is a frozen dessert, and the texture breaks down fast once it starts warming up.
- Freezer: You can store the spun ice cream in the pint for up to 1 week, but the mix-ins soften over time and the surface can get icy if it isn’t sealed well.
- Reheating: Let it sit at room temperature for 3 to 5 minutes if it freezes too hard after refreezing. Don’t microwave it, or the marshmallows will melt unevenly and the base will turn slushy in patches.
Answers to the Questions Worth Asking
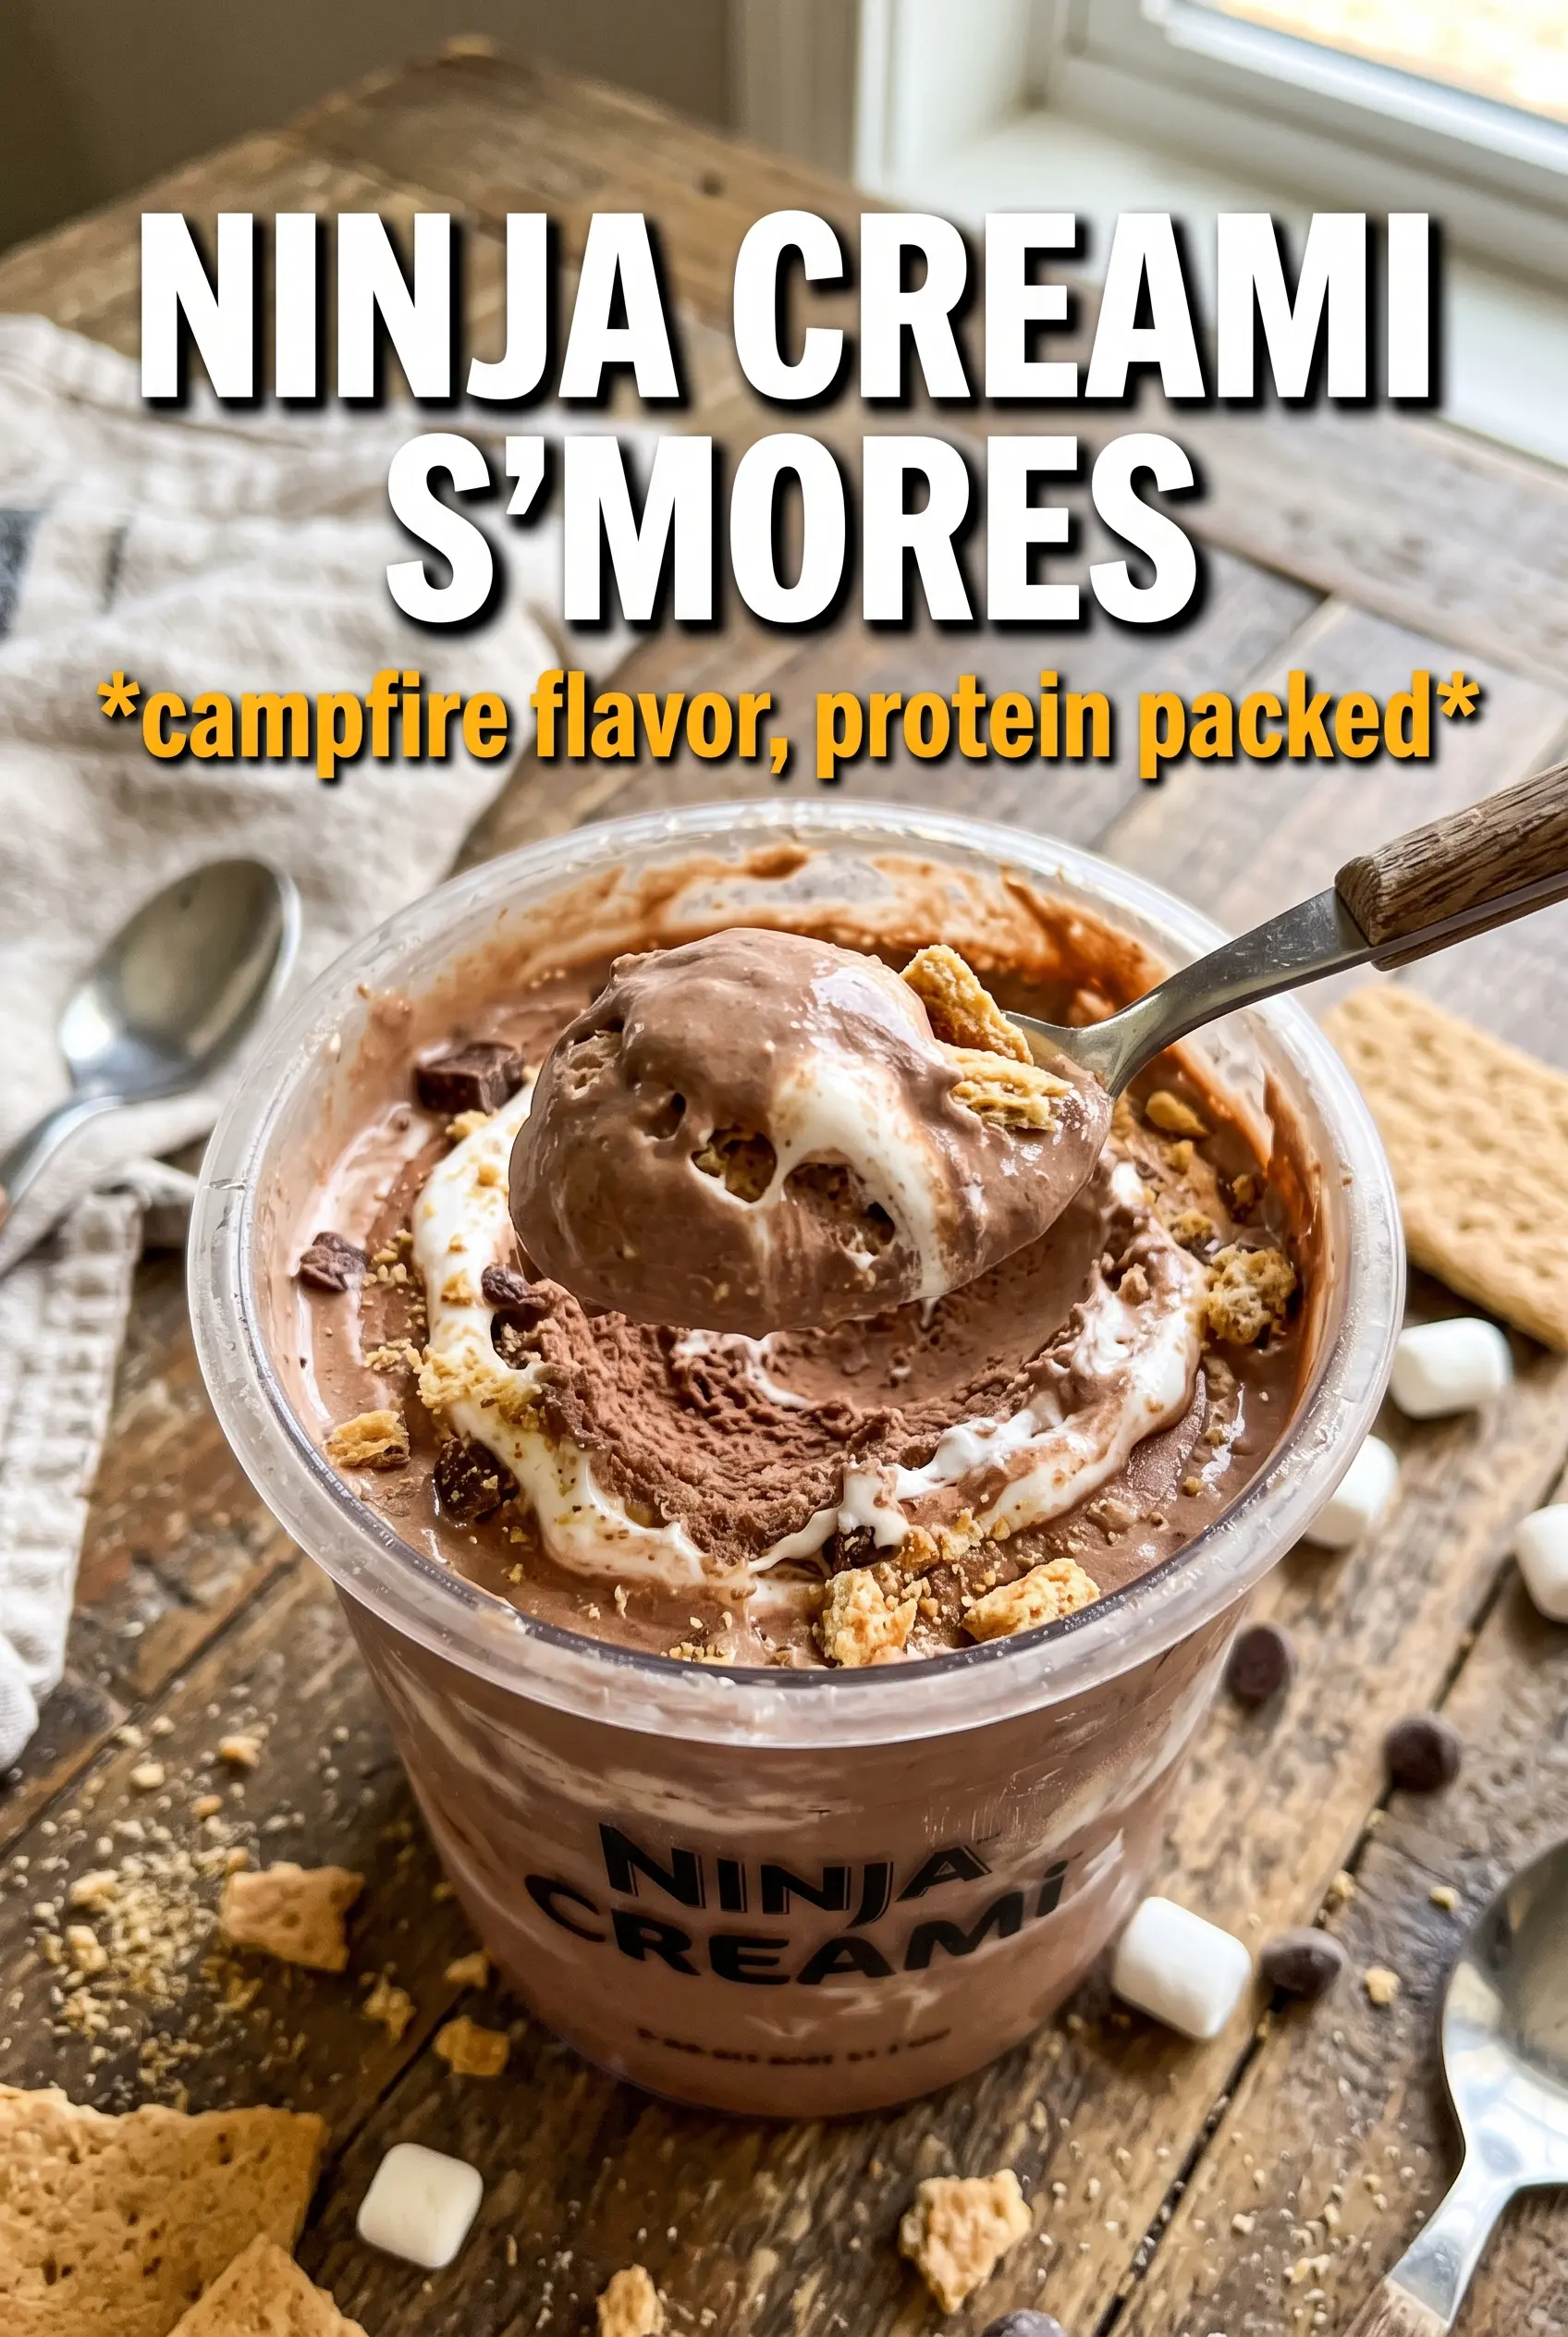
Ninja Creami S'mores Ice Cream
Ingredients
Equipment
Method
- Blend chocolate milk (or milk plus cocoa), heavy cream, sugar, cream cheese, vanilla extract, and salt until completely smooth. Scrape down the container as needed so there are no visible cream cheese lumps.
- Pour the mixture into the Ninja Creami pint container, level the top, and freeze for 24 hours. The surface should look fully set with no liquid pockets before processing.
- Process on the Ice Cream setting. If the texture looks too thick to mix through cleanly, re-spin with 1 tablespoon milk.
- Use the Mix-In function to fold in toasted mini marshmallows and crushed graham crackers. Mix until the marshmallows and graham crumbs are evenly distributed.
- Top with an extra toasted marshmallow and serve right away. Add it at the end so it stays lightly toasted.