Golden fruit crisp topping is the part people remember: crunchy at the edges, tender in the middle, and clumped just enough to turn into buttery little boulders once it hits the oven. The best version doesn’t melt into the fruit or bake up sandy. It stays nubbly, toasty, and sturdy enough to hold its texture under bubbling peaches, apples, berries, or whatever fruit filling you’ve got ready.
The trick is keeping the butter cold and stopping before the mixture turns uniform. Those uneven bits are what give you the good crunch after baking. Brown sugar brings deeper caramel notes, while a small amount of granulated sugar helps the topping crisp instead of staying soft. I also like the pinch of nutmeg here; it doesn’t read as “spice cake,” it just makes the oats taste warmer and more finished.
Below, I’ve included the texture cues I watch for, the one substitution that changes the topping the least, and a few ways to make this work for different fruit desserts without ending up with a dry, dusty crumble.
The topping baked up with big crunchy clumps instead of turning powdery, and it stayed crisp even on the second day.
Save this fruit crisp topping for pies, baked apples, and any dessert that needs a crunchy oat-brown sugar finish.
The Butter Clumps Are the Whole Point Here
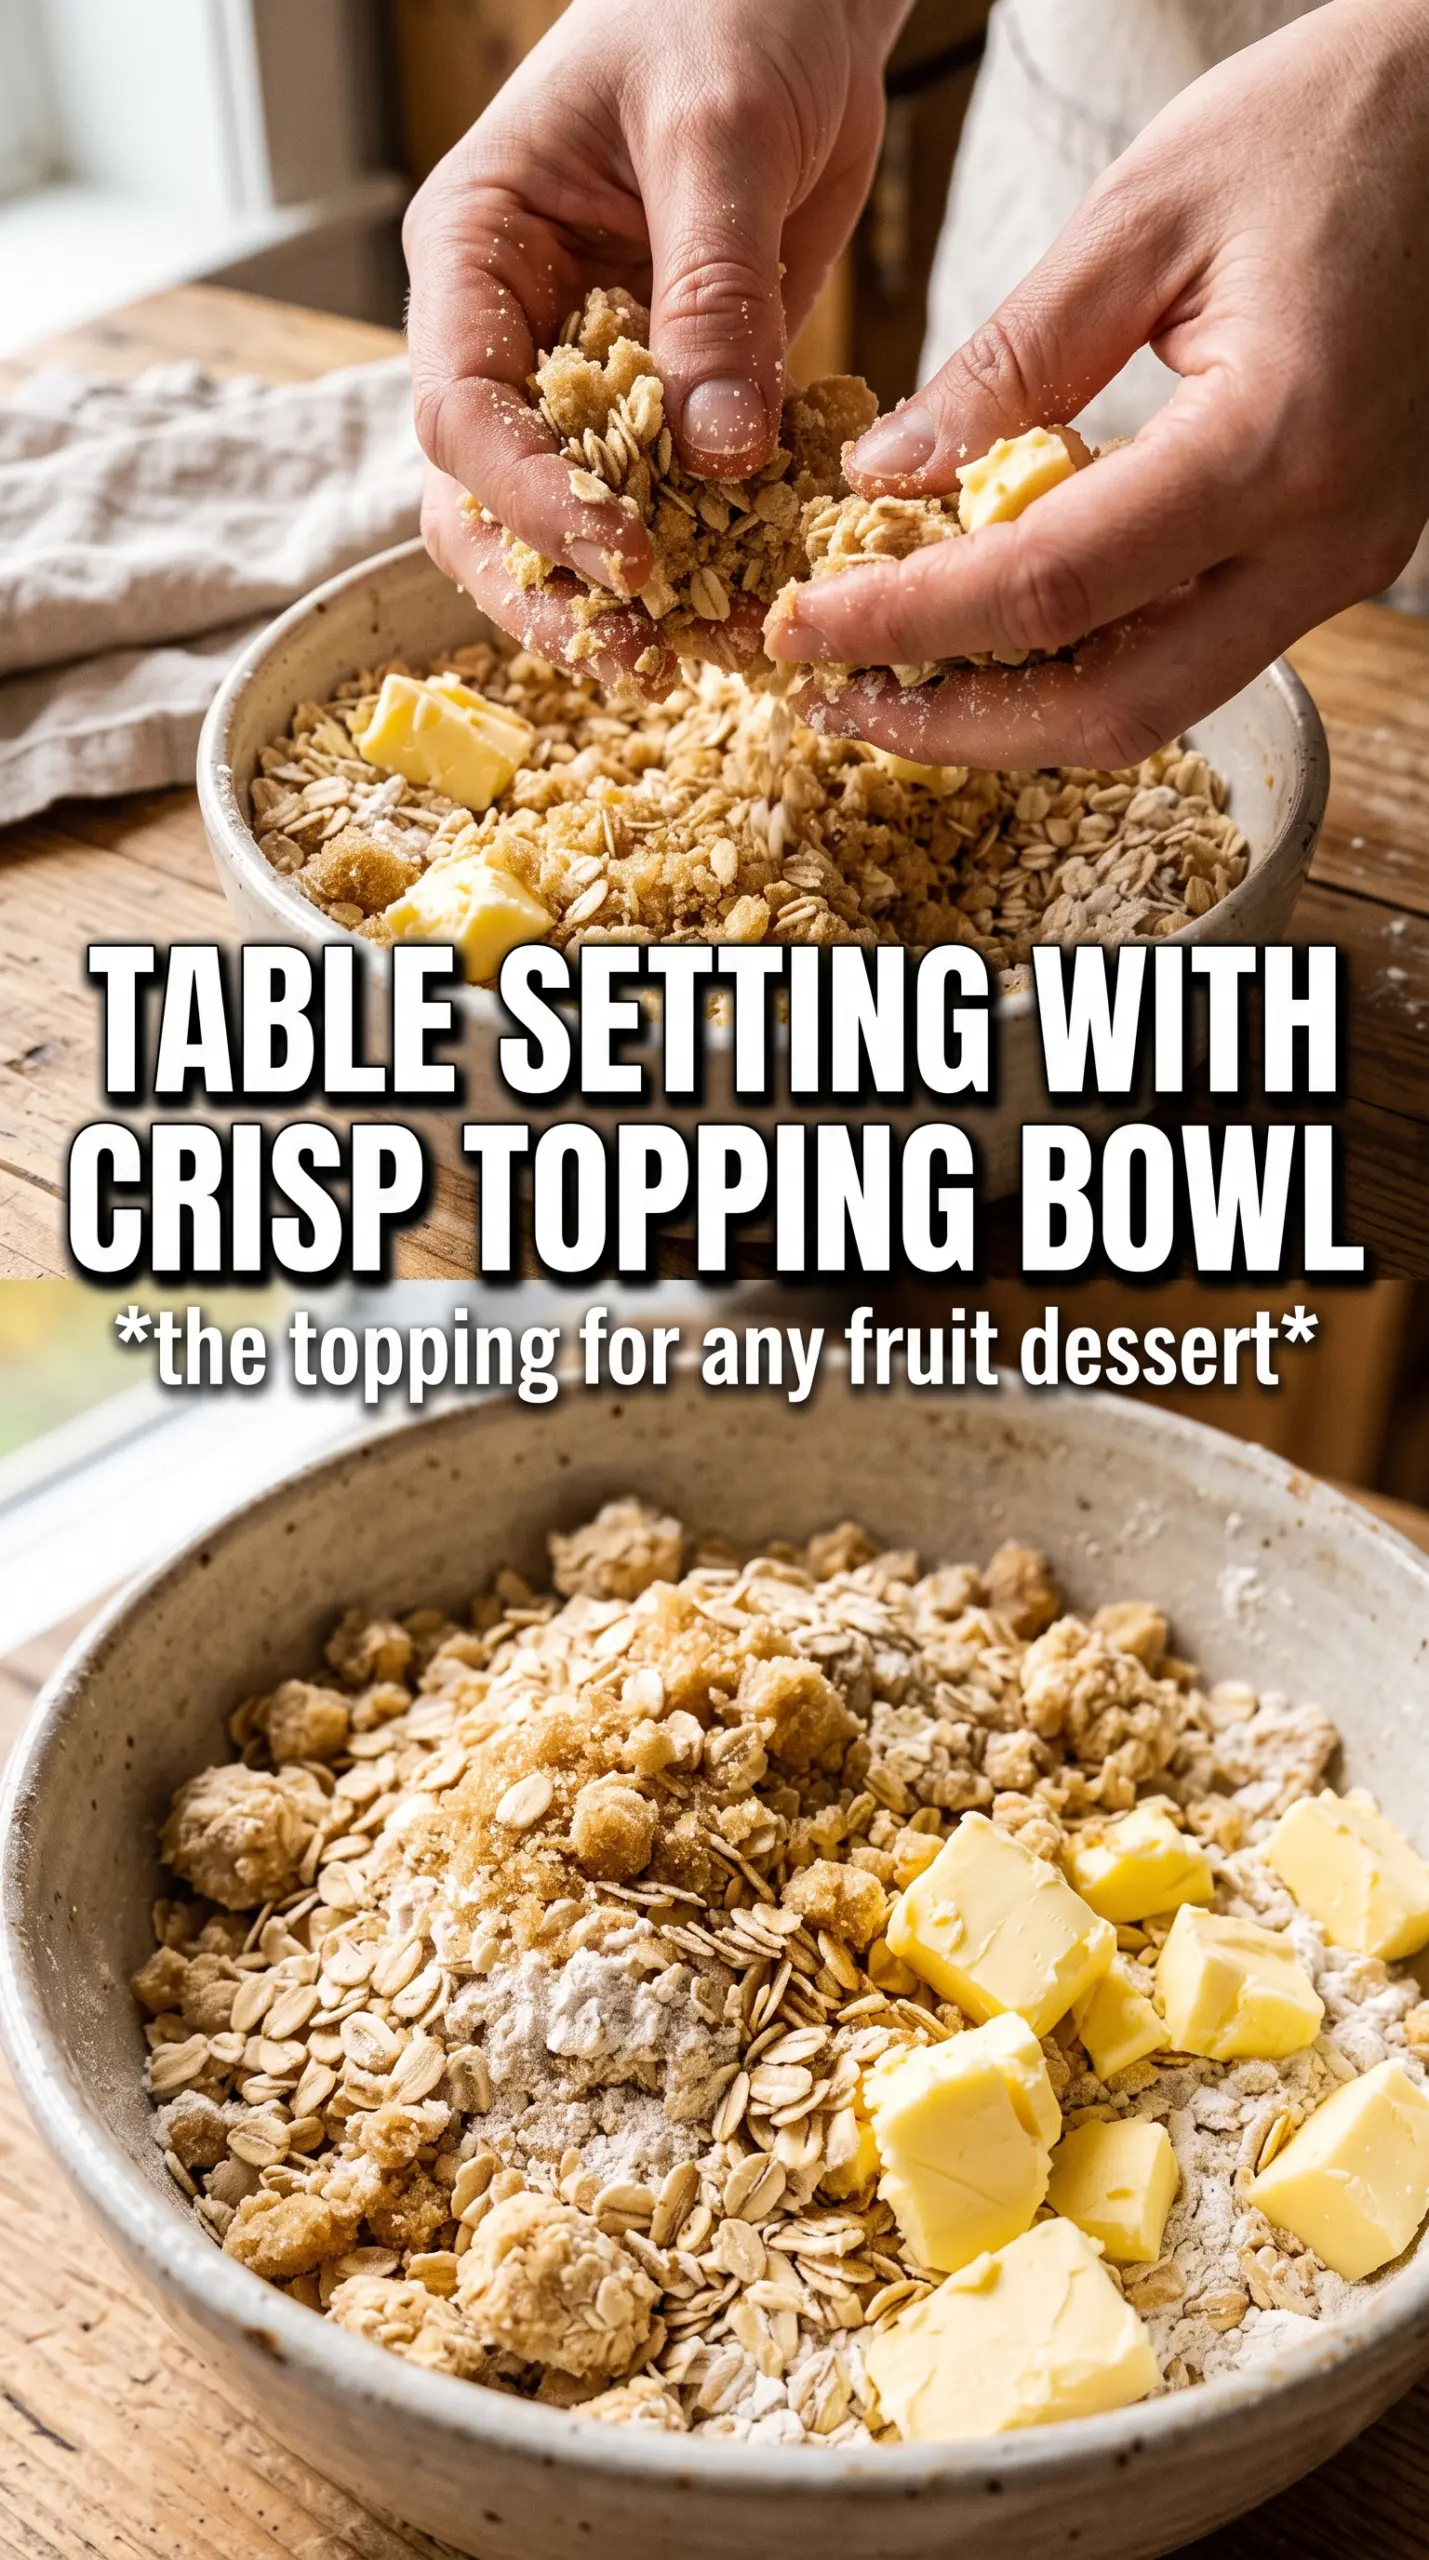
Most crisp toppings go wrong in one of two ways: the butter gets worked in too much, or it never gets worked in enough. If you mix until everything looks like damp sand, the topping bakes up compact and dusty. If you leave big dry pockets of flour, those spots stay pasty. The sweet spot is a mixture with uneven crumbs and a few pea-sized butter pieces still visible. That’s what creates the layered crunch once the butter melts and the sugars caramelize.
Cold butter matters more here than people think. It should stay firm long enough to coat some of the flour and oats instead of disappearing right away. That’s also why I prefer fingertips or a pastry cutter over a food processor for this topping. A processor can go from chunky to overmixed in seconds, and there’s no way to bring those clumps back once they’re gone.
What Each Ingredient Is Actually Doing in This Crumble
- Rolled oats — These give the topping its chew and its craggy texture. Quick oats will work in a pinch, but they make the crumble finer and less rustic. Old-fashioned oats hold their shape better and toast up with more definition.
- All-purpose flour — Flour fills in the gaps so the topping can cling together instead of falling apart into loose sugar and oats. You can swap in a 1:1 gluten-free baking blend if you need to, but don’t replace it with almond flour alone or the topping will bake up greasy and fragile.
- Brown sugar and granulated sugar — Brown sugar brings moisture and a deeper caramel note; granulated sugar helps the topping crisp. If you cut the granulated sugar, you lose some of that snappy texture on top.
- Cold unsalted butter — This is the binder and the flavor. Salted butter works if that’s what you have, but reduce the added salt slightly. Cube it cold and work fast so it stays in small pieces instead of melting into the bowl.
- Cinnamon and nutmeg — These don’t make the topping taste spiced in an obvious way; they make it taste like the fruit belongs under it. Fresh nutmeg is a nice upgrade if you have it, but ground nutmeg works fine.
- Optional nuts or coconut — Nuts add extra crunch and a toasty, roasted edge. Coconut brings chew and a little sweetness. Use one or both, but know they change the texture from a classic crisp topping to something a little more rustic and substantial.
How to Make the Crumble Stay Chunky in the Oven
Mix the Dry Ingredients First
Stir the oats, flour, sugars, cinnamon, nutmeg, and salt together before the butter goes in. That keeps the spices and sugar evenly distributed, so one spoonful doesn’t taste plain while the next one hits too hard with cinnamon. If you’re adding nuts or coconut, mix them in now so they coat evenly. An even dry base also helps the butter form consistent clumps instead of sliding around in little pockets.
Cut in the Butter Just Until Clumps Form
Add the cold cubed butter and work it in with your fingertips, two forks, or a pastry cutter until the mixture looks like chunky gravel with some larger pieces. Stop when you still see little bits of butter; those are the pieces that turn into crisp, golden pockets in the oven. If the mixture starts to look paste-like, it’s been worked too long and it will bake dense. If it feels too dry to hold together when squeezed, the butter was too warm or too little was incorporated.
Layer It Over Fruit and Bake Until Deeply Golden
Scatter the topping over prepared fruit filling in an even layer, but don’t press it down. You want air around the crumbs so they can crisp instead of steaming. Bake at 375°F until the top is deeply golden and the fruit bubbles around the edges, usually 35 to 45 minutes depending on the fruit underneath. If the topping browns too fast before the filling is bubbly, lay a loose piece of foil over the top for the last stretch of baking.
Make It Gluten-Free With a 1:1 Baking Blend
Swap the all-purpose flour for a reliable 1:1 gluten-free flour blend. The topping will still hold together, though it may bake a little more delicately than the wheat version. Avoid using almond flour on its own, since it won’t give the same structure and can turn greasy.
Go Dairy-Free With Plant Butter
Use a firm dairy-free butter stick that’s meant for baking, not a soft tub spread. You need the fat to stay cold and cut into clumps the same way regular butter does. The flavor will be a touch less rich, but the texture can still be excellent if the substitute is cold.
Add Nuts for a More Toasted, Crunchy Topping
Chopped pecans, walnuts, or almonds add extra crunch and a deeper toasty flavor. Keep the amount to about 1/2 cup so the topping still holds together and doesn’t turn too dry. Toasted nuts give the best flavor, but raw nuts will still brown in the oven.
Storage and Reheating
- Refrigerator: Store the unbaked topping in an airtight container for up to 5 days. It may firm up more in the fridge, but that’s fine.
- Freezer: Freeze for up to 3 months. I like to spread it on a tray first, then transfer it to a bag or container so it stays crumbly instead of freezing into one block.
- Reheating: No reheating needed if you’re using it as a topping. If it’s been frozen, let it thaw just enough to break up any clumps before scattering it over fruit. Don’t microwave it to soften it or the butter will start to melt and the topping will lose that crisp edge.
Answers to the Questions Worth Asking
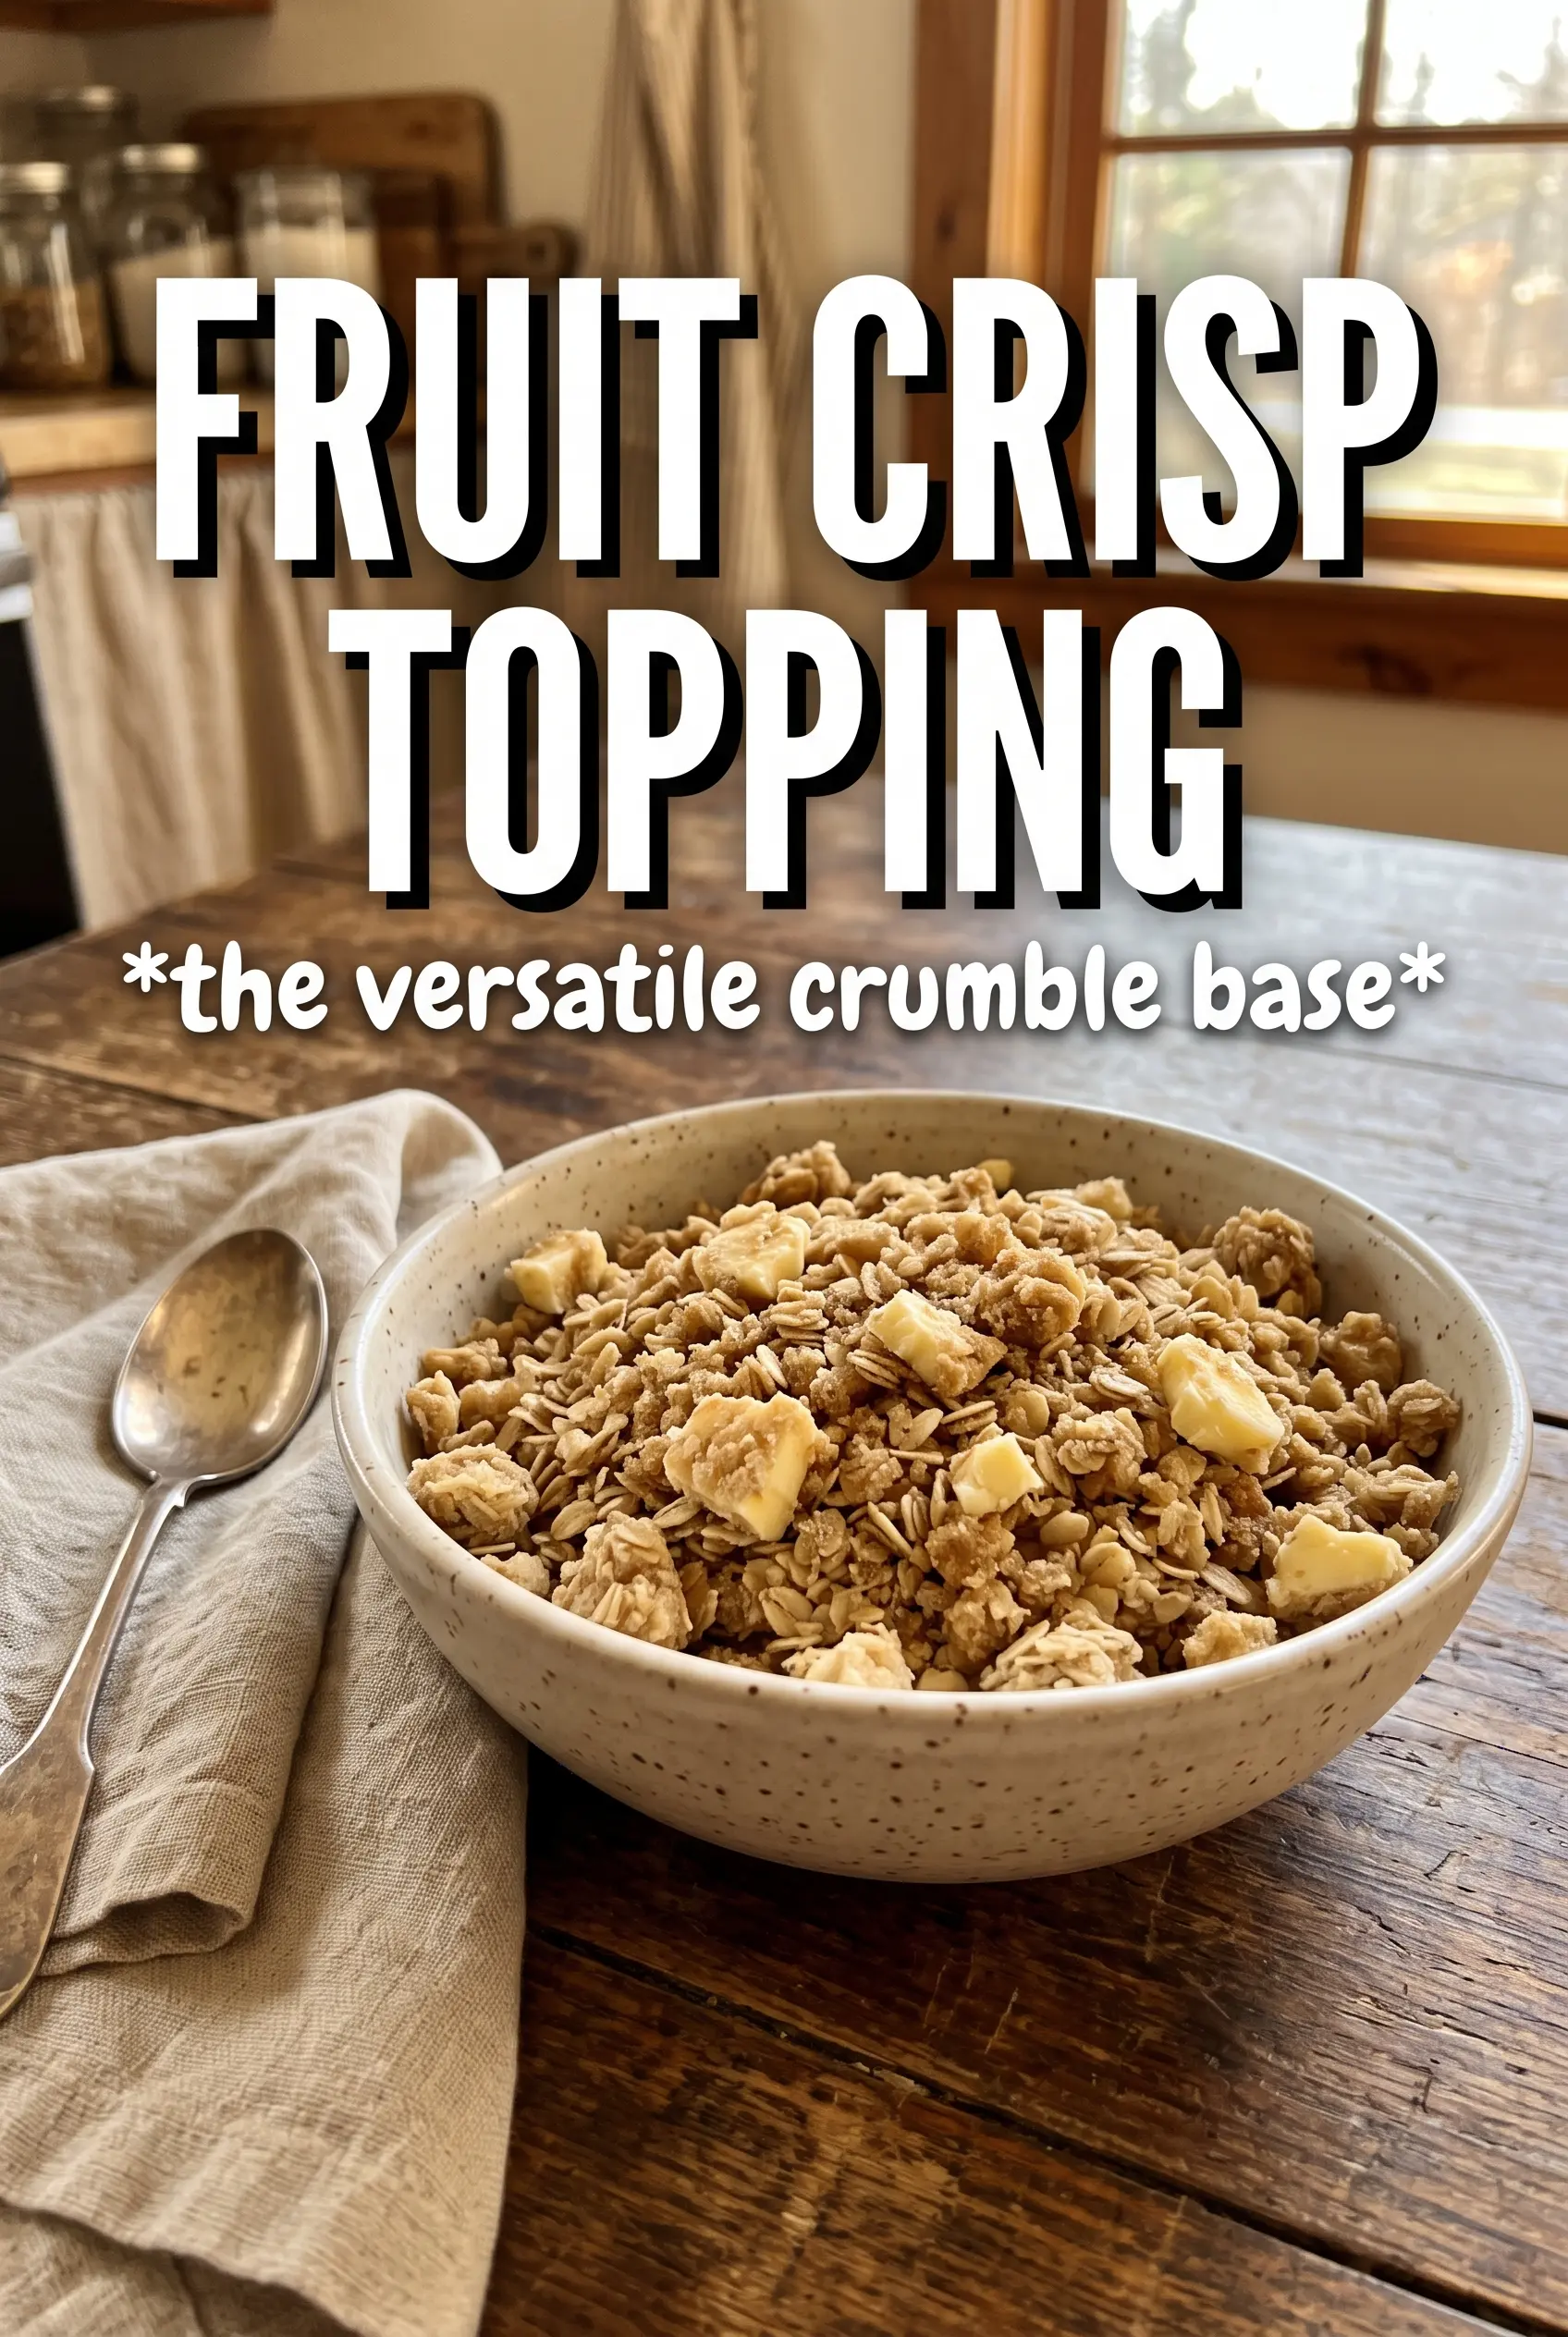
Fruit Crisp Topping
Ingredients
Equipment
Method
- Combine rolled oats, all-purpose flour, brown sugar, granulated sugar, cinnamon, nutmeg, and salt in a large bowl.
- Toss the mixture until the spices and sugars are evenly distributed.
- Add chopped nuts and shredded coconut, if using, then toss to coat evenly with the dry crumble base.
- Add cold cubed butter to the bowl and work it into the mixture using your fingertips, two forks, or a pastry cutter until large chunky clumps form.
- Stop when some pea-sized butter pieces remain, since they help the topping stay chunky during baking.
- Use the topping immediately by scattering it over your prepared fruit filling, or refrigerate it in an airtight container up to 5 days, or freeze up to 3 months.
- Bake the fruit crisp with the topping at 375°F for 35-45 minutes, until deeply golden over the fruit.