Cheesy Chicken Bacon Ranch Tacos hit the table with that ideal mix of crispy, creamy, salty, and fresh that makes everyone reach for a second shell before they finish the first. The chicken stays juicy, the bacon brings crunch and smoke, and the melted cheddar binds everything together just enough to keep the tacos from feeling messy in the wrong way. When the tortilla crisps in the skillet, you get a shell that holds its shape instead of collapsing under the fillings.
The trick is seasoning the chicken before it cooks and saving some ranch seasoning for the finish, which keeps the flavor layered instead of muddy. I also like cooking the tacos in a dry skillet after folding them; that gives the tortilla a toasted snap and lets the cheese inside act like glue. If you’ve ever had a stuffed taco go limp halfway through dinner, this version fixes that problem fast.
The tortillas got nice and crisp without drying out, and the ranch chicken stayed juicy even after I piled on the bacon and cheese. My husband said the crunchy shell with the ranch drizzle was the best part.
Cheesy Chicken Bacon Ranch Tacos are the kind of crispy, ranch-loaded tacos worth pinning for busy nights when you want big flavor without a long cleanup.
Why the Tortilla Needs to Crisp Before You Fill It
The biggest mistake with stuffed tacos is overloading a soft tortilla and hoping it will hold together. It won’t. Crisping the folded tortilla in a dry skillet gives you structure first, then the cheddar melts inside and helps seal the shell into a taco that stays put when you lift it.
That dry skillet step also changes the texture of the whole dish. You get a toasted exterior and a warm, stretchy interior instead of a limp wrap that gets soggy the second the lettuce and tomatoes go in. If your tacos usually fall apart, the problem isn’t the filling — it’s the shell not getting enough heat.
- Chicken breast — Slice it thin so it cooks fast and stays tender. Thick pieces take longer, which dries out the outside before the center is done.
- Ranch seasoning — Dividing the packet matters here. Half seasons the chicken, and the rest adds a final hit of herb-and-garlic flavor after everything is assembled.
- Sharp cheddar — Sharp cheddar melts well and gives you enough punch to stand up to bacon and ranch. Pre-shredded works, but freshly shredded melts smoother.
- Flour tortillas — They’re flexible enough to fold without tearing, then they crisp up in the skillet instead of cracking. Corn tortillas won’t give you the same sealed, cheesy shell.
What Each Layer Is Doing in These Tacos
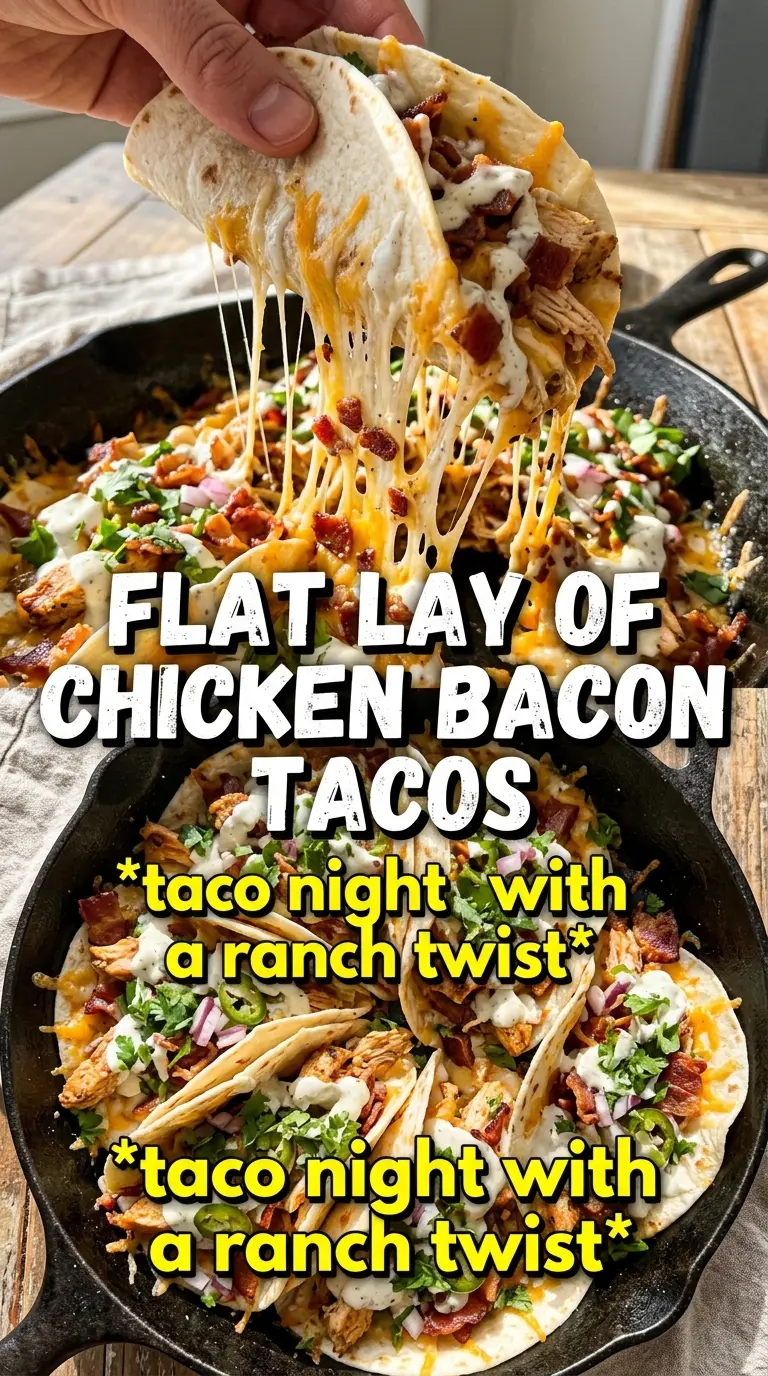
- Chicken breast — This is the base that carries the ranch flavor. Slicing it before cooking gives you more surface area for seasoning and keeps the cook time short enough that the meat stays juicy.
- Bacon — Bacon adds salt, smoke, and crunch. Don’t skip the crumbling step; small pieces distribute better and keep every bite balanced.
- Romaine, tomatoes, and red onion — These finish the tacos with freshness and bite. Romaine stays crisp longer than softer greens, and the onion cuts through the richness so the tacos don’t taste heavy.
- Ranch dressing — Use it as a drizzle, not a flood. Too much dressing softens the shell fast; a thin ribbon gives you the cool, creamy finish without wrecking the crunch.
Building the Filling So the Tacos Stay Crunchy
Season the Chicken First
Coat the sliced chicken with half the ranch packet before it hits the pan. That seasoning clings better to raw chicken than it does to cooked meat, and it flavors the chicken all the way through instead of sitting on top. Cook it in olive oil over medium-high heat until the pieces are golden at the edges and no pink remains in the center. If the pan is crowded, the chicken steams and turns pale, so work in batches if needed.
Let the Chicken Rest, Then Slice
Once the chicken is cooked, rest it for a few minutes before slicing if it isn’t already in bite-size strips. That short rest keeps the juices from spilling onto the cutting board. If you cut it immediately, the meat gets dry faster once it goes into the hot taco shell. Keep the pieces small enough that every bite fits inside the tortilla without pulling everything apart.
Fold, Toast, and Melt
Lay the tortilla in the skillet, add cheddar to one half, then fold it over and press gently with a spatula. Toast each side until the tortilla is crisp and spotted with deep golden brown, and the cheese inside starts to melt and bind the shell. If you try to flip too early, the taco can open up, so wait until the first side releases cleanly before turning it. The goal is a shell that sounds crisp when you tap it.
Fill and Finish Fast
Stack in the chicken, bacon, lettuce, tomatoes, and red onion while the shells are still warm. Finish with ranch dressing and the remaining ranch seasoning right before serving. That last dusting keeps the ranch flavor bright, and adding the cold toppings at the end protects the crunch you worked for. These tacos wait on no one, so have everything ready before the shells come off the skillet.
How to Adapt These Ranch Tacos Without Losing the Crunch
Make Them Gluten-Free
Use gluten-free flour tortillas that are made to fold and crisp. Some brands tear if you move them too early, so let them sit on the first side long enough to firm up before flipping. The filling itself is already naturally gluten-free as long as your ranch seasoning and dressing are labeled that way.
Swap the Chicken for Rotisserie Chicken
Shredded rotisserie chicken works when you need speed, and it picks up the ranch seasoning nicely. Warm it briefly with a little oil and half the seasoning so it doesn’t taste flat straight from the container. You lose the seared edges from fresh-cooked chicken, but you gain a faster dinner.
Skip the Dairy, Keep the Idea
Use a dairy-free shredded cheddar-style cheese and a dairy-free ranch dressing. The melt won’t be quite as stretchy as regular cheddar, so keep the heat moderate and give the shell a little extra time to crisp. This version still gives you the same salty, creamy, crunchy structure without the dairy.
Storage and Reheating
- Refrigerator: Store the chicken and bacon separately from the lettuce, tomatoes, and shells for up to 3 days. The tortilla will soften once filled, so keep components apart if you want the best texture.
- Freezer: The cooked chicken freezes well for up to 2 months. Freeze it in a single layer, then pack it into a container so it reheats evenly. Don’t freeze assembled tacos; the fresh toppings and crispy shell won’t survive it.
- Reheating: Reheat the chicken in a skillet over low heat or in the microwave in short bursts until warmed through. Crisp the tortillas again in a dry pan before assembling, because reheating a fully built taco turns the shell leathery instead of crunchy.
Questions I Get Asked About This Recipe
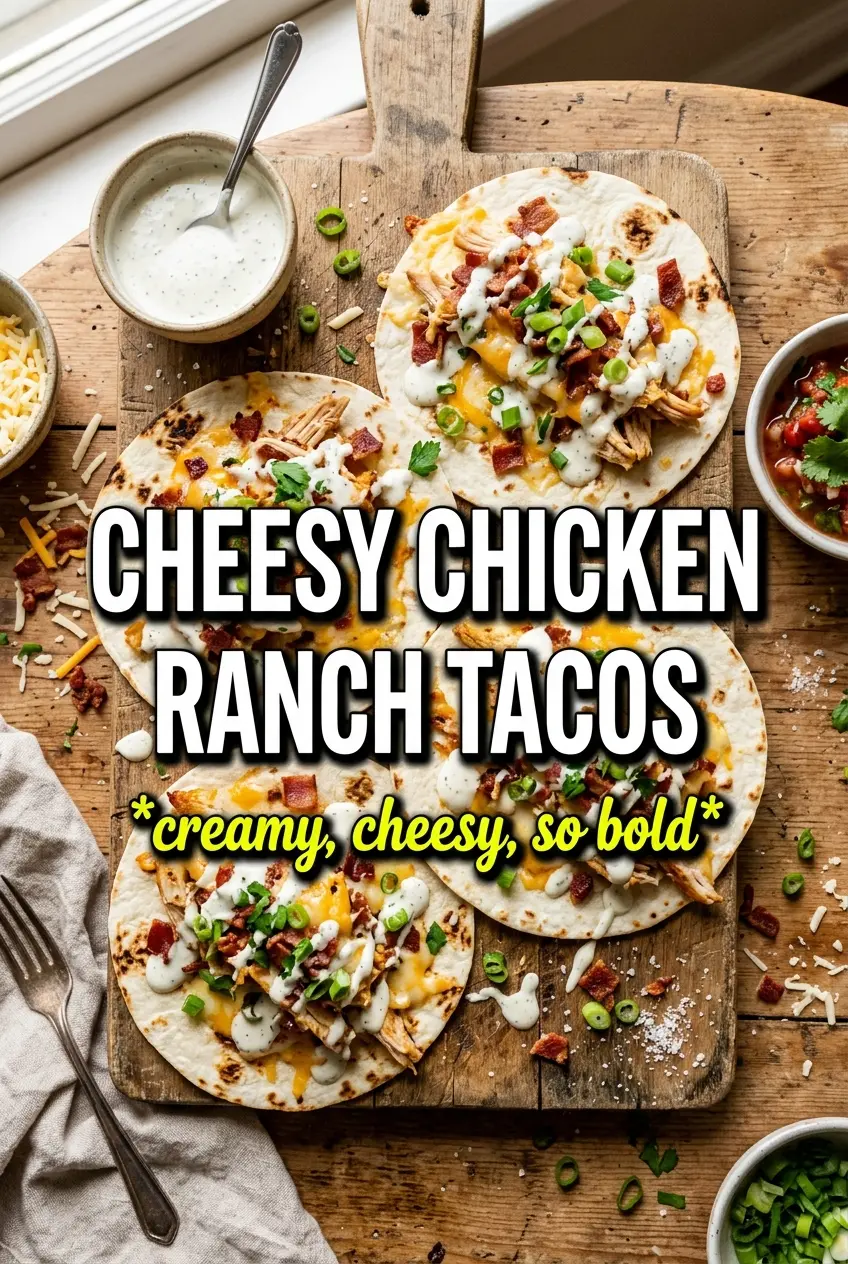
Cheesy Chicken Bacon Ranch Tacos
Ingredients
Equipment
Method
- Season the thin-sliced chicken with half of the ranch seasoning packet. Heat olive oil in a skillet over medium-high and cook the chicken for 4–5 minutes per side until cooked through.
- Transfer the cooked chicken to a plate to rest briefly, then slice or pull it into bite-size pieces. Keep any juices in the chicken for better flavor.
- Fold each flour tortilla in half. Griddle in a dry skillet over medium heat until crispy on both sides and cheddar melts inside, 30–60 seconds per side depending on tortilla thickness.
- Fill each crispy taco shell with ranch chicken, crumbled bacon, shredded romaine, halved cherry tomatoes, and diced red onion.
- Drizzle with ranch dressing and dust with the remaining ranch seasoning for a final, punchy finish.