Golden oat crumble over bubbling apple filling is one of those desserts that disappears fast because it hits every mark: crisp edges, tender fruit, and a warm spoonful that begs for vanilla ice cream. Using canned apple pie filling keeps this version weeknight-simple, but the topping still gives you that homemade contrast people expect from a good crisp.
The part that makes this work is restraint. The filling already comes sweetened and thickened, so the cinnamon, nutmeg, allspice, and lemon juice are there to wake it up, not drown it out. The topping stays cold and chunky as it bakes, which is what gives you those craggy, bronzed bits instead of a sandy layer that melts into the fruit.
Below, I’ll show you how to keep the crumble from turning pasty, what to do if your filling looks too loose, and a couple of easy swaps if you want to push this dessert in a different direction.
The topping came out crisp and buttery, and the canned filling baked up with those bubbling edges like I’d made it from scratch. I added the lemon juice like you suggested and the whole dish tasted brighter, not overly sweet.
Save this apple crisp with canned apple filling for a quick dessert with a buttery oat crumble and bubbling cinnamon apples.
The Trick to Keeping Canned Apple Filling from Tasting Flat
Canned apple pie filling already has body, so the mistake most people make is treating it like plain fruit and overloading it with spice. That can push it into a muddled, canned-tasting dessert instead of a crisp with clear apple flavor. The lemon juice matters here because it sharpens the sweetness and makes the filling taste brighter once it bakes.
You also want the filling spread in an even layer, not mounded in the center. If it sits too thick, the topping browns before the middle gets hot enough to bubble properly. Those bubbles around the edges are your cue that the fruit mixture has heated through and the cornstarch in the filling has done its job.
- Keep the spice blend light. Cinnamon, nutmeg, and allspice should round out the apples, not bury them.
- Add lemon juice. It cuts the sweetness and keeps the fruit filling from tasting one-note.
- Spread the filling evenly. A level layer bakes more consistently and gives you better topping coverage.
What the Oats, Butter, and Flour Are Actually Doing Here
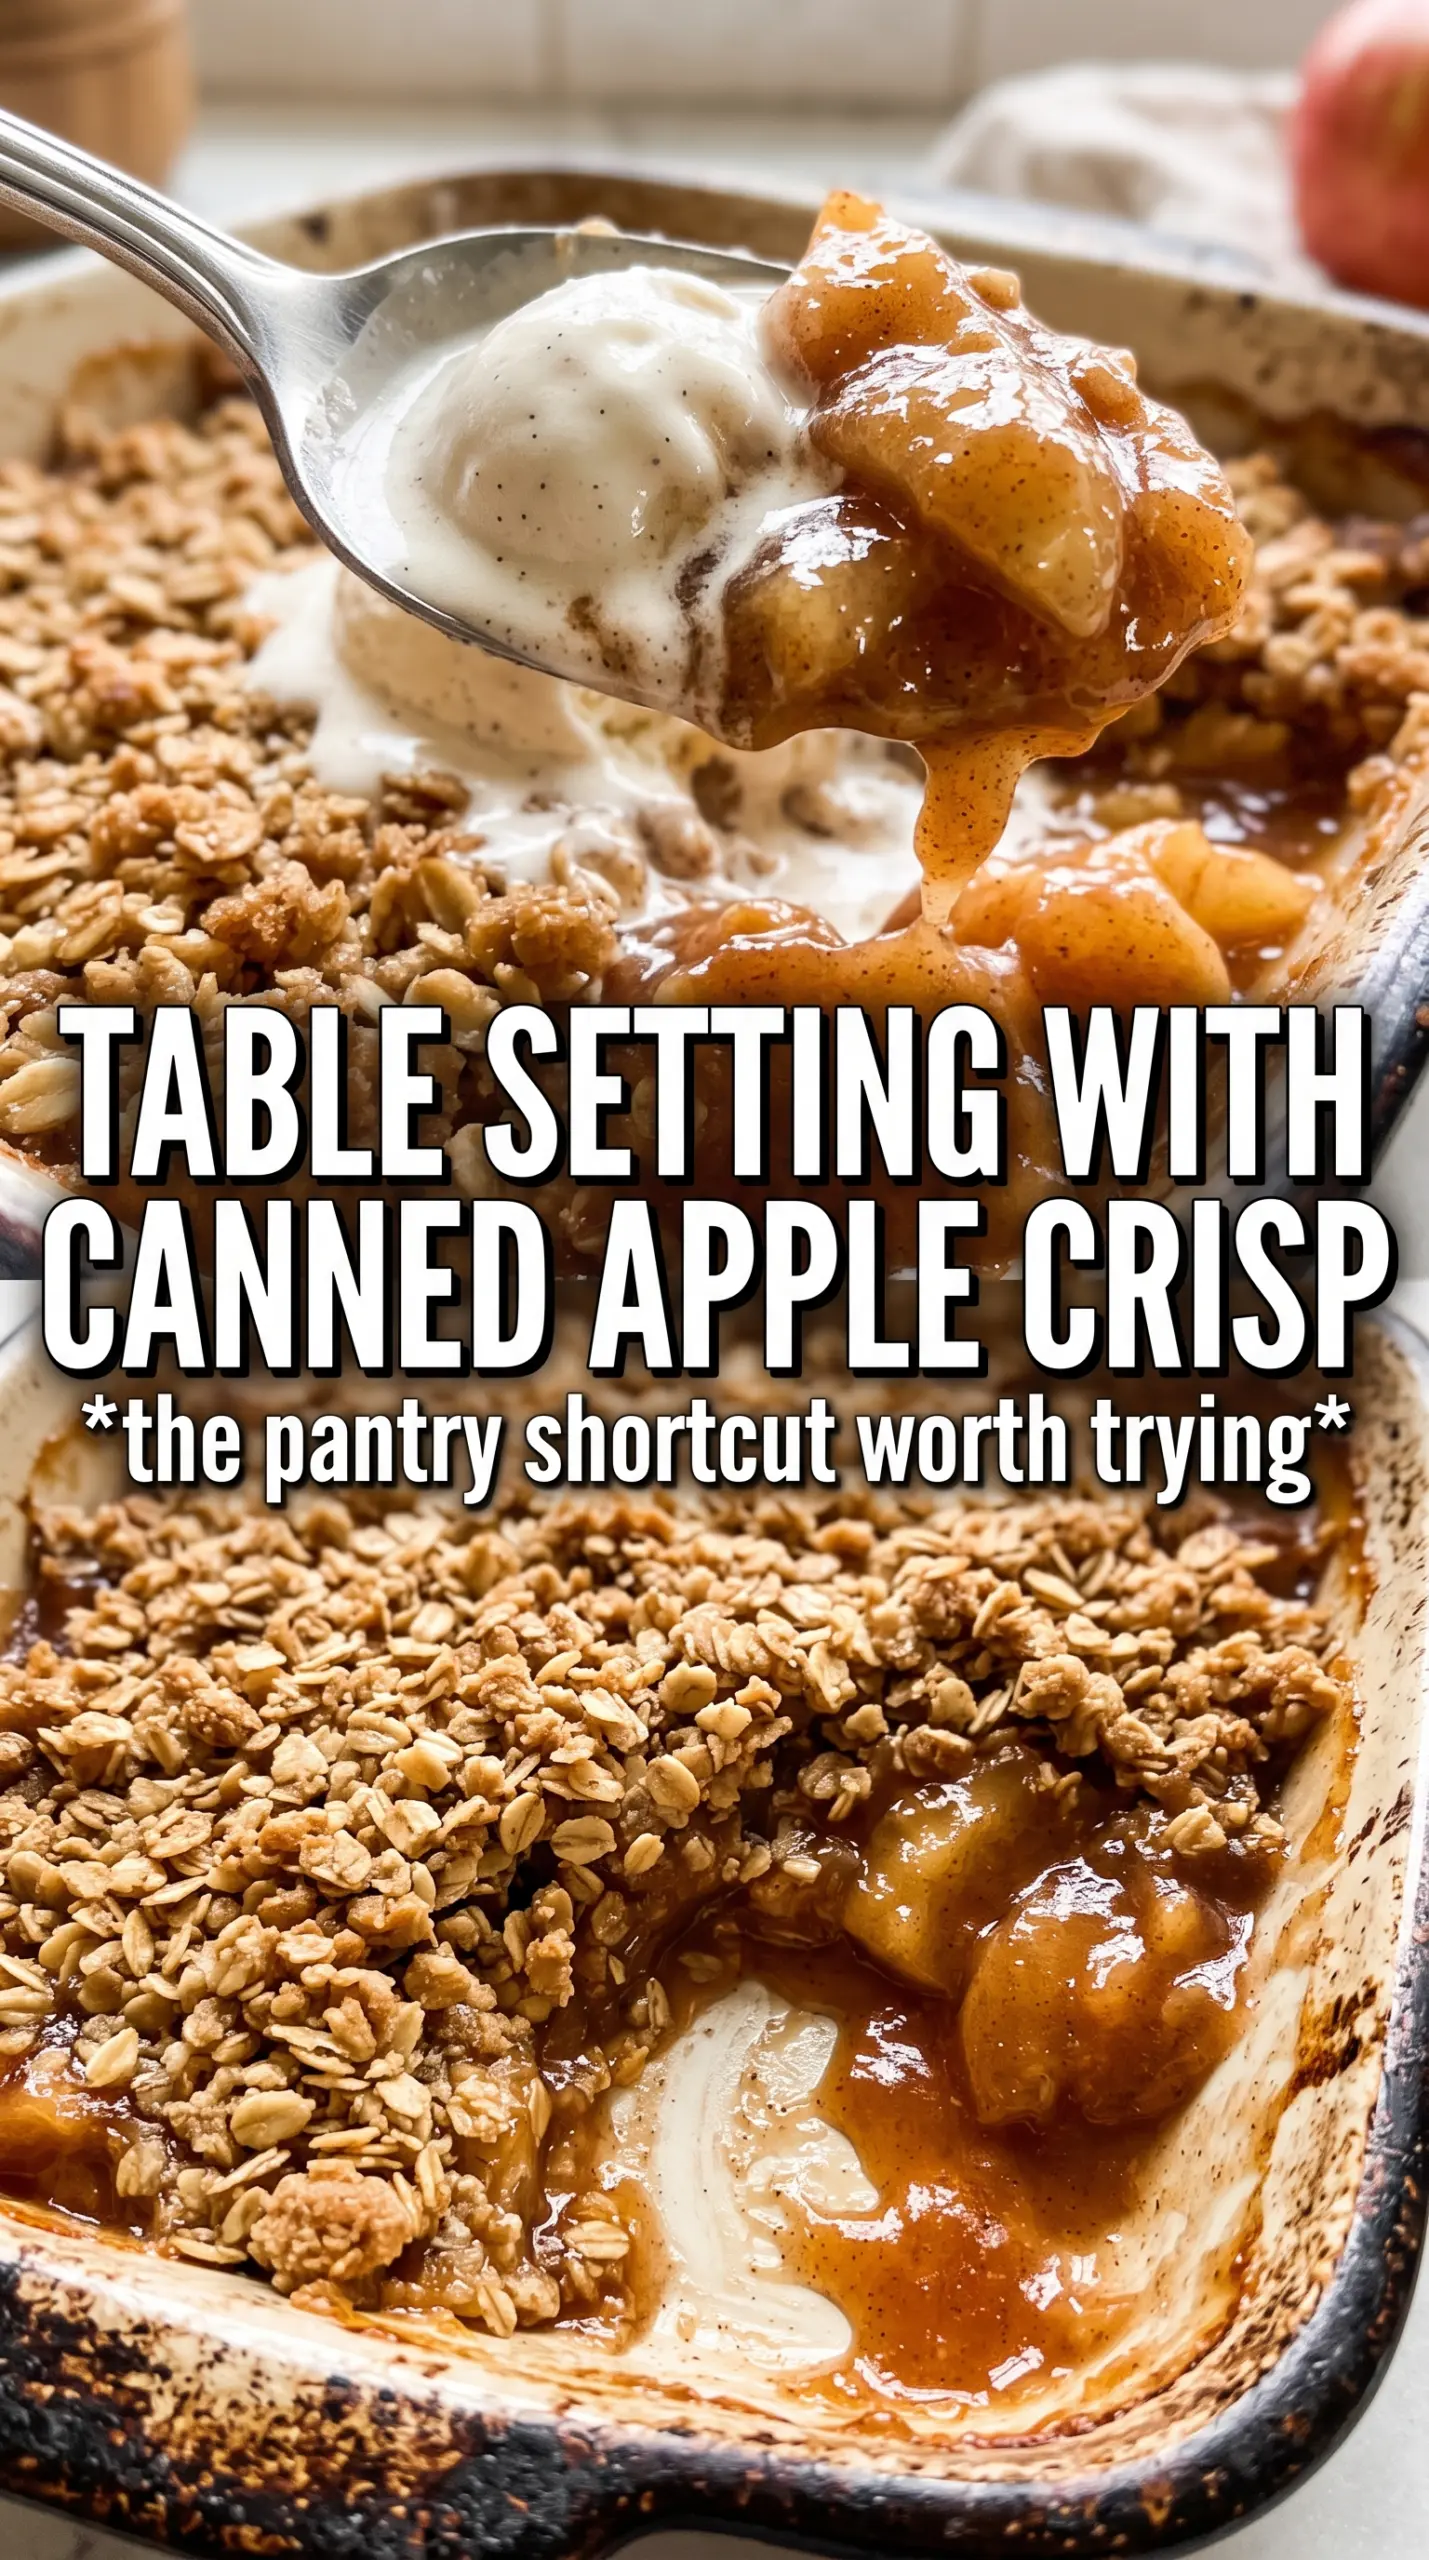
- Rolled oats — These give the topping its craggy texture and toasted bite. Quick oats will work in a pinch, but the topping will be finer and less crunchy.
- All-purpose flour — This binds the crumble so it bakes into clusters instead of dusty crumbs. If you need a gluten-free version, use a cup-for-cup baking blend with xanthan gum already included.
- Brown sugar — It melts into the butter and creates those caramelized edges. Dark brown sugar gives a deeper molasses note; light brown sugar keeps it softer and a little cleaner tasting.
- Cold butter — This is the whole texture story. Cold butter stays in little pieces, then melts in the oven and leaves pockets that crisp up. Soft butter turns the topping greasy and dense.
Building the Crumble So It Stays Chunky in the Oven
Mix the Dry Ingredients First
Stir the oats, flour, brown sugar, cinnamon, and salt together before the butter goes in. That keeps the seasoning even and prevents clumps of brown sugar from hiding in one spot. If you skip this step, you can end up with patches that bake too sweet and others that taste plain.
Cut in the Butter Until Pebbly Clumps Form
Work the cold butter into the dry mixture with your fingers, a pastry cutter, or two forks until you have irregular clumps about the size of peas and small marbles. Stop before it turns into a paste. If the butter softens too much, chill the bowl for 10 minutes before topping the fruit so the crumbs don’t melt into the filling before the oven has a chance to work.
Bake Until the Edges Are Actively Bubbling
Pull the crisp when the topping is deeply golden and you see the filling bubbling around the outside. That bubbling is not decoration; it tells you the filling is hot enough to settle and thicken as it cools. If the top looks done but the fruit isn’t bubbling, give it a few more minutes or the middle will be loose at the first scoop.
Ways to Tweak This Crisp Without Losing the Texture
Dairy-Free Crumble
Swap the butter for a solid plant-based baking stick, not tub margarine. You’ll still get the same crumbly structure if the substitute is cold, but the flavor will be a little less rich and the topping may brown a touch faster.
Gluten-Free Version
Use certified gluten-free oats and a good cup-for-cup flour blend. The texture stays close to the original as long as the blend contains xanthan gum or another binder, which helps the topping hold together instead of turning sandy.
Extra-Crunchy Top
Add 1/2 cup chopped pecans or walnuts to the crumble. The nuts toast as the crisp bakes and give the topping more bite, but they also make the layer a little more rustic and less uniform.
Storage and Reheating
- Refrigerator: Store covered for up to 4 days. The topping softens a bit, but the flavor stays good.
- Freezer: It freezes well after baking. Cool completely, wrap tightly, and freeze for up to 2 months. Thaw overnight in the refrigerator before reheating.
- Reheating: Warm in a 325F oven until the filling is hot and the top re-crisps, about 15 to 20 minutes. The microwave will heat the apples, but it turns the crumble soft and chewy.
Questions I Get Asked About This Recipe
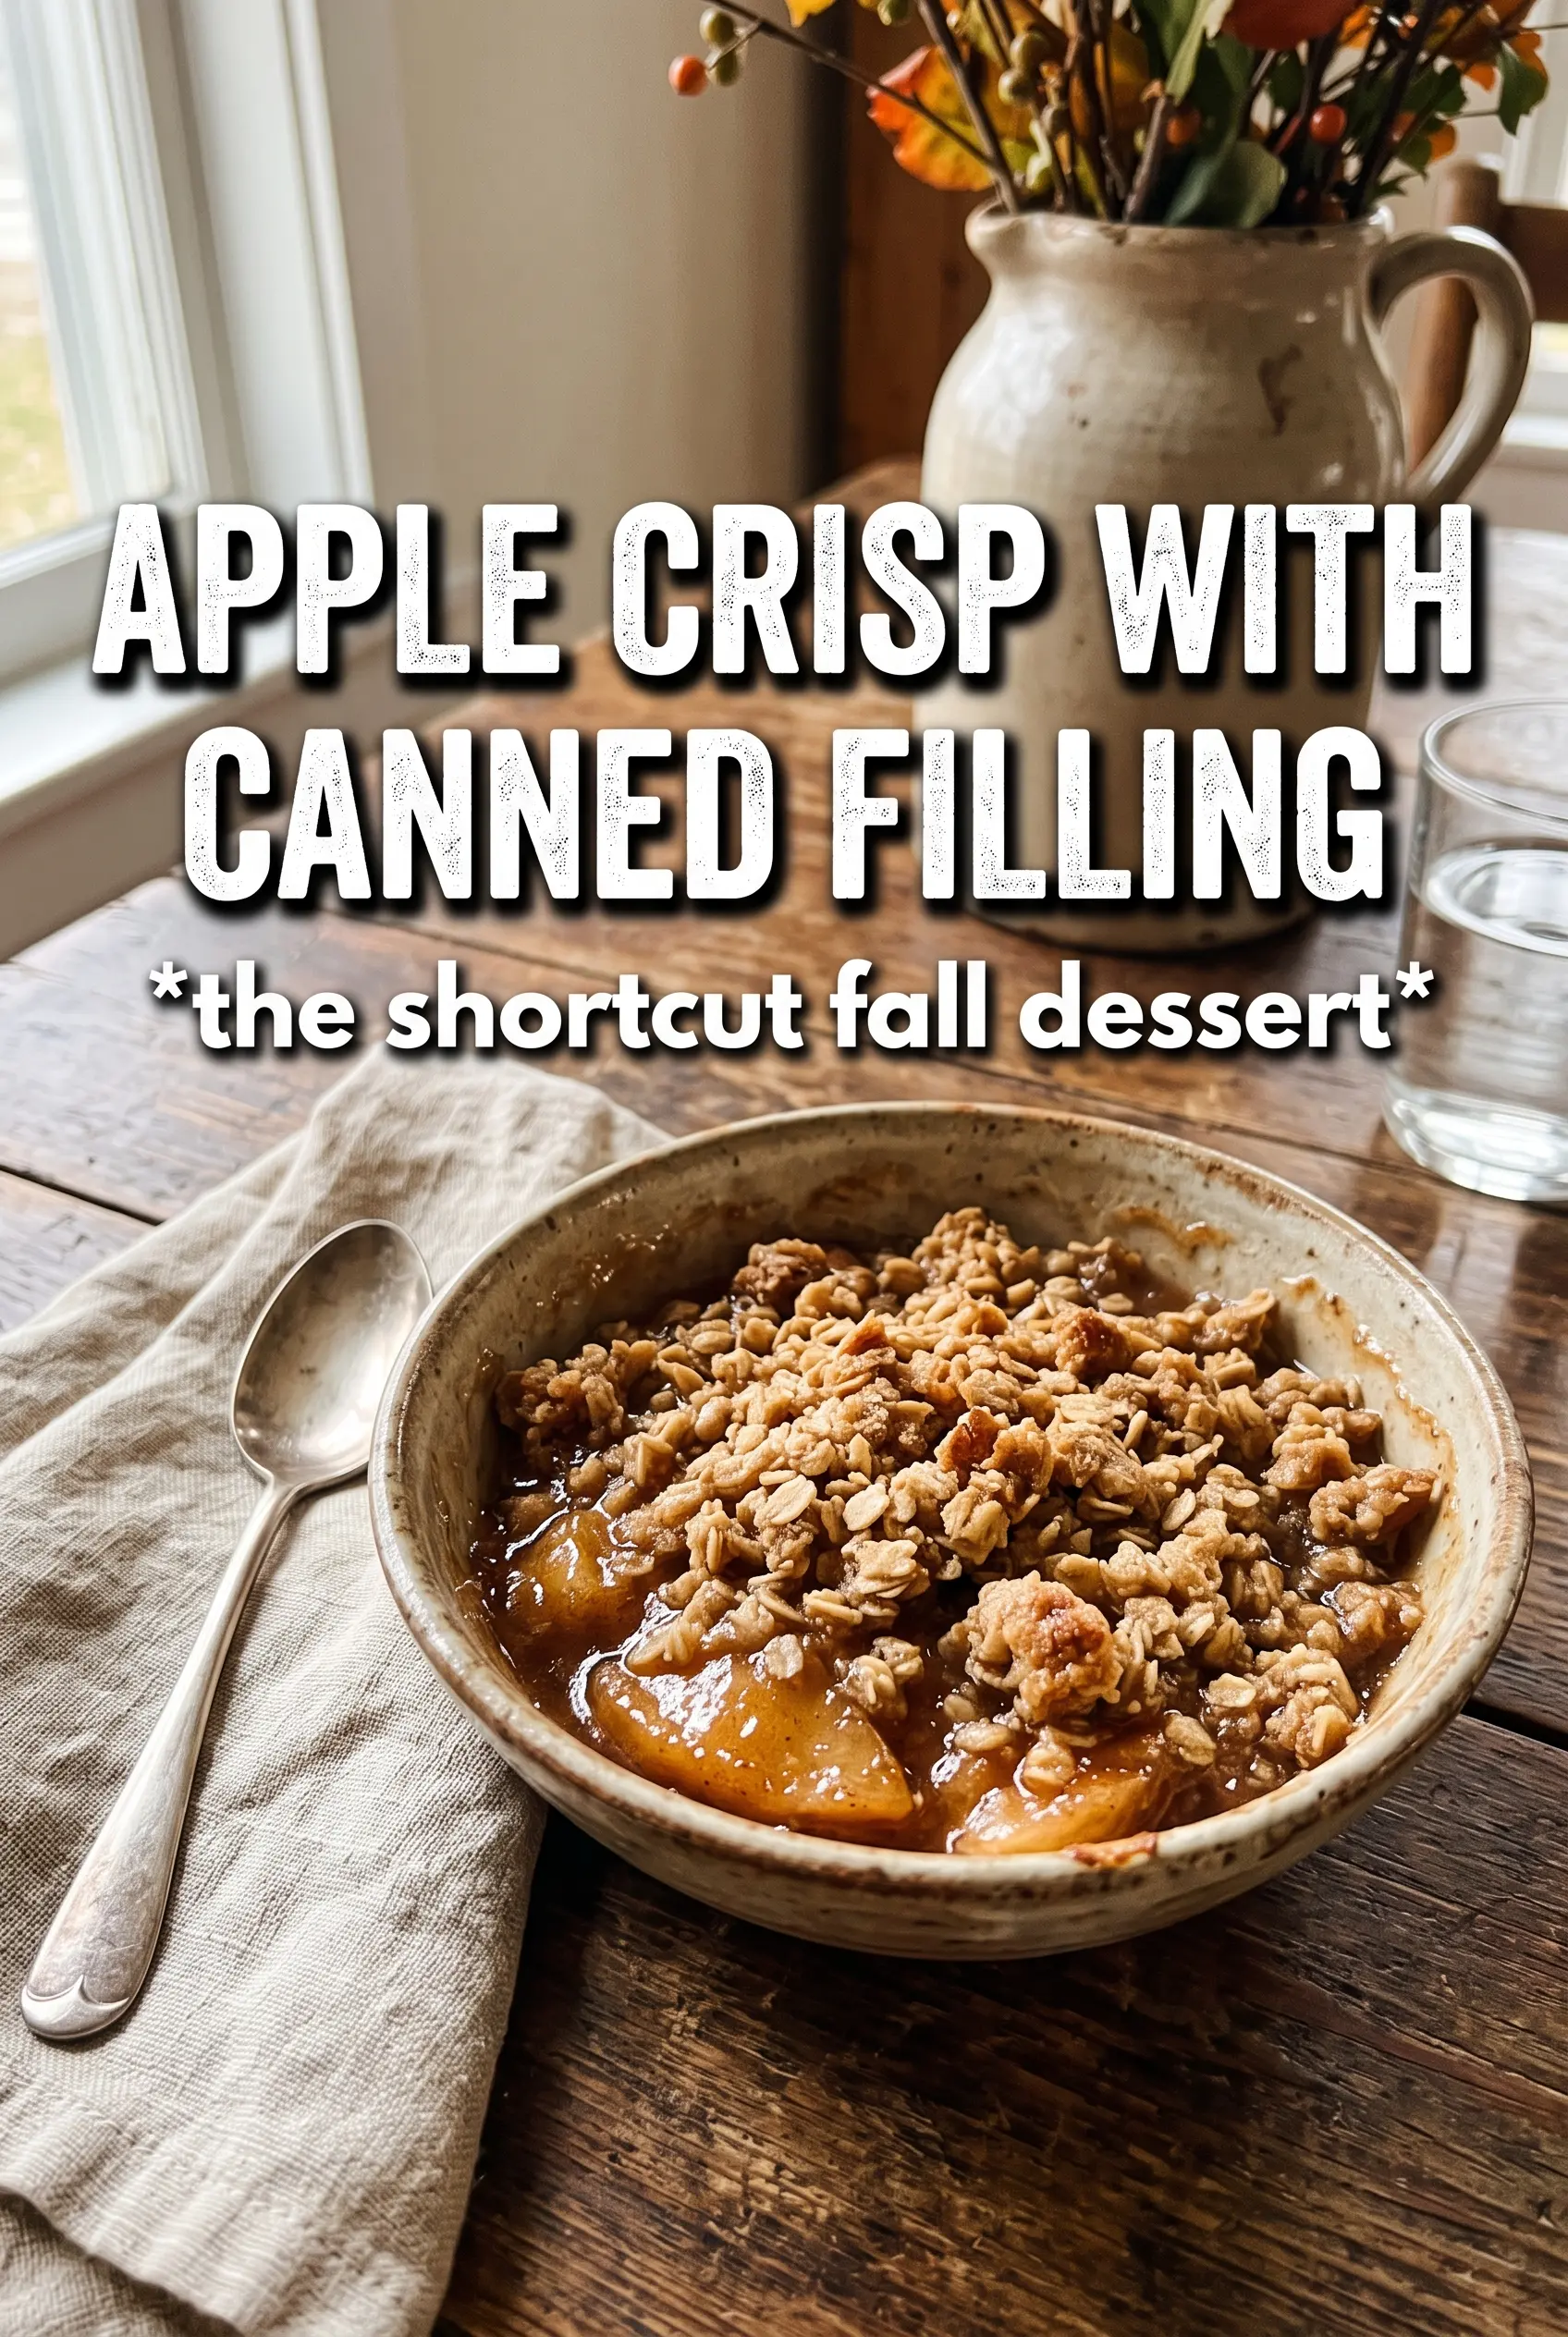
Apple Crisp With Canned Apple Filling
Ingredients
Equipment
Method
- Preheat oven to 375F and grease a 9x13 baking dish.
- Stir cinnamon, nutmeg, allspice, and lemon juice into the canned apple pie filling, then spread it in the prepared dish.
- Combine rolled oats, all-purpose flour, brown sugar, cinnamon, and salt, then cut in cold butter until chunky clumps form.
- Scatter the crumble generously over the apple filling, covering it evenly.
- Bake at 375F for 30-35 minutes until the topping is golden and the filling is bubbling around the edges.
- Rest 5 minutes, then serve warm with vanilla ice cream.