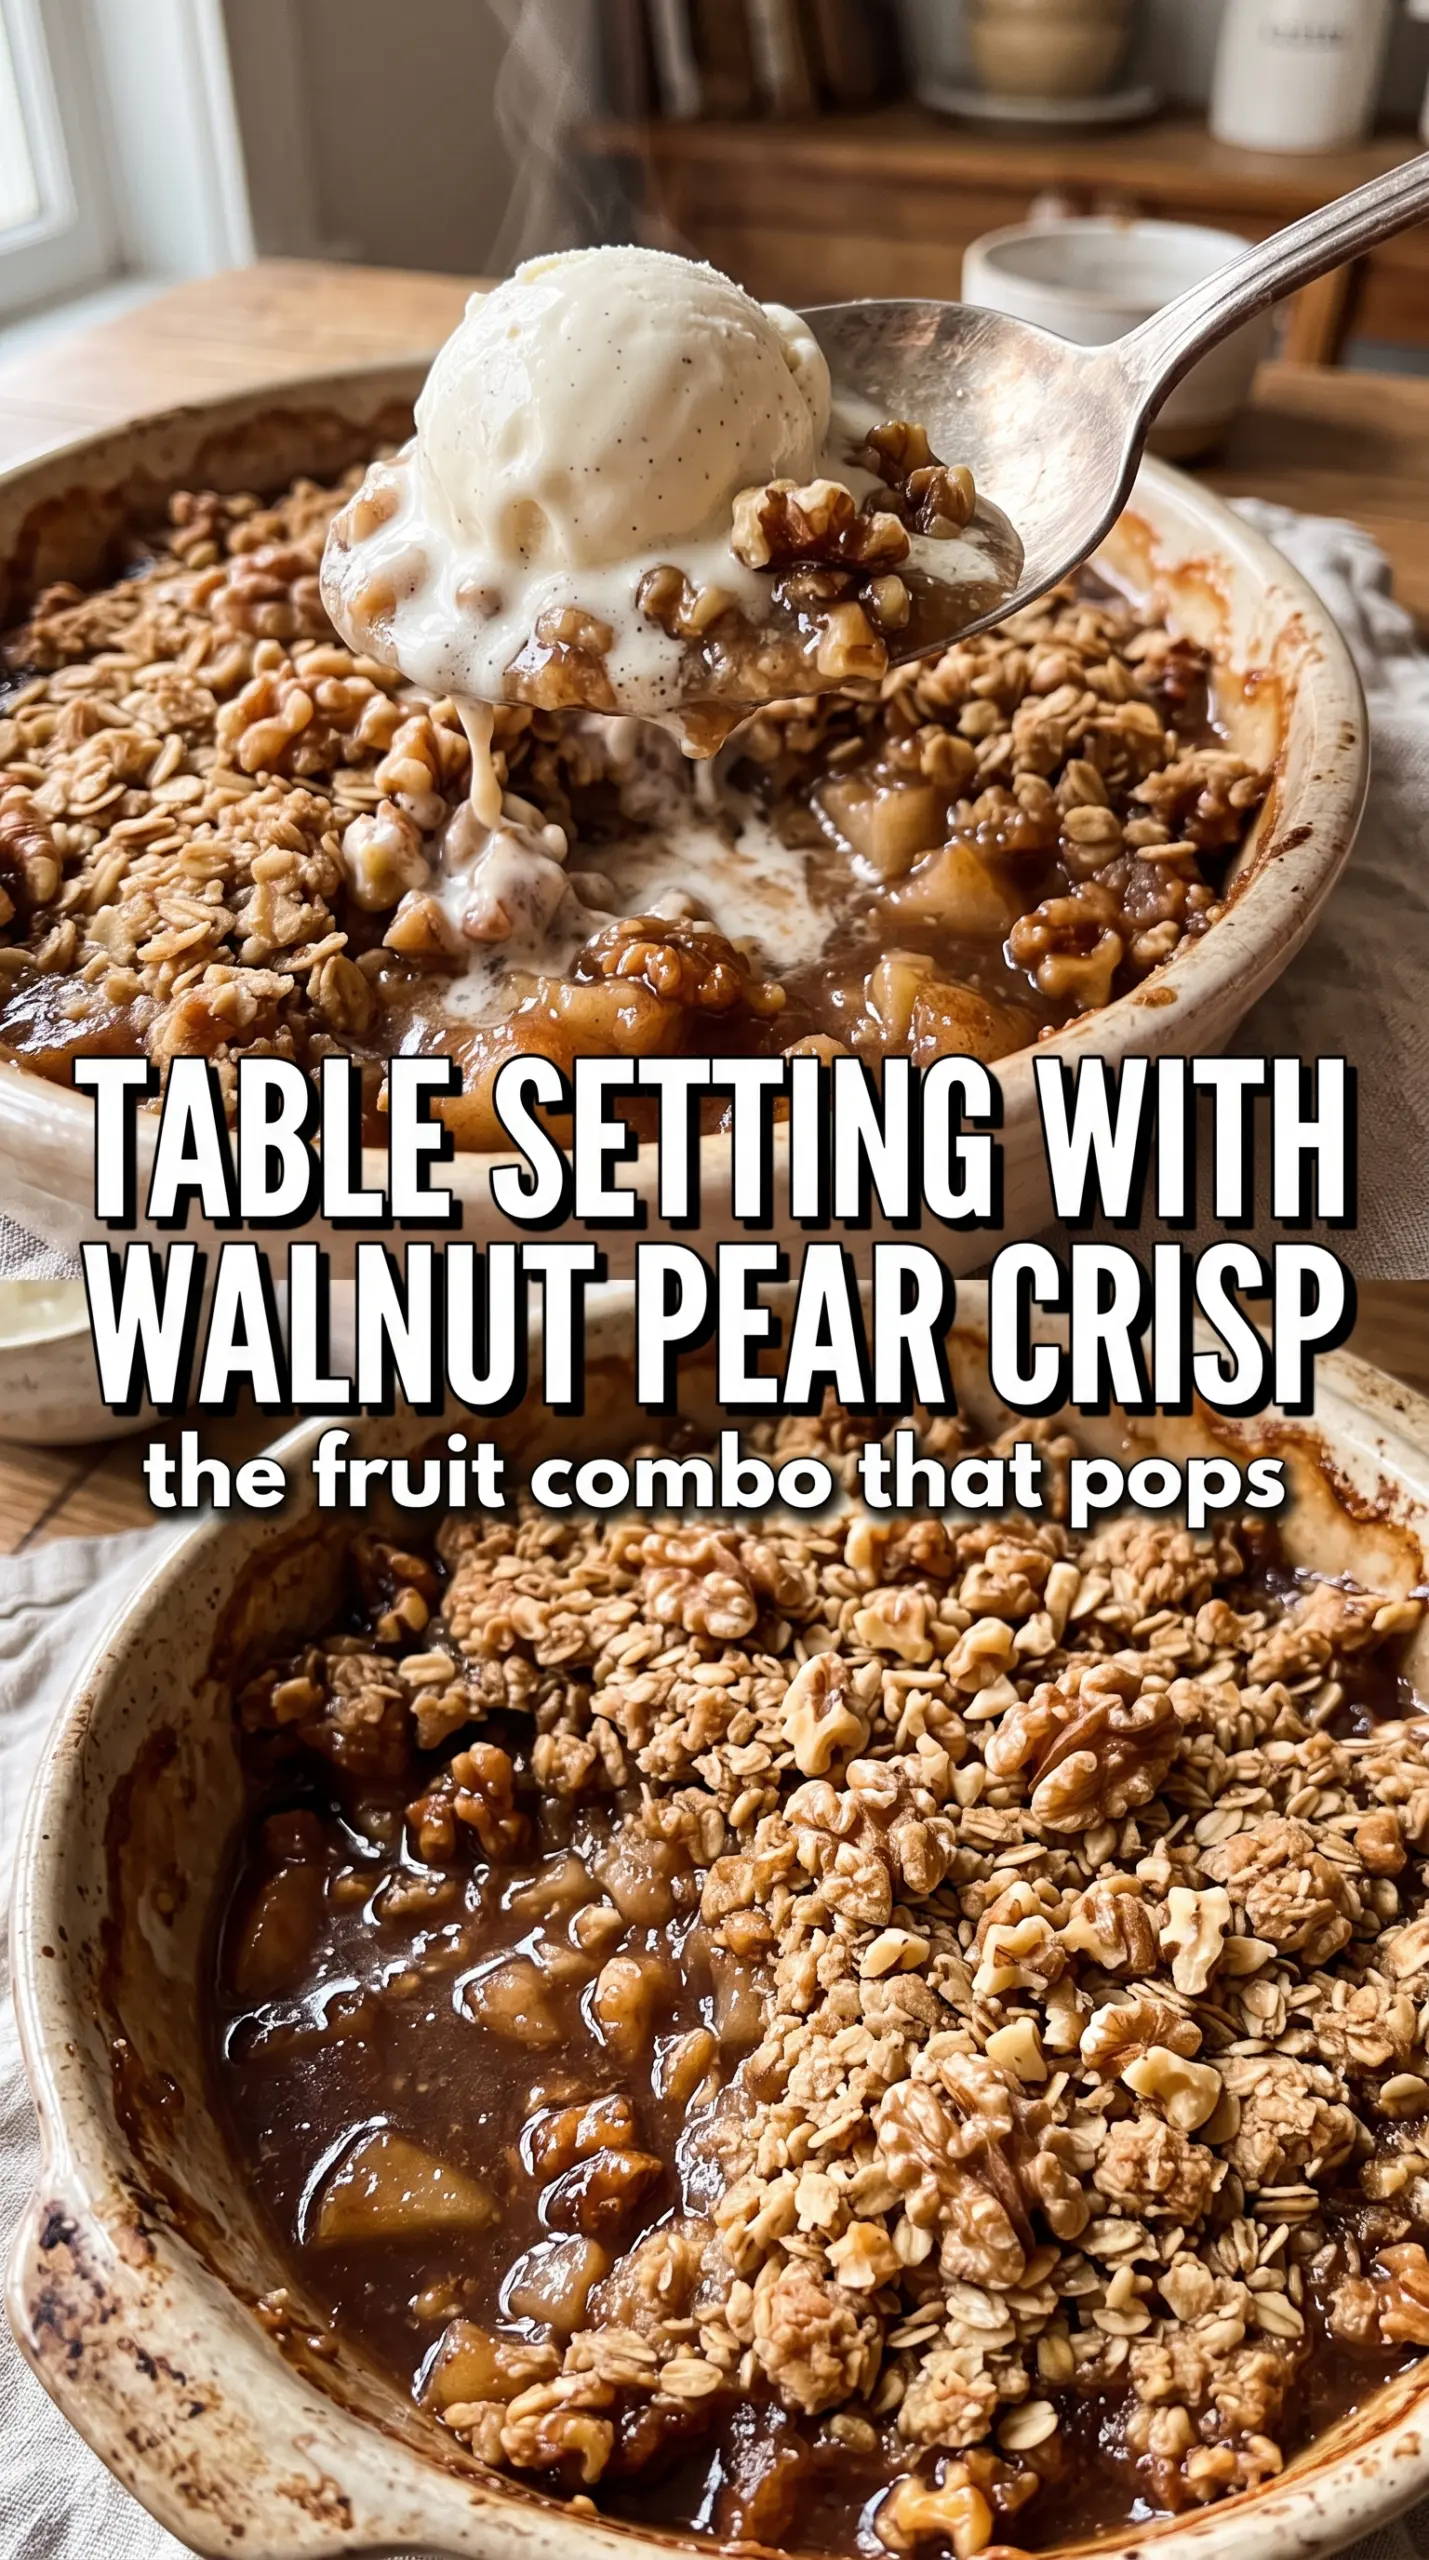
Walnut pear apple crisp comes out with exactly the kind of contrast a good dessert should have: bubbling, tender fruit underneath and a thick, toasted crumble on top that stays nubby instead of turning sandy. The pears bring softness and perfume, the apples keep their shape, and the walnuts add a deep, buttery crunch that makes each spoonful feel finished.
The trick is balancing the fruit so it doesn’t collapse into puree before the topping is ready. Apples hold their structure better than pears, so this version uses both, then leans on cornstarch and lemon juice to keep the filling glossy instead of watery. The butter stays cold in the crumble, which is what gives you those golden chunks instead of a flat, dusty layer.
Below you’ll find the small details that matter most, from the kind of apples that bake well to the exact texture the topping should have before it goes into the oven. If you like crisps with a real bakery-style crunch, this one is worth saving.
The filling thickened up beautifully and the walnuts stayed crunchy even after baking. I let it rest the full 10 minutes and it scooped clean instead of running all over the plate.
Save this walnut pear apple crisp for the nights when you want bubbling fruit and a thick oat-walnut crumble in one pan.
The Reason This Crisp Stays Crunchy Instead of Going Soggy
The filling needs enough starch to thicken the fruit juices before they flood the topping, but not so much that the fruit turns gluey. Pears release more liquid than many apples, so the cornstarch and the 10-minute rest after baking matter here. If you cut into it straight from the oven, the juices will still be loose and the crisp will look underdone even when it’s ready.
The other thing that protects the texture is the walnut crumble itself. Cold butter gets cut into the dry ingredients until the mixture forms chunky clumps, and those clumps bake into little craggy pockets that shield the fruit from direct heat. That means a better top and less chance of the crumble sinking into the filling.
What Each Ingredient Is Actually Doing in This Crisp
- Apples — These give the crisp structure. Use a baking-friendly apple like Honeycrisp, Jonagold, Braeburn, or Granny Smith if you want slices that stay distinct. Softer apples will taste fine, but they’ll slump faster and make the filling looser.
- Pears — Ripe pears add that soft, floral sweetness that makes this crisp taste layered instead of one-note. Choose pears that give slightly at the stem, not mushy fruit, because overripe pears disappear into the filling.
- Cornstarch — This is what turns the fruit juices into a spoonable syrup. Flour can work in a pinch, but it makes the filling cloudier and less clean-tasting. If the filling ever seems runny, it usually means the crisp didn’t bake long enough for the cornstarch to fully activate.
- Walnuts — They add bitterness, crunch, and a toasted depth that plays well with pears. Chop them roughly so you still get noticeable pieces in the topping. Finely ground walnuts disappear and take away the texture that makes this version stand out.
- Cold butter — Cold butter is nonnegotiable for the topping. It needs to stay in little pieces long enough to melt in the oven, which creates those rich, crisp crumbs instead of a paste.
Building the Fruit and Topping So They Bake at the Same Pace
Coating the Fruit First
Toss the sliced apples and pears with the sugars, cinnamon, ginger, cornstarch, and lemon juice until every piece looks lightly coated. The fruit should glisten, not sit in a puddle, and the cornstarch should disappear into the juices as you mix. Spread the fruit into a greased 9×13 dish in an even layer so the center doesn’t stay raw while the edges overcook.
Cutting the Butter Into the Crumble
Mix the oats, flour, brown sugar, cinnamon, salt, and walnuts first, then cut in the cold butter until the mixture looks like rough pebbles and small clumps. Stop before it turns into a dough. If the butter melts into the dry mix at this stage, the topping bakes up dense instead of crisp.
Baking Until the Filling Bubbles Through
Scatter the crumble evenly over the fruit and bake at 375°F until the top is deeply golden and the fruit is bubbling around the edges and through the center, about 40 to 45 minutes. That bubbling matters more than the clock. It tells you the cornstarch has cooked enough to thicken the filling instead of leaving it chalky.
Letting It Set Before the First Spoonful
Give the crisp at least 10 minutes to rest before serving. That short pause lets the juices tighten up, so the fruit holds together when you scoop it. If you skip the rest, the filling runs and the topping slides apart on the plate.
How to Adapt This Crisp for Different Tables
Make It Gluten-Free
Swap the all-purpose flour for a 1:1 gluten-free baking blend that includes xanthan gum. Keep the oats certified gluten-free if cross-contamination matters. The topping will still bake up crisp, though it may be a little more delicate when you scoop it.
Make It Dairy-Free
Use a solid plant-based butter that bakes well in place of the cold unsalted butter. Choose one with a high fat content, not a soft tub spread, or the crumble won’t hold its chunky texture. The flavor stays close, but the topping may brown a little faster, so watch the last 10 minutes closely.
Change the Fruit Balance
If your pears are extra ripe, use one fewer pear and add another apple. That gives the filling more structure and keeps it from turning too soft. If you want a more pear-forward crisp, keep the ratio as written and lean into firmer pears so the texture still holds.
Storage and Reheating
- Refrigerator: Store covered for up to 4 days. The topping softens a little in the fridge, but the flavor deepens overnight.
- Freezer: Freeze baked and cooled crisp tightly wrapped for up to 2 months. Thaw in the fridge before reheating so the filling heats evenly instead of scorching at the edges.
- Reheating: Warm uncovered in a 350°F oven until the fruit is hot and the topping crisp again, about 15 to 20 minutes for a full pan. The microwave will heat the filling, but it turns the crumble limp.
Questions I Get Asked About This Recipe
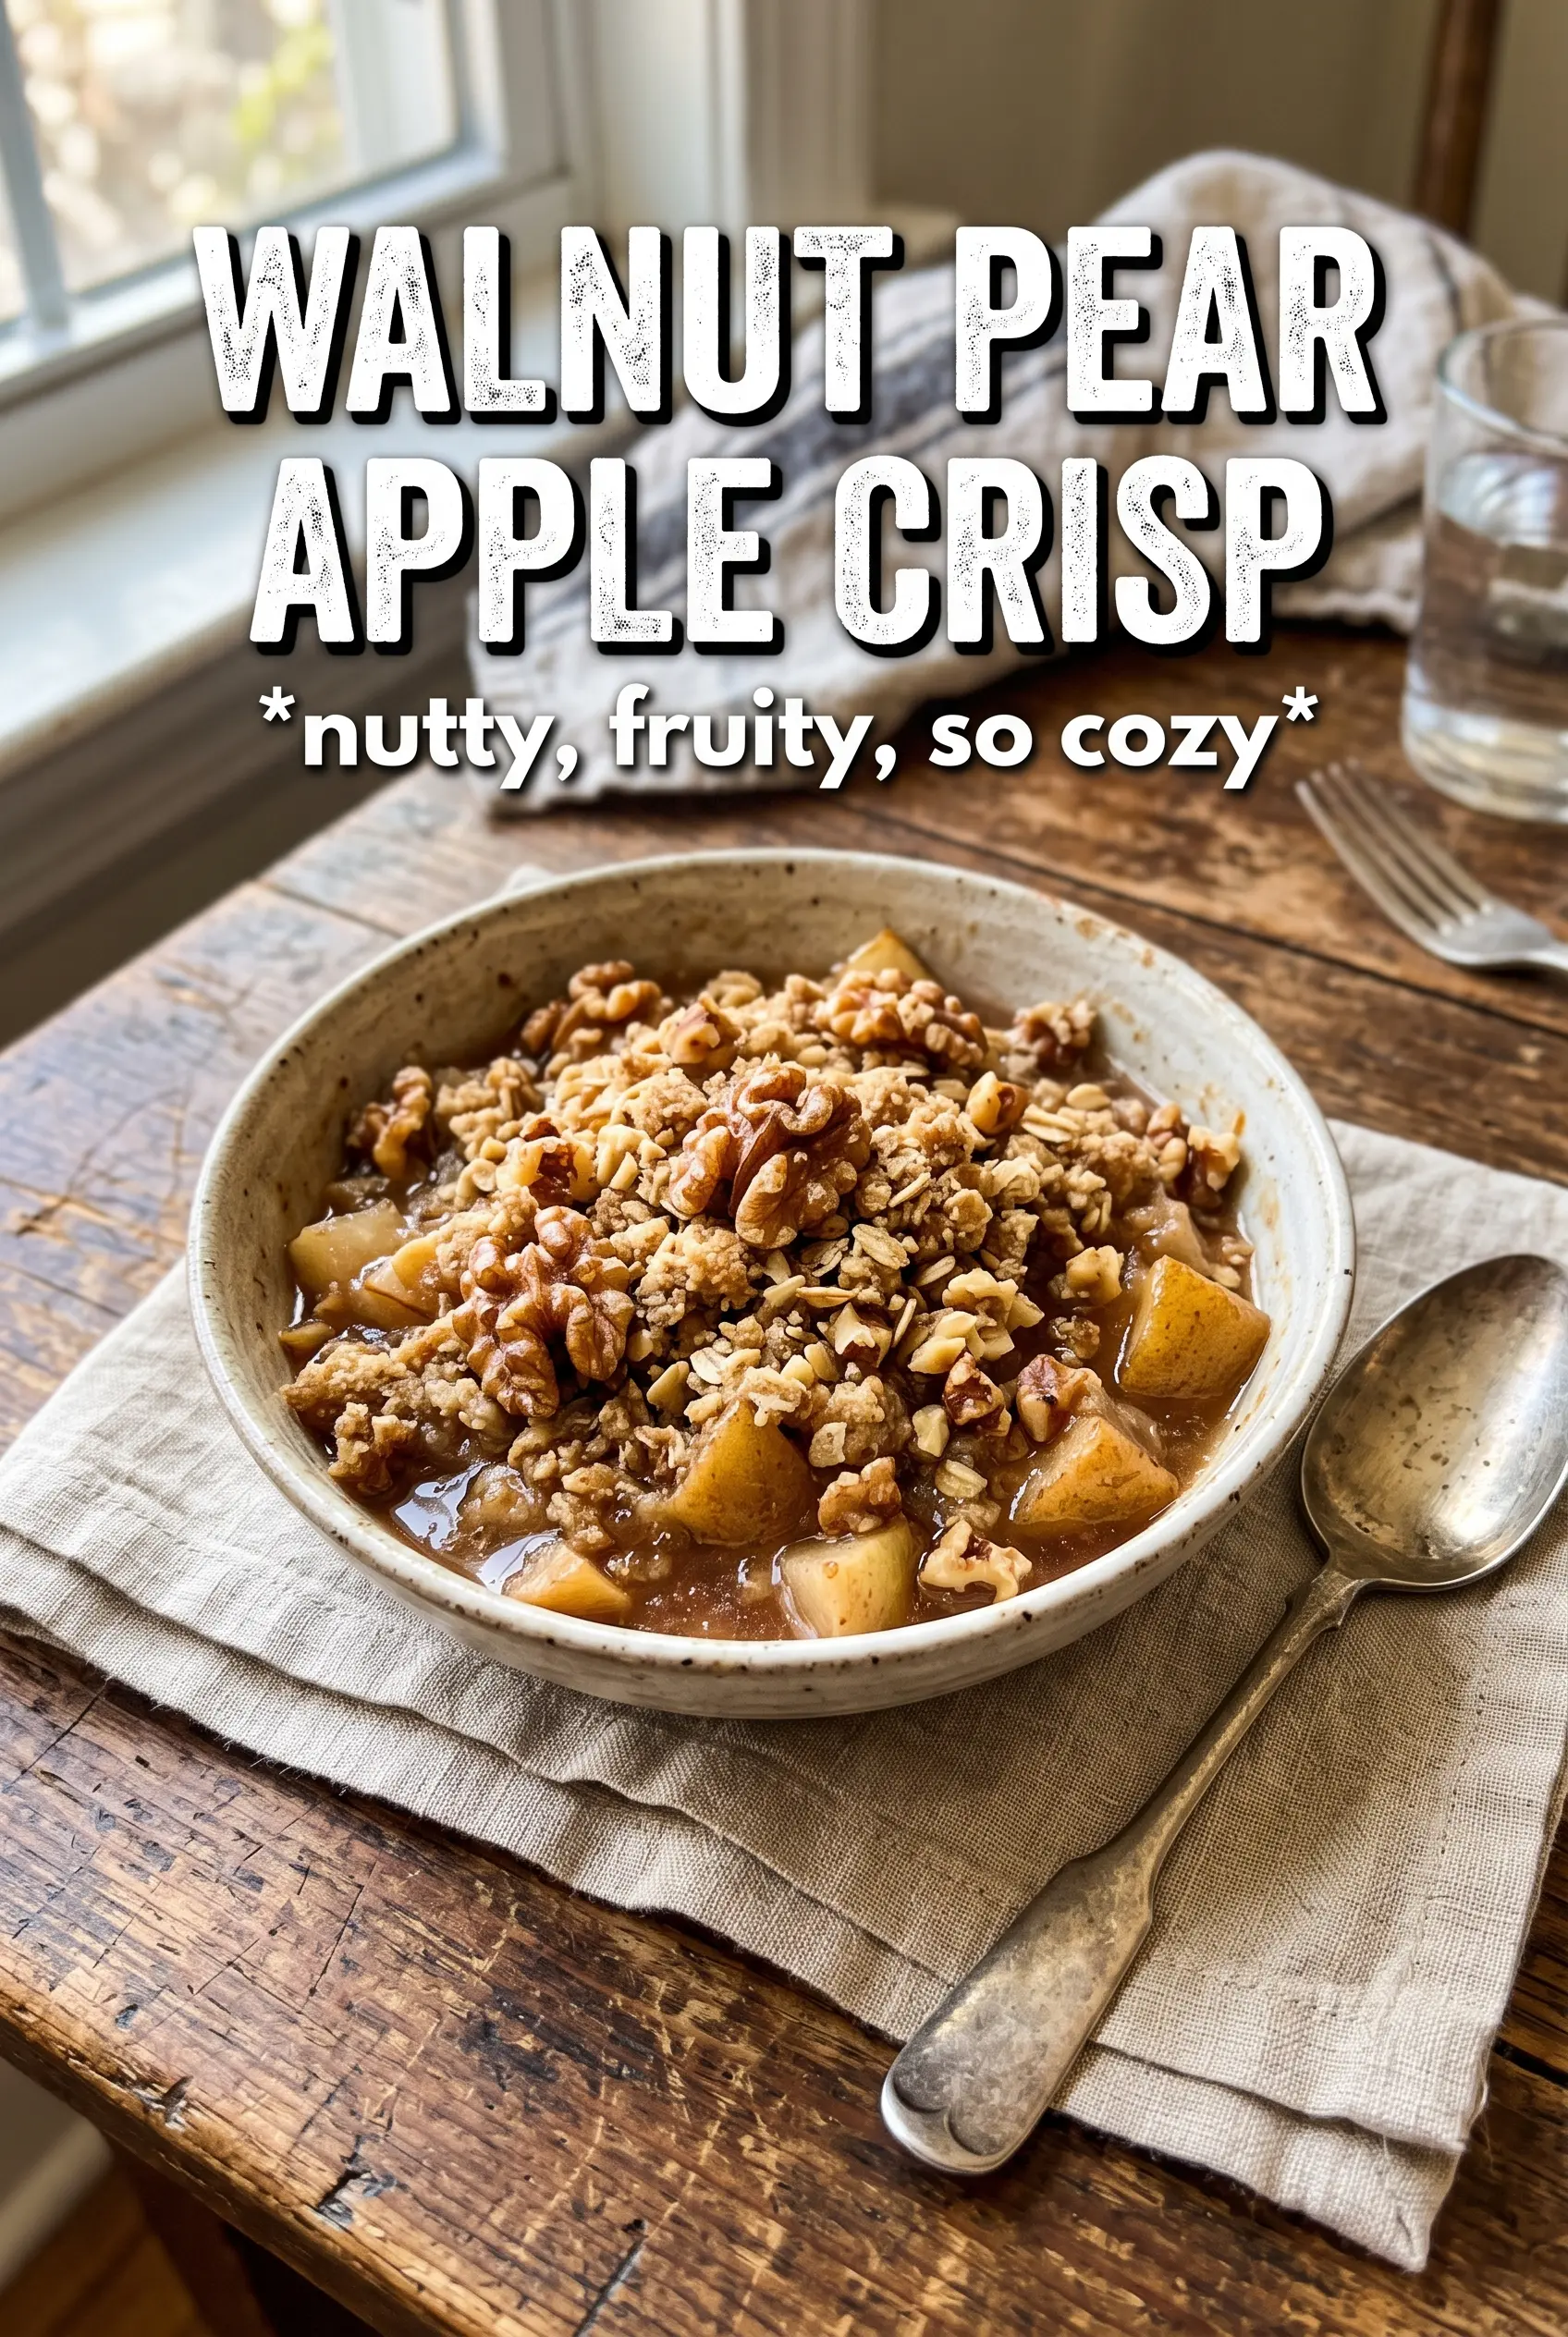
Walnut Pear Apple Crisp
Ingredients
Equipment
Method
- Preheat the oven to 375°F and grease a 9x13 baking dish.
- Toss apple and pear slices with granulated sugar, brown sugar, cinnamon, ginger, cornstarch, and lemon juice until evenly coated, then spread in the dish.
- Combine rolled oats, all-purpose flour, packed brown sugar, cinnamon, salt, and chopped walnuts, then cut in cold butter until chunky clumps form.
- Scatter the crumble over the fruit and bake for 40-45 minutes at 375°F until deeply golden and the fruit is bubbling.
- Rest the crisp for 10 minutes before serving so the juices thicken slightly.