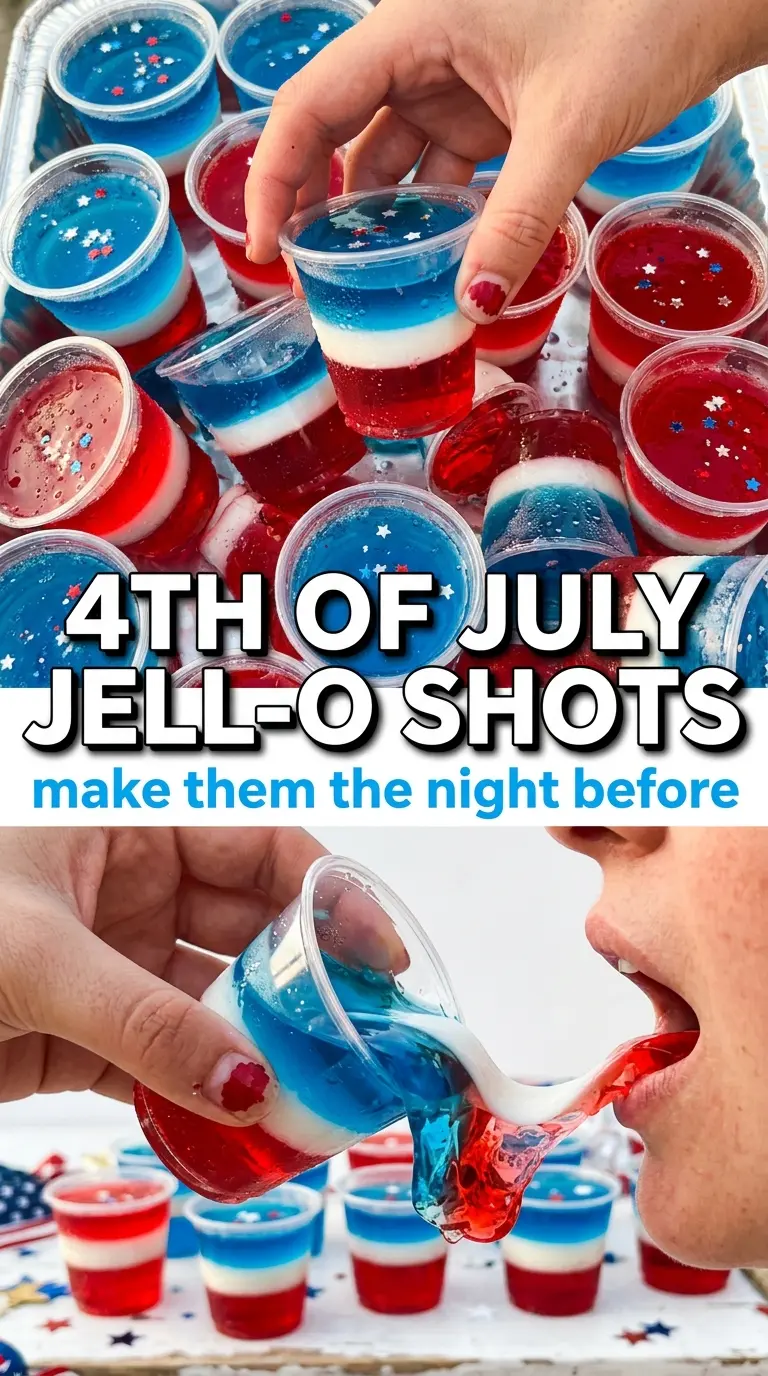
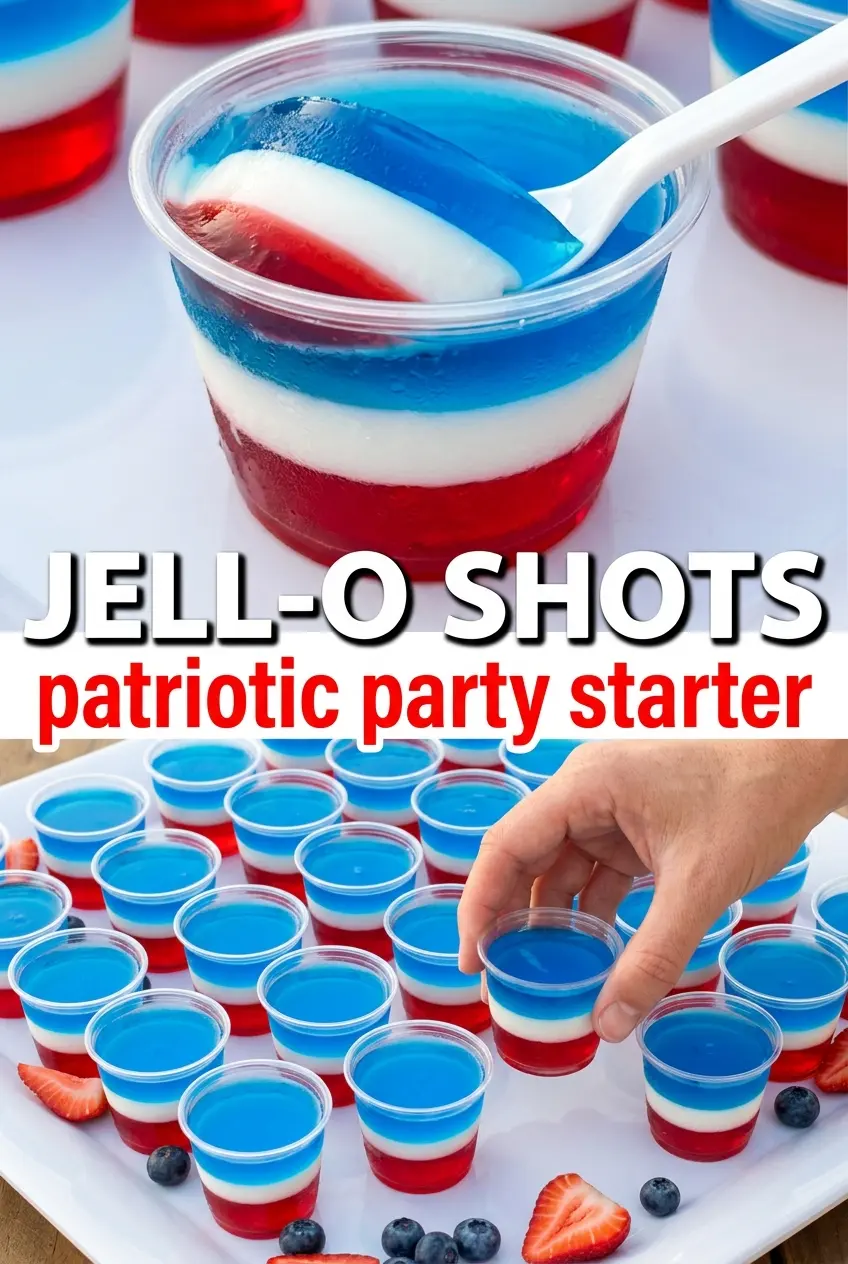
These red, white, and blue Jell-O shots set up in clean, distinct layers with a glossy finish and just enough kick to keep them festive without turning sloppy. The colors stay sharp, the white middle layer gives every cup that striped-patrotic look, and the texture lands right where it should: firm enough to unmold or pick up cleanly, but still soft and jiggly when you bite in.
What makes this version work is the way each layer is handled separately. The red and blue Jell-O each get a quick boil-and-stir dissolve before the vodka goes in, which keeps the gelatin from staying grainy. The white layer uses sweetened condensed milk plus unflavored gelatin, so it actually turns opaque instead of looking muddy or thin. The key is patience between layers. If the bottom layer isn’t fully set before you add the next one, the colors will bleed and you’ll lose those crisp stripes.
Below you’ll find the timing that keeps the layers clean, the easiest way to pour without disturbing the set layer underneath, and a few smart swaps if you want to change the colors or the alcohol.
The layers set up perfectly and the white middle stayed bright instead of turning pink. I used a teaspoon to pour the blue layer and it came out clean every time.
Make these red, white, and blue Jell-O shots for a clean layered look that holds its color and hits the party table cold.
The trick to keeping the layers clean instead of cloudy
The biggest mistake with layered Jell-O shots is rushing the next color onto a layer that looks set but still gives under a spoon. That soft center is enough to blur the edges and leave you with streaks instead of neat bands. You want each layer fully chilled and firm to the touch before the next one goes in, even if that means giving it a few extra minutes.
The other thing that matters is temperature. If the mixture is too hot when the vodka goes in, the alcohol can make the gelatin take longer to set, and if you pour hot liquid over the layer below, you’ll melt the surface. Let each layer cool until it’s warm, not steaming, before it touches the cups.
- Cherry or strawberry Jell-O — This gives you the base color and the strong fruit flavor that stands up to the vodka. Cherry reads a little sharper; strawberry is softer and a touch sweeter.
- Berry blue Jell-O — Blue gelatin is usually where the color contrast comes from, so use a bright blue brand if you can. Darker blue can look beautiful, but it can also make the white layer look dimmer next to it.
- Unflavored gelatin — This is what gives the white layer enough body to sit cleanly on top of the red layer. There isn’t a real substitute if you want that opaque stripe effect.
- Sweetened condensed milk — This is doing double duty: it sweetens the layer and makes it creamy and white. Evaporated milk won’t give you the same thickness or opacity.
- Vodka — A plain, cold vodka works best because it doesn’t fight the Jell-O flavors. Chill it first so it doesn’t warm the mixture and slow the setting time.
What Each Ingredient Is Actually Doing in This Recipe
- Primary ingredient (the star) — Quality matters most. Choose the best you can find.
- Cooking medium (oil, butter, or broth) — This carries flavors and prevents dryness.
- Seasonings (salt, pepper, spices, herbs) — Layer flavors so nothing overpowers. Build depth gradually.
- Aromatics (garlic, onion, herbs) — Cook with fat to bloom flavors. Become the foundation.
- Supporting ingredients — Complement the main ingredient without overpowering it.
- Sauce or liquid (if applicable) — Brings flavors together. Balance richness with acid.
- Acid (lemon, vinegar, wine, or other) — Brightens and prevents flat-tasting results.
- Final finish (garnish, glaze, or sauce) — Prevents one-dimensional taste and adds visual appeal.
Building the shots one layer at a time
Mixing the red base
Dissolve the red Jell-O in boiling water for the full two minutes so there are no gritty granules left in the cup. Stir in the cold vodka only after the powder is fully dissolved, then pour it into the shot cups until they’re about one-third full. If you rush and stir in the vodka too early, the mixture can cool unevenly and leave little undissolved bits behind.
Letting the first layer set
Put the cups in the refrigerator and leave them alone until the red layer is completely firm, not just lightly thickened. That usually takes around 45 minutes, but the real test is whether the surface holds when you tilt a cup gently. If it’s still soft, the next layer will sink and smear the line between colors.
Making the white middle
Whisk the unflavored gelatin into the hot water and sweetened condensed milk until the mixture is smooth, then let it cool a bit before adding the cold water. You want it thick enough to spoon carefully but still fluid enough to settle into a flat layer. Pouring it in while it’s too hot is the fastest way to soften the red layer underneath.
Finishing with the blue top
Once the white layer is set, dissolve the blue Jell-O the same way, stir in the vodka, and let it cool to room temperature before topping the cups. A spoon or small measuring cup helps you pour slowly so the liquid lands gently instead of punching through the layer below. Chill the finished shots until they’re fully firm all the way through before serving.
Ways to change the colors, the booze, or the sweetness
Make them without alcohol
Swap the vodka for cold water in all three layers. The shots will set a little firmer and taste more like straight Jell-O, which makes them easier to serve at mixed-age gatherings without changing the layered look.
Use different colors for another holiday
Swap the red and blue boxes for any two flavors that fit your event, then keep the white middle the same. The technique stays identical, but the finished cups will look cleaner if you choose one light layer and two bold ones instead of three dark colors.
Cut the sweetness a little
Use unflavored vodka and let the blue and red layers carry the sweetness on their own. You can also slightly reduce the condensed milk in the white layer, but don’t cut it too far or the center layer loses its opaque look and starts tasting flat.
Storage and Reheating
- Refrigerator: Store covered in the fridge for up to 3 days. After that, the edges start to dry out and the layers can lose their clean shine.
- Freezer: Don’t freeze these. The gelatin texture turns watery and grainy when it thaws.
- Reheating: No reheating needed. Serve them straight from the refrigerator, and keep them chilled until the last minute so the layers stay firm.
Questions I Get Asked About This Recipe
Jell-O Shots (Red, White, and Blue)
Ingredients
Equipment
Method
- Dissolve the cherry or strawberry Jell-O in 1 cup boiling water, stirring for 2 minutes until smooth. Mix in 1/2 cup cold vodka, then pour into shot cups filling one-third of the way.
- Refrigerate for 45 minutes until fully set, keeping cups level so the surface is flat and glossy.
- Combine sweetened condensed milk, 1 cup boiling water, and unflavored gelatin, stirring until completely dissolved. Cool slightly, add 1/2 cup cold water, then spoon gently over the set red layer.
- Refrigerate for another 45 minutes until the white layer is set and no longer jiggles when tapped lightly.
- Dissolve the berry blue Jell-O in 1 cup boiling water, stirring for 2 minutes until smooth. Mix in 1/2 cup cold vodka, cool to room temperature, then gently pour over the white layer.
- Refrigerate for at least 1 hour until fully set, then serve cold for clean, unmixed layers.