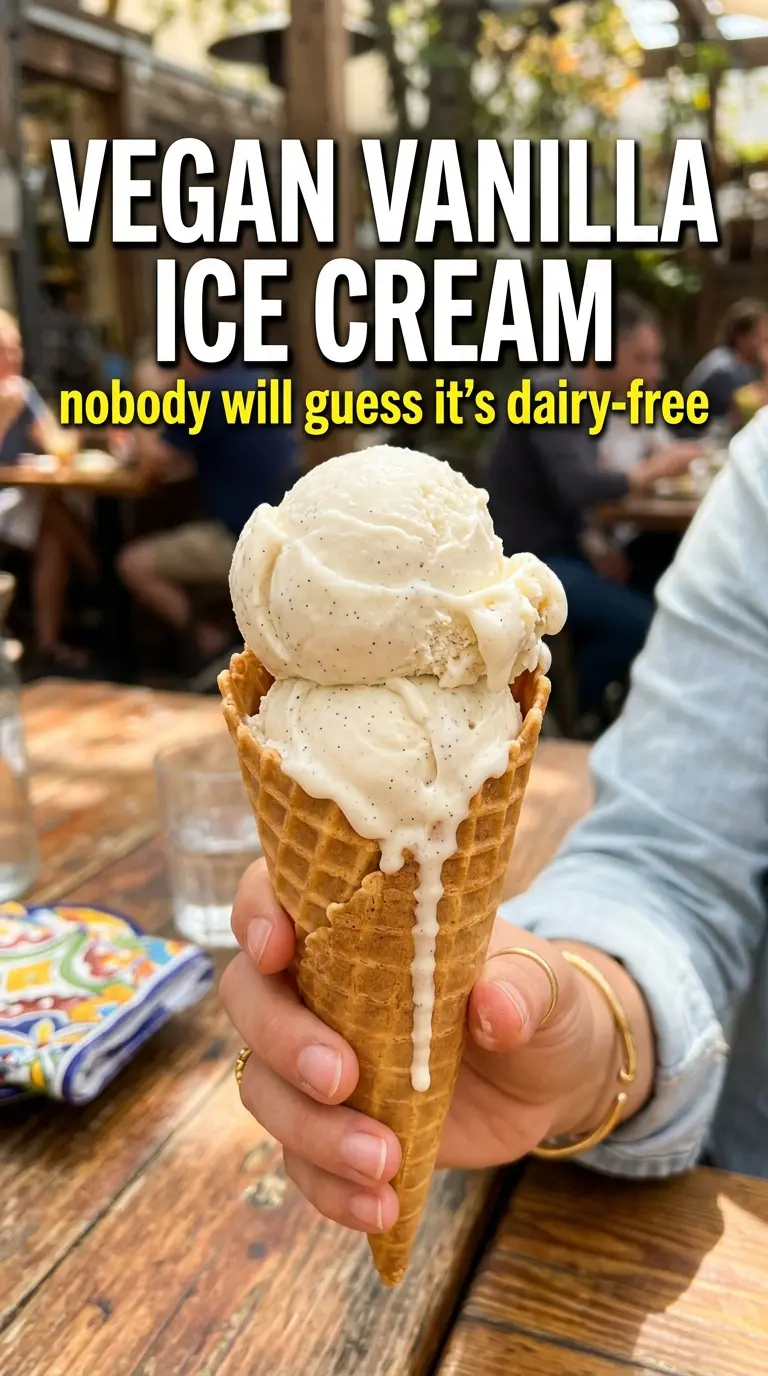
Silky vegan vanilla ice cream should taste clean, rich, and unmistakably vanilla-forward, not icy or coconut-heavy. When it’s done right, the spoon glides through with almost no resistance and the texture lands somewhere between soft custard and classic scoop shop ice cream. This version gets there with full-fat coconut milk, a little starch for body, and just enough coconut oil to keep the finished base from freezing into a brick.
The key is starting with refrigerated coconut milk so you can lift off the thick cream and leave most of the watery part behind. That’s what gives the base its fat and structure. A brief cook with cornstarch or arrowroot helps the mixture thicken before chilling, which makes the churned ice cream feel creamier and less brittle after freezing. The vanilla stays bright because it goes in before the cook is finished, so it perfumes the whole base instead of disappearing into the cold.
Below, I’ll walk through the one step people usually rush, what each ingredient is doing, and how to keep the texture smooth even if you’re making this ahead.
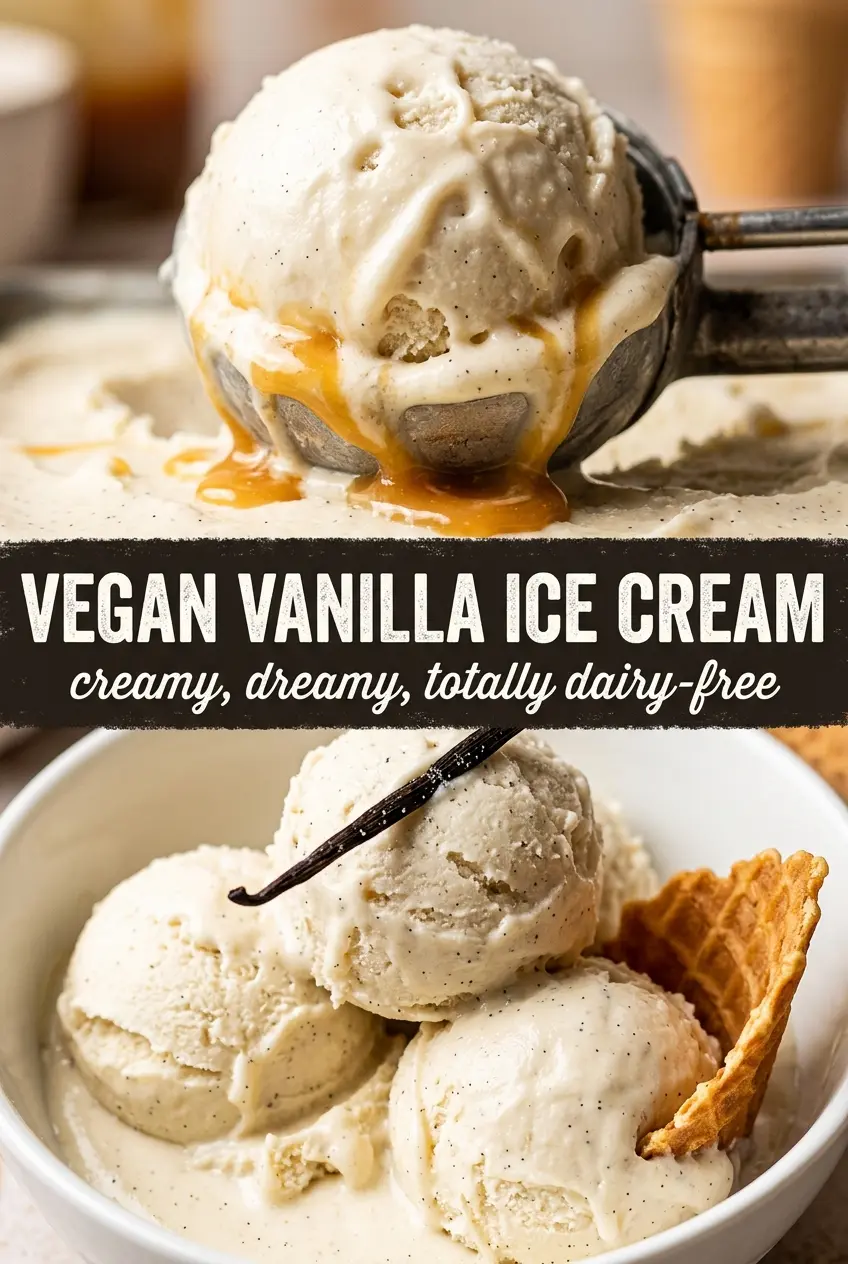
The base thickened up exactly like you said, and after freezing it had that creamy scoop-shop texture instead of getting icy. My husband kept going back for “just one more spoonful.”
Save this coconut milk vanilla ice cream for the nights when you want a creamy vegan dessert that churns up smooth and rich.
The Trick Behind a Creamy Vegan Base That Doesn’t Freeze Hard
The mistake most homemade vegan ice creams make is leaning too hard on coconut milk without giving the base any stabilizing structure. Coconut fat brings richness, but it can freeze brittle on its own. A small amount of starch changes that by thickening the mixture before churning, which gives the finished ice cream a smoother body and a softer scoop straight from the freezer.
Cooling the base completely matters just as much as the cooking. If you churn a warm base, the ice cream maker has to work too hard and the result stays loose longer, then freezes unevenly. The overnight refrigeration on the cans is what gives you that thick coconut cream layer to start with, and that separation is doing most of the heavy lifting here.
- Full-fat coconut milk — Use the canned kind, not the carton beverage. The fat content is what gives this ice cream its body. Refrigerating the cans overnight makes the cream separate cleanly so you can use the richest part.
- Maple syrup or agave — Both sweeten and help soften the freeze. Maple adds a little depth, while agave stays more neutral. Honey won’t keep this vegan, and granulated sugar won’t help the texture the same way unless you fully dissolve it.
- Arrowroot or cornstarch — This is the quiet stabilizer. Arrowroot gives a slightly silkier finish; cornstarch is easier to find and works well. Whisk it in cold first so it doesn’t clump when the heat hits.
- Coconut oil — This adds fat and helps the finished ice cream stay scoopable. Don’t skip it if you want a richer mouthfeel. Refined coconut oil will keep the coconut flavor softer if you want the vanilla to stand out more.
- Pure vanilla extract — This recipe lives or dies on the vanilla. Use a vanilla you actually like tasting on its own, because there isn’t a lot here to hide behind. If you have vanilla bean paste, it’s a strong swap and gives you those tiny flecks people expect from a custard-style ice cream.
What Each Ingredient Is Actually Doing in This Ice Cream
- Base ingredient (cream, milk, or custard) — This provides the foundation and richness. Quality matters.
- Sweetener (sugar, honey, or condensed milk) — This sweetens and prevents ice crystals. The ratio is critical.
- Flavor element (vanilla, fruit, chocolate, or other) — This defines the ice cream personality. Use quality ingredients.
- Egg yolks (if making custard base) — These create richness and silky texture. Optional but elevates ice cream.
- Churning (if using ice cream maker) — This incorporates air and prevents ice crystals. Critical for smooth texture.
- Freezing temperature and time — Proper freezing prevents rock-hard texture. Store at 0°F or below.
- Mix-ins (chocolate, cookies, fruit, or swirls) — These add texture and prevent one-dimensional flavor. Add near end of churning.
- Serving temperature (slightly soft, not rock hard) — This provides creamy mouthfeel. Remove from freezer 5 minutes before serving.
Cooking the Base Without Scrambling the Texture
Separating the Coconut Cream
Open the chilled cans without shaking them first, then scoop the thick cream from the top into your saucepan. Leave the watery liquid behind unless the can is unusually stiff and you need a spoonful or two to get the mix moving. If the cream looks grainy or broken in the can, that’s normal; it smooths out once heated and whisked.
Thickening the Custard-Style Base
Whisk the starch into the coconut cream before you turn on the heat, then add the sweetener, vanilla, salt, and coconut oil. Cook over medium heat and keep whisking so the starch doesn’t settle on the bottom and scorch. You’re looking for a slight thickening, not pudding. It should coat the back of a spoon and leave a faint trail when you drag a finger through it.
Chilling Before Churning
Pour the cooked base into a clean container and cool it completely before it goes into the fridge. This part is slow, and that’s fine. If you rush it into the ice cream maker while it’s still warm, the texture turns soft and the churn takes longer, which usually means more ice crystals later. Four hours is the minimum, but overnight gives the smoothest result.
Freezing to Scoopable Perfection
Churn the chilled base until it looks like soft serve and has some body around the paddle. Then transfer it to a freezer-safe container and freeze until it firms up enough to scoop. If it freezes rock hard, it usually means the base wasn’t chilled long enough, the coconut milk was too thin, or the freezer container sat open to air. Press parchment or wax paper directly on the surface before freezing if you want to limit ice crystals.
What to Change When You Want a Different Kind of Vegan Ice Cream
Vanilla Bean Speckle
Swap the extract for 1 tablespoon vanilla bean paste, or add the seeds from one vanilla bean along with the extract. The flavor becomes deeper and the specks give it that old-school ice cream parlor look. It’s a small change, but it reads richer before anyone even tastes it.
Lower-Coconut Version
Use one can of full-fat coconut milk and one can of unsweetened oat cream if you want the coconut flavor to step back a little. The texture stays creamy, but the result won’t be quite as dense or rich as the all-coconut version. This works best if you want the vanilla to taste lighter and more dairy-like.
Refined Coconut Oil Swap
If you don’t want any noticeable coconut note, use refined coconut oil instead of unrefined. The texture benefit stays the same, but the flavor stays cleaner and more focused on vanilla. That’s the better choice for anyone who wants a neutral frozen dessert.
Storage and Reheating
- Refrigerator: Store the cooked base up to 2 days before churning if you want to break the work up. Once churned, this is a freezer dessert, not a fridge dessert.
- Freezer: Freeze the churned ice cream in a lidded container for up to 2 weeks for the best texture. After that, it still tastes fine, but the edges can pick up ice crystals.
- Reheating: This doesn’t need reheating. For scooping, let it sit on the counter for 5 to 10 minutes so the edges soften first. Don’t microwave it unless you want uneven melting and a grainy texture.
Answers to the Questions Worth Asking
Vegan Vanilla Ice Cream
Ingredients
Equipment
Method
- Scoop the solid coconut cream from the top of the refrigerated cans, leaving the coconut water behind for another use.
- In a saucepan over medium heat, combine coconut cream, maple syrup, vanilla extract, arrowroot or cornstarch, salt, and coconut oil.
- Whisk constantly until the mixture thickens slightly, about 5 minutes.
- Cool the mixture completely, then refrigerate at least 4 hours until well chilled.
- Churn the chilled base in an ice cream maker according to the manufacturer’s instructions until thick and creamy.
- Transfer to a freezer-safe container and freeze until scoopable.