Texas Roadhouse rolls are all about that soft, cloudlike crumb and the light buttery sheen on the outside. The squares bake up with tender edges, a pale golden top, and just enough structure to split open without tearing into crumbs. Paired with cinnamon honey butter, they hit that sweet-savory balance that makes people reach for a second roll before they’ve finished the first.
What makes this version work is the dough handling. The milk and water are warm enough to wake the yeast without pushing it too far, and the dough gets kneaded until it turns smooth instead of sticky and rough. That extra minute or two of kneading matters because this is a soft roll, not a rustic loaf. The fold-and-cut method also keeps the pieces uniform and helps them rise with those clean, square sides that look just right on the plate.
Below, I’m walking through the part that matters most: how to keep the rolls light instead of dense, how to tell when the dough has risen enough, and how to get that cinnamon honey butter whipped fluffy instead of greasy.
The rolls came out unbelievably soft, and the honey butter melted right into the warm centers. I let the second rise go until they looked puffy, and that made all the difference.
Save these soft Texas Roadhouse rolls for the nights when warm bread and whipped cinnamon honey butter need to be on the table.
The Mistake That Makes Rolls Dense Instead of Fluffy
Most homemade dinner rolls go wrong before they ever reach the oven. The dough gets too much flour, the yeast sits in liquid that’s too hot, or the second rise gets cut short because the rolls don’t look dramatically bigger yet. Texas Roadhouse-style rolls need a soft, slightly tacky dough that holds shape without feeling stiff. If the dough feels dry on the counter, the finished rolls will bake up bready instead of pillowy.
The other big issue is rushing the rise. These rolls should look puffy and airy before baking, and that’s more important than watching the clock. A warm kitchen helps, but the dough tells you more than the timer does. When the squares are touching lightly and look rounded at the edges, they’re ready.
- Warm milk and water — The liquid should feel comfortably warm, not hot. Around 110F is ideal because it wakes the yeast without killing it.
- Enough flour to make a soft dough — Add just enough to keep the dough workable. A little tackiness is normal and helps the rolls stay tender.
- Proper proofing — Both rises matter. If you skip the full second rise, the rolls bake up tight and dull instead of airy.
Why the Butter and Honey Butter Both Matter Here
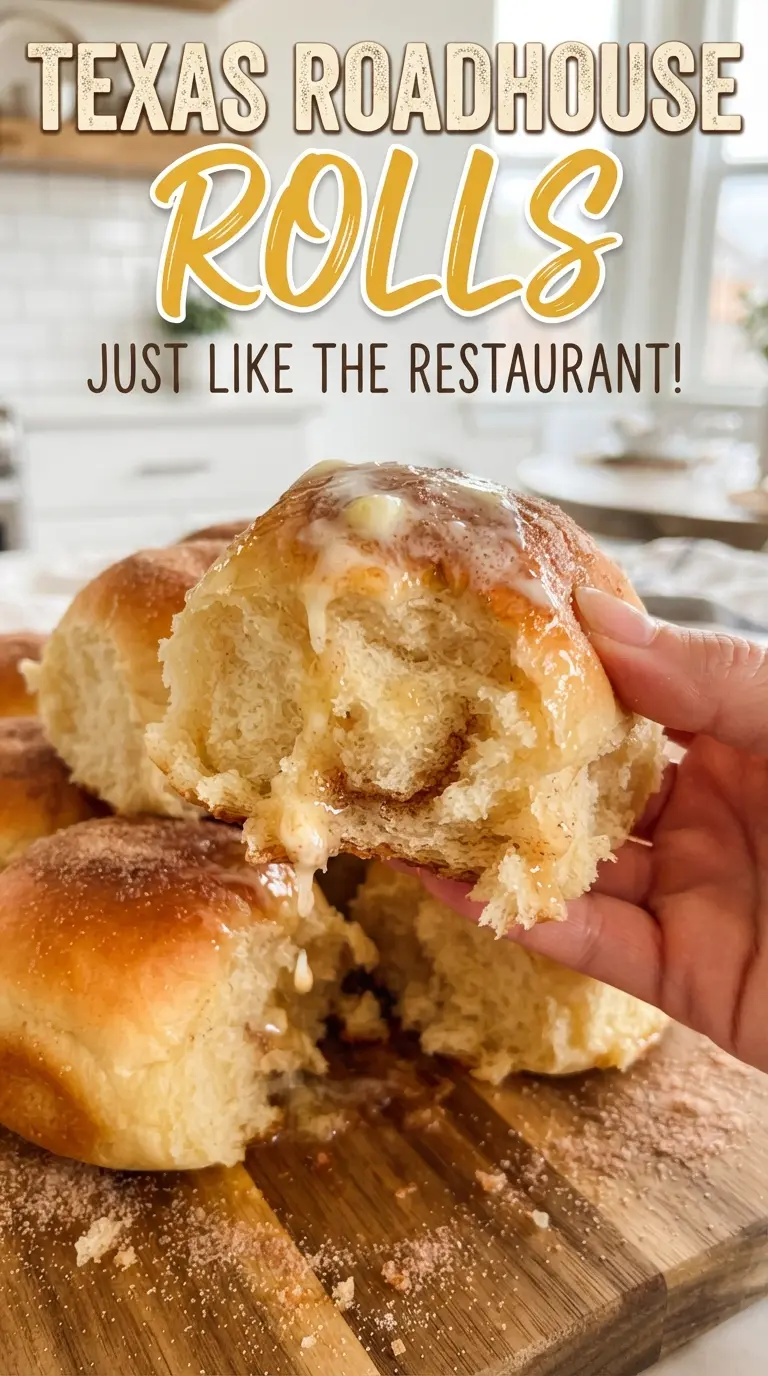
The melted butter brushed over the top does more than add flavor. It softens the crust and gives the rolls that glossy finish people expect from restaurant-style bread. Use real butter here; margarine won’t give the same clean flavor or the same soft sheen.
- Whole milk — The fat gives the dough a richer, softer crumb. Lower-fat milk works, but the rolls won’t taste as full.
- Active dry yeast — This recipe depends on a strong first bloom. If the yeast doesn’t get foamy, start over before you waste the flour.
- Powdered sugar in the honey butter — It dissolves into the butter cleanly, which keeps the spread fluffy instead of grainy.
- Honey and cinnamon — This is the signature finish. Honey adds body, and cinnamon keeps the sweetness from tasting flat.
Getting the Dough from Sticky to Soft and Ready to Rise
Waking Up the Yeast
Stir the warm milk, water, yeast, and a spoonful of sugar together, then leave it alone until the top looks foamy. That foam tells you the yeast is active and ready to work. If the mixture stays flat, the yeast is dead or the liquid was too hot. Don’t move ahead with a dead bloom; the dough won’t recover later.
Building the Dough
Add the remaining sugar, egg, melted butter, salt, and flour, then knead until the dough turns smooth and elastic. It should feel soft and slightly tacky, not wet or sticky enough to coat your hands. If you keep adding flour until it feels dry, the rolls lose their softness. Stop when the dough pulls cleanly from the bowl and springs back when you press it.
Shaping the Squares
Roll the dough into an even rectangle about 1/2-inch thick, fold it in half, and cut it into squares. This method gives you those classic bakery-style edges without having to shape each roll one by one. Keep the cuts clean so the dough doesn’t get mashed down. The pieces should look a little rough at first; they’ll smooth out as they rise.
Baking to the Right Color
Bake until the tops are just golden, not deep brown. These rolls are meant to stay soft, so a dark crust means they went too far. Brush them with melted butter the second they come out of the oven so the tops soak it up while they’re still hot. That last step is what gives them the familiar rich finish.
How to Adapt These Rolls for Different Tables
Make Them Ahead for a Holiday Meal
Shape the rolls and arrange them on the baking sheet, then cover and refrigerate before the second rise if you need to pause. Bring them back to room temperature and let them get puffy before baking. Cold dough won’t rise evenly, so give it time instead of forcing it into the oven early.
Dairy-Free Version
Use an unsweetened plant milk and a good dairy-free butter substitute. The rolls will still rise and bake up soft, but the flavor gets a little less rich, so don’t skip the final brush on top. For the honey butter, use the same dairy-free butter base and whip it until fluffy.
Less Sweet Rolls
Cut the sugar in the dough slightly if you want a more neutral dinner roll, but leave enough in place to support the yeast and give the rolls their soft crumb. The honey butter can stay the same or be reduced a little if you want the bread to lean more savory.
Storage and Reheating
- Refrigerator: Store baked rolls in an airtight container for up to 4 days. They’ll firm up a bit in the fridge, which is normal for enriched bread.
- Freezer: These freeze well. Wrap cooled rolls tightly and freeze for up to 2 months, or freeze the shaped dough after the first rise if you want to bake them later.
- Reheating: Warm in a 300F oven for 8 to 10 minutes, covered loosely with foil if you want to protect the crust. Microwaving makes them rubbery, so use the oven when you can.
Answers to the Questions Worth Asking
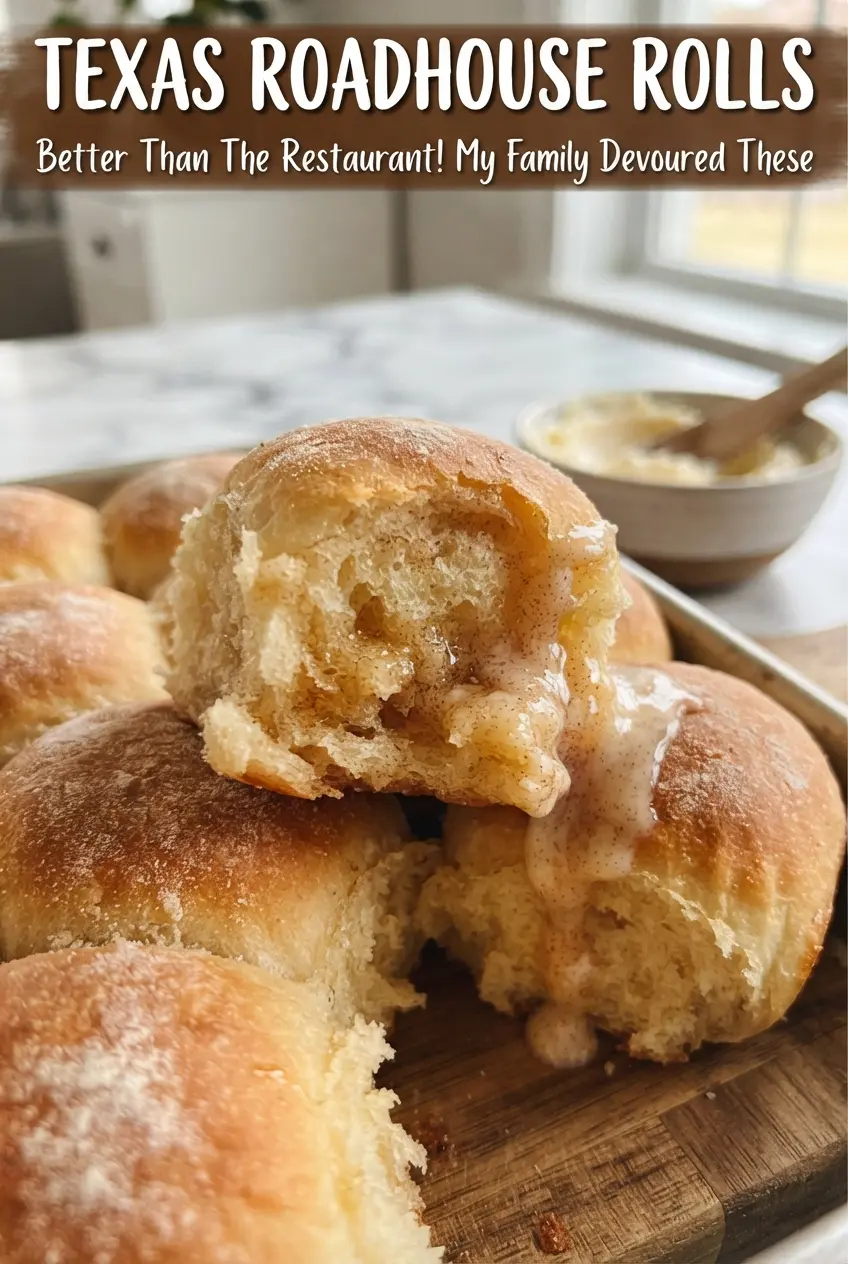
Texas Roadhouse Rolls
Ingredients
Equipment
Method
- Combine whole milk, warm water, active dry yeast, and 1 tablespoon sugar in a bowl; let stand 5 minutes until foamy, with bubbles visible on top.
- Add the remaining sugar, large egg, melted butter, salt, and all-purpose flour; mix until a shaggy dough forms.
- Knead the dough for 8 minutes until soft and smooth, ensuring it feels elastic rather than sticky.
- Cover and let rise 1 hour until doubled in size, showing a clear increase in volume.
- Roll the dough into a 1/2-inch thick rectangle, then fold in half and cut into 2-inch squares.
- Place the squares on a parchment-lined sheet, cover, and let rise 1 hour until puffy, filling in the space between rolls.
- Preheat the oven to 350F and bake for 12-15 minutes until golden, with lightly browned tops and edges.
- Brush the warm rolls with melted butter for a glossy finish.
- Whip softened butter, powdered sugar, honey, and ground cinnamon until fluffy, turning lighter in color and spreadable.
- Serve the whipped cinnamon honey butter with the warm rolls so it starts melting into the centers.