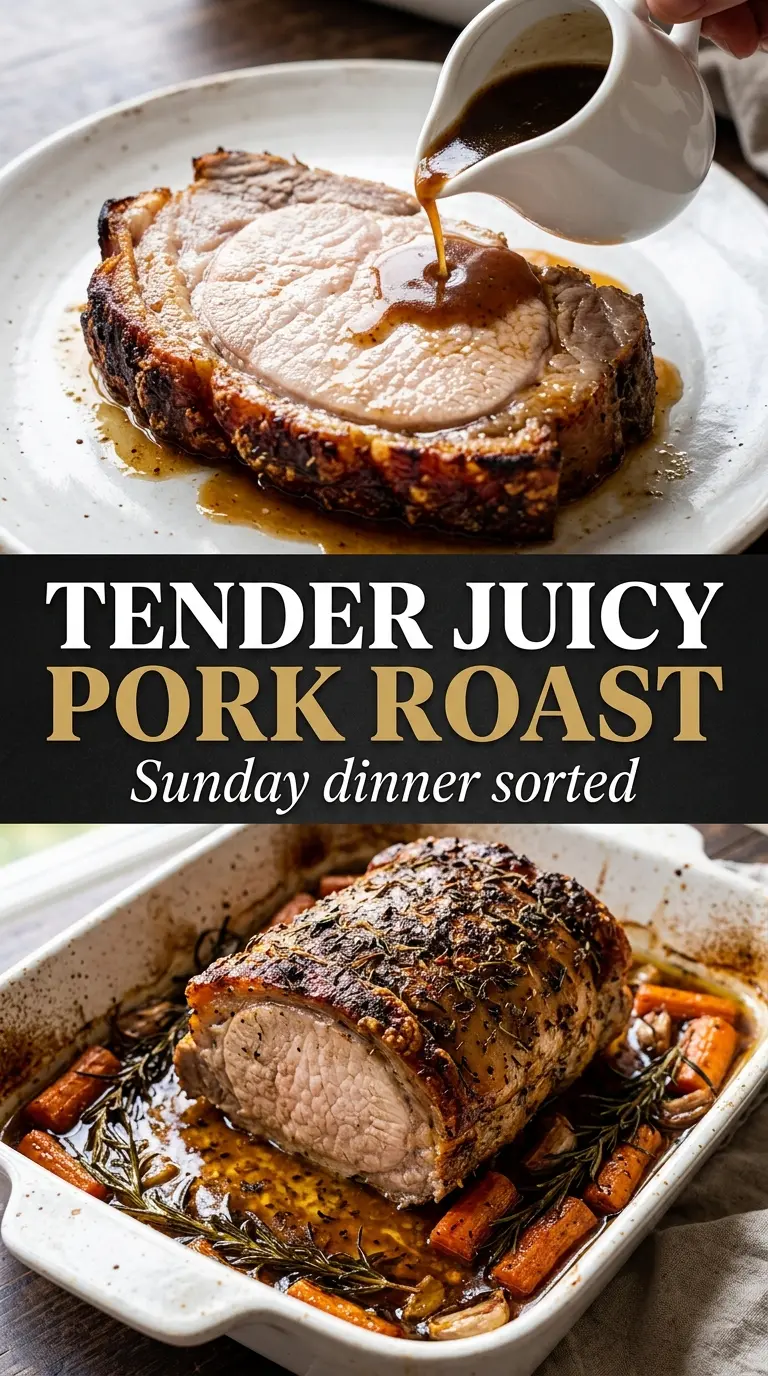
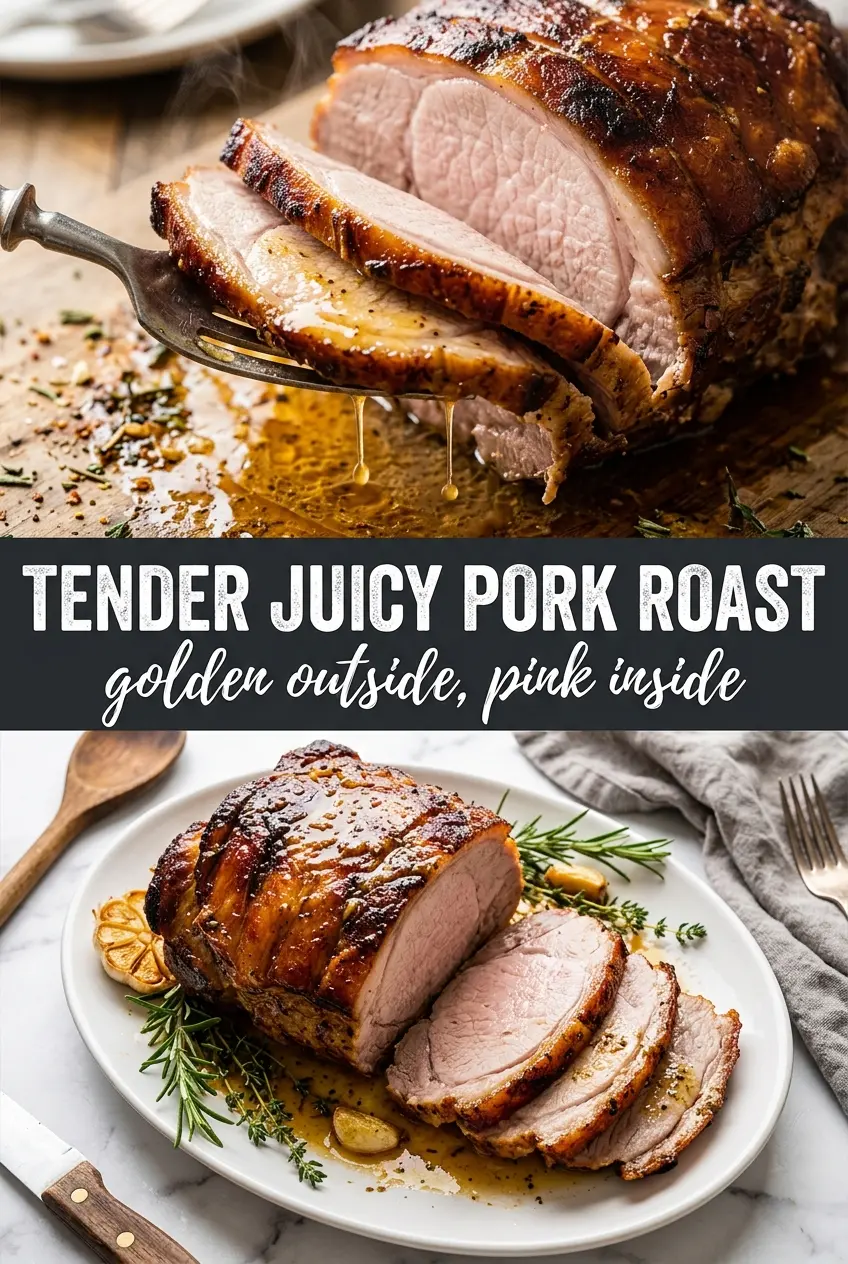
Golden on the outside and moist all the way through, this pork roast earns its place at the center of the table because it stays juicy after slicing instead of turning dry and stringy. The herb crust brings garlic, rosemary, thyme, and smoked paprika into one savory coating, and the pan juices finish the roast with just enough richness to make every slice taste like it came from a much longer, fussier cook.
The two things that matter most here are drying the pork well before the herb paste goes on and pulling it from the oven at the right temperature. A good sear gives you that deep browned crust, but the real protection against dry pork is stopping at 145°F and letting the roast rest before you cut it. The broth in the pan keeps the drippings from scorching and gives you a quick jus to spoon over the sliced meat.
Below, I’m walking through the parts that actually change the outcome: why the sear matters, which ingredient you can swap without losing the roast’s character, and how to keep leftovers tender instead of leathery.
The herb crust browned beautifully and the roast was still juicy after resting. I used the pan juices over the sliced pork and my family asked for it again the next night.
Save this tender juicy pork roast for the nights when you want a browned herb crust and slices that stay moist after resting.
The Part That Keeps Pork Loin Juicy Instead of Dry
Pork loin is lean, which means there isn’t much fat to protect it from overcooking. That’s why this roast works best when you treat the oven time as a range and the thermometer as the finish line. If you cook it until the juices look clear and keep going, the meat goes from tender to dry fast.
The sear matters, but not because it locks in juice. It builds flavor and gives the roast a crust that holds up when you slice it. The broth in the pan does two jobs at once: it keeps the fond from burning and gives you a base for spooning over the meat, which helps every slice taste juicier than it actually is.
- Boneless pork loin roast — This is the right cut for clean slices and even roasting. Pork tenderloin is much smaller and cooks faster, so it won’t follow the same timing.
- Olive oil — It carries the herbs and helps the paste cling to every side. A neutral oil works in a pinch, but olive oil gives the crust a better edge.
- Garlic, rosemary, thyme, smoked paprika, and onion powder — This mix builds a savory crust without needing a marinade. Fresh rosemary and thyme can replace dried; use about three times as much and chop them finely so they don’t scorch.
- Chicken broth — This keeps the drippings from drying out and gives you pan juices worth serving. Water works only if that’s all you have, but the flavor is thinner.
What Each Ingredient Is Actually Doing in This Recipe
- Primary ingredient (the star) — Quality matters most. Choose the best you can find.
- Cooking medium (oil, butter, or broth) — This carries flavors and prevents dryness.
- Seasonings (salt, pepper, spices, herbs) — Layer flavors so nothing overpowers. Build depth gradually.
- Aromatics (garlic, onion, herbs) — Cook with fat to bloom flavors. Become the foundation.
- Supporting ingredients — Complement the main ingredient without overpowering it.
- Sauce or liquid (if applicable) — Brings flavors together. Balance richness with acid.
- Acid (lemon, vinegar, wine, or other) — Brightens and prevents flat-tasting results.
- Final finish (garnish, glaze, or sauce) — Prevents one-dimensional taste and adds visual appeal.
How to Get a Brown Crust and a Juicy Center in the Same Roast
Drying and Coating the Pork
Pat the roast dry before anything else. If the surface is damp, the herb paste slides around and the roast steams instead of browning. Rub the paste over every side, including the ends, and press it on so it stays put when the meat hits the pan.
Searing for Flavor, Not for Doneness
Heat the skillet until it’s properly hot, then sear the roast on all sides until the exterior turns deep gold. Don’t rush this stage by crowding the pan or lowering the heat too soon; a weak sear leaves you with pale, soft edges instead of a crust that tastes roasted. You’re building color here, not cooking the inside through.
Roasting to Temperature
Once the broth goes into the pan, move it straight to the oven. Roast until the center reaches 145°F on an instant-read thermometer, checking in the thickest part. If you pull it only by time, you’ll miss the one cue that matters, because two roasts that look the same on the outside can finish at different speeds depending on shape and thickness.
Resting and Slicing
Let the roast rest for 15 minutes before slicing. That pause lets the juices settle back into the meat instead of running out onto the board. Slice against the grain, then spoon the pan juices over the top for a finish that tastes polished without any extra work.
How to Adapt This for Different Dinners and Pantry Situations
Swap in a boneless pork shoulder for a richer roast
If you want a fattier, more forgiving roast, pork shoulder gives you a deeper pork flavor and stays tender even if it goes a little long. The tradeoff is a less sliceable texture, so it’s better for shredding or chunkier servings than neat dinner slices.
Make it dairy-free and gluten-free without changing the method
This recipe already lands naturally in both camps as long as your broth is certified gluten-free. No creamy sauce, no flour coating, no butter needed, which means the roast keeps its clean herb crust and straightforward pan juices.
Use fresh herbs when they’re on hand
Fresh rosemary and thyme give a brighter, greener finish. Use about 2 tablespoons chopped rosemary and 2 tablespoons chopped thyme in place of the dried herbs, and chop them finely so the leaves don’t burn during the sear.
Roast it with vegetables in the same pan
Carrots, potatoes, onions, and parsnips all work well around the roast. Add sturdier vegetables at the beginning so they soften in the oven, and tuck them into the broth-soaked drippings near the end if you want them to pick up more color without turning mushy.
Storage and Reheating
- Refrigerator: Store sliced pork in its juices for up to 4 days. The meat stays noticeably moister that way than if you leave it uncovered in the container.
- Freezer: It freezes well for up to 2 months. Wrap slices tightly and include a little pan juice so the roast doesn’t dry out after thawing.
- Reheating: Warm gently in a covered skillet with a splash of broth or in a low oven until just heated through. High heat is the mistake that turns leftover pork tough, so stop as soon as the slices are hot.
Answers to the Questions Worth Asking
Tender Juicy Pork Roast
Ingredients
Equipment
Method
- Preheat the oven to 375°F.
- Mix olive oil, garlic, dried rosemary, dried thyme, smoked paprika, onion powder, salt, and black pepper into a paste.
- Pat the boneless pork loin roast dry and rub the herb paste all over every surface.
- Heat an oven-safe skillet or roasting pan over medium-high heat and sear the roast on all sides until golden, about 2–3 minutes per side.
- Pour the chicken broth into the pan and transfer to the oven.
- Roast for 60–75 minutes, until the internal temperature reaches 145°F.
- Rest the pork roast for 15 minutes before slicing.
- Spoon the pan juices over the top before serving.
- Serve with roasted vegetables for serving.