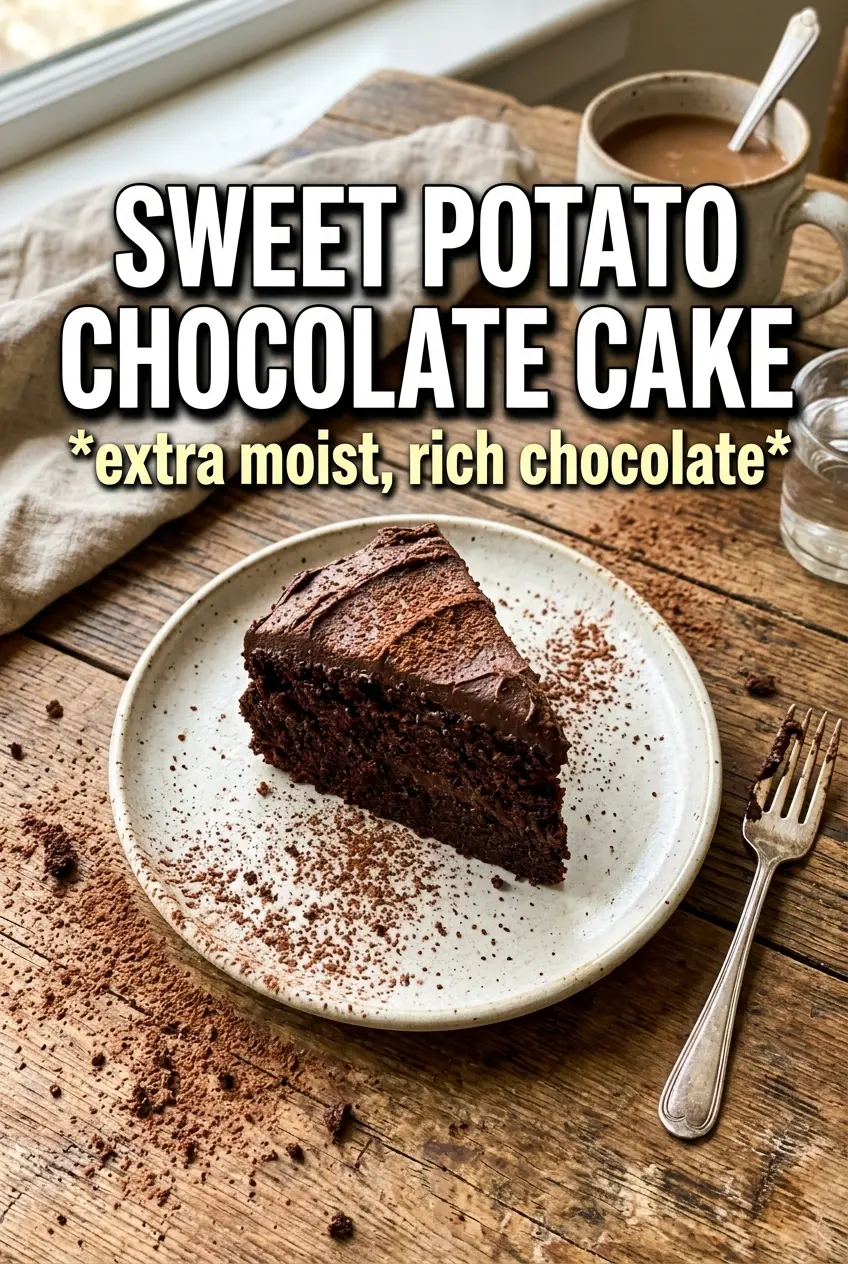
Sweet potato chocolate cake bakes up with the kind of deep, moist crumb that makes a second slice feel justified. The chocolate stays bold, the cake stays tender for days, and the sweet potato quietly does the work of keeping everything soft without turning the cake into something heavy or dense. It tastes like a classic chocolate layer cake that happens to be a little richer and more plush than expected.
The key is balancing the batter so the sweet potato adds body without muddying the chocolate. A smooth puree disappears right into the butter-and-sugar base, and buttermilk keeps the crumb fine and light while the cocoa brings the cake back into deep chocolate territory. The ganache frosting matters just as much: it starts glossy and pourable, then firms up enough to beat into a fluffy frosting that spreads cleanly and holds its shape between layers.
Below, I’m walking through the part that makes the biggest difference: how to keep the cake from baking up dry around the edges, how to get the ganache to the right texture, and what to do if you want to bake it a day ahead.
The cake layers baked up incredibly moist, and the sweet potato gave the chocolate a deeper, almost fudgy texture without making it taste like vegetables. My ganache came out smooth and spreadable after beating it with the powdered sugar.
Save this sweet potato chocolate cake for the days when you want a moist chocolate layer cake with a silky ganache frosting.
The Sweet Potato Keeps the Crumb Tender Without Making It Heavy
Chocolate cakes with added puree can go wrong fast. Too much moisture and you get a gummy center; too little and the cake bakes up dry around the edges before the middle is done. Sweet potato works here because it adds softness and structure at the same time, which means the cake stays plush without collapsing. That’s especially important in a two-layer cake, where you need a crumb sturdy enough to stack but tender enough to slice cleanly.
The other thing that matters is the way the batter is mixed. Creaming the butter and sugar first gives the cake a little lift, and adding the sweet potato with the eggs helps it blend smoothly instead of leaving little streaks of puree. Once the dry ingredients go in, stop mixing as soon as the flour disappears. Overmixing turns cocoa cake tough, and the structure from the sweet potato is already doing enough work.
What the Sweet Potato, Cocoa, and Buttermilk Are Each Doing Here
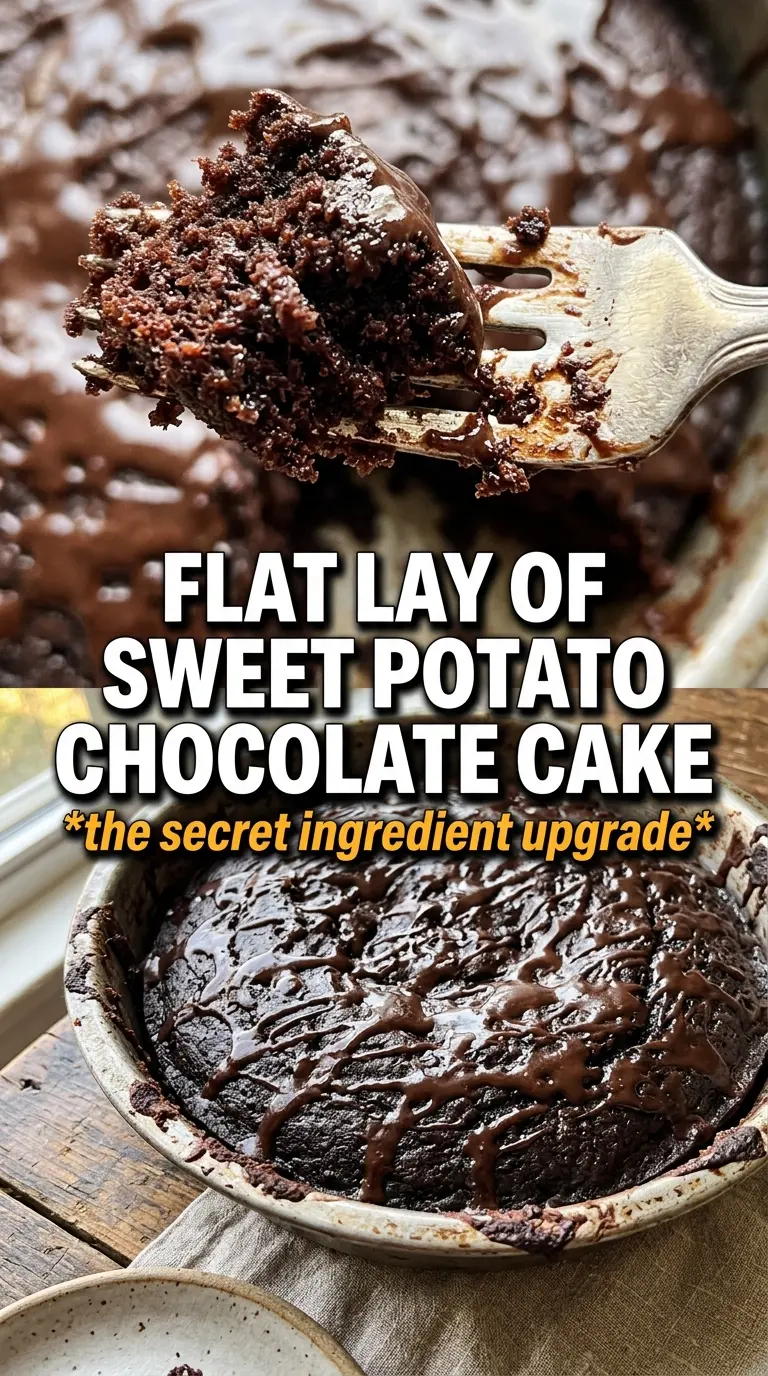
- Sweet potato puree — This is the ingredient that keeps the cake soft for days. Canned or homemade puree both work, but it needs to be smooth and thick, not watery. If your puree is loose, drain it a bit first or the batter can turn heavy.
- Buttermilk — This brings acidity, which helps the baking soda do its job and keeps the crumb tender. Plain milk won’t give the same lift or tang, and the cake will taste flatter. If you need a substitute, stir 1 tablespoon lemon juice or vinegar into 1 cup milk and let it sit 5 minutes.
- Cocoa powder — This is what keeps the cake tasting like chocolate, not like spiced sweet potato cake with a little cocoa in it. Use a good unsweetened cocoa powder because the flavor carries the whole dessert. If the cocoa is stale, the cake will taste dull no matter how good the frosting is.
- Dark chocolate chips — These melt into a ganache that sets with enough body to frost the cake cleanly. Use a chocolate you’d actually eat out of hand; the frosting is only as good as the chocolate in it. Lower-quality chips can taste waxy once they’re mixed with cream and butter.
Building the Cake and Frosting So Everything Stays Smooth
Start with a Properly Aerated Batter
Beat the butter and sugar until the mixture looks pale and fluffy, not just combined. That step traps air, which helps the cake rise before the cocoa and sweet potato weigh it down. Add the eggs one at a time if you can, then mix in the sweet potato, buttermilk, and vanilla until the batter looks even. If it looks slightly curdled at that stage, don’t panic; the flour mixture will bring it back together.
Fold the Dry Ingredients in Without Beating Out the Structure
Whisk the flour, cocoa, baking powder, baking soda, cinnamon, and salt first so the leaveners are evenly distributed. Add the dry ingredients in stages and mix only until no dry streaks remain. The batter will be thick, and that’s what you want. If you keep beating once the flour is in, the cake can bake up tight and dry instead of soft and sliceable.
Watch the Bake, Not the Clock Alone
Divide the batter evenly between two greased 9-inch pans and bake until the tops spring back when touched and a toothpick comes out with a few moist crumbs. Start checking near the 35-minute mark because cocoa cakes can go from perfectly baked to overdone quickly. Let them cool completely before frosting. Warm layers will melt the ganache and slide around the plate.
Turn Ganache Into Frosting at the Right Temperature
Heat the cream until it just starts to steam, then pour it over the chocolate chips and butter and leave it alone for a full 2 minutes. Stir slowly from the center outward until the mixture turns glossy and smooth. Once it cools enough to thicken, beat in the powdered sugar and vanilla until it turns fluffy and spreadable. If it’s too warm, it will be runny; if it’s too cold, it will turn stiff and hard to spread.
How to Adapt This Cake Without Losing the Texture
Dairy-Free Version
Use a plant-based butter, unsweetened non-dairy milk with 1 tablespoon lemon juice in place of the buttermilk, and a dairy-free dark chocolate for the ganache. The cake still bakes up moist, but the frosting will set a little softer, so chill the layers briefly before slicing.
Make It a Little More Chocolate-Forward
Swap 1/4 cup of the cocoa powder for an equal amount of extra flour if you want a softer chocolate flavor, or add an extra 1/4 cup cocoa if you want a darker, more intense cake. Just don’t change the liquid balance, or the crumb can get dry and tight.
Bake It as a Sheet Cake
Bake the batter in a 9×13-inch pan for a lower, simpler cake that’s easier to frost and serve at a crowd. Start checking earlier, since the thinner layer will bake faster than the round pans, and keep the ganache frosting a little softer so it spreads cleanly.
Storage and Reheating
- Refrigerator: Store covered for up to 5 days. The crumb stays moist, and the frosting firms up a little more in the fridge.
- Freezer: Freeze unfrosted layers tightly wrapped for up to 2 months, or freeze frosted slices on a tray before wrapping. Thaw overnight in the refrigerator for the cleanest texture.
- Reheating: Bring slices to room temperature before serving, or warm individual pieces for 10 to 15 seconds in the microwave. Too much heat will melt the ganache and make the cake feel greasy instead of plush.