Golden, juicy stuffed chicken breast pulls off the kind of dinner that looks polished at the table but comes together with plain, practical technique. The outside gets a deep seared crust, the center stays creamy and melty, and the spinach and sun-dried tomatoes keep the filling from tasting heavy. When it’s sliced open, the filling should hold together just enough to spill out in a slow, glossy way.
What makes this version work is the balance between a sturdy chicken pocket and a filling that stays thick instead of running out into the pan. Softened cream cheese gives the stuffing body, mozzarella adds the stretch, and the spinach is chopped fine so the chicken can close around it without tearing. Searing first matters here because it builds flavor and helps the breast hold its shape before the oven finishes the job.
Below, I’ve laid out the small details that keep the filling inside the chicken, plus the substitutions that still give you a good result when you need to work with what’s in the fridge.
The filling stayed in the chicken and didn’t leak all over the pan, which never happens for me. The sear gave the outside such a good crust, and the centers were still creamy after baking.
Save this stuffed chicken breast for the nights when you want a creamy spinach filling, a good sear, and a dinner that slices beautifully.
The Pocket Is the Part That Decides Everything
The biggest mistake with stuffed chicken is cutting the pocket too shallow. If the opening barely reaches the center, the filling has nowhere to settle and the breast splits as soon as it hits the pan. A deep horizontal pocket gives the stuffing room without turning the chicken into two separate pieces.
Seasoning inside the pocket matters as much as seasoning the outside. That little layer of salt, pepper, garlic powder, smoked paprika, and Italian seasoning is what keeps the chicken itself from tasting plain next to the rich filling. The sear also isn’t just about color; it starts building a crust that protects the stuffing long enough for the oven to finish cooking the meat evenly.
What Each Filling Ingredient Is Actually Doing Here
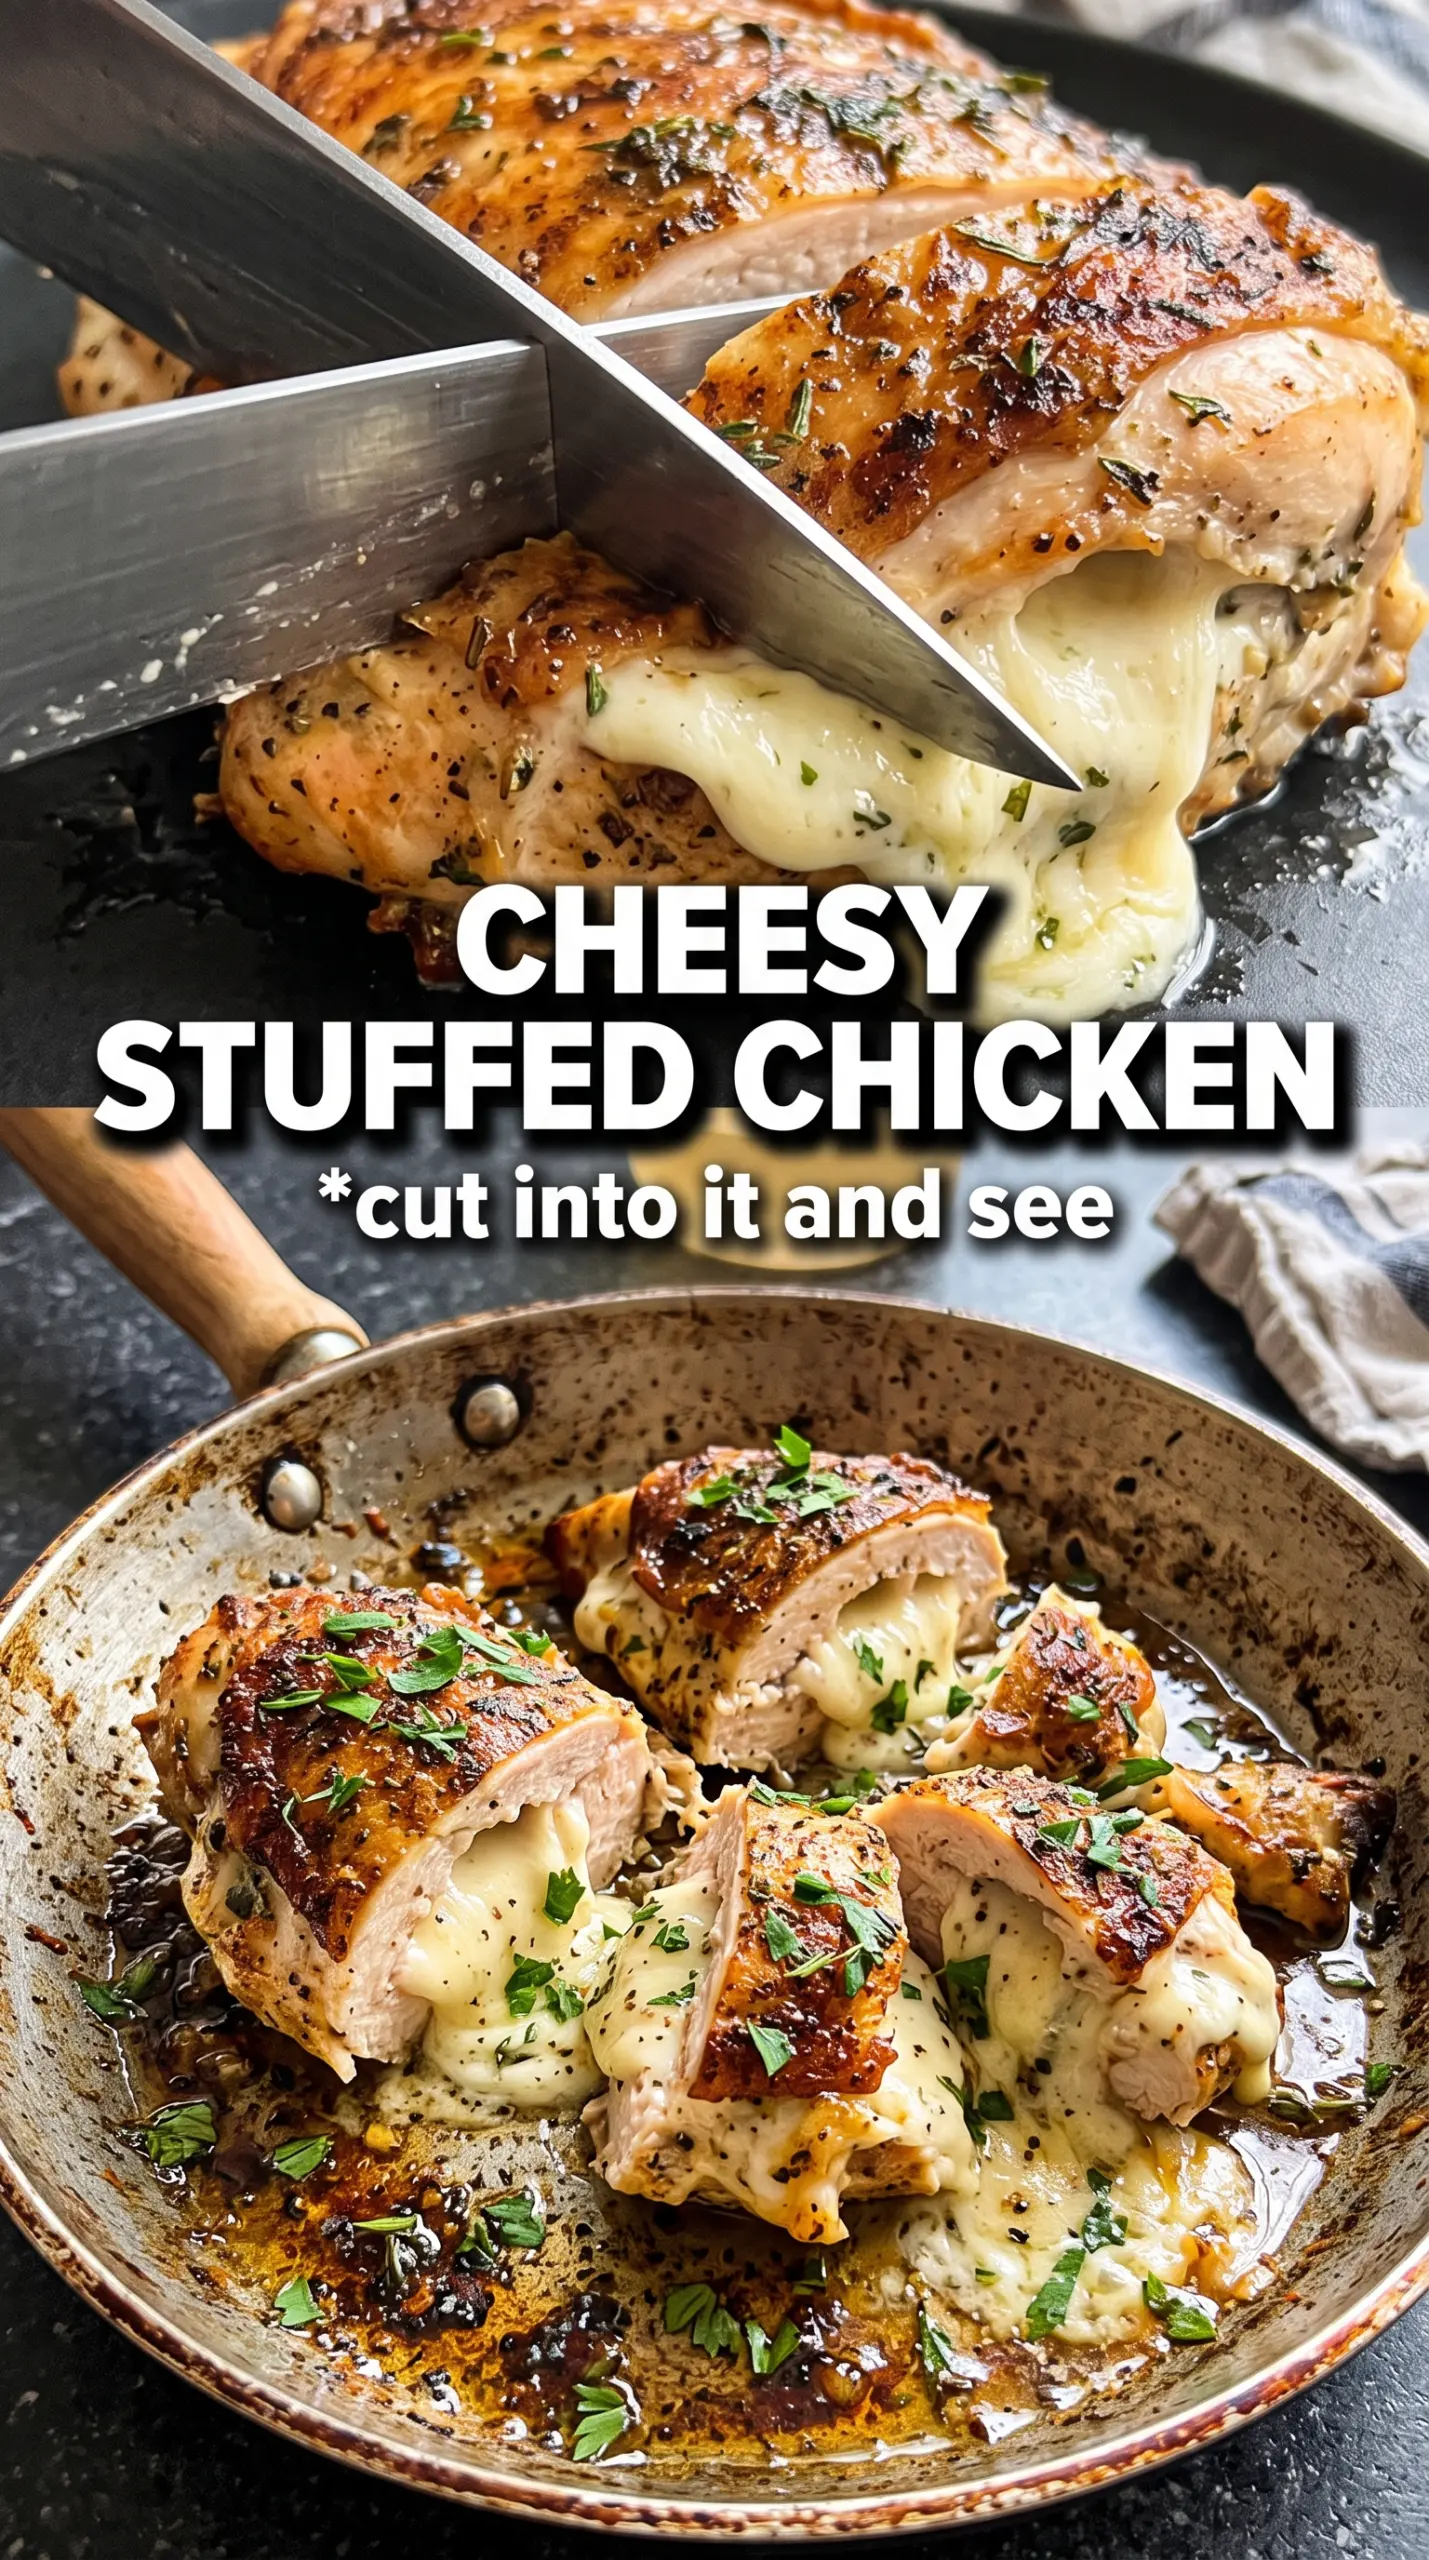
- Cream cheese — This is the base that holds everything together and keeps the filling from becoming stringy or loose. Use it softened, not melted, or it won’t bind the spinach and mozzarella into a thick stuffing that stays put in the pocket.
- Fresh baby spinach — Chop it finely so it tucks into the filling instead of shredding the chicken apart. If you only have regular spinach, cook it first and squeeze it dry; raw mature spinach holds too much water and can make the filling slack.
- Mozzarella — It gives you that stretchy, molten center when the chicken is sliced. Pre-shredded works fine here, but a block you shred yourself melts a little smoother and doesn’t bring as much coating with it.
- Sun-dried tomatoes — These cut through the richness with a concentrated sweet-tart bite. Drain them well if they’re packed in oil, or the filling can get greasy and loosen up in the oven.
- Garlic and Italian seasoning — They carry the savory backbone of the filling so it tastes seasoned all the way through, not just creamy. Fresh garlic gives the best punch, but if yours is strong, mince it very fine so it disappears into the cheese instead of burning in the pan.
Getting the Sear Before the Oven Takes Over
Mix the Filling Until It Holds Shape
Stir the cream cheese, spinach, mozzarella, sun-dried tomatoes, garlic, Italian seasoning, salt, and pepper until the mixture looks thick and evenly speckled. It should mound on a spoon, not drip off it. If the cream cheese is still cold, you’ll get little lumps that make stuffing harder and can tear the chicken when you press it in.
Cut the Pocket Deep, Then Stop
Slice horizontally into the thickest side of each breast and stop before you cut through the far edge. You want a pocket, not two thin cutlets. If the opening feels narrow, widen it gently with the knife tip instead of forcing it, because tearing the side seam is how the filling escapes in the skillet.
Sear for Color, Not for Doneness
Set the filled chicken in hot olive oil and leave it alone long enough to form a golden crust before turning it. The goal is a browned exterior that releases easily from the pan, not a cooked-through center. If the pan is too cool, the chicken steams; if it’s too hot, the outside burns before the inside gets any heat.
Bake Until the Center Reaches Temperature
Move the skillet to the oven and bake until the thickest part of the chicken hits 165°F. At that point, the juices should run clear and the filling will be hot and molten without leaking everywhere. Let the chicken rest for 5 minutes before slicing so the cheese settles a bit instead of pouring out immediately.
How to Adapt It When You Need a Different Version
Dairy-Free Version That Still Feels Creamy
Use a dairy-free cream cheese and a meltable plant-based cheese instead of mozzarella. The filling won’t stretch quite the same way, but it will still stay rich and sliceable if you keep the mixture thick and don’t overpack the pocket.
No Sun-Dried Tomatoes
Leave them out and add a pinch more salt plus a little extra garlic to keep the filling from tasting flat. The result is milder and more purely creamy-spinach, which works well if you want the chicken to stay the main flavor.
Gluten-Free and Naturally Low-Carb
This recipe already fits both of those needs as written, so the main job is watching the seasoning and keeping the sear clean. Serve it with roasted vegetables or salad instead of a starch, and you’ve got a full meal without changing the method.
Make It for Guests Without Adding Stress
Stuff and season the chicken a few hours ahead, then cover and refrigerate until dinner. Sear it just before baking so the crust stays crisp and the filling doesn’t start leaking in the fridge.
Storage and Reheating
- Refrigerator: Store leftovers in an airtight container for up to 3 days. The filling will firm up a bit, but the flavor holds well.
- Freezer: Freeze after cooking if you need to. Wrap each piece tightly and freeze for up to 2 months; thaw in the refrigerator before reheating for the best texture.
- Reheating: Warm in a 325°F oven, covered loosely with foil, until heated through. The mistake to avoid is blasting it in the microwave, which can make the chicken rubbery and split the filling.
Questions I Get Asked About This Recipe
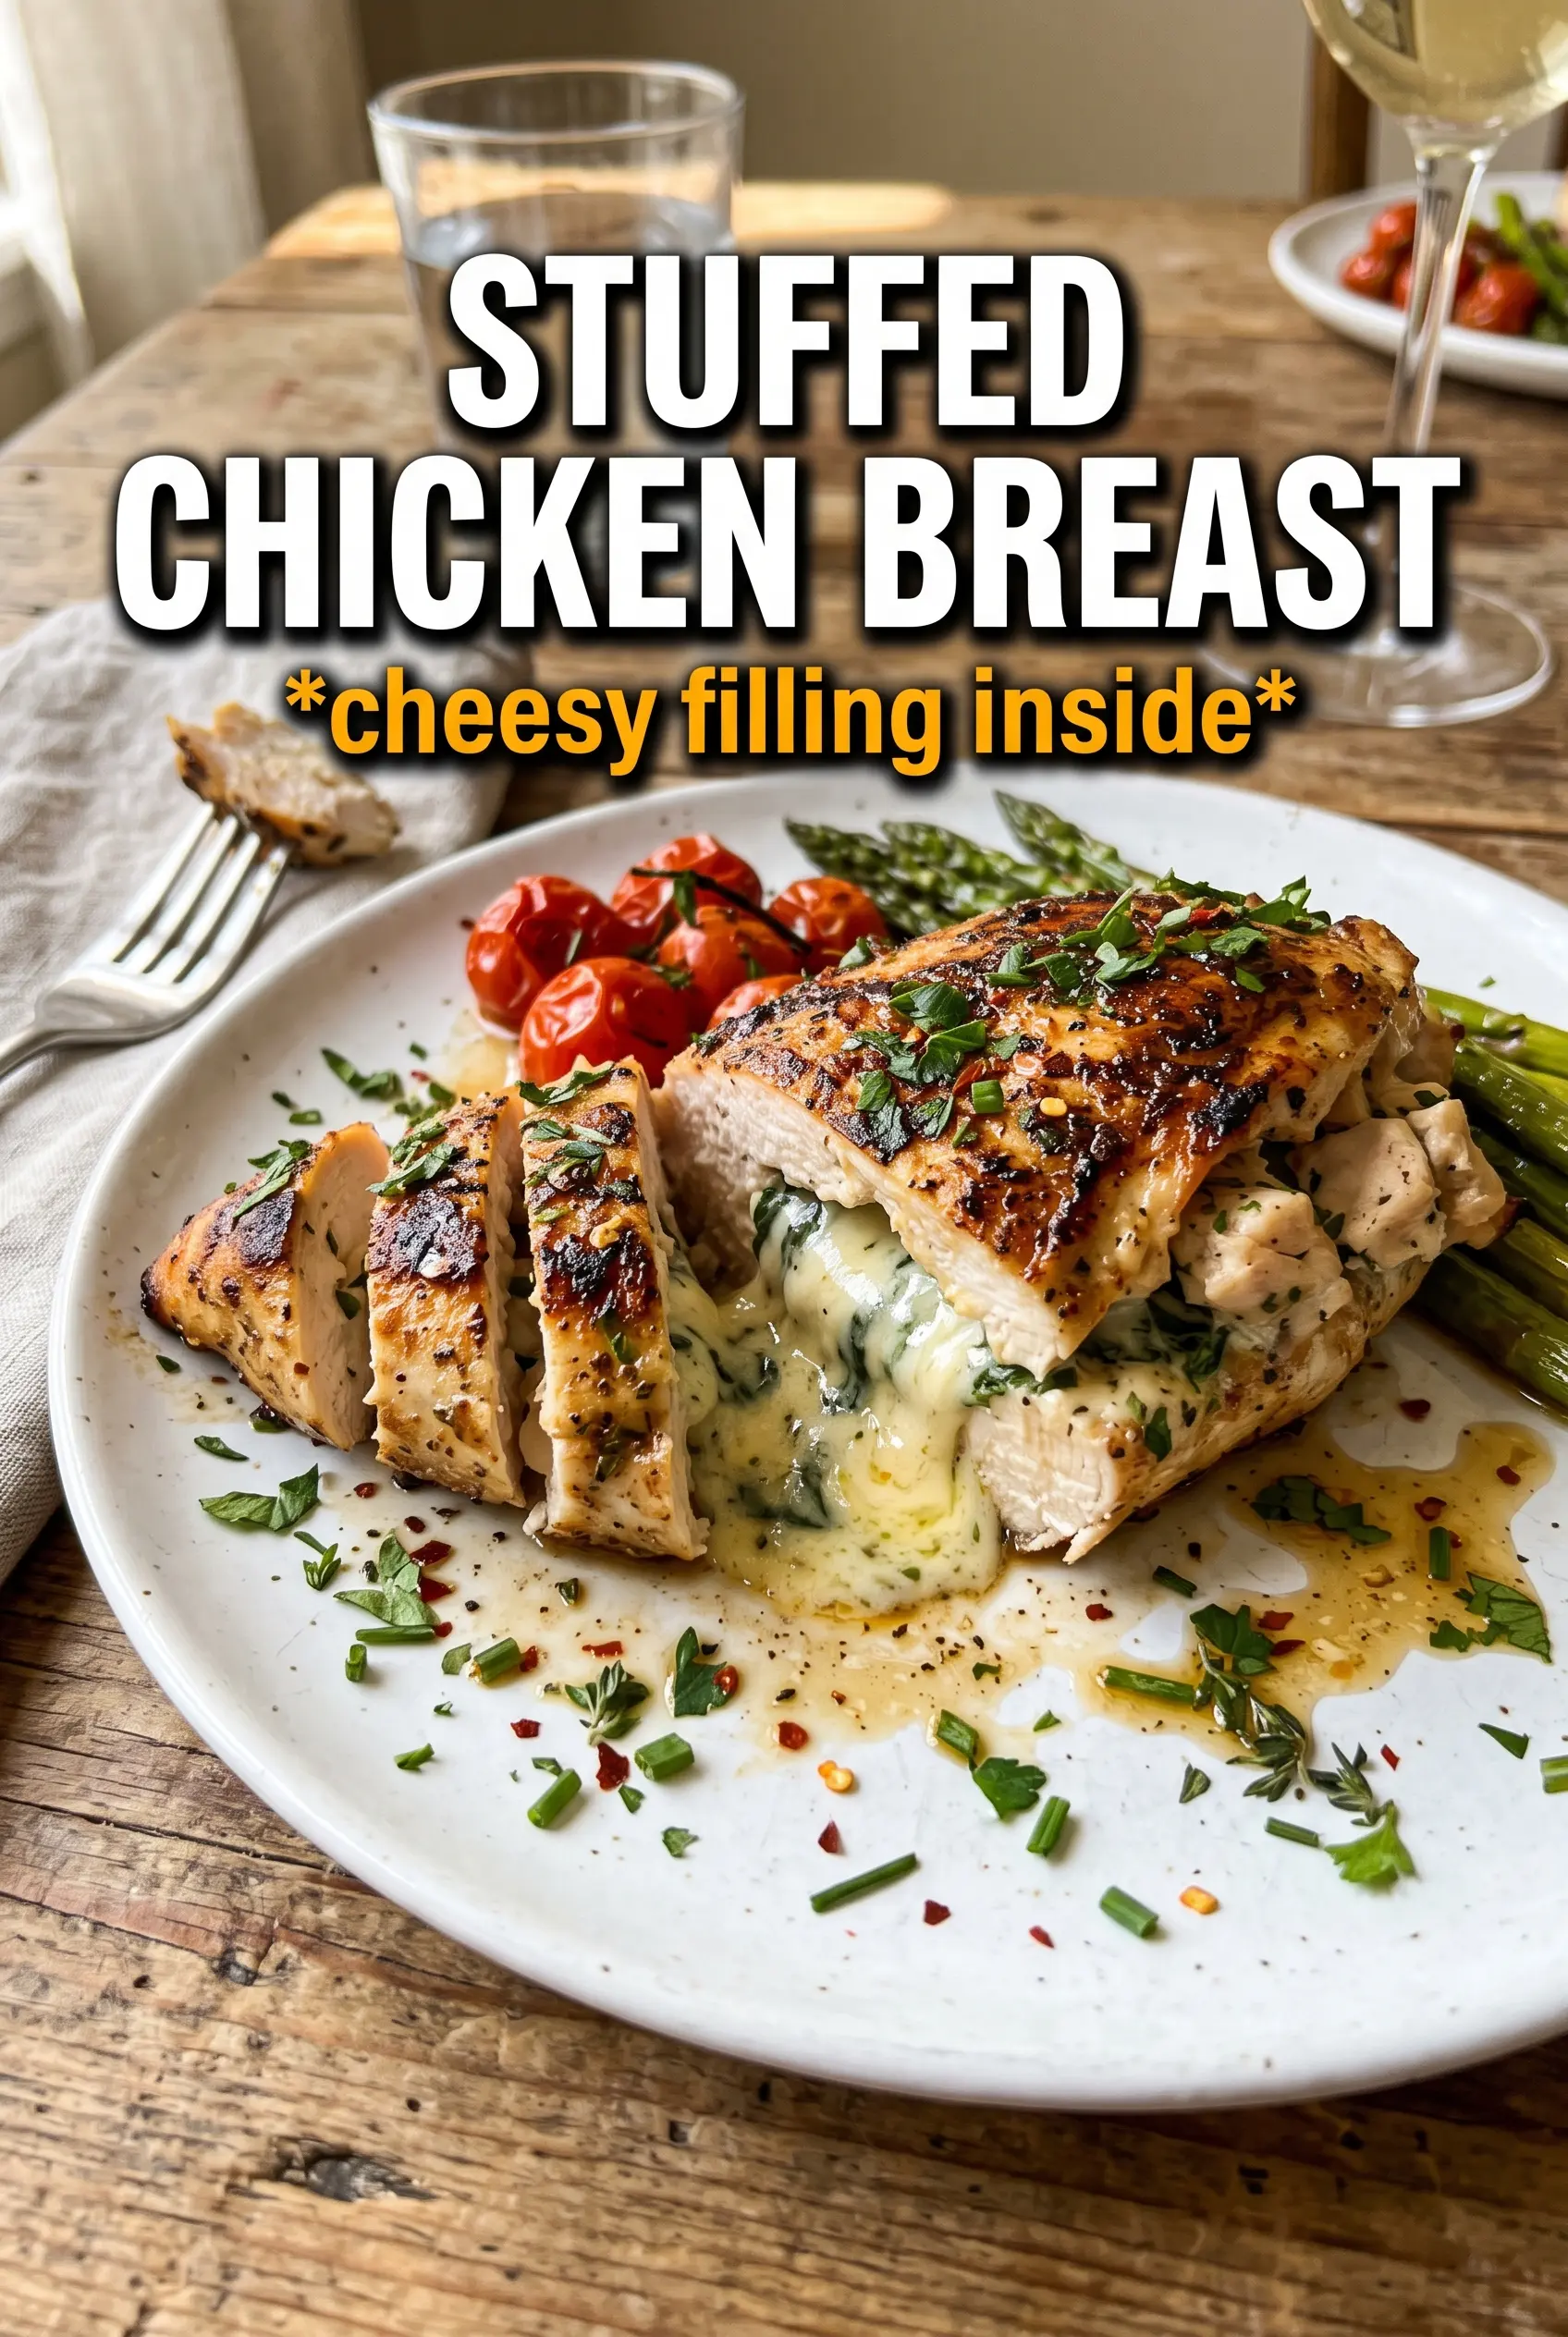
Stuffed Chicken Breast
Ingredients
Equipment
Method
- Preheat the oven to 400°F. In a bowl, beat together the cream cheese, spinach, mozzarella, sun-dried tomatoes, garlic, Italian seasoning, salt, and pepper until well combined and creamy.
- Cut a deep horizontal pocket in each chicken breast. Season the inside and out of each breast generously with salt, pepper, garlic powder, Italian seasoning, and smoked paprika.
- Spoon the filling into each pocket and secure with toothpicks. Press gently to help the filling sit evenly inside.
- Heat olive oil in an oven-safe skillet over medium-high heat. Sear the stuffed chicken for 3-4 minutes per side until deeply golden.
- Transfer the skillet to the oven and bake at 400°F for 18-22 minutes. Bake until the internal temperature reaches 165°F and the chicken looks set with a lightly browned exterior.
- Remove the toothpicks and rest the chicken for 5 minutes. Slice and serve so the molten spinach, cream cheese, and mozzarella filling stays creamy and glossy.