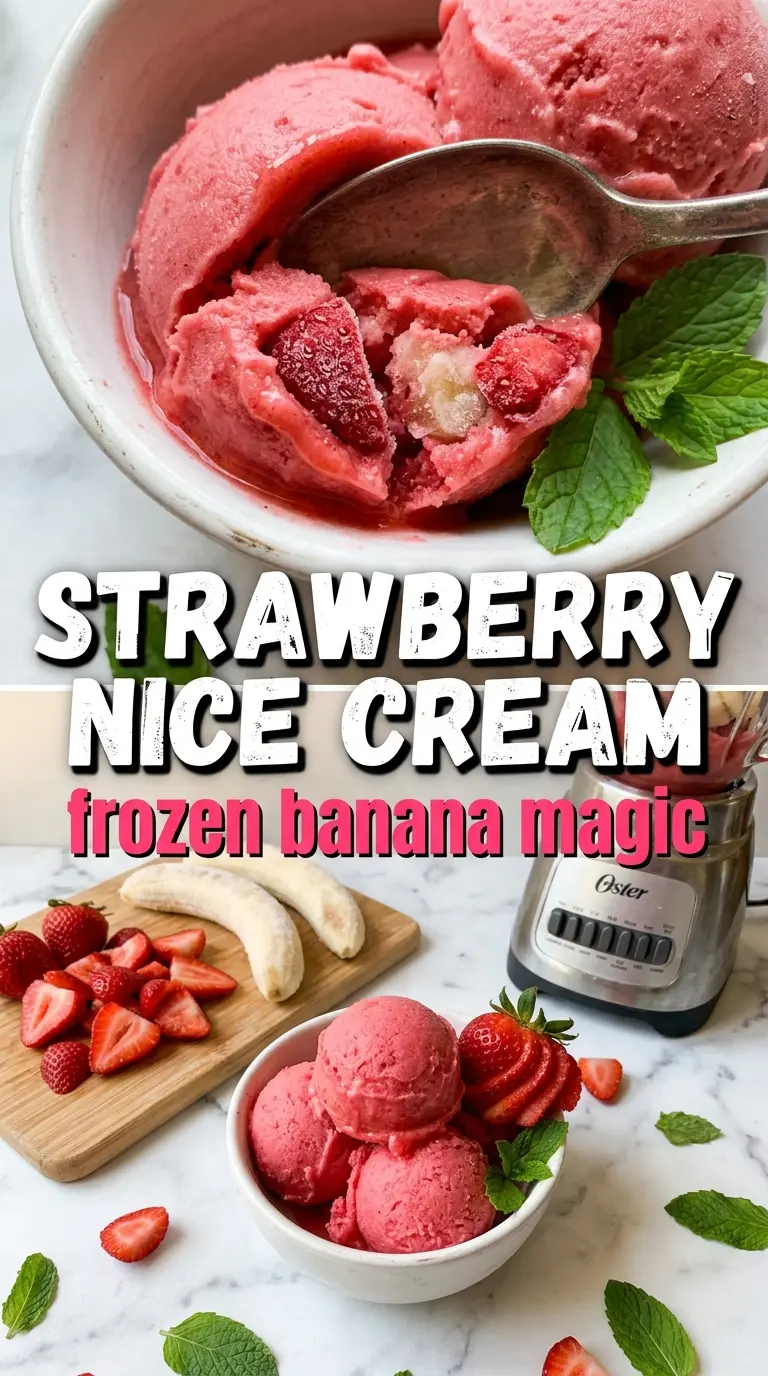
Strawberry nice cream lands in that sweet spot between a frozen treat and a bowl of actual fruit you can feel good about eating. The texture goes from crumbly frozen chunks to a soft, scoopable swirl in minutes, and the flavor tastes bright, cold, and clean instead of heavy or overly sweet. When it’s blended right, it eats like ice cream without needing cream, sugar, or a trip to the store for anything fancy.
The trick is in the fruit balance. Bananas bring the body and that classic creamy finish, while the strawberries keep the color vivid and the flavor sharp enough that it doesn’t taste one-note. A little lemon juice wakes everything up, and the vanilla keeps the banana from taking over. I also like letting the fruit sit out just long enough to take the edge off the freeze; that small pause makes the blender work with you instead of against you.
Below, I’ve included the one texture cue that matters most, plus a few swaps and storage notes so you can make this with what you have and still get that soft-serve result.
The texture turned out like soft-serve after just a couple minutes in the blender, and the lemon kept it from tasting too banana-heavy. My kids thought it was ice cream and asked for it again the next day.
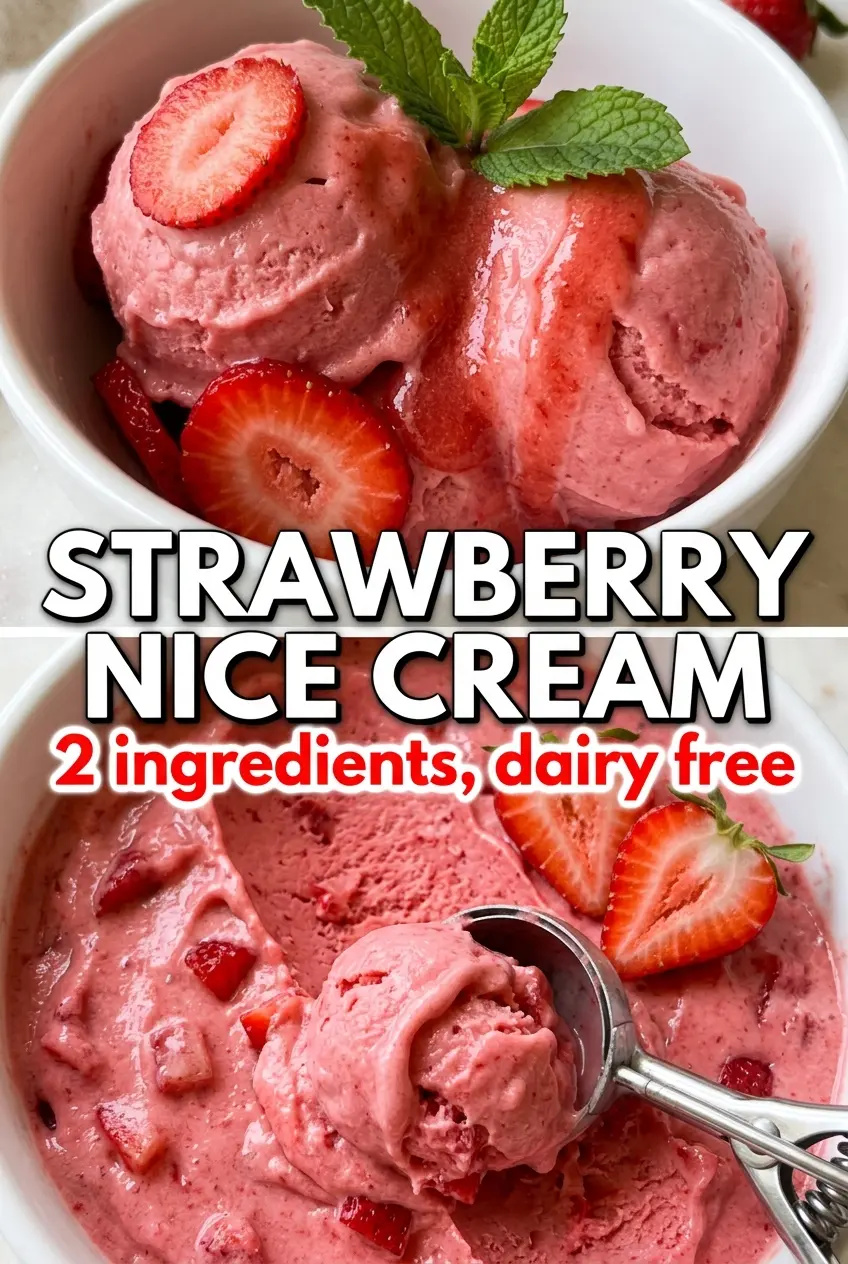
Creamy strawberry nice cream with soft-serve texture and no added sugar? Save this frozen fruit dessert for the days you want something cold, quick, and naturally sweet.
Why Your Nice Cream Turns Slushy Instead of Creamy
The biggest mistake with nice cream is adding too much liquid too soon. Frozen fruit needs a little friction to turn into a thick, scoopable blend, and once you loosen it too much, you end up with a smoothie instead of dessert. This version stays creamy because the bananas do the heavy lifting, and the strawberries are there for flavor and color rather than as the base structure.
Another thing that matters here is the size of your frozen fruit pieces. Smaller slices blend evenly and save you from overworking the machine, which is how the mixture warms up and gets soupy. If your blender struggles, stop and scrape the sides instead of adding more liquid; the fruit will catch up if you give it a minute.
- Frozen bananas — These create the creamy body. Spotty ripe bananas work best because they’re sweeter and blend smoother, but they still need to be sliced before freezing or your blender will have a hard time breaking them down.
- Frozen strawberries — These give the vivid pink color and the fresh berry flavor. Frozen berries are better than fresh here because they chill the mixture enough to keep it thick.
- Lemon juice — This brightens the flavor and keeps the nice cream from tasting flat. It doesn’t make the dessert sour; it just sharpens the strawberry flavor.
- Vanilla extract — A small amount smooths out the banana flavor and gives the finished bowl a more rounded, ice-cream-like taste.
- Pinch of salt — Don’t skip it. It keeps the fruit from tasting overly sweet or one-dimensional.
What Each Ingredient Is Actually Doing in This Ice Cream
- Base ingredient (cream, milk, or custard) — This provides the foundation and richness. Quality matters.
- Sweetener (sugar, honey, or condensed milk) — This sweetens and prevents ice crystals. The ratio is critical.
- Flavor element (vanilla, fruit, chocolate, or other) — This defines the ice cream personality. Use quality ingredients.
- Egg yolks (if making custard base) — These create richness and silky texture. Optional but elevates ice cream.
- Churning (if using ice cream maker) — This incorporates air and prevents ice crystals. Critical for smooth texture.
- Freezing temperature and time — Proper freezing prevents rock-hard texture. Store at 0°F or below.
- Mix-ins (chocolate, cookies, fruit, or swirls) — These add texture and prevent one-dimensional flavor. Add near end of churning.
- Serving temperature (slightly soft, not rock hard) — This provides creamy mouthfeel. Remove from freezer 5 minutes before serving.
Blending the Fruit Without Burning Out the Blender
Letting the Fruit Take the Chill Off
Let the frozen bananas and strawberries sit out for about 5 minutes before blending. That tiny window softens the outside just enough that the blades can catch the fruit instead of spinning around it. If you go straight from freezer to blender, the mixture tends to clump, and you’ll be tempted to add liquid to help it along. That’s how nice cream loses its thick, soft-serve texture.
Starting the Blend the Right Way
Add the fruit, lemon juice, vanilla, and salt to a high-powered blender and start with short pulses. The blades need a chance to break up the frozen chunks before they can make the mixture smooth. Stop and scrape the sides a few times as needed. If the blender stalls, don’t dump in extra liquid right away; the fruit usually needs another minute of movement, not more moisture.
Stopping at Soft Serve, Not Soup
Blend until the mixture looks completely smooth and creamy, with no visible strawberry seeds or banana bits. That usually takes about 2 minutes, but the visual cue matters more than the clock. If you’re serving it immediately, stop as soon as it holds soft peaks on the spoon. For a firmer, scoopable texture, freeze it for 1 to 2 hours after blending.
How to Change the Bowl Without Losing the Creamy Texture
Make It Dairy-Free as Written
This recipe is already dairy-free and vegan, which is why the fruit has to carry the creaminess on its own. Don’t add milk unless the blender absolutely needs a tablespoon or two to move, because too much liquid turns the texture thin fast.
Swap the Strawberries for Another Frozen Fruit
Frozen raspberries, mango, or cherries all work, but each one changes the balance. Raspberries bring more tartness and a little seed texture, mango makes it sweeter and softer, and cherries give a darker color with a deeper flavor. Keep the banana amount the same so the nice cream still sets up properly.
Make It a Little Sweeter Without Sugar
If your strawberries are on the tart side, add a touch more vanilla or an extra few slices of banana instead of sweetener. That keeps the texture thick and the flavor naturally balanced. Honey will work if you don’t need it vegan, but use it sparingly so the bowl doesn’t melt too fast.
Storage and Reheating
- Refrigerator: Not a good make-ahead option. It melts fast and turns soft and watery within minutes.
- Freezer: Freeze the blended nice cream for 1 to 2 hours if you want a firmer scoop. After that, it’s best eaten the same day, because it gets icy if stored too long.
- Reheating: No reheating needed. If it freezes solid, let it sit on the counter for 5 to 10 minutes, then stir or re-blend briefly to bring back the creamy texture.
Questions I Get Asked About This Recipe
Strawberry Nice Cream
Ingredients
Equipment
Method
- Let the frozen bananas and frozen strawberries sit at room temperature for 5 minutes to slightly soften, so they blend faster and smoother.
- Blend the frozen bananas, frozen strawberries, lemon juice, vanilla extract, and salt in a high-powered blender, stopping to scrape down the sides as needed.
- Blend until completely smooth and creamy, about 2 minutes, until you see a thick, vivid-pink soft-serve texture with no visible fruit chunks.
- Serve immediately as soft-serve for a spoonable texture, with the mixture looking glossy and thick.
- If you prefer scoops, freeze the blended nice cream for 1-2 hours, until firm enough to scoop.
- Top with fresh strawberries and serve right away, so the fruit stays bright and juicy.