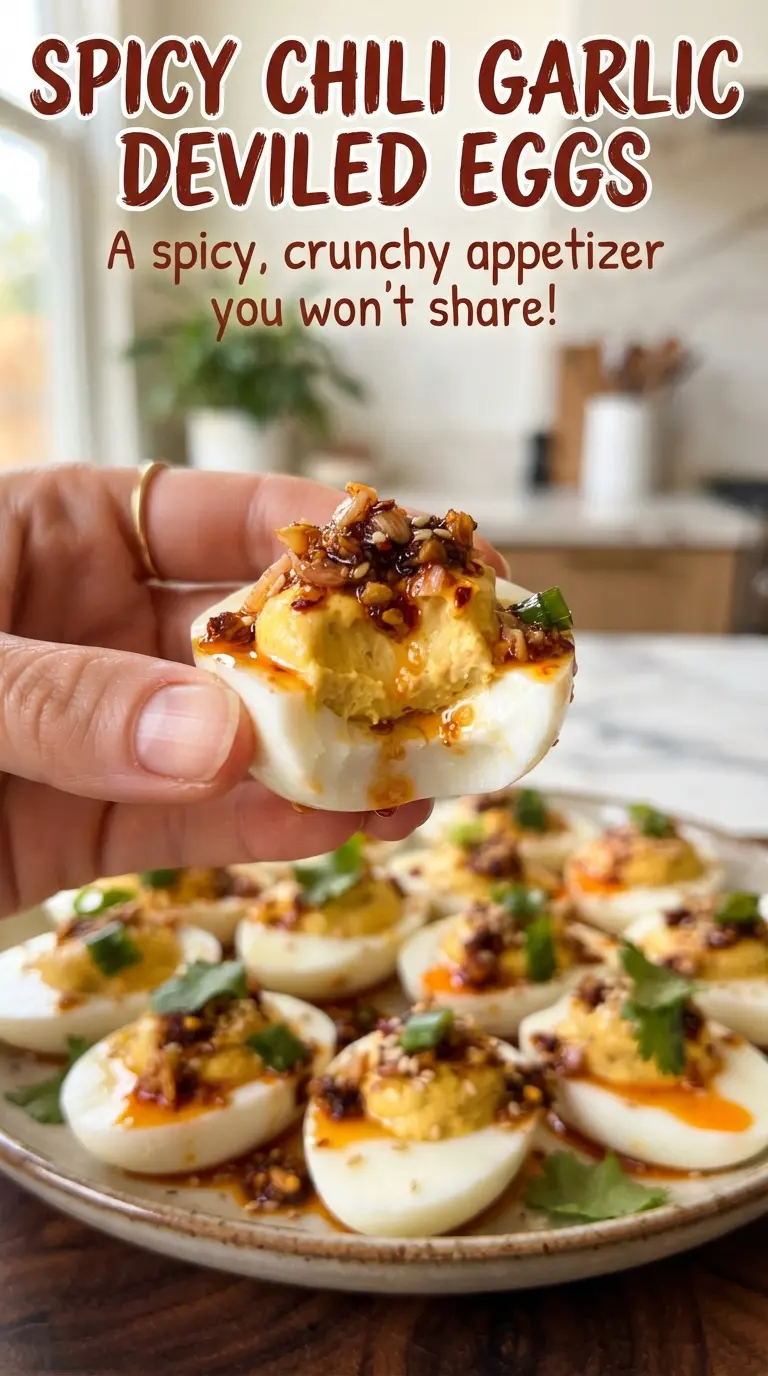
Spicy chili garlic deviled eggs bring the same creamy, nostalgic bite as the classic version, but the filling lands with more depth, a little heat, and a glossy finish that makes people reach for a second one before they’ve finished the first. The yolks stay rich and smooth, the soy and rice vinegar keep the filling from tasting flat, and the chili crisp on top gives each egg a crunchy, savory punch that holds up on a party tray.
The trick is balancing the filling so it tastes bold without turning salty or heavy. Kewpie mayonnaise gives the yolk mixture a rounder, silkier texture than standard mayo, while sesame oil adds just enough aroma to read as intentional rather than random. If your eggs have ever tasted dull or the filling felt thick and pasty, this version fixes that with acidity, fat, and a clean little hit of heat.
Below, you’ll find the small details that keep the yolks smooth, the whites easy to peel, and the chili crisp looking glossy instead of oily. There’s also a simple note on how to serve them if you’re making them ahead for a crowd.
The filling was creamy and the chili crisp stayed crunchy on top, even after the eggs sat out for a bit. I’d never thought to add rice vinegar to deviled eggs, but it kept the yolk mixture from tasting heavy.
Love these spicy chili garlic deviled eggs? Save them to Pinterest for your next snack board, potluck, or holiday tray.
The Filling Fails When You Skip the Acid
Most deviled eggs go sideways because the yolk mixture tastes flat after the fat settles in. Mayonnaise gives you body, but it also mutes everything if you don’t bring in something sharp enough to wake it up. Rice vinegar does that cleanly here, and the soy sauce adds salt in a way that tastes rounded instead of blunt.
The other place people run into trouble is texture. If the yolks are still slightly warm when you mash them, the filling turns loose and greasy instead of smooth. Let the eggs cool fully in the ice bath, then mash until the yolks disappear before you add the chili crisp on top.
- Kewpie mayonnaise — This gives the filling its silky, custardy texture. Regular mayo works in a pinch, but Kewpie has a deeper, eggier richness that fits the style of this recipe.
- Chili garlic sauce — This is the heat in the filling, and it brings both garlic and chili in one spoonful. Sambal oelek can stand in, but you’ll lose some of the garlicky depth.
- Chili crisp — Don’t stir this into the yolks. It belongs on top, where the crunchy garlic bits and sesame seeds stay distinct instead of disappearing into the filling.
- Sesame oil — A little goes a long way. It should smell toasted and nutty, not heavy, or it will take over the whole bite.
What Each Ingredient Is Actually Doing in This Recipe
- Primary ingredient (the star) — Quality matters most. Choose the best you can find.
- Cooking medium (oil, butter, or broth) — This carries flavors and prevents dryness.
- Seasonings (salt, pepper, spices, herbs) — Layer flavors so nothing overpowers. Build depth gradually.
- Aromatics (garlic, onion, herbs) — Cook with fat to bloom flavors. Become the foundation.
- Supporting ingredients — Complement the main ingredient without overpowering it.
- Sauce or liquid (if applicable) — Brings flavors together. Balance richness with acid.
- Acid (lemon, vinegar, wine, or other) — Brightens and prevents flat-tasting results.
- Final finish (garnish, glaze, or sauce) — Prevents one-dimensional taste and adds visual appeal.
Building the Filling So It Stays Smooth
Cooking the Eggs Evenly
Start the eggs in cold water and bring them up together. That gives you a more even cook and helps reduce the gray ring around the yolks. Once the water boils, pull the pot off the heat and cover it for the full 12 minutes, then move the eggs straight into an ice bath so the yolks stop cooking cleanly.
Mashing the Yolks Without Lumps
Peel the eggs only after they’re fully chilled, then slice them lengthwise and pop out the yolks into a bowl. Mash first with a fork until the yolks are fine and crumbly, then stir in the mayonnaise, chili garlic sauce, soy sauce, rice vinegar, and sesame oil. If the mixture looks stiff, add another small spoonful of mayo rather than extra vinegar; too much acid can make the filling loose and sharp.
Piping and Topping for Best Texture
Spoon or pipe the filling into the whites with a steady hand so the surface stays neat and the chili crisp has a place to sit. Add the chili crisp just before serving if you want the crunchiest texture, then finish with sesame seeds and sliced green onions. If the eggs sit too long after topping, the oil from the chili crisp will soften the garnish, so hold that final step until the end.
Three Ways to Make These Eggs Work for Different Crowds
Milder Version for Mixed Heat Tolerance
Cut the chili garlic sauce to half a teaspoon and keep the chili crisp on the side so people can add their own heat. The eggs still taste savory and layered, but the bite comes off gentler and more party-friendly.
Dairy-Free and Gluten-Free as Written
This recipe already fits both needs as long as your chili garlic sauce and chili crisp are gluten-free. The texture doesn’t depend on dairy at all, so you won’t lose anything by keeping it exactly as written.
No Kewpie Mayo on Hand
Use regular mayonnaise and add an extra tiny splash of rice vinegar to sharpen it up. The filling will still be creamy, but it won’t have quite the same egg-rich depth or silky finish.
Storage and Reheating
- Refrigerator: Store covered for up to 2 days. The whites stay fine, but the chili crisp loses some crunch after the first day.
- Freezer: Don’t freeze these. Egg whites turn watery and rubbery after thawing, and the filling separates.
- Reheating: Don’t reheat them. Serve straight from the fridge or let them sit out for 10 to 15 minutes so the filling loses its chill without warming into a greasy texture.
Answers to the Questions Worth Asking
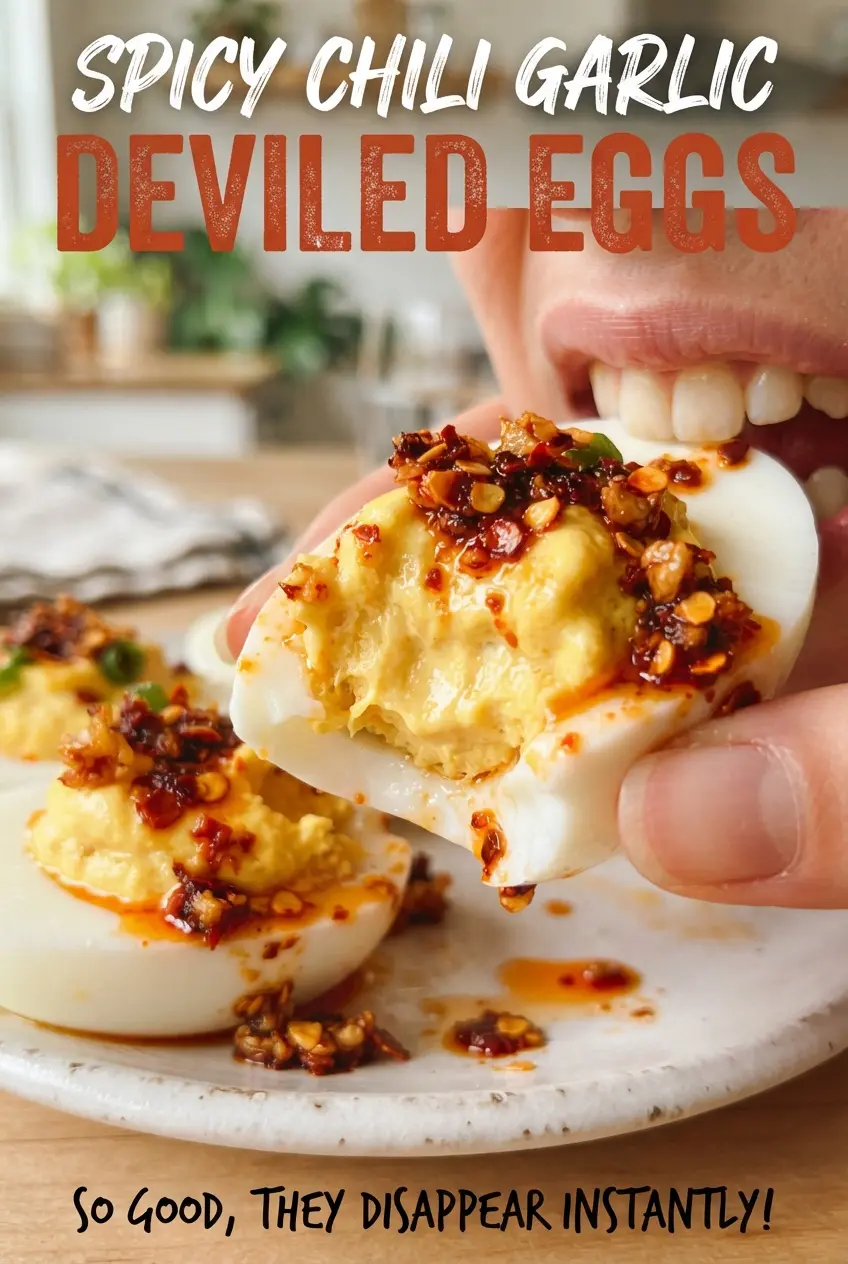
Spicy Chili Garlic Deviled Eggs
Ingredients
Equipment
Method
- Place eggs in a pot, cover with cold water, and bring to a boil. Cover the pot, remove from heat, and let stand at 100°C for 12 minutes, until the yolks are set.
- Chill the eggs in an ice bath for 10 minutes. You should be able to handle them comfortably with no warm spots.
- Peel eggs and halve lengthwise. Keep the egg halves level so the whites stay stable.
- Mash the yolks with mayonnaise, chili garlic sauce, soy sauce, rice vinegar, and sesame oil until smooth. Stop when the mixture is thick and glossy with no yolk lumps visible.
- Pipe the filling into the egg whites. Fill each half fully and smooth the top for even coverage.
- Spoon a little chili crisp over each egg. Add a visible mound so the oil glistens on the surface.
- Sprinkle with toasted sesame seeds and sliced green onions, then serve. Finish right before serving so the topping stays crisp.