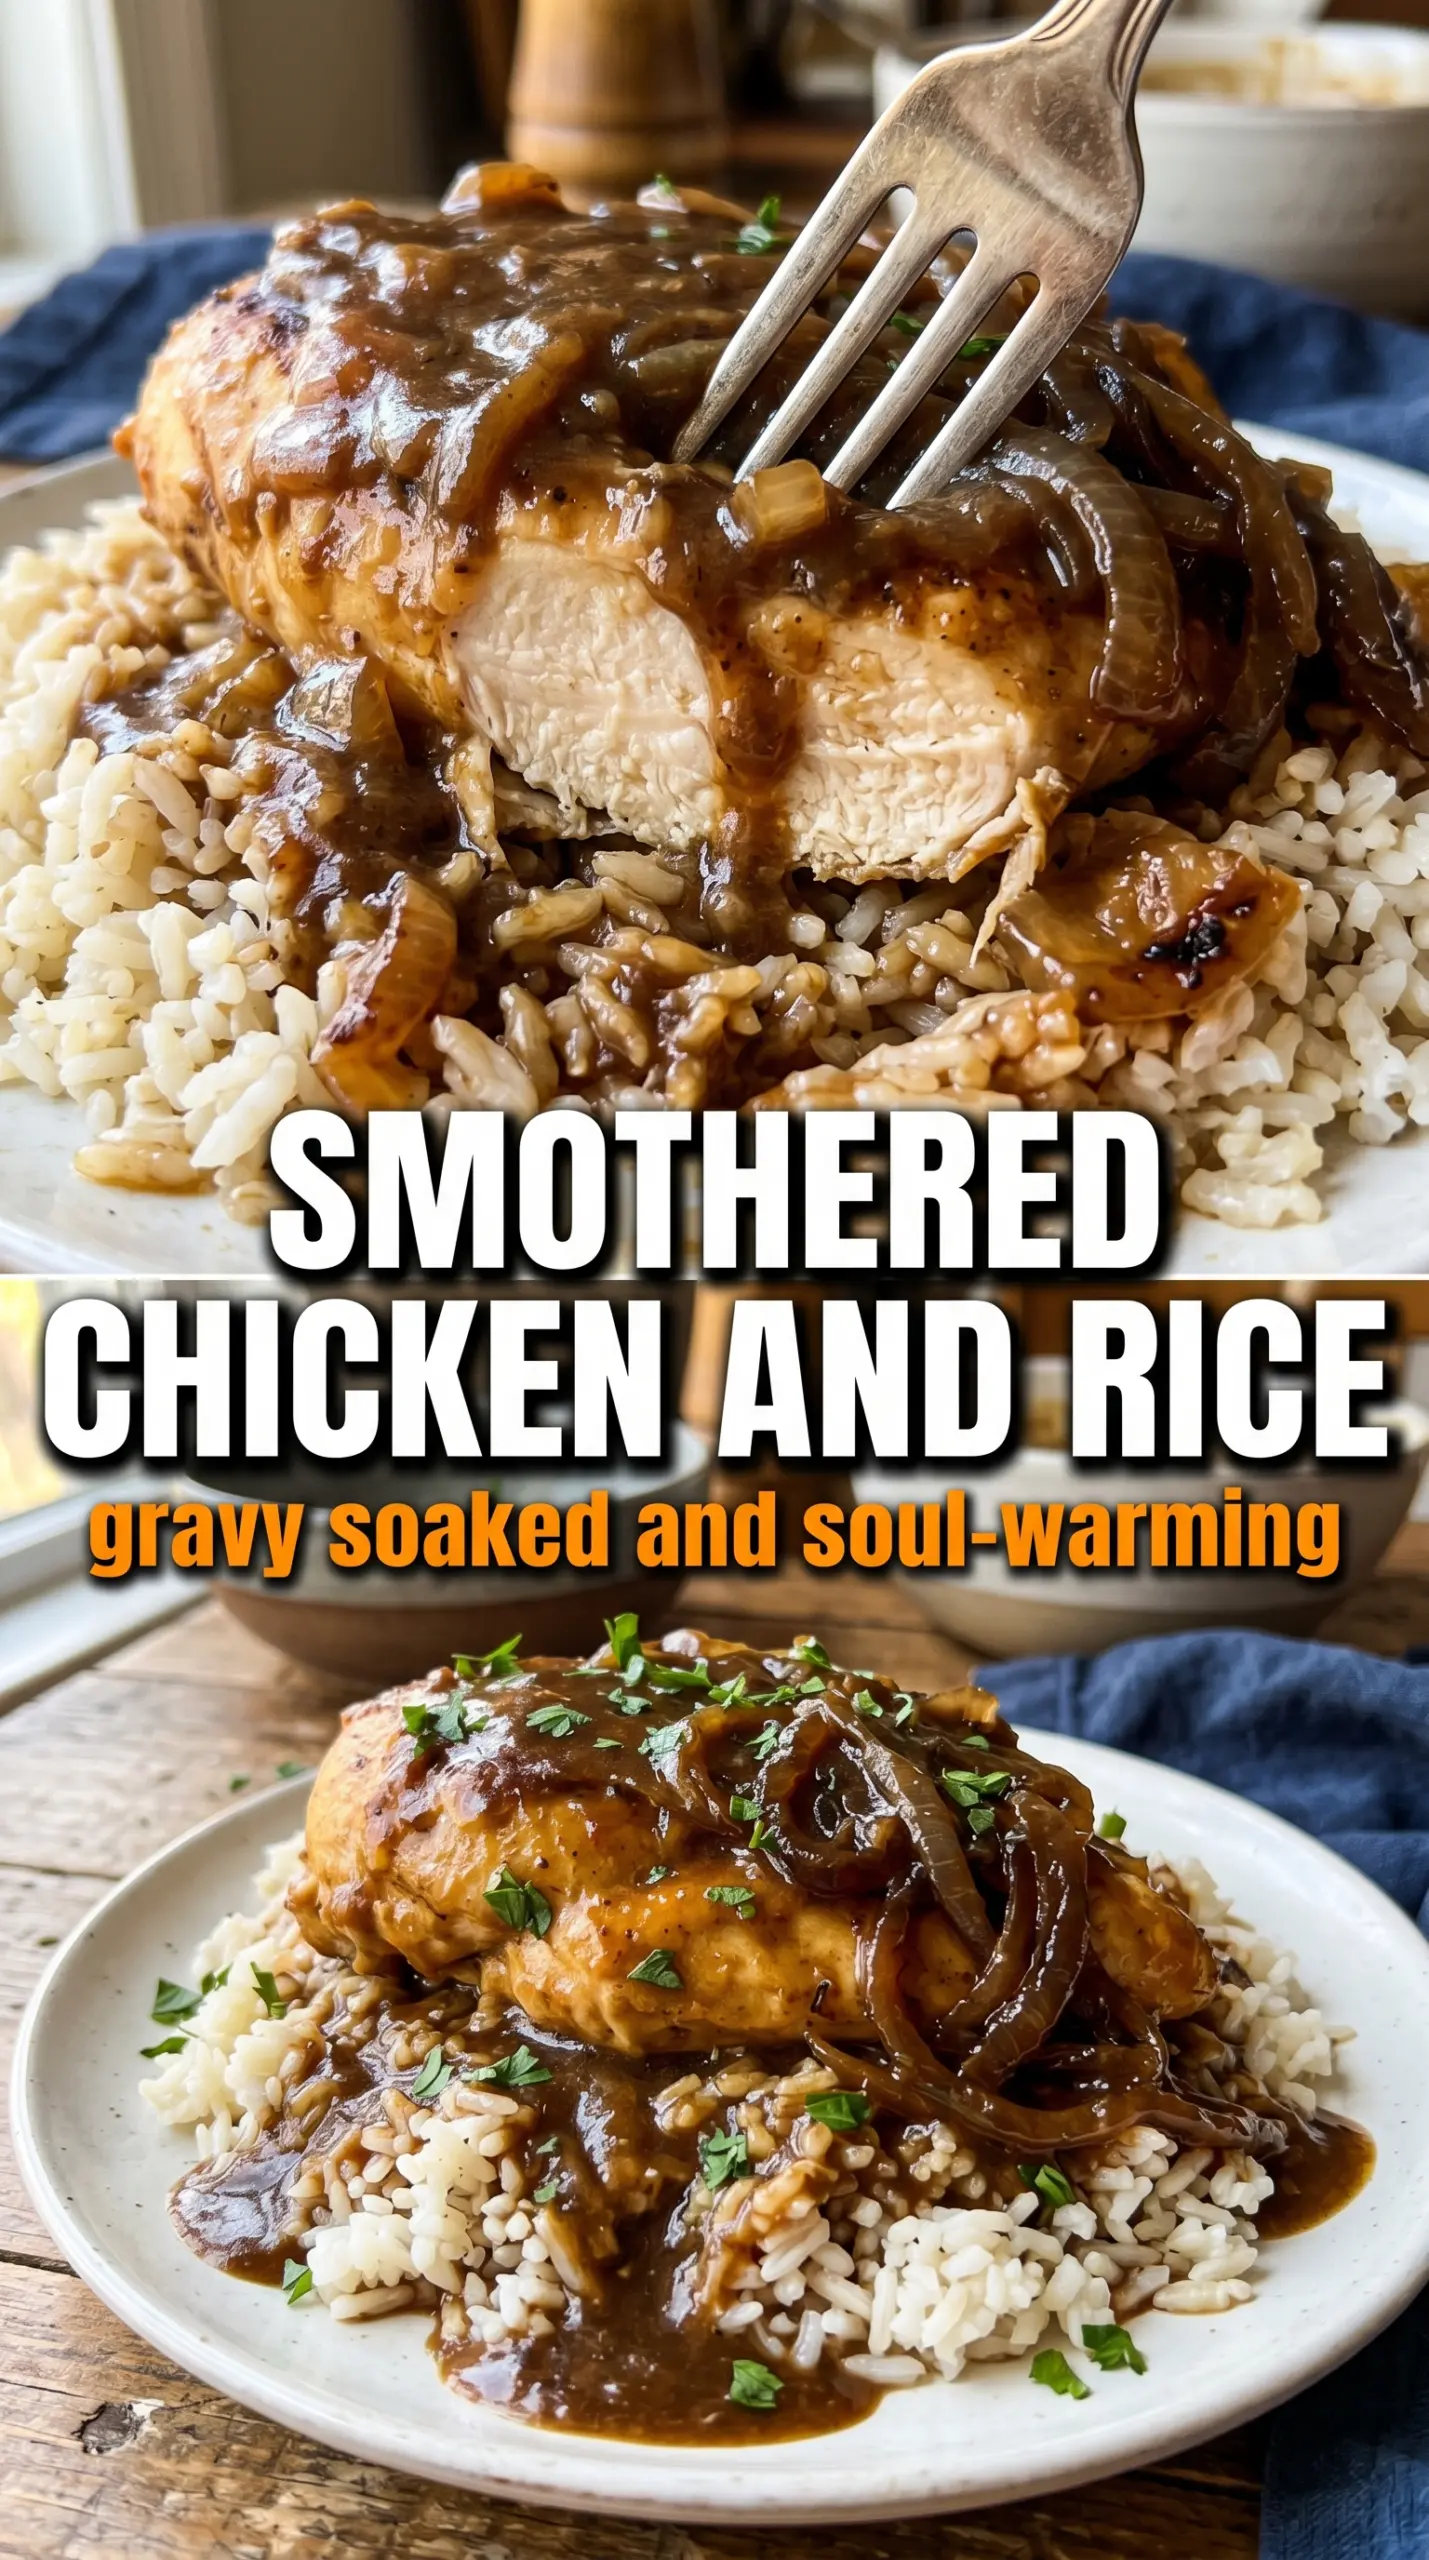
Smothered chicken and rice lands on the table with fork-tender chicken, a glossy onion gravy, and rice that soaks up every bit of the savory drippings. The best versions don’t keep the chicken and the rice separate; they let the two cook together so the rice picks up the fond from the pan, the sweetness from the onions, and just enough cream to feel rich without turning heavy.
What makes this version work is the order. The chicken gets a hard sear first, which builds the flavor base that carries the whole dish. Then the onions cook down in the same pot until they’re soft and browned at the edges before the flour, broth, and cream go in. That means the gravy starts with real depth instead of tasting like it came from a shortcut.
Below, I’ll walk through the part that matters most: getting the rice tender without letting the pot dry out, plus a few smart swaps if you want to change the chicken, lighten the gravy, or stretch it for a bigger dinner.
The rice came out fluffy on top but soaked up all that onion gravy underneath, and the chicken stayed juicy after the 22 minutes covered. I’ve made similar skillet dinners that turned mushy, but this one held together beautifully.
Save this smothered chicken and rice for the night you want one pot, creamy gravy, and rice that cooks right in the same pan.
The Sear That Keeps the Chicken Juicy While the Rice Cooks
The biggest mistake in a dish like this is rushing the chicken. If the thighs don’t get a real sear, you miss out on the browned bits that turn into the gravy later, and the skin never has a chance to render and crisp at the edges. Sear skin-side down long enough to deepen the color; pale chicken gives you pale gravy.
Once the chicken comes out, don’t clean the pot. Those stuck-on bits on the bottom are the backbone of the sauce, and the onions need that same pan to pick them up as they soften. The rice cooks directly in that liquid, so every choice before the simmer matters more than it would in a separate side dish.
What Each Ingredient Is Actually Doing in This Pot
- Bone-in, skin-on chicken thighs — These stay juicy through the simmer and bring the richest flavor to the pot. Boneless thighs work in a pinch, but you lose some of that deep chicken taste and the rice won’t get quite the same drippings.
- Onions — They’re not just filler here. As they cook down, they add sweetness and body to the gravy, and they also help the sauce feel finished without needing extra thickeners.
- Flour — This is what turns the broth and cream into a proper gravy instead of a thin sauce. Let it cook for a minute with the onions so it doesn’t taste raw; skipping that step leaves the whole dish tasting dusty.
- Chicken broth and heavy cream — The broth gives the rice what it needs to cook, while the cream softens the edges and makes the gravy cling to the chicken. Half-and-half can work, but the sauce will be looser and a little less lush.
- Long-grain white rice — This is the right rice for a tender, separate grain. Short-grain rice turns starchier and can go gummy in a covered pot like this.
- Worcestershire sauce — A small amount sharpens the gravy and deepens the savory notes without making it taste like a distinct sauce. It’s the quiet ingredient that makes the pot taste rounder.
Building the Gravy Before the Rice Goes In
Seasoning and Browning the Chicken
Pat the thighs dry, then season them well so the spices can cling instead of sliding off in the oil. Place them skin-side down in a hot Dutch oven and leave them alone long enough for the skin to turn deep golden and release easily. If the pan is too cool, the chicken steams and the skin stays limp; if it’s too hot, the spices scorch before the fat renders.
Softening the Onions in the Fond
After the chicken is out, the onions go straight into the same pot. Cook them over medium heat until they turn soft, sweet, and lightly browned at the edges, scraping as they release the browned bits from the bottom. That mixture is what gives the gravy its color and depth, and it’s why the final dish tastes cooked-all-the-way-through instead of assembled.
Thickening the Broth the Right Way
Stir the flour through the onions and let it cook briefly before adding liquid. Then pour in the broth a little at a time while stirring, which keeps the gravy smooth. If you dump all the broth in at once, the flour can clump and leave you with a lumpy sauce that never fully blends.
Letting the Rice Finish Under a Tight Lid
Stir the uncooked rice into the gravy, nestle the chicken back on top, and bring the pot to a gentle simmer before covering it tightly. The heat should stay low enough that the liquid barely bubbles; a hard boil can drive off the moisture before the rice finishes cooking. When it’s done, the rice will be tender and the liquid mostly absorbed, with the chicken reading 165°F at the thickest part.
How to Change This Without Losing the Comfort of the Dish
Dairy-Free Version
Swap the heavy cream for full-fat canned coconut milk or an unsweetened dairy-free cooking cream. Coconut milk gives the gravy more richness, but it adds a faint coconut note, so use it only if you’re fine with that. A neutral dairy-free cream keeps the flavor closest to the original.
Gluten-Free Adjustment
Use a gluten-free all-purpose flour blend in place of the regular flour, or thicken the gravy with a cornstarch slurry at the end. The flour route gives you the smoothest, most traditional texture; cornstarch thickens faster, but the sauce will look a little glossier and more delicate.
Boneless Chicken Thighs or Breasts
Boneless thighs work best if you want to shorten the cook slightly, but they need less time under the lid so they don’t overcook. Chicken breasts can be used, but they dry out faster and don’t enrich the gravy as much, so pull them as soon as they hit temperature.
Storage and Reheating
- Refrigerator: Store in an airtight container for up to 4 days. The rice will keep absorbing gravy as it sits, so expect a thicker, softer texture the next day.
- Freezer: It freezes well for up to 2 months, though the rice will soften a bit after thawing. Freeze in portions with plenty of gravy so it reheats more evenly.
- Reheating: Reheat gently on the stove or in the microwave with a splash of broth to loosen the sauce. Don’t blast it on high heat, or the chicken can toughen and the rice can turn dry at the edges before the center warms through.
The Questions That Come Up When You Make This Again

Smothered Chicken and Rice
Ingredients
Equipment
Method
- Season the chicken thighs with garlic powder, onion powder, smoked paprika, salt, and pepper, then pat to help the coating adhere. Heat vegetable oil in a large Dutch oven over medium-high heat, place chicken skin-side down, and sear for 6-7 minutes until golden with the skin crisping and releasing easily.
- Flip the chicken and sear for 4 minutes more until the second side is browned, then remove to a plate and keep it nearby.
- In the same Dutch oven, cook thinly sliced onion over medium heat for 8-10 minutes, stirring occasionally, until caramelized and deeply golden. Add minced garlic and cook for 1 minute until fragrant.
- Sprinkle all-purpose flour over the onions and stir for 1 minute to cook out the raw flour flavor. Gradually add chicken broth while scraping up the browned bits from the bottom, then stir until smooth.
- Stir in heavy cream and Worcestershire sauce until the gravy looks cohesive and lightly thickened.
- Stir in the uncooked long-grain white rice, then nestle the chicken skin-side up into the broth so the rice surrounds it. Bring to a simmer, and look for steady bubbling around the edges.
- Cover tightly and cook over low heat for 20-22 minutes until the rice is cooked and the chicken reaches 165°F, pausing to check for gentle simmering through the lid. The rice should be tender and most of the liquid absorbed.
- Garnish with fresh parsley and serve while hot, with the dark gravy spooned over the chicken and rice.