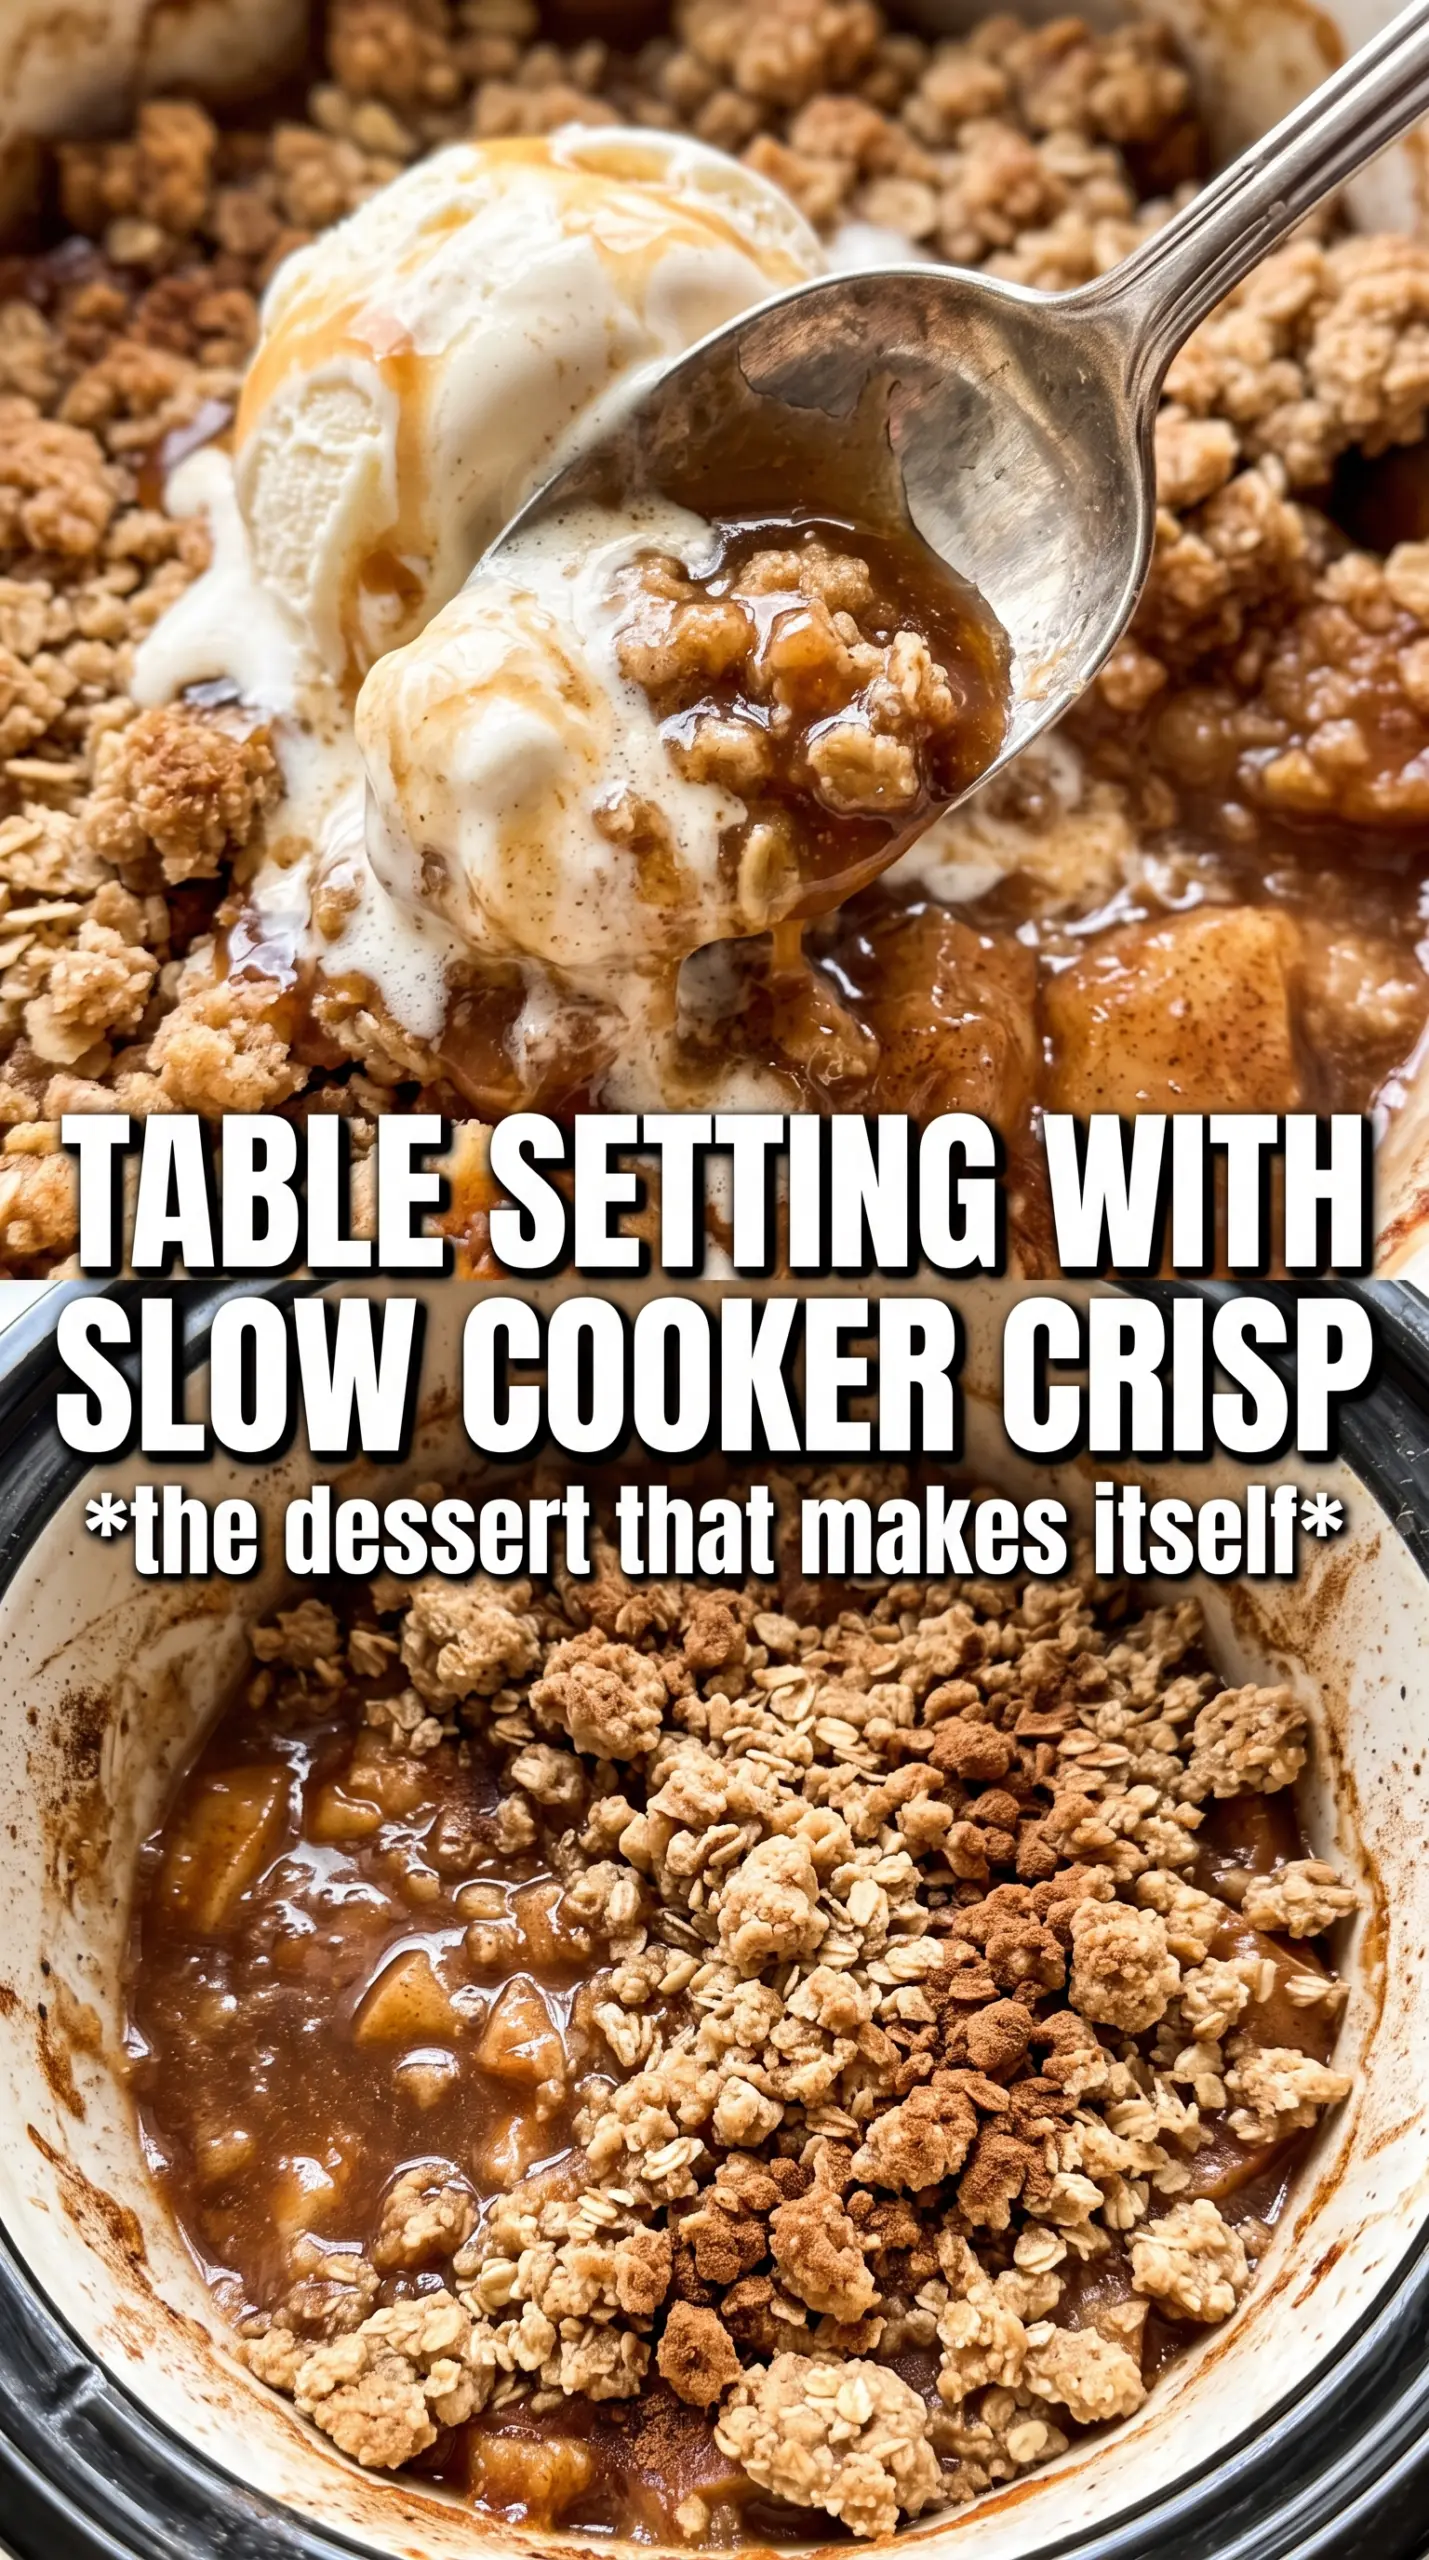
Slow cooker apple crisp comes out with tender cinnamon apples underneath a buttery oat topping that stays pleasantly craggy instead of turning into a wet blanket. The best part is that it tastes like you worked a lot harder than you did, which is exactly what dessert should do on a busy night. A spoonful lands somewhere between warm pie filling and baked oatmeal, and that’s the magic here.
The key is handling the moisture. Apples release plenty of juice as they cook, so the topping needs a little help staying crisp. A folded kitchen towel or a stack of paper towels under the lid catches condensation before it drips back down, and that one small step makes a bigger difference than any fancy ingredient. I also like using a mix of tart and sweet apples so the filling keeps some shape and doesn’t taste flat.
Below, I’m walking through the parts that matter: which apples hold up best, how to keep the crumble from going soft, and when it’s worth giving the top a quick broil for extra crunch.
The apples turned soft and jammy without falling apart, and the towel trick kept the topping from getting soggy. I broiled it for a couple minutes at the end and it had the best crunchy finish.
Save this slow cooker apple crisp for the nights when you want a caramel-drizzled dessert with a crunchy oat topping and almost no oven time.
The Trick That Keeps Slow Cooker Apple Crisp From Turning Soggy
The hardest part of slow cooker apple crisp isn’t the apples. It’s the steam. A crockpot traps moisture by design, which is great for tender fruit but terrible for a crumble topping if you just pile everything in and walk away. That’s why the topping here is built to stay coarse and buttery, and why the towel under the lid matters as much as the ingredients themselves.
There’s also a timing issue. If you cook this too long, the apples collapse into sauce and the topping loses its shape. Stop when the apples are tender at the center but still hold a little structure, and the crumble looks set rather than wet. If you want a more crisp finish, a short broil at the end gives the topping those browned edges that the slow cooker can’t quite manage on its own.
- Rolled oats — Old-fashioned oats give the topping its nubby, crisp texture. Quick oats turn softer and denser, so they don’t hold up the same way.
- Apples — A mix of firm-tart and sweeter apples keeps the filling balanced. Granny Smith, Honeycrisp, or Pink Lady all work well; very soft apples can break down before the topping finishes.
- Lemon juice — This keeps the apples bright and stops the filling from tasting one-note. Fresh lemon is best here because the acidity lifts all the cinnamon and brown sugar.
- Butter — Melted butter coats the dry topping evenly and helps the crumbs clump. That clumping is what gives you those crunchy little pockets instead of a dusty layer.
What Each Ingredient Is Actually Doing in This Recipe
- Primary ingredient (the star) — Quality matters most. Choose the best you can find.
- Cooking medium (oil, butter, or broth) — This carries flavors and prevents dryness.
- Seasonings (salt, pepper, spices, herbs) — Layer flavors so nothing overpowers. Build depth gradually.
- Aromatics (garlic, onion, herbs) — Cook with fat to bloom flavors. Become the foundation.
- Supporting ingredients — Complement the main ingredient without overpowering it.
- Sauce or liquid (if applicable) — Brings flavors together. Balance richness with acid.
- Acid (lemon, vinegar, wine, or other) — Brightens and prevents flat-tasting results.
- Final finish (garnish, glaze, or sauce) — Prevents one-dimensional taste and adds visual appeal.
Building the Crumble So It Stays Crisp on Top
Tossing the Apple Layer
Start by coating the sliced apples with the sugars, cinnamon, nutmeg, and lemon juice until every piece looks lightly glossy. That coating helps the fruit cook evenly and gives you a syrupy base without dumping extra liquid into the crockpot. Spread the apples into an even layer so they soften at the same rate. If you mound them up too high in the center, the middle stays firmer than the edges.
Making the Oat Crumble
Mix the oats, flour, brown sugar, cinnamon, and salt first, then drizzle in the melted butter and toss until the mixture forms damp clumps. You want uneven crumbles, not a smooth paste. If the topping looks sandy, it needs a little more tossing with the butter. If it looks greasy or mashed together, the butter was too hot or the mixture sat too long before going on the apples.
Cooking Low and Slow
Lay a folded kitchen towel or several paper towels under the lid before turning the slow cooker on. That catches condensation so it doesn’t rain back onto the topping. Cook on low until the apples are tender and the crumble feels set when you tap the top with a spoon. If you pull it too early, the apples stay sharp and the topping can look raw in the middle. If your slow cooker runs hot, check a little before the 3-hour mark.
Finishing for More Crunch
For a more browned topping, spoon the finished crisp into an oven-safe dish and broil it for 3 to 4 minutes, watching it closely the entire time. The line between perfectly toasted and burnt is short. This step isn’t required, but it gives the crumble a deeper flavor and a better texture against the soft apples. Serve it warm with vanilla ice cream and a little caramel sauce while the top still has some contrast.
How to Adapt This Slow Cooker Apple Crisp for Different Kitchens
Dairy-Free Version
Use melted dairy-free butter in the crumble and skip the ice cream unless you have a non-dairy version you like. The topping will still clump and brown, though the flavor will be a little less rich than with butter. A coconut-based ice cream works nicely with the cinnamon apples if you want that same hot-and-cold contrast.
Gluten-Free Swap
Replace the all-purpose flour with a cup-for-cup gluten-free baking blend. The texture stays close to the original, but the topping may be a touch more delicate once it cools. Keep the oats certified gluten-free if that matters for your kitchen, since oats are often cross-contaminated.
A Less Sweet Filling
Cut the granulated sugar in the filling to 2 tablespoons if your apples are naturally sweet or you prefer a sharper fruit flavor. The crisp still works because the brown sugar in the topping brings plenty of sweetness. This version tastes a little more like baked apples with a crunchy lid than a classic dessert casserole.
Storage and Reheating
- Refrigerator: Store leftovers covered for up to 4 days. The topping softens in the fridge, but the flavor stays good.
- Freezer: It freezes best after baking, though the topping won’t stay crisp. Freeze in portions, wrapped well, for up to 2 months.
- Reheating: Warm individual servings in a 350°F oven or toaster oven until hot. The microwave works in a pinch, but it makes the topping limp, which is the main mistake people run into with this dessert.
Questions I Get Asked About This Slow Cooker Apple Crisp
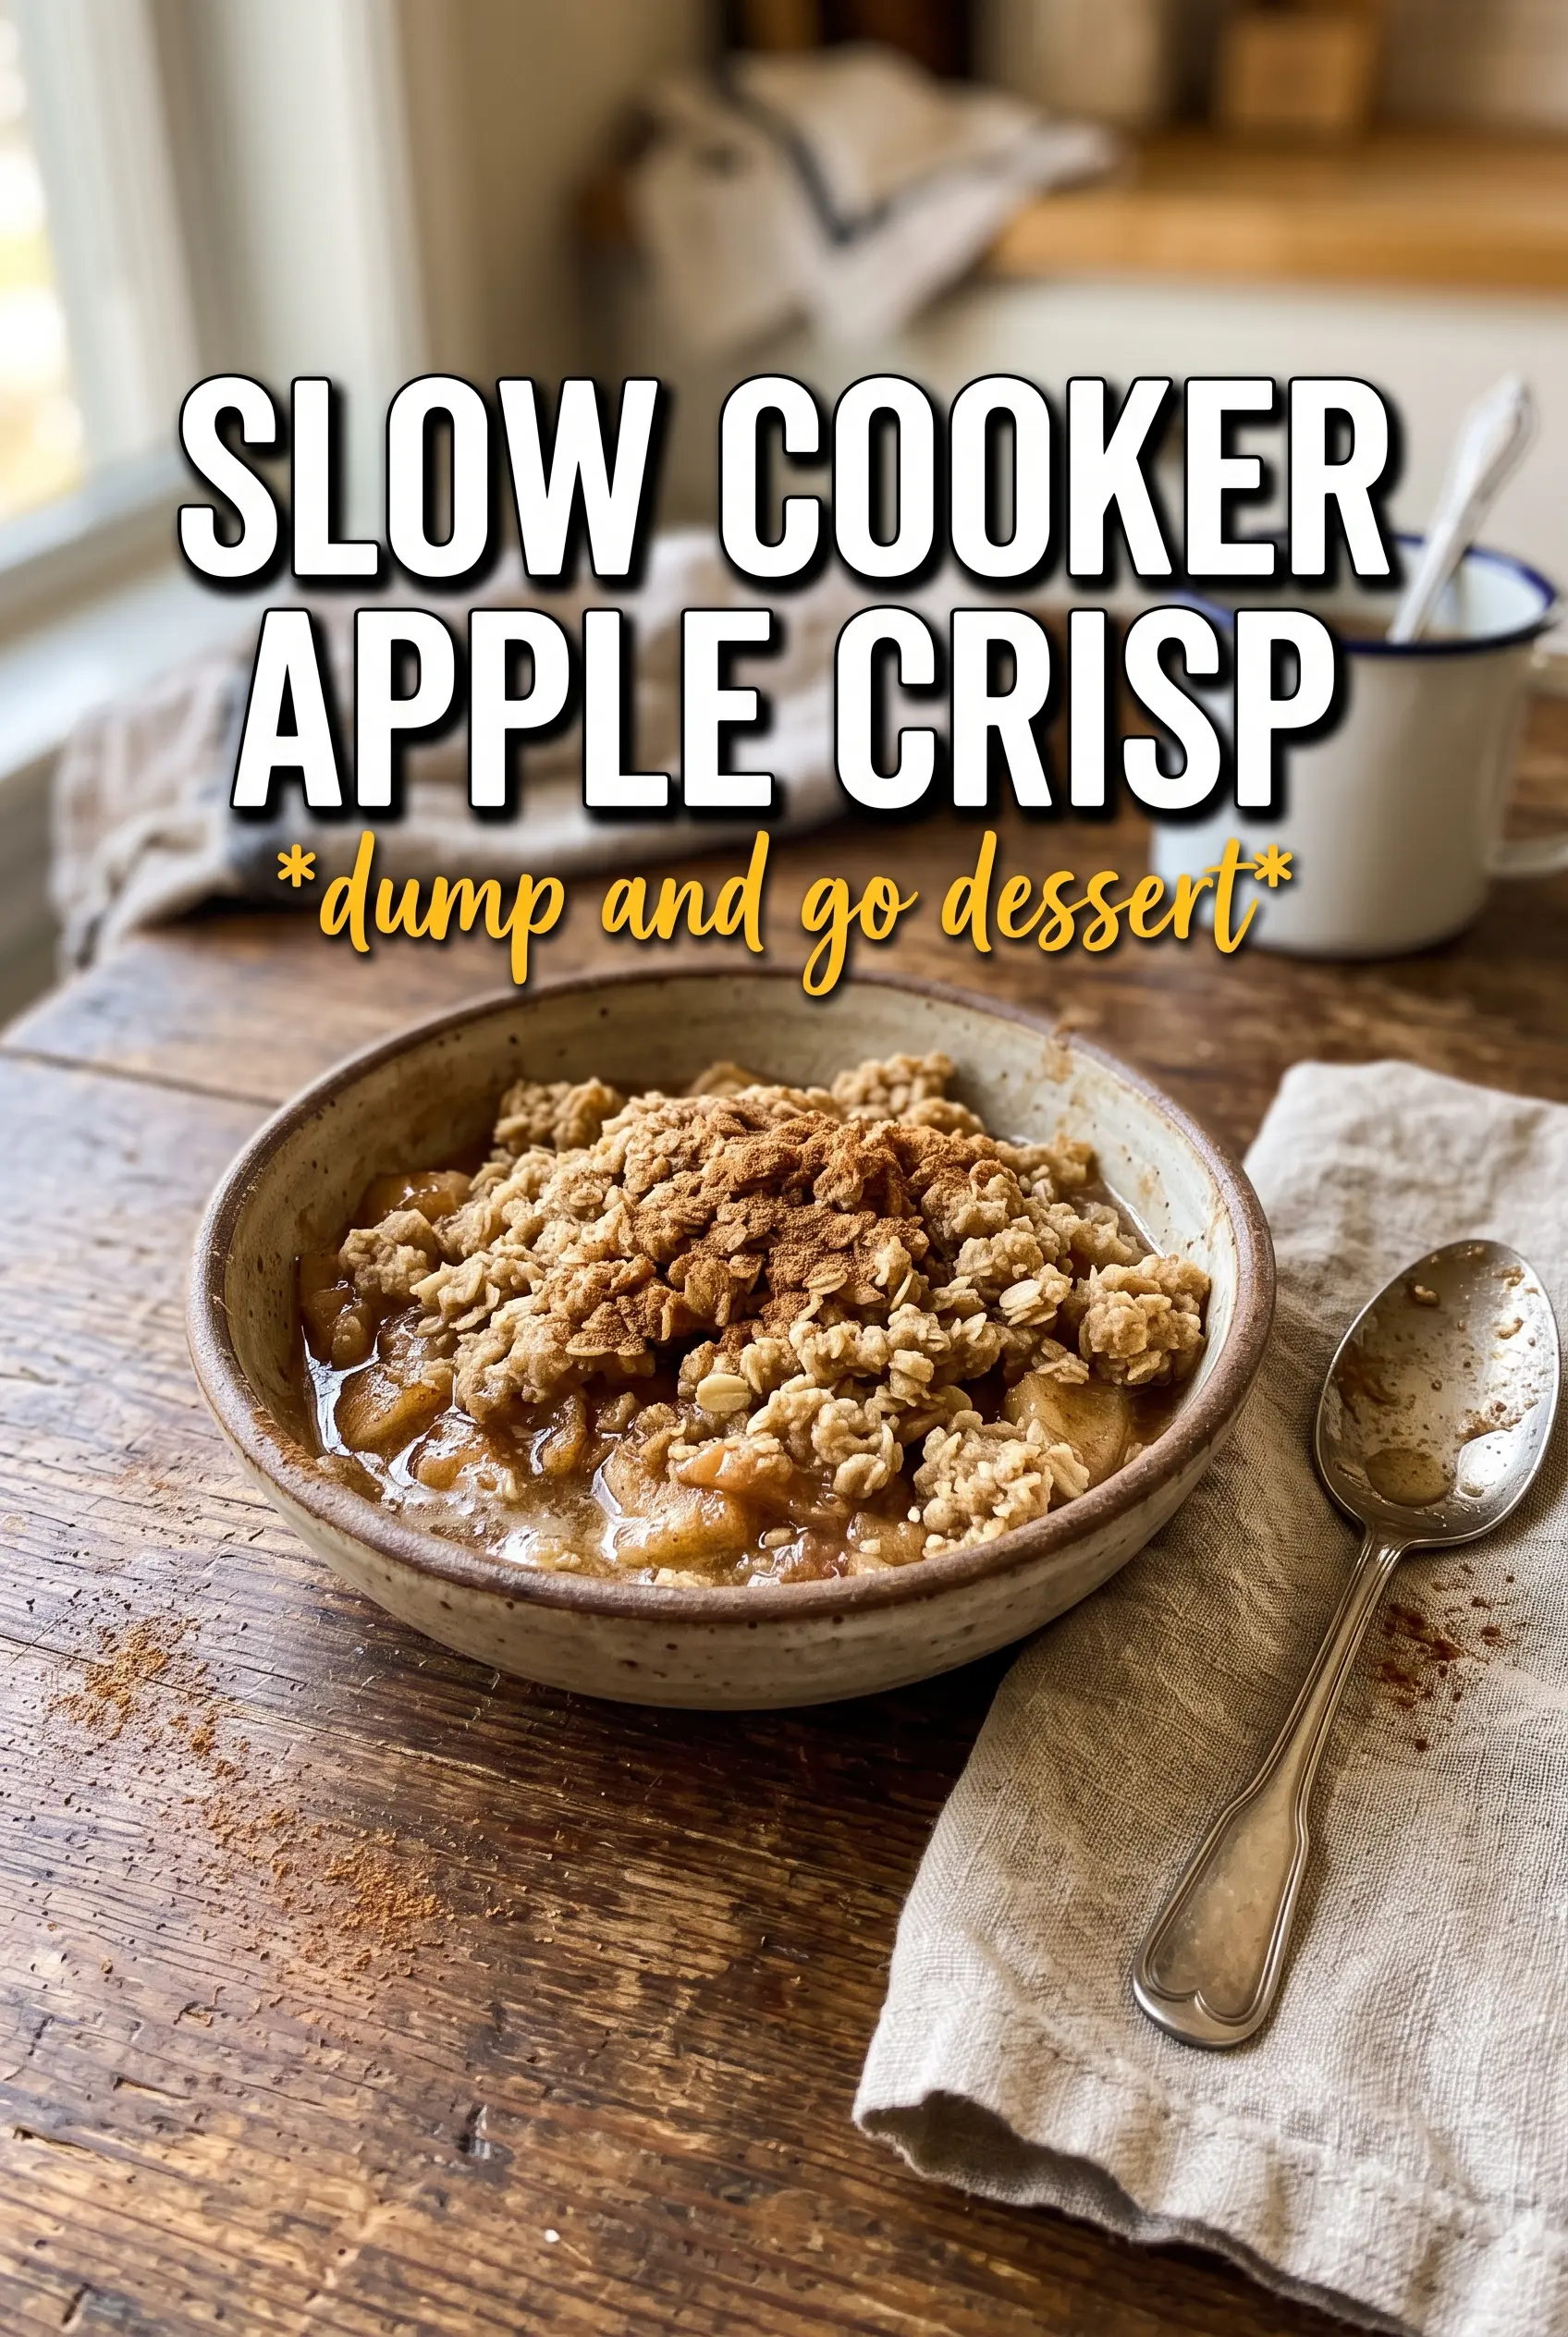
Slow Cooker Apple Crisp
Ingredients
Equipment
Method
- Toss the sliced apples with granulated sugar, brown sugar, cinnamon, nutmeg, and lemon juice, then spread them in the slow cooker as an even layer.
- Leave the slow cooker uncovered for no more than a moment while you prepare the topping so the apples don’t sit too long.
- Combine rolled oats, all-purpose flour, packed brown sugar, cinnamon, and salt in a bowl, then drizzle in the melted butter.
- Toss until the mixture looks evenly moistened and forms clumps when pressed between your fingers.
- Scatter the oat crumble over the apples to cover the surface.
- Place a folded kitchen towel or several paper towels under the slow cooker lid to catch condensation, which helps prevent a soggy topping.
- Cook on Low for 2.5 to 3 hours, until the apples are tender and the crumble topping is set (look for a dry, cohesive top rather than glossy wet crumbs).
- For a crispier result, broil for 3 to 4 minutes, watching closely until the topping turns deeper golden brown at the edges.
- Serve warm with vanilla ice cream and drizzle caramel sauce over the top.