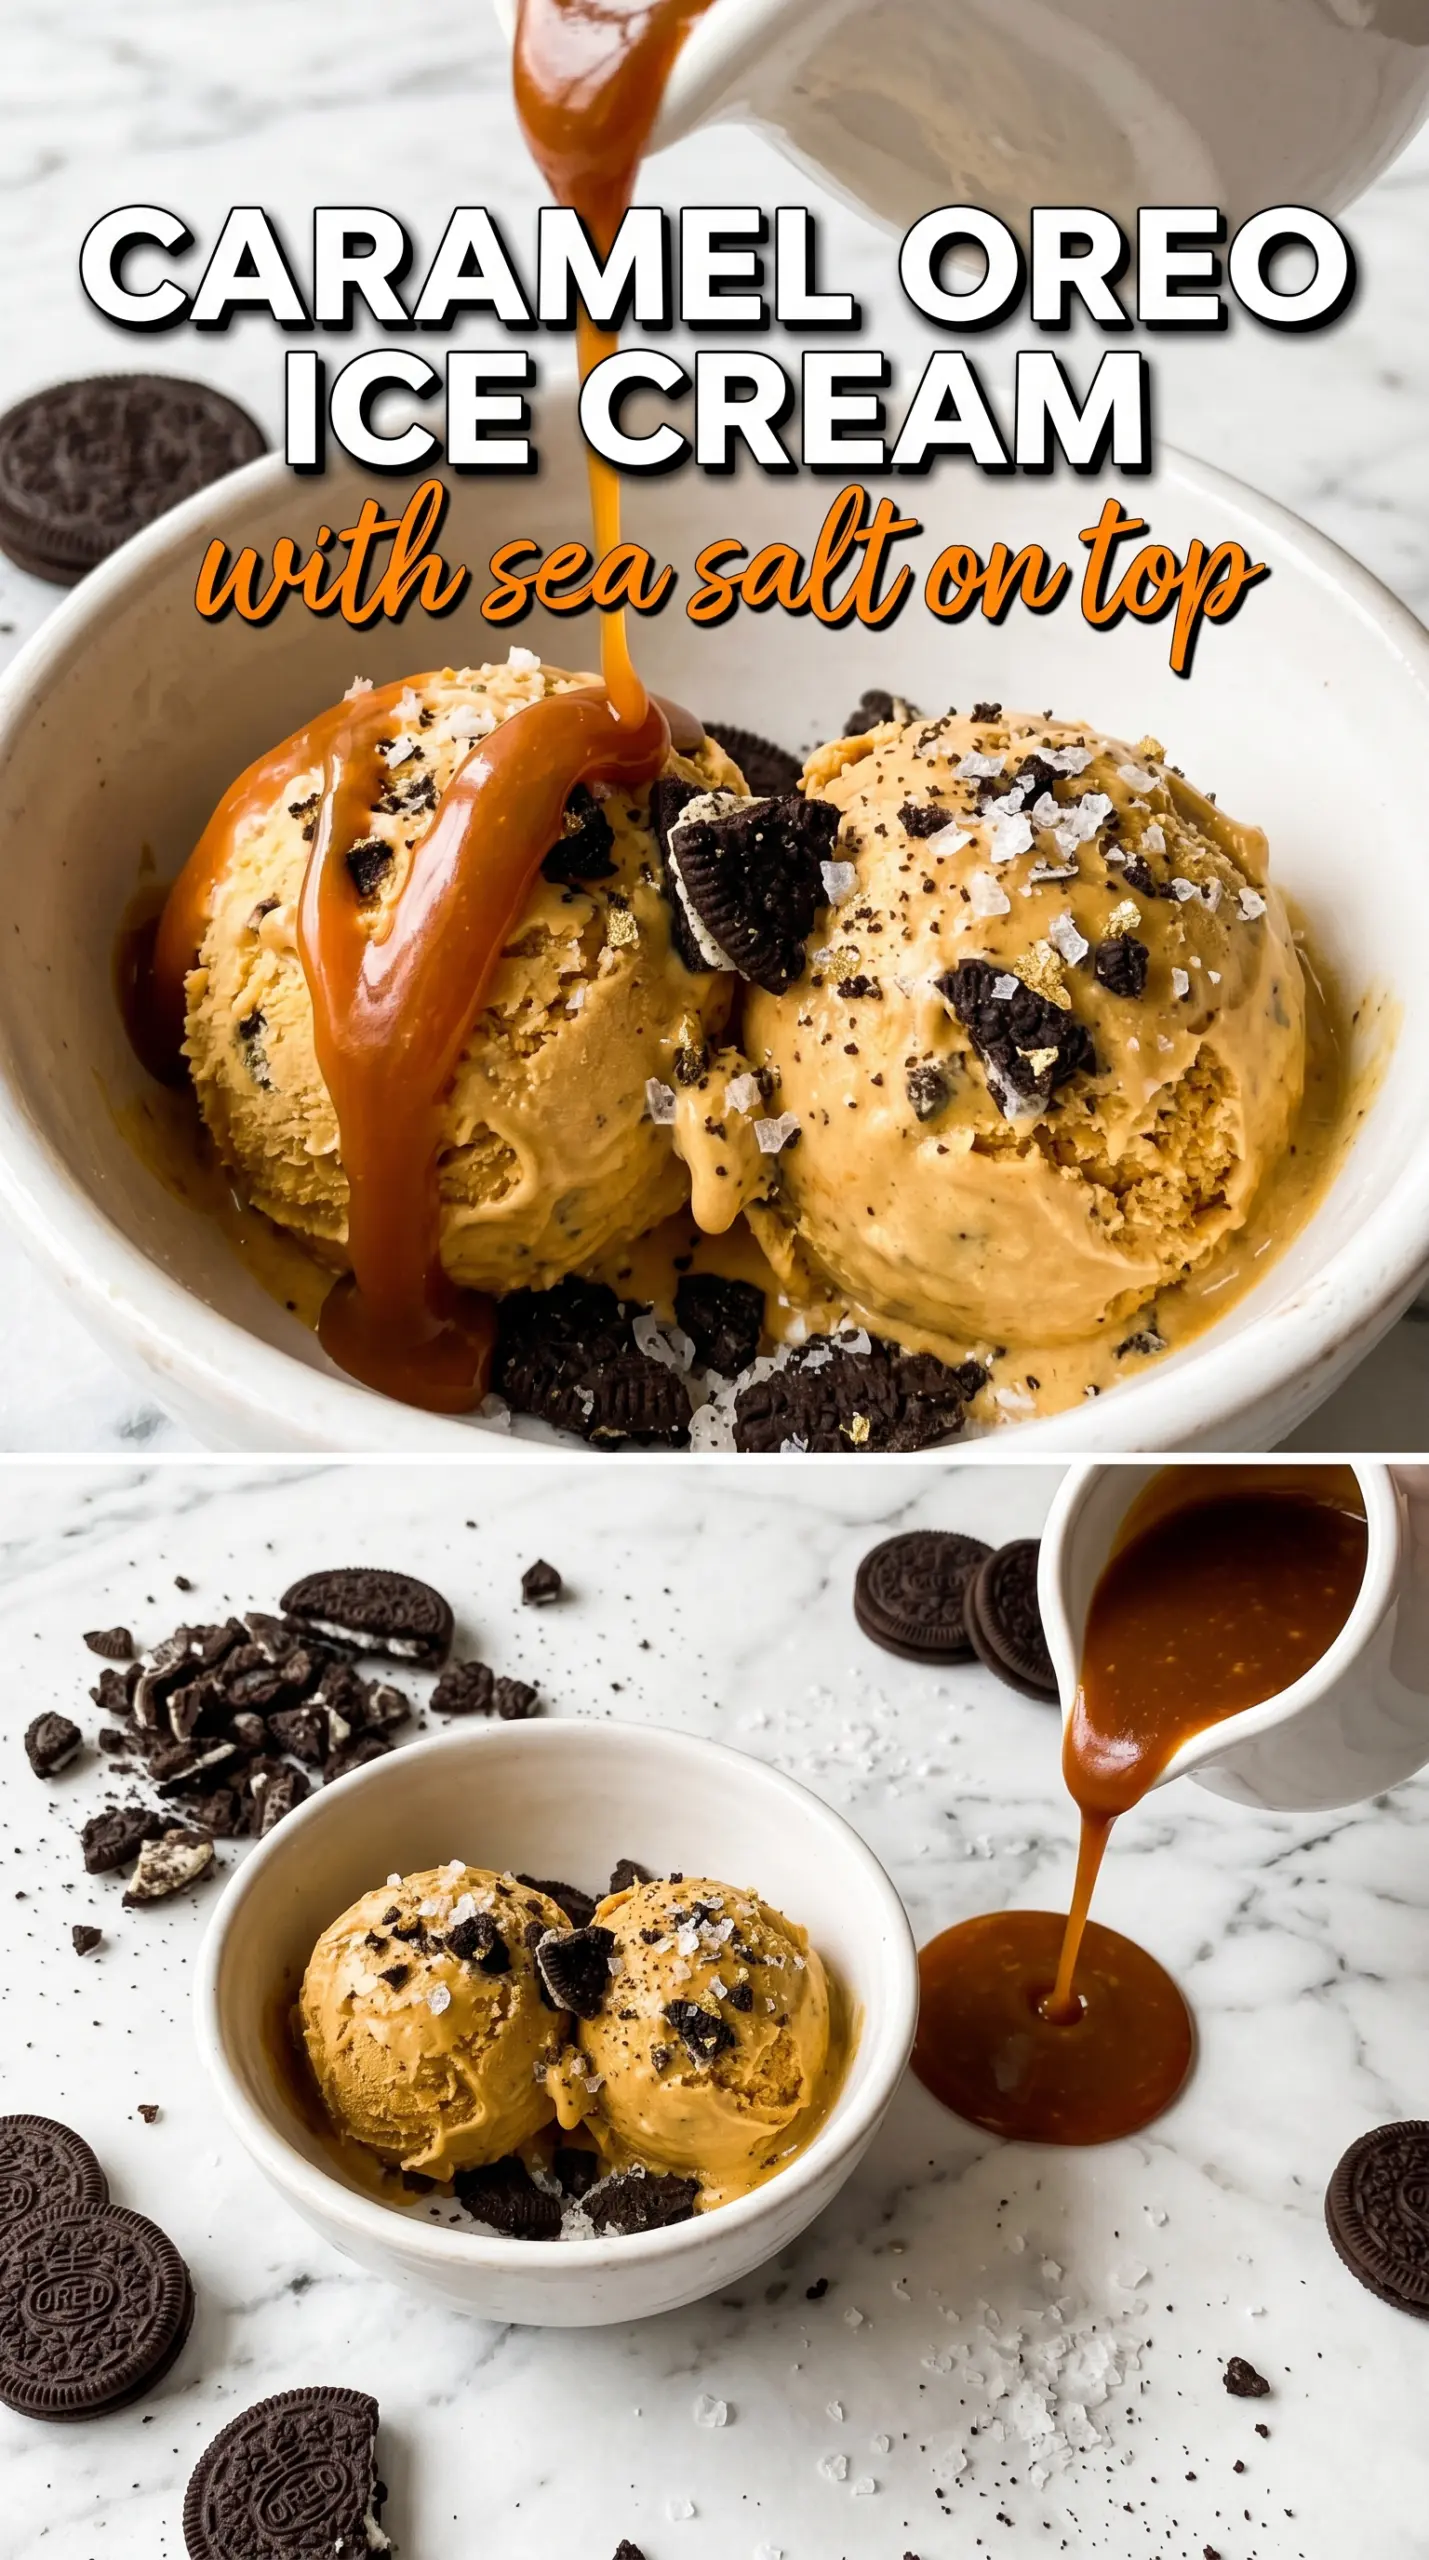
Sea salt caramel Oreo ice cream hits that perfect middle ground between rich and refreshing: creamy enough to feel indulgent, cold enough to keep you going back for one more spoonful, with Oreo chunks and caramel ribbons that stay distinct instead of turning muddy. The salted caramel pulls the whole dessert together. It keeps the sweetness in check and makes every bite taste a little more layered than plain cookies and cream.
The key here is folding, not stirring. Once the cream is whipped to stiff peaks, the condensed milk base needs to be added gently so the ice cream stays light instead of dense. The caramel goes into the base before freezing, which gives the whole pan a caramel flavor instead of just a swirl on top. A little sea salt in the base matters more than people think because it sharpens the chocolate in the Oreos and keeps the caramel from tasting flat.
Below, I’ll walk through the little details that keep the texture scoopable and the mix-ins from sinking. I also included a few smart swaps and answers to the questions that come up most often when making no-churn ice cream at home.
The caramel stayed swirled through the whole pan and the Oreos still had a little crunch after freezing. I followed the folding step exactly and it came out fluffy, not icy.
Like this sea salt caramel Oreo ice cream? Save it to Pinterest for the nights when you want a no-churn dessert with caramel ribbons, cookie crunch, and a salty finish.
The Part That Keeps No-Churn Ice Cream From Turning Dense
No-churn ice cream lives or dies by how much air you keep in the base. Whipped cream gives you the structure that a machine usually would, and the condensed milk keeps the texture soft enough to scoop after freezing. If you rush the folding, the cream collapses and the finished ice cream turns heavy instead of plush.
The other thing people get wrong is the caramel. Thick caramel sauce works best here because it streaks through the base instead of disappearing into it. If your caramel is thin, it will blend too evenly and you’ll lose those pockets of gooey sweetness that make each bite interesting. A restrained amount of salt is what keeps the whole thing from reading one-note.
- Heavy cream — This has to be whipped to stiff peaks, and there isn’t a good substitute that gives the same body. Anything lighter won’t hold the air you need for a scoopable no-churn base.
- Sweetened condensed milk — It does two jobs at once: sweetens and softens the freeze. Evaporated milk won’t do the same thing, and regular milk will make the mixture icy.
- Caramel sauce — Use a sauce thick enough to ribbon through the cream. Store-bought works fine if it’s a thick, spoonable caramel; if it pours like syrup, reduce it first or it will vanish into the base.
- Oreos — Roughly crushed cookies give you texture without turning the whole pan dark and muddy. Bigger chunks stay crunchy longer, which matters after a long freeze.
What Each Ingredient Is Actually Doing in This Ice Cream
- Base ingredient (cream, milk, or custard) — This provides the foundation and richness. Quality matters.
- Sweetener (sugar, honey, or condensed milk) — This sweetens and prevents ice crystals. The ratio is critical.
- Flavor element (vanilla, fruit, chocolate, or other) — This defines the ice cream personality. Use quality ingredients.
- Egg yolks (if making custard base) — These create richness and silky texture. Optional but elevates ice cream.
- Churning (if using ice cream maker) — This incorporates air and prevents ice crystals. Critical for smooth texture.
- Freezing temperature and time — Proper freezing prevents rock-hard texture. Store at 0°F or below.
- Mix-ins (chocolate, cookies, fruit, or swirls) — These add texture and prevent one-dimensional flavor. Add near end of churning.
- Serving temperature (slightly soft, not rock hard) — This provides creamy mouthfeel. Remove from freezer 5 minutes before serving.
Building the Swirl Before It Freezes Solid
Whipping the Cream to the Right Point
Start with very cold cream and a chilled bowl if you can. Beat it until the peaks stand straight up when you lift the whisk. Stop there. If you keep going, the cream turns grainy and starts heading toward butter, which makes the final ice cream less airy and harder to fold.
Making the Caramel Base
Whisk the condensed milk, caramel sauce, vanilla, and sea salt until the mixture is smooth and uniform. You want the salt fully dissolved so you don’t get sharp little bursts in one bite and none in the next. This base should taste a touch sweeter and saltier than you want the finished ice cream to taste, since the whipped cream will soften it.
Folding Without Knocking Out the Air
Add the caramel mixture to the whipped cream in a few additions and fold with a spatula, scraping from the bottom and turning the bowl as you go. Stop as soon as you no longer see streaks of white cream. A few faint ribbons are fine; overmixing is what deflates the base and leaves you with something more like frozen pudding than ice cream.
Layering for the Best Bite
Fold in half the Oreos first, then layer the rest with extra caramel in the loaf pan. Layering keeps the cookies from all sinking to the bottom and gives you pockets of crunch from the top scoop to the last bite. Finish with caramel and flaky sea salt on top before freezing so the surface tastes as good as the center.
How to Change the Mix-Ins Without Losing the Creamy Texture
Dairy-Free Version
Swap the heavy cream for a well-chilled coconut cream that whips firmly, and use a dairy-free caramel sauce. The texture will be a little more coconut-forward and less neutral, but it still freezes into a scoopable base if the coconut cream is cold and whipped to firm peaks.
Gluten-Free Version
Use gluten-free sandwich cookies in place of Oreos. The flavor stays close, and the texture still gives you those crunchy chocolate bits that make the dessert work. Crush them a little more lightly than you would Oreos since some gluten-free cookies soften faster in the freezer.
Extra-Salty Caramel Swirl
If you want a sharper salted caramel finish, add a pinch more flaky sea salt on top after the ice cream is layered, not into the base. That gives you bursts of salt near the surface without making the whole batch taste briny.
Storage and Reheating
- Refrigerator: Not recommended. This is meant to be frozen, and it will melt into a loose cream mixture if left in the fridge.
- Freezer: Store covered for up to 2 weeks for the best texture. After that, the cookies soften and the caramel can ice over at the edges.
- Reheating: No reheating needed. For the best scoop, let the pan sit at room temperature for 5 to 10 minutes before serving. If you try to dig in straight from the freezer, the base will feel hard and the mix-ins can crack instead of slice cleanly.
Answers to the Questions Worth Asking
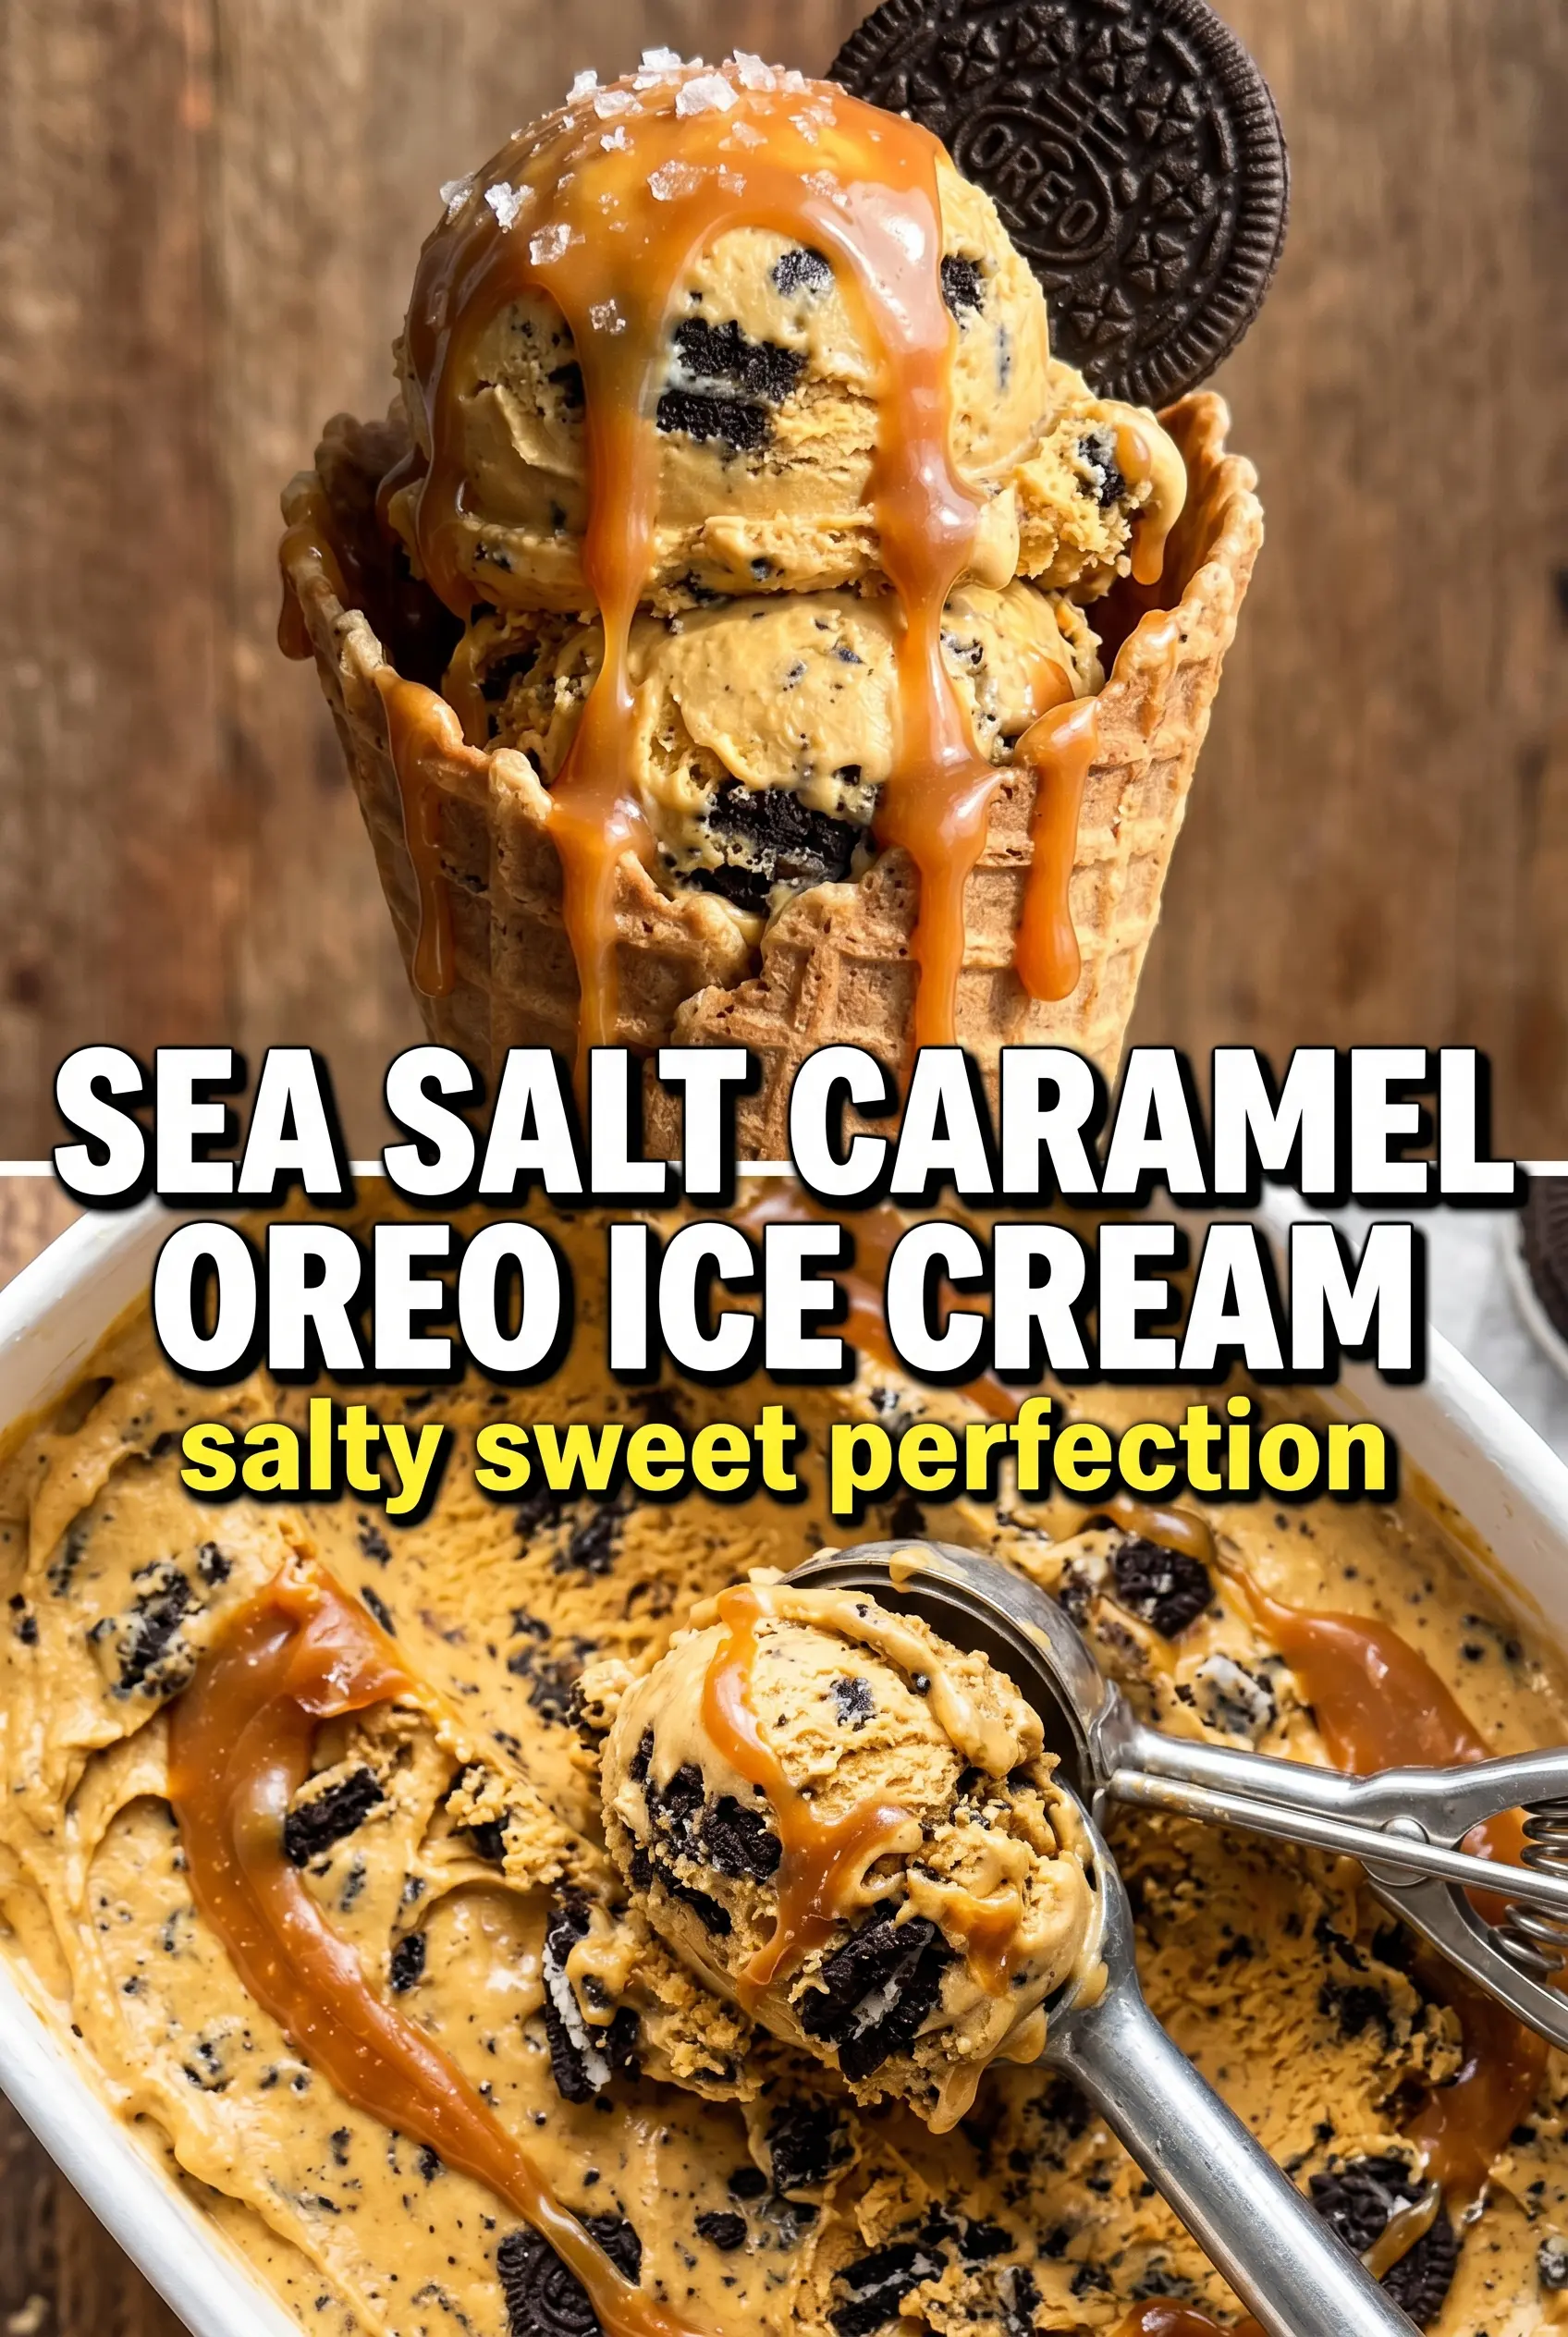
Sea Salt Caramel Oreo Ice Cream
Ingredients
Equipment
Method
- Whip the heavy cream in a stand mixer until stiff peaks form, about 5 to 7 minutes. Stop when the beaters leave distinct ridges on the surface.
- Whisk sweetened condensed milk, 1/4 cup caramel sauce, vanilla extract, and sea salt in a bowl until smooth and glossy, 1 to 2 minutes. The mixture should look uniform with no caramel streaks.
- Fold the condensed milk mixture gently into the whipped cream until just combined. Stop as soon as you no longer see white streaks to keep the texture airy.
- Fold in half the crushed Oreo cookies until evenly distributed. You should see cookie bits throughout the creamy base.
- Layer the ice cream into a 9x5 loaf pan, adding the remaining Oreos between layers. Drizzle extra caramel sauce between layers so it ribbons as it freezes.
- Finish by drizzling additional caramel sauce over the top and sprinkling flaky sea salt. Aim for a visible caramel sheen and scattered salt flakes.
- Freeze until firm, at least 6 hours or overnight. The loaf should slice cleanly when ready.