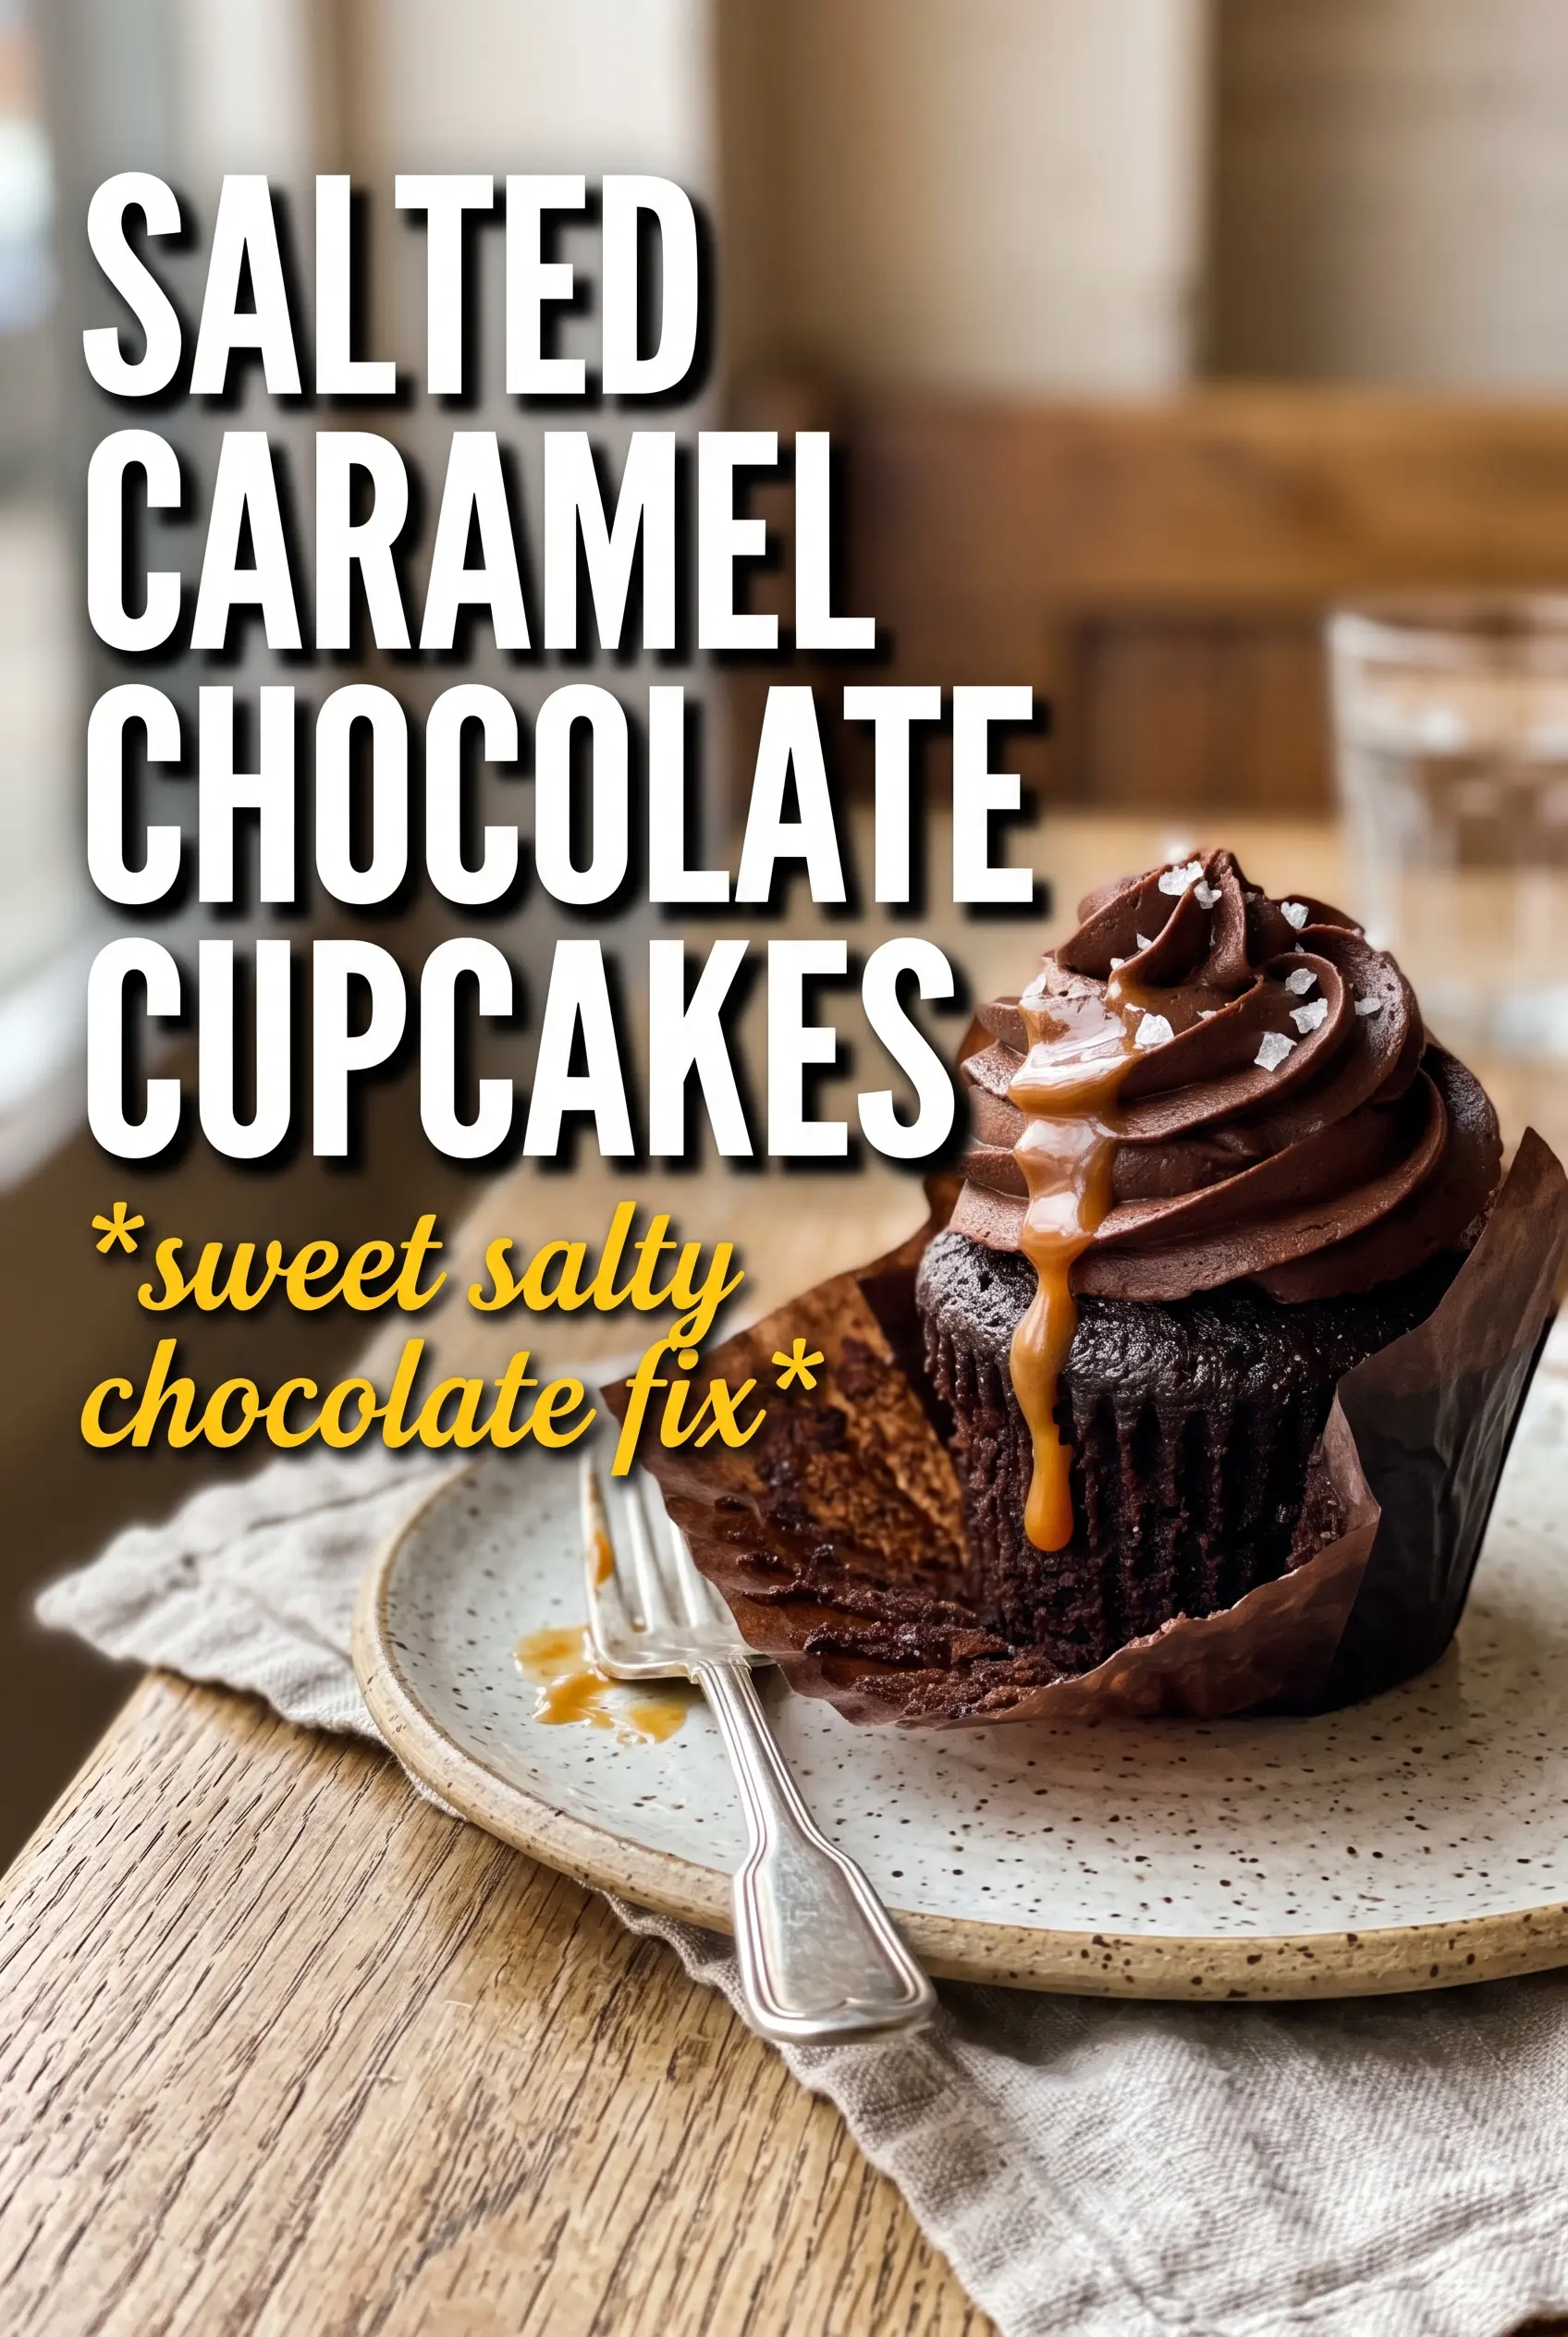
Rich chocolate cupcakes, a hidden caramel center, and a swirled cocoa frosting make these the kind of dessert people notice before they even take the first bite. The contrast is what keeps them interesting: soft cake, sticky filling, and a salty finish that keeps the sweetness in check instead of letting it take over. They look bakery-made, but the method stays straightforward enough for a regular afternoon bake.
The key is balance and timing. The chocolate batter needs enough structure to hold the caramel filling without sinking, so the flour, cocoa, baking powder, and baking soda all matter here. Filling the cupcakes only after they’ve cooled keeps the caramel from disappearing into the crumb, and a thick caramel sauce holds its shape better than a thin ice cream topping. The frosting leans rich and smooth, with just enough caramel mixed in to echo the filling without turning loose.
Below, I’ve added the one thing that keeps the frosting from getting grainy, plus a few swaps that still give you the same layered effect when you need to work around an ingredient.
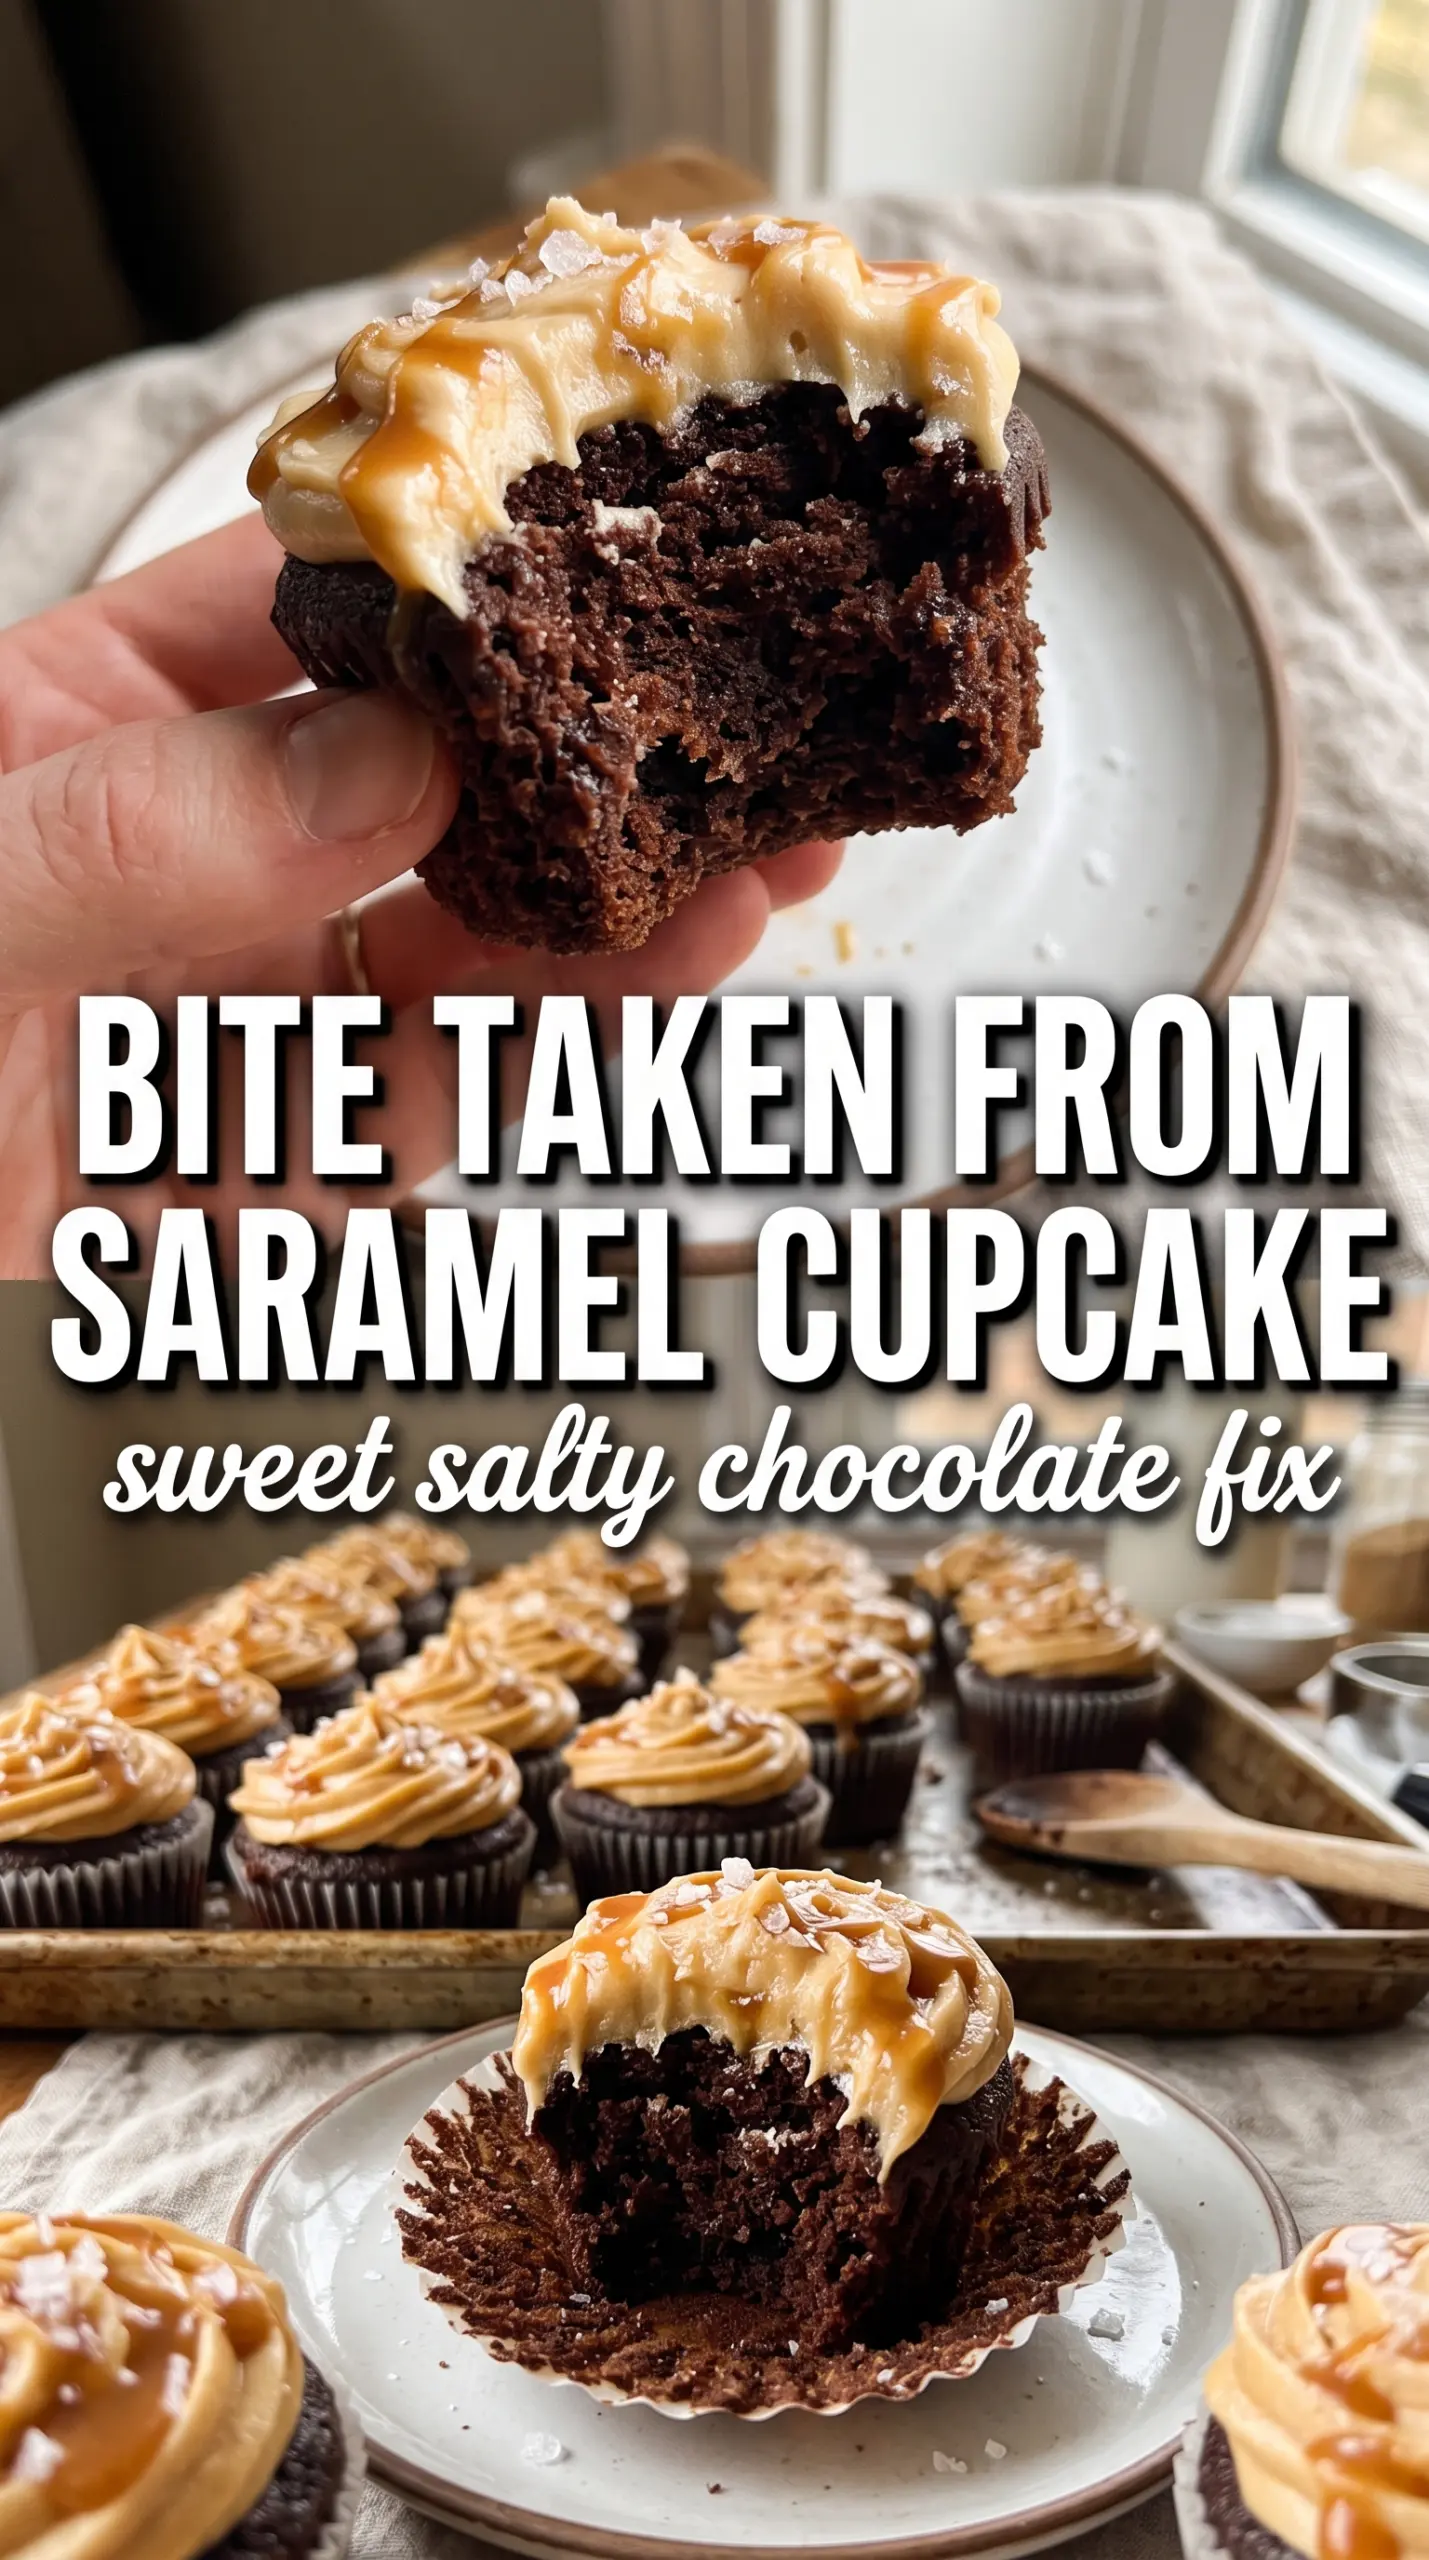
The cupcakes baked up with a soft crumb and the caramel stayed put in the center instead of soaking into the cake. That little hit of flaky salt on top made the frosting taste even more chocolatey.
Love the hidden caramel center and salted chocolate frosting? Save these cupcakes for the next time you want a bakery-style dessert with a dramatic cut-through.
The Frosting Fails When the Caramel Goes in Too Soon
The frosting on these cupcakes wants to stay thick, glossy, and pipeable. The mistake that ruins it is adding the caramel while the butter and cocoa base are still too stiff or too warm from beating. If the mixture hasn’t come together first, the caramel loosens the whole bowl and you end up with something that spreads instead of swirls.
Beat the butter, cocoa, and powdered sugar until the texture looks smooth before you add the caramel. That gives the frosting enough body to take on the extra moisture without collapsing. If it still seems loose, a little more powdered sugar fixes it; if it feels heavy, a spoonful of cream brings it back to a softer, more pipeable consistency.
What Each Ingredient Is Actually Doing in These Cupcakes
- All-purpose flour — Gives the cupcakes enough structure to hold a caramel-filled center. Cake flour can make them a little too delicate for coring and filling.
- Cocoa powder — This is where the chocolate flavor comes from, so use a cocoa you actually like the taste of. A darker cocoa gives a deeper flavor, while a standard unsweetened cocoa keeps things balanced and familiar.
- Buttermilk — It adds tang and keeps the crumb tender. If you’re out, stir 1 tablespoon lemon juice or vinegar into 1 cup milk and let it sit for 5 minutes, then use it the same way.
- Thick caramel sauce — This needs to be sturdy enough to sit in the center without running into the cake. If yours is thin, cook it down a bit first or use a jarred sauce that pours slowly off a spoon.
- Butter in the frosting — Butter gives the frosting its creamy finish and carries the cocoa flavor. Softened butter matters here; melted butter makes the frosting greasy and loose.
Building the Batter, Filling the Centers, and Finishing the Swirl
Mix the Dry Ingredients First
Whisk the flour, cocoa, baking powder, baking soda, and salt together until the color looks even. That keeps the leaveners from clumping in one spot and helps the cupcakes rise with a uniform crumb. If the cocoa has streaks, whisk longer than you think you need to; those streaks can leave bitter pockets.
Cream the Butter Until It Looks Fluffy
Beat the butter and sugar until the mixture turns pale and looks a little billowy. This step traps air, which gives the cupcakes lift before the oven ever gets involved. Add the eggs one at a time if you can, and let each one disappear before adding the next so the batter stays smooth instead of curdled.
Alternate the Flour and Buttermilk
Add the dry ingredients and buttermilk in alternating additions, ending with the flour mixture. That keeps the batter from tightening up too fast and helps it stay tender instead of dense. Stop mixing as soon as the flour disappears; overmixing is the quickest way to lose that soft, cake-like texture.
Core, Fill, and Pipe
Let the cupcakes cool completely before you core them. Warm cake tears and smears, while cooled cake gives you a clean pocket for the caramel. Fill each center with thick caramel sauce, then pipe the frosting on top in a generous swirl, drizzle with a little more caramel, and finish with flaky salt so the whole cupcake tastes layered, not just sweet.
How to Adapt These Cupcakes Without Losing the Caramel Center
Dairy-Free Version
Use dairy-free butter in both the cupcakes and frosting, and swap the buttermilk for a mix of plant milk plus 1 tablespoon vinegar or lemon juice. Choose a caramel sauce labeled dairy-free, since many standard versions rely on cream and butter. The texture stays close, though the frosting may be a touch softer.
Gluten-Free Swap
Replace the all-purpose flour with a 1:1 gluten-free baking blend that already contains xanthan gum. The cupcakes will still rise and hold the caramel filling, but they may be a little more delicate when cored, so let them cool fully before handling.
Dark Chocolate or Milk Chocolate Finish
For a deeper, less sweet cupcake, use an extra-dark cocoa and keep the caramel drizzle light. For a softer, sweeter result, use a milder cocoa and add a little less salt on top. The structure stays the same; what changes is how boldly the caramel stands out.
Storage and Reheating
- Refrigerator: Store in an airtight container for up to 4 days. The frosting firms up in the fridge, but the cupcakes stay moist.
- Freezer: Freeze unfrosted cupcakes for up to 2 months. Wrap them well and thaw at room temperature before filling and frosting; fully finished cupcakes freeze less cleanly because the caramel and frosting texture changes.
- Reheating: Let refrigerated cupcakes sit at room temperature for 20 to 30 minutes before serving. Don’t microwave them with the frosting on top unless you want the caramel to melt and run.
Questions I Get Asked About This Recipe
Salted Caramel Chocolate Cupcakes
Ingredients
Equipment
Method
- Preheat the oven to 350°F and line a cupcake tin with paper liners.
- Whisk together the all-purpose flour, cocoa powder, baking powder, baking soda, and salt until evenly combined.
- Beat the softened butter and granulated sugar until fluffy, then beat in the eggs and vanilla.
- Alternate adding the dry ingredients and buttermilk, mixing just until the batter looks smooth and thick.
- Divide the batter into cupcake liners, filling each about 2/3 full.
- Bake for 18–20 minutes at 350°F, until the tops spring back when lightly touched.
- Cool the cupcakes completely before filling.
- Core each cooled cupcake and fill the center with thick caramel sauce.
- Beat the frosting ingredients (butter, cocoa powder, powdered sugar, caramel sauce, and cream) until smooth and pipeable.
- Pipe the frosting onto each cupcake.
- Drizzle with caramel sauce and crown with flaky sea salt.