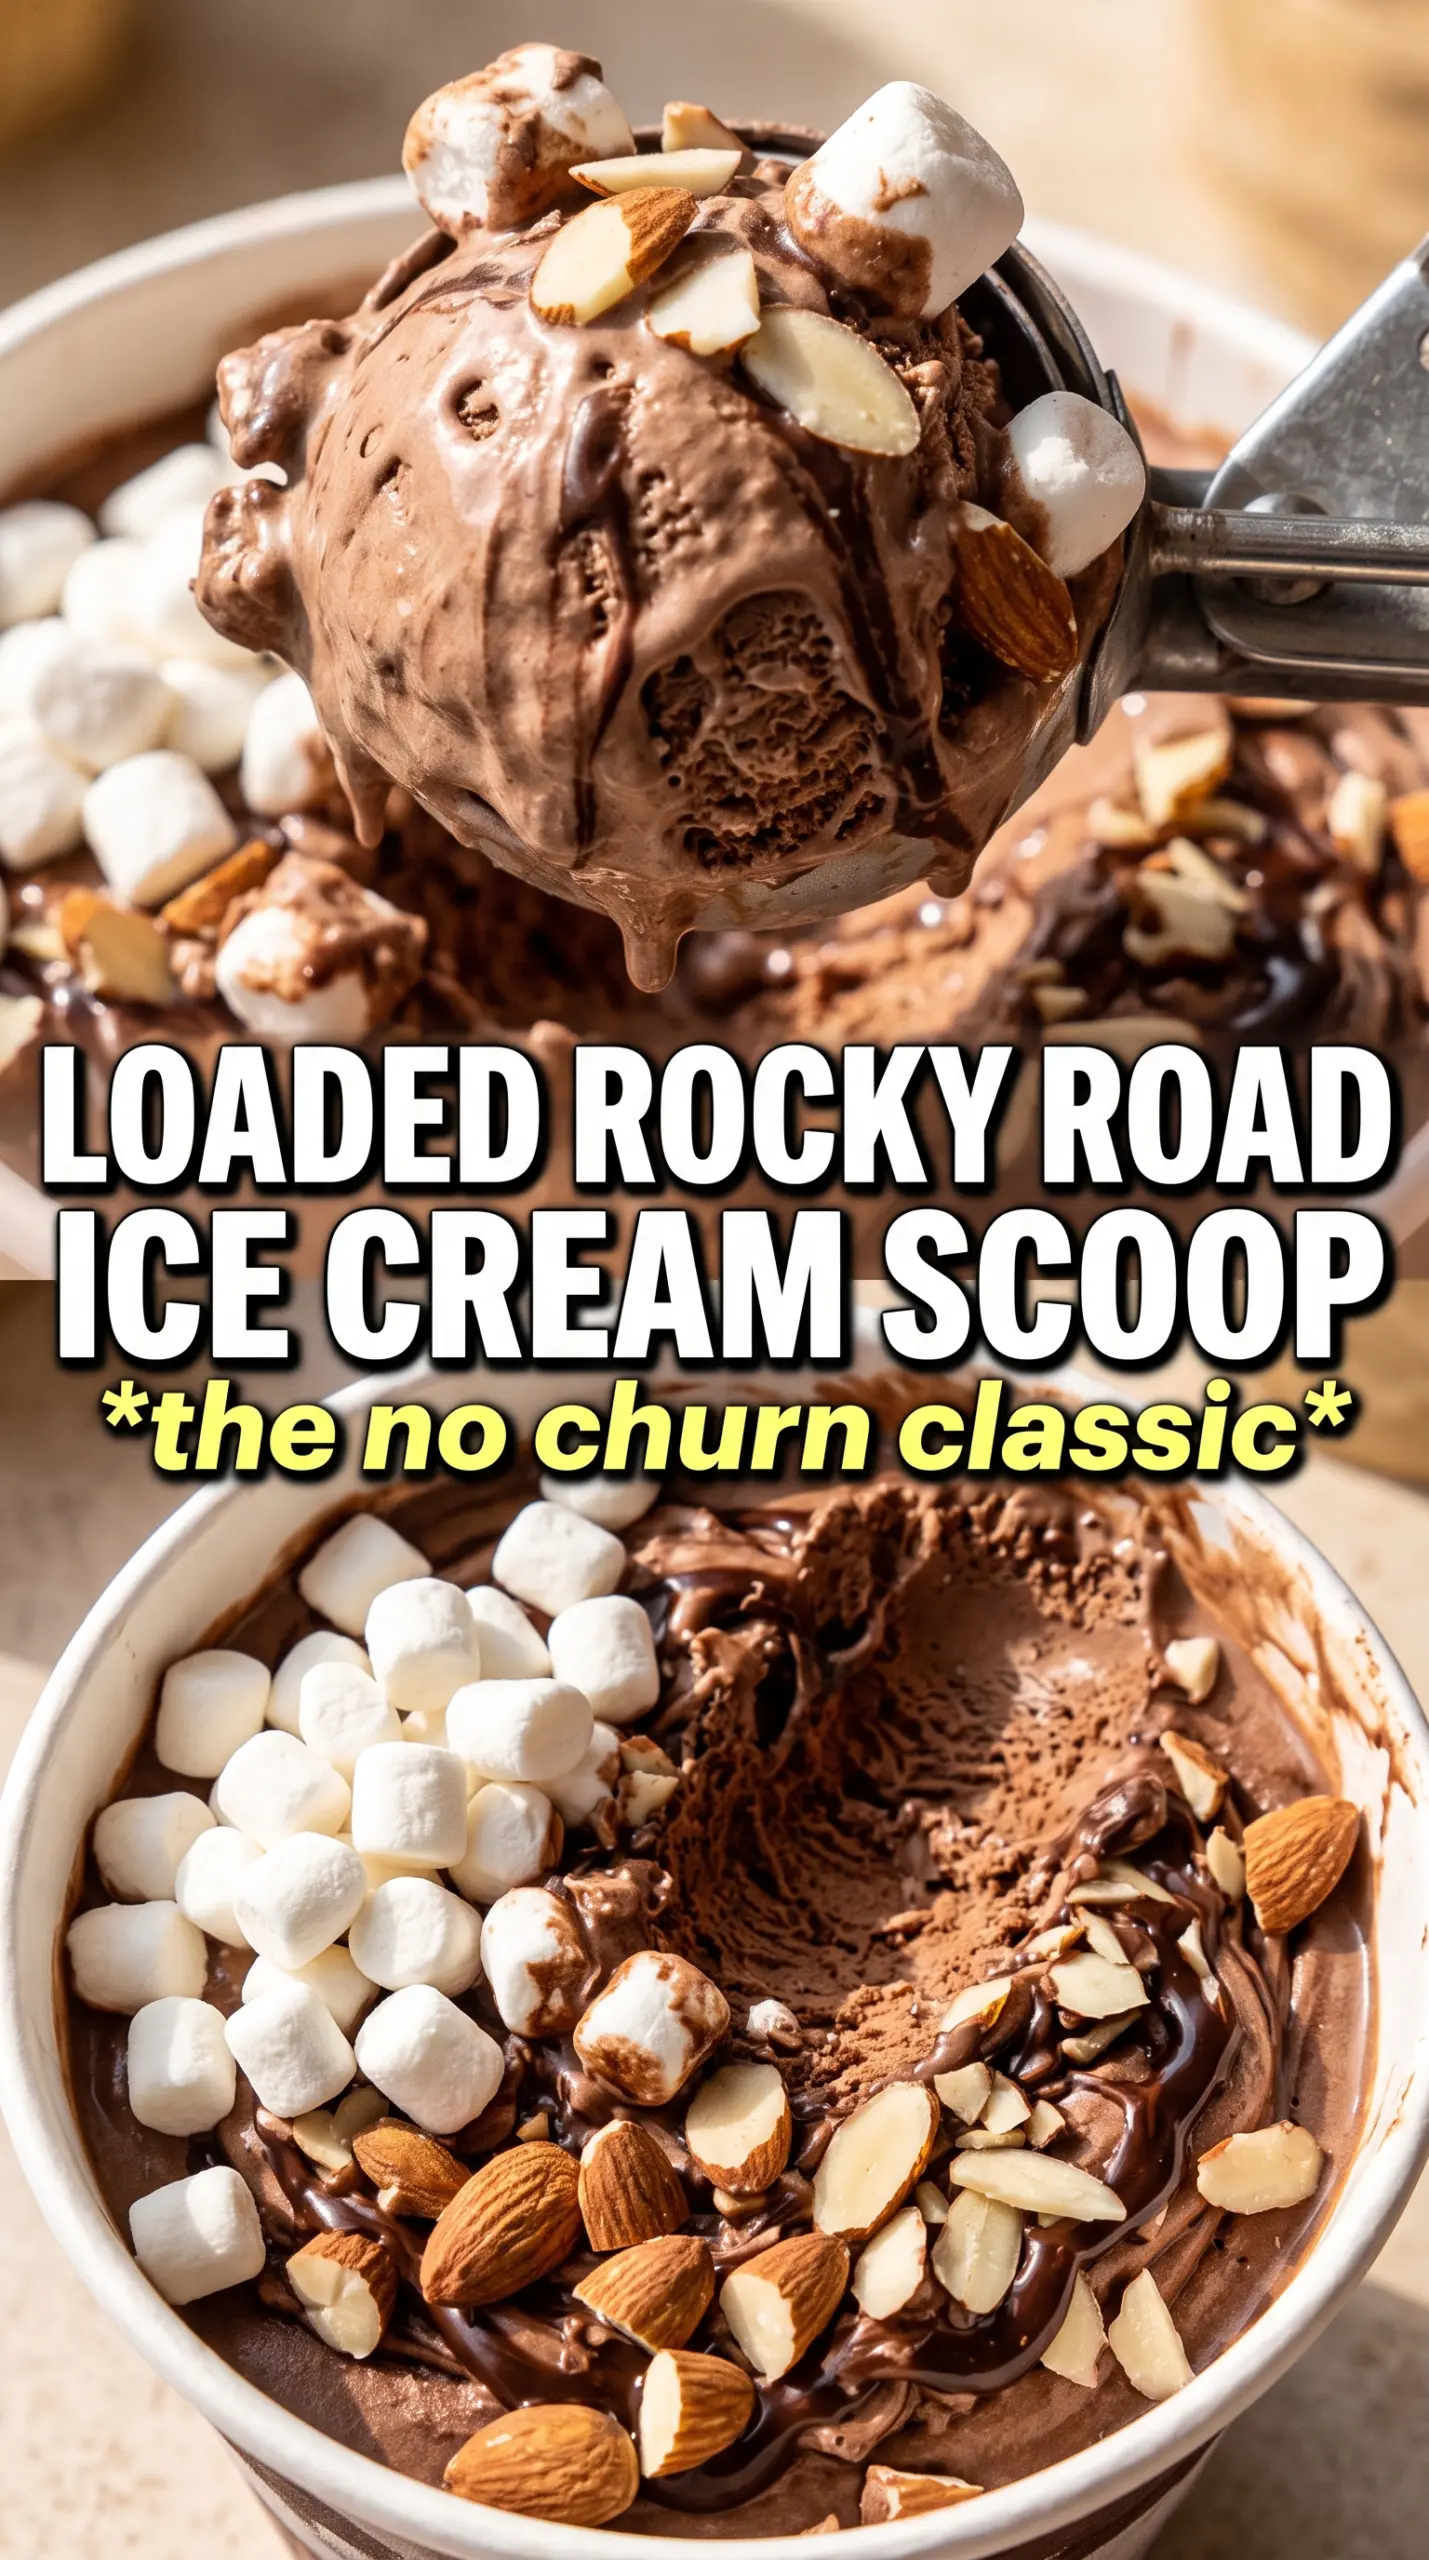
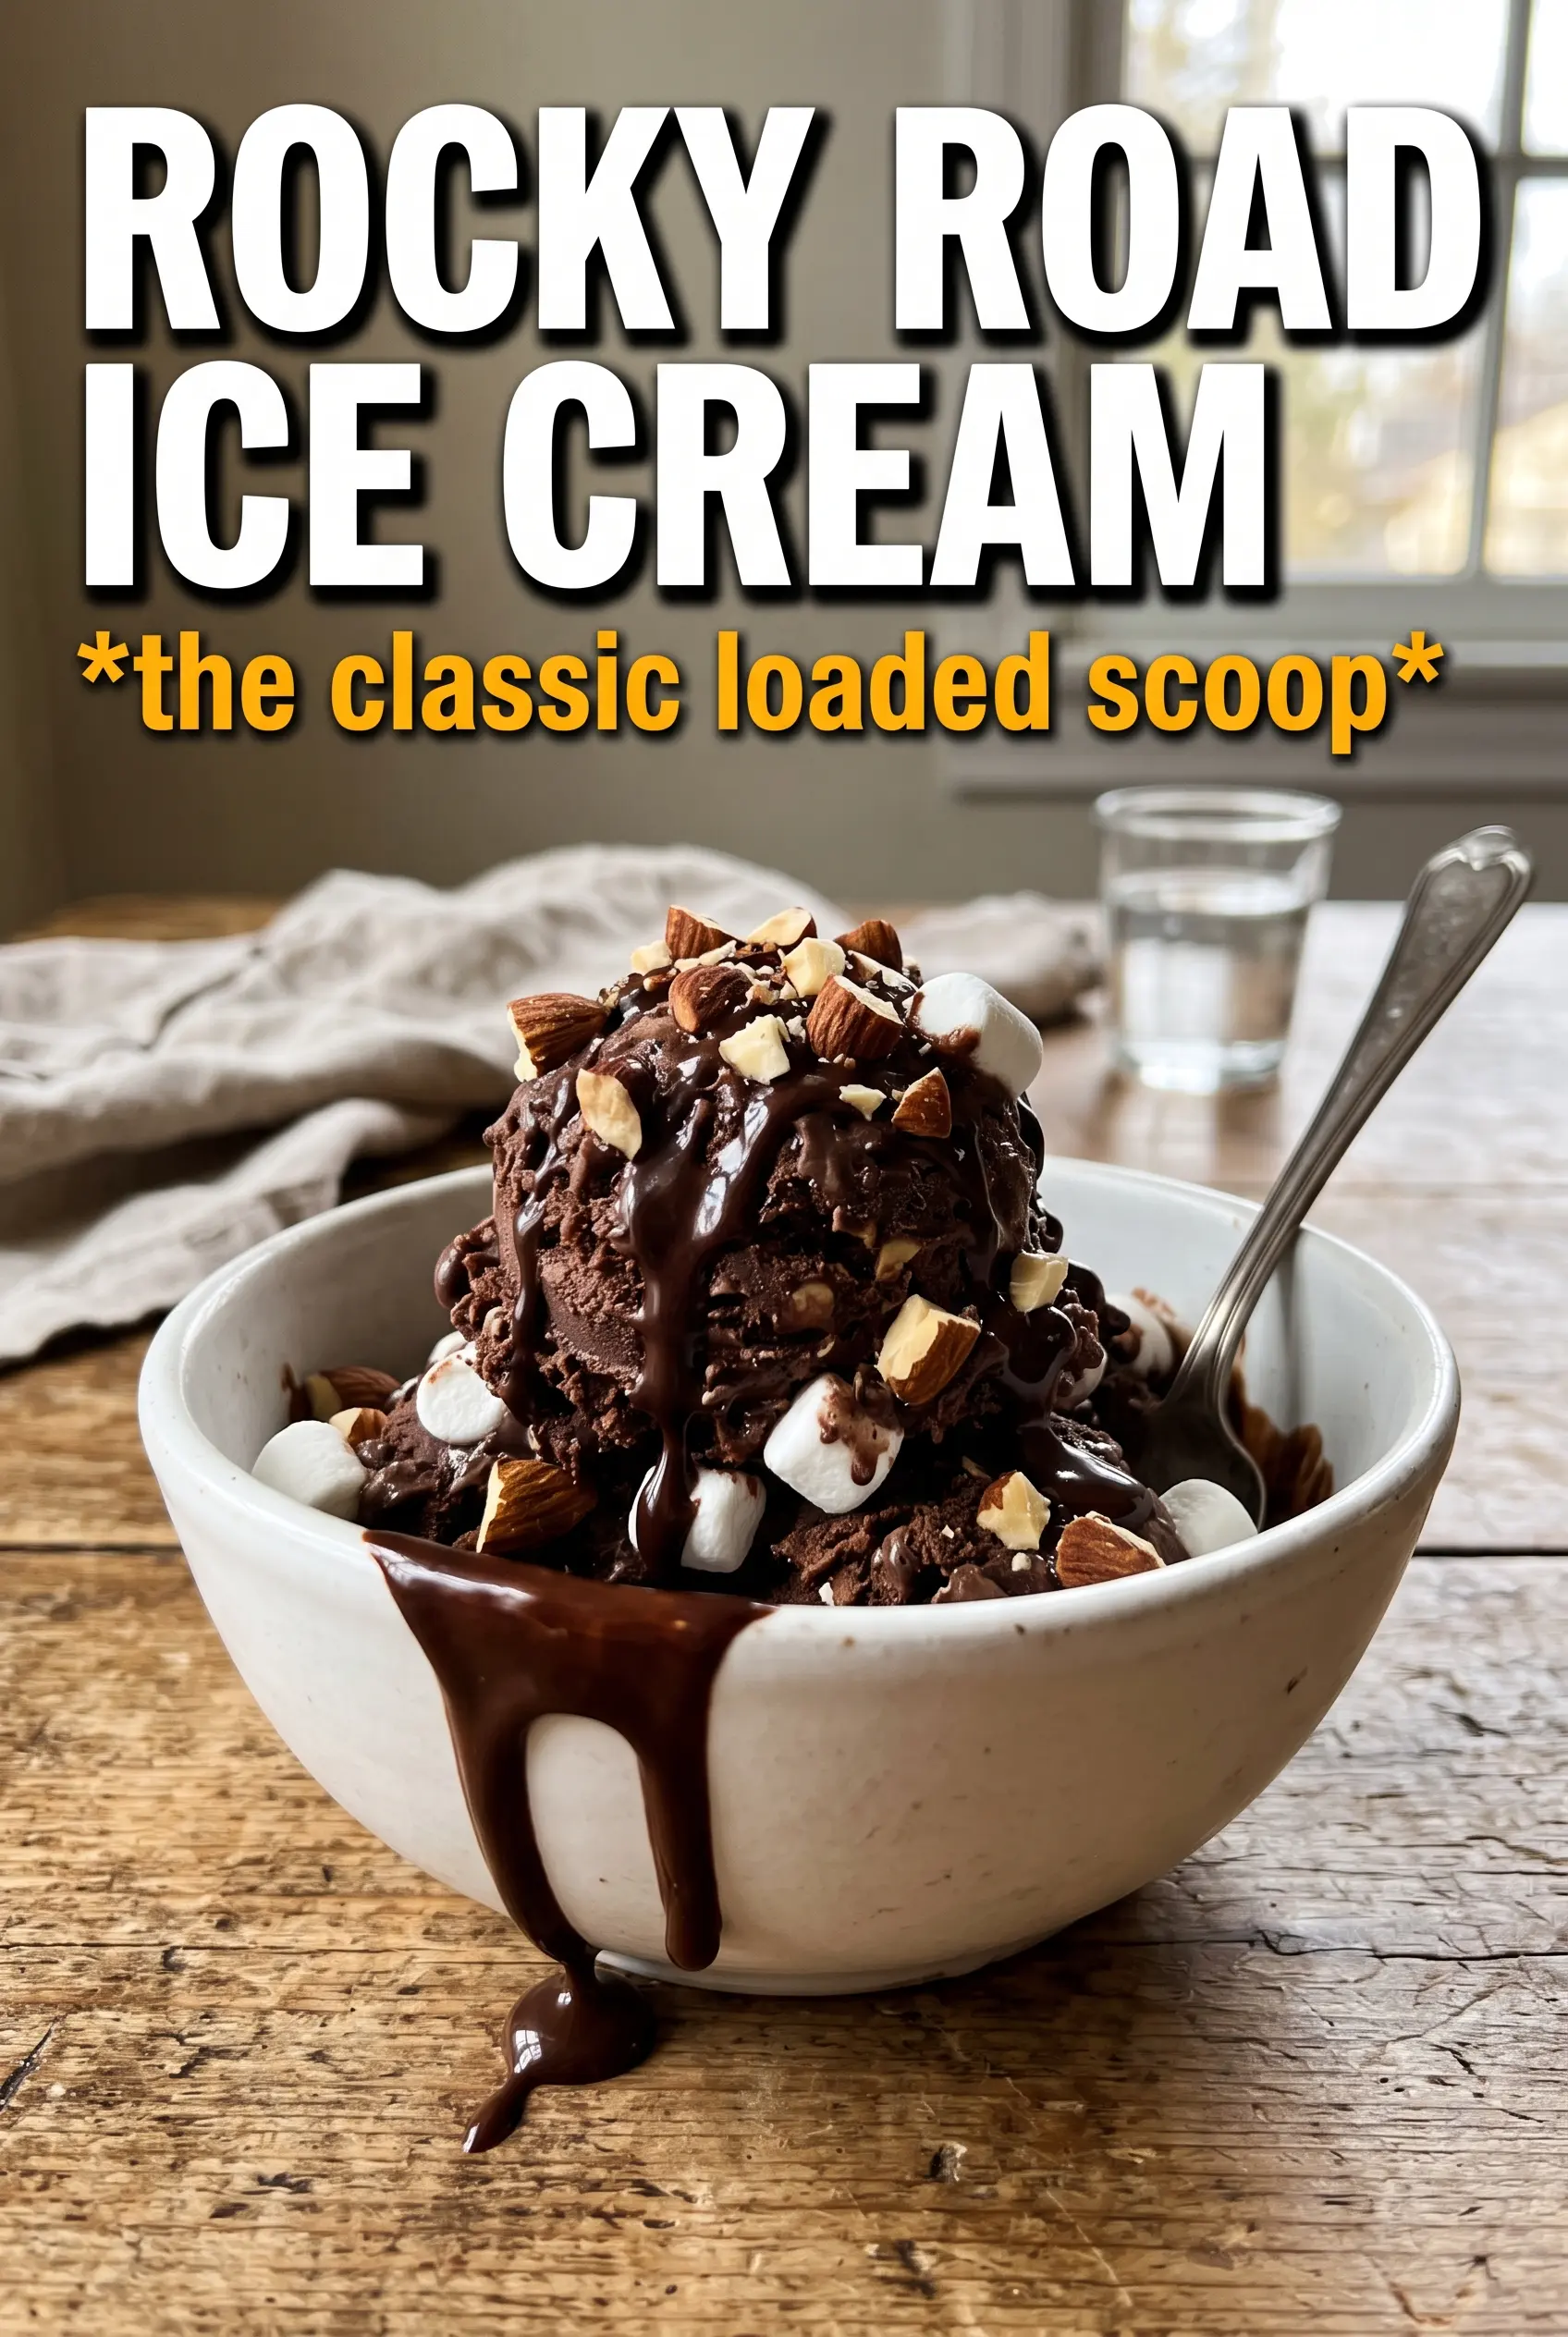
Rich, fudgy Rocky Road Ice Cream earns its place in the freezer because every scoop hits the same at once: deep chocolate, pillowy marshmallows, crunchy toasted almonds, and little pockets of dark chocolate that snap when you bite them. The texture is what makes this version worth keeping around. It stays creamy without an ice cream machine, and the mix-ins stay generous instead of disappearing into the base.
The trick is building a chocolate base that’s smooth before it ever meets the whipped cream. Cocoa powder needs to be whisked until every last lump is gone, or you end up with bitter flecks instead of a clean chocolate flavor. Folding the marshmallows, almonds, and chocolate in at the end keeps them from sinking or turning muddy, so each spoonful tastes balanced instead of heavy.
Below you’ll find the exact order that keeps the base airy, plus the small details that make the mix-ins stay evenly distributed all the way through the pan.
The chocolate base stayed super creamy, and the marshmallows didn’t freeze into hard little rocks. I also loved that the toasted almonds kept their crunch even after a full night in the freezer.
Save this no-churn Rocky Road Ice Cream for the nights when you want a thick chocolate scoop packed with marshmallows, almonds, and chocolate chunks.
The Part That Keeps No-Churn Rocky Road Creamy Instead of Icy
No-churn ice cream lives or dies by the whipped cream. If you stop at soft peaks, the base won’t hold enough air, and the finished ice cream can turn dense after freezing. Go all the way to stiff peaks, where the cream stands up in firm ridges, then fold the chocolate mixture in gently so you keep that loft.
The second place people lose the texture is in the cocoa. Dry cocoa powder can clump fast when it hits condensed milk, especially if the mix is cold. Whisk until the base looks glossy and completely smooth before it touches the whipped cream, and you’ll get a clean chocolate flavor instead of little dusty pockets.
- Whipped cream — This is the structure of the whole dessert. Heavy cream with a high fat content whips best and holds its shape after freezing.
- Sweetened condensed milk — It sweetens and softens the base at the same time. There isn’t a good substitute that gives the same creamy body without cooking.
- Cocoa powder — Unsweetened cocoa keeps the chocolate flavor bold instead of candy-sweet. Dutch-process cocoa works too and gives a darker, smoother taste.
- Mini marshmallows — Use minis, not large marshmallows cut up, so they distribute evenly and stay chewy in the frozen base.
- Toasted almonds — Toasting matters here. Raw almonds taste flat and can seem hard in the freezer, while toasted almonds bring out the nutty crunch that makes rocky road taste like rocky road.
- Dark chocolate chunks — Chunks stay more distinct than chips, which can melt into the base too easily. Chop a good chocolate bar if you want bolder pockets of chocolate.
What Each Ingredient Is Actually Doing in This Ice Cream
- Base ingredient (cream, milk, or custard) — This provides the foundation and richness. Quality matters.
- Sweetener (sugar, honey, or condensed milk) — This sweetens and prevents ice crystals. The ratio is critical.
- Flavor element (vanilla, fruit, chocolate, or other) — This defines the ice cream personality. Use quality ingredients.
- Egg yolks (if making custard base) — These create richness and silky texture. Optional but elevates ice cream.
- Churning (if using ice cream maker) — This incorporates air and prevents ice crystals. Critical for smooth texture.
- Freezing temperature and time — Proper freezing prevents rock-hard texture. Store at 0°F or below.
- Mix-ins (chocolate, cookies, fruit, or swirls) — These add texture and prevent one-dimensional flavor. Add near end of churning.
- Serving temperature (slightly soft, not rock hard) — This provides creamy mouthfeel. Remove from freezer 5 minutes before serving.
Building the Base So the Mix-Ins Stay Suspended
Whipping the Cream to the Right Point
Whip the heavy cream until it holds stiff peaks and looks billowy but not grainy. If it starts to look dry or curdled, you’ve gone too far and the final texture can turn a little buttery. A chilled bowl helps, but the real test is the peak standing straight up when you lift the whisk.
Smoothing Out the Chocolate Mixture
Whisk the condensed milk, cocoa powder, vanilla, and salt until the mixture turns glossy and no cocoa streaks remain. Scrape the sides and bottom of the bowl, because dry cocoa loves to hide there. If the cocoa goes in all at once and isn’t fully mixed, you’ll taste it later as bitter little specks.
Folding Without Deflating the Base
Add the chocolate mixture to the whipped cream in a few additions and fold with a spatula from the bottom up. The goal is a uniform pale chocolate color without knocking out all the air you just whipped in. Once the base looks even, stop stirring; overmixing is the fastest way to lose that creamy no-churn texture.
Adding the Rocky Road Pieces
Fold in the marshmallows, almonds, and chocolate chunks at the very end, just until they’re scattered throughout. If you stir too aggressively, the heavier pieces sink and the marshmallows smear into the base. A few broad folds are enough, and uneven distribution at this stage beats a dense, overworked mixture.
Make It Dairy-Free
Use a coconut-based whipping cream and a dairy-free sweetened condensed milk if you can find one. The flavor shifts slightly toward coconut, but the texture stays rich enough to carry the marshmallows and chocolate.
Go Extra Chocolatey
Swap half the dark chocolate chunks for chopped bittersweet chocolate or add an extra tablespoon of cocoa powder. The result is deeper and less sweet, which works well if you like the marshmallows to stand out against a darker base.
Nut-Free Version
Leave out the almonds and replace them with chopped chocolate wafer cookies or pretzel pieces for crunch. You lose the classic roasted-nut note, but the salty crunch keeps the dessert from tasting one-note.
Storage and Reheating
- Refrigerator: Not a refrigerator dessert; it softens too much and won’t hold its shape.
- Freezer: Keeps well for up to 2 weeks in a covered loaf pan or airtight container. Press parchment against the surface if you want to protect the top from ice crystals.
- Reheating: No reheating needed. Let it sit at room temperature for 5 to 10 minutes before scooping so the chocolate base loosens without turning slushy.
Questions I Get Asked About This Rocky Road Ice Cream
Rocky Road Ice Cream
Ingredients
Equipment
Method
- Whip heavy cream until it reaches stiff peaks so it holds its shape when you lift the beaters.
- Whisk sweetened condensed milk, unsweetened cocoa powder, vanilla extract, and salt until smooth and no cocoa lumps remain.
- Fold the chocolate mixture into the whipped cream gently until fully combined without deflating the volume.
- Fold in mini marshmallows, whole toasted almonds, and dark chocolate chunks so the mix-ins are evenly distributed.
- Transfer the mixture to a 9x5 loaf pan and freeze for at least 6 hours (or overnight) until firm.