
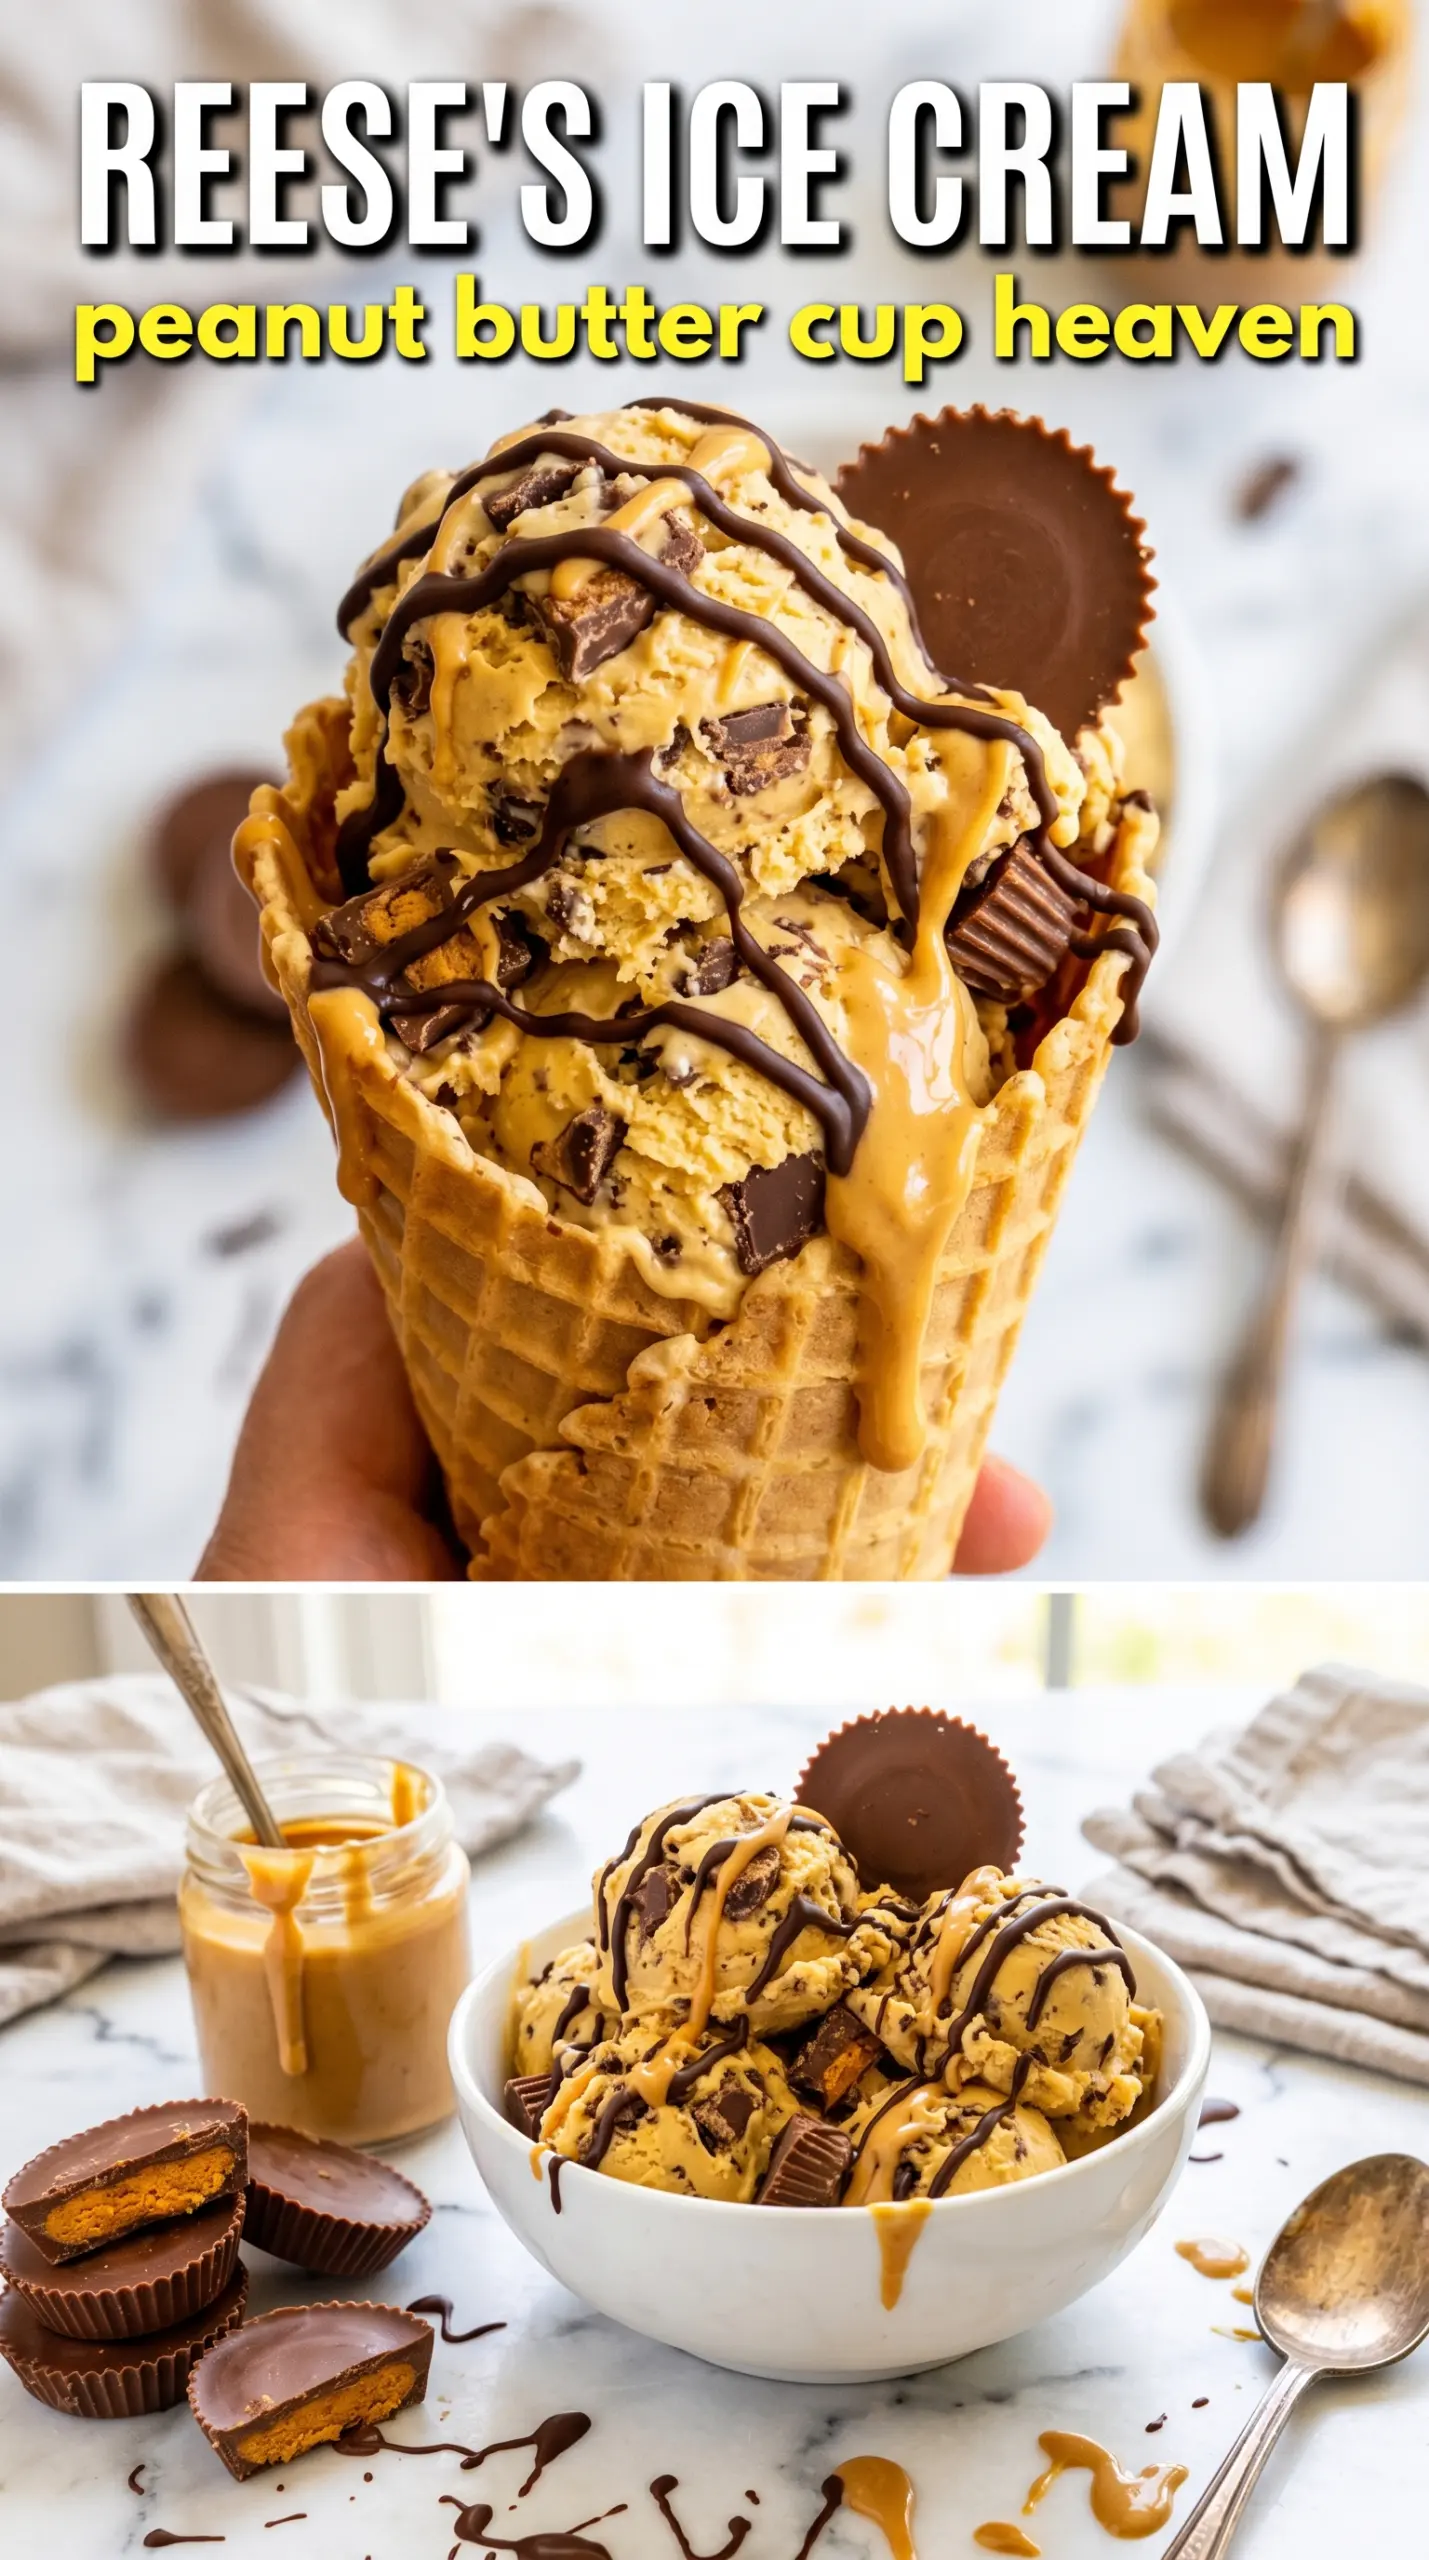
Cold, creamy peanut butter ice cream loaded with chopped Reese’s cups has a way of disappearing fast. The base stays smooth and scoopable, while the candy pieces bring little pockets of chocolate and peanut butter in every bite. It tastes rich without turning heavy, and that balance is what makes this no-churn version worth keeping around.
The trick is folding the peanut butter mixture into whipped cream gently enough to keep the air you worked into the cream. That’s what gives the finished ice cream its soft, spoonable texture after freezing. Sweetened condensed milk handles the sweetness and helps prevent icy crystals, while creamy peanut butter keeps the base from tasting flat or one-note.
Below, I’ll show you how to keep the mixture from deflating, how to chop the Reese’s so you get chunks instead of crumbs, and what to do if you want a little extra chocolate on top.
The texture was spot on after overnight freezing — creamy enough to scoop easily, and the Reese’s pieces stayed chunky instead of disappearing into the base.
Save this Reese’s Peanut Butter Ice Cream for the nights when you want creamy no-churn ice cream with big chocolate-peanut butter chunks.
The Reason This No-Churn Base Stays Creamy After Freezing
No-churn ice cream can turn icy or dense if the base is overmixed or the whipped cream gets knocked flat. This version avoids that by keeping the peanut butter mixture smooth before it ever meets the cream, then folding just until the streaks disappear. You want the air trapped in the whipped cream to stay in place, because that’s what keeps the finished ice cream soft enough to scoop without waiting forever on the counter.
The other thing that matters here is fat and sugar balance. Sweetened condensed milk does two jobs at once: it sweetens the base and helps control ice crystals, while peanut butter adds body and keeps the flavor from tasting like plain vanilla cream with candy mixed in. If your ice cream ever freezes hard as a brick, the usual problem is too little fat, too much overmixing, or both.
- Heavy cream — Whip it to stiff peaks, not soft ones. If it’s underwhipped, the base won’t hold enough structure in the freezer. If you only have whipping cream, it’ll work, but the finished ice cream may be a little softer.
- Creamy peanut butter — Use the smooth, no-stir style if you can. Natural peanut butter can separate and make the base grainy unless you stir it very well first. The creamier the peanut butter, the smoother the final texture.
- Sweetened condensed milk — This is what keeps the no-churn method working. There isn’t a direct substitute that gives the same texture, so if you swap it out, expect a firmer, icier result.
- Reese’s peanut butter cups — Chop them into uneven pieces, not fine crumbs. Bigger chunks give you those cold, chocolatey bites that make the whole dessert feel worth freezing for.
What Each Ingredient Is Actually Doing in This Ice Cream
- Base ingredient (cream, milk, or custard) — This provides the foundation and richness. Quality matters.
- Sweetener (sugar, honey, or condensed milk) — This sweetens and prevents ice crystals. The ratio is critical.
- Flavor element (vanilla, fruit, chocolate, or other) — This defines the ice cream personality. Use quality ingredients.
- Egg yolks (if making custard base) — These create richness and silky texture. Optional but elevates ice cream.
- Churning (if using ice cream maker) — This incorporates air and prevents ice crystals. Critical for smooth texture.
- Freezing temperature and time — Proper freezing prevents rock-hard texture. Store at 0°F or below.
- Mix-ins (chocolate, cookies, fruit, or swirls) — These add texture and prevent one-dimensional flavor. Add near end of churning.
- Serving temperature (slightly soft, not rock hard) — This provides creamy mouthfeel. Remove from freezer 5 minutes before serving.
Folding the Peanut Butter Base Without Losing the Air
Whipping the Cream to the Right Peak
Start with cold cream and beat it until the peaks stand straight up when you lift the whisk. That means the cream is stable enough to support the mix-ins without collapsing. Stop there. If you push past stiff peaks into grainy territory, the texture can turn buttery and the ice cream won’t feel as smooth.
Making the Peanut Butter Mixture Smooth
Whisk the condensed milk, peanut butter, vanilla, and salt until the mixture looks glossy and fully blended. Any streaks of peanut butter left at this stage will stay behind as dense pockets after freezing. If your peanut butter feels too thick to whisk easily, warm it for just a few seconds so it loosens up, then mix again until it’s completely even.
Folding and Freezing the Base
Add the peanut butter mixture to the whipped cream in two or three additions and fold with a spatula, scraping from the bottom and turning the bowl as you go. The goal is a uniform pale tan mixture without stirring so hard that you deflate it. Fold in the chopped Reese’s cups last, then spread everything into the loaf pan and press the top level so it freezes evenly. The ice cream needs at least 6 hours in the freezer, but overnight gives the cleanest scoop.
How to Adapt This When You Want More Chocolate, Less Dairy, or a Different Candy Mix
Extra Chocolate Drizzle Finish
Drizzle chocolate sauce over each serving instead of stirring it into the base. That keeps the ice cream creamy and gives you the contrast of cold peanut butter ice cream against a ribbon of chocolate on top. If you mix chocolate sauce into the base, it can streak and muddy the texture.
Dairy-Free Version
Use a full-fat coconut whipping cream and a dairy-free sweetened condensed milk substitute. The flavor will lean slightly coconutty, and the texture may freeze a touch firmer, but it still gives you a scoopable no-churn ice cream. Keep the candy choice dairy-free too, since standard Reese’s cups contain dairy.
Swap the Candy Pieces
Use chopped peanut butter cups from another brand, mini peanut butter cups, or peanut butter chunks if that’s what you have. The important part is keeping the pieces chunky enough to stay visible in the finished ice cream. Finely chopped candy melts too evenly into the base and loses that contrast.
Storage
- Freezer: Store covered in the loaf pan or transfer to an airtight container. It keeps well for about 2 weeks before the texture starts to get a little icier around the edges.
- Best serving: Let it sit at room temperature for 5 to 10 minutes before scooping. If you try to dig in straight from the freezer, the edges can be hard and the center may crack instead of scoop cleanly.
- Reheating: Not applicable, but if the ice cream is too firm, let it soften on the counter rather than microwaving it. Heat melts the edges fast and leaves the center uneven.