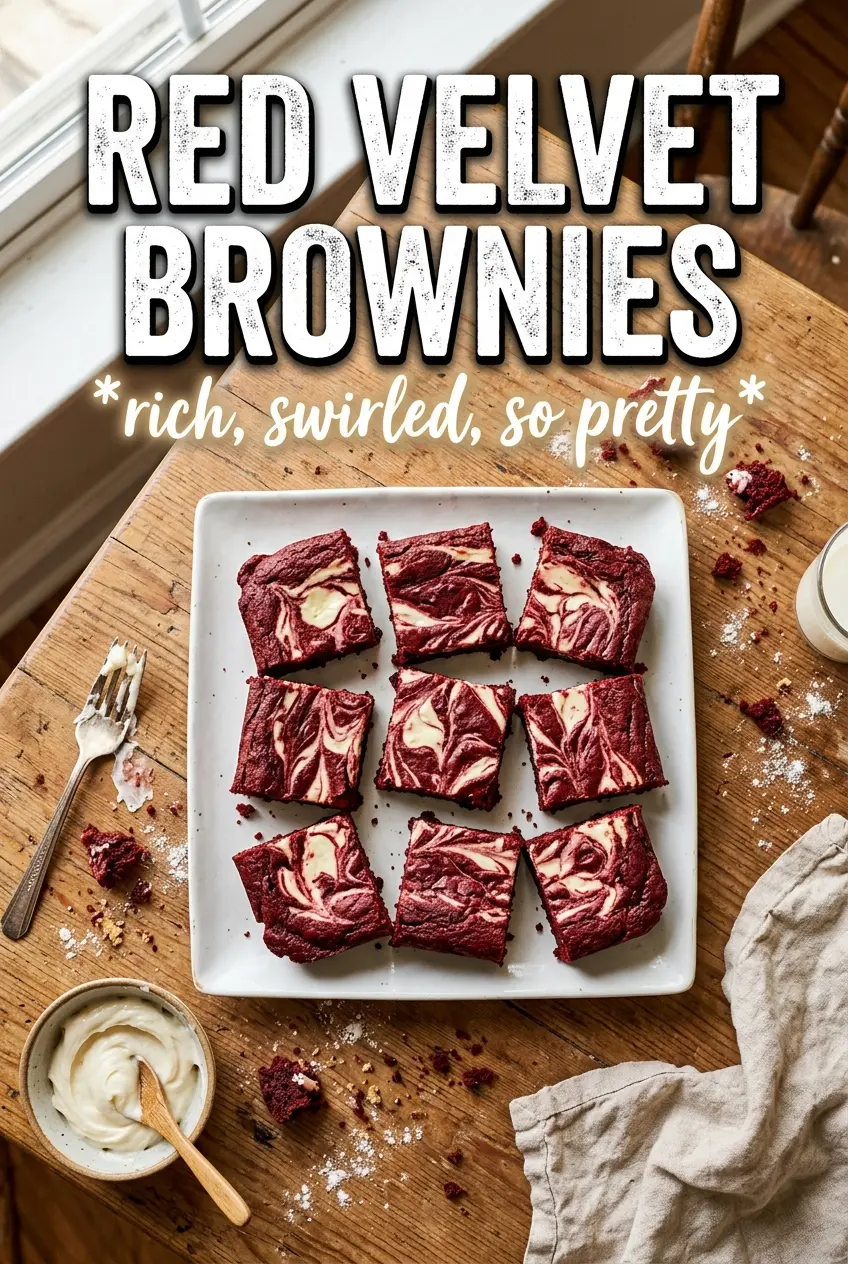
Red velvet brownies hit that sweet spot between fudgy brownie and classic red velvet cake, with a dense, tender crumb and a cream cheese swirl that bakes into tangy ribbons on top. The edges set up with just enough chew, while the center stays soft and rich instead of turning dry or cakey. Cut into squares, they look dramatic on the plate and hold their shape without losing that gooey brownie bite.
The trick here is keeping the batter simple and not overworking it once the flour goes in. Melted butter gives these brownies their dense, glossy texture, and a little vinegar sharpens the cocoa and helps the red color read more clearly. The cream cheese swirl should be smooth and thick enough to sit on the surface before you drag a knife through it — if it gets too loose, it blends into the batter instead of baking into those pretty marbled streaks.
Below, I’ve included the small details that matter most: how to keep the swirl from sinking, what to look for when the brownies are actually done, and a few smart swaps if you need to adjust the recipe for what you have on hand.
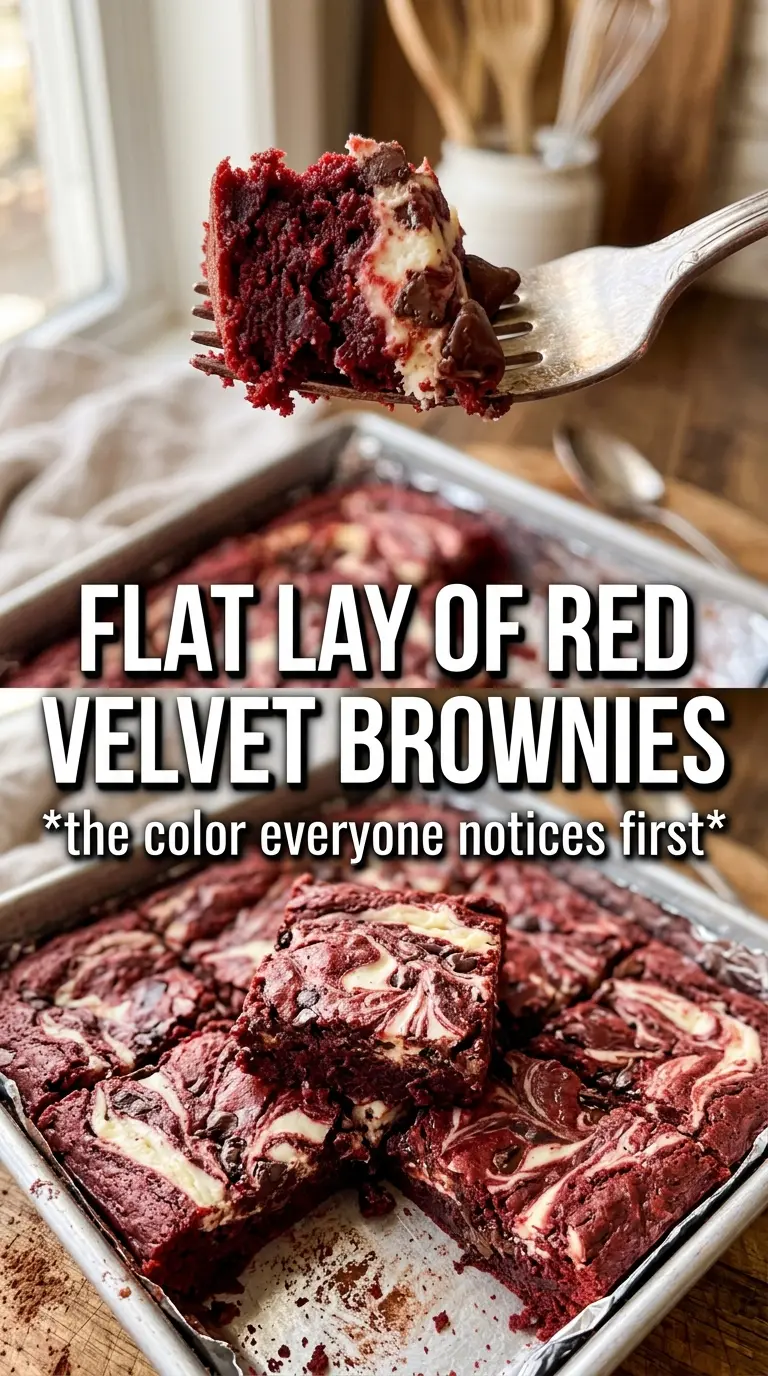
The brownies baked up fudgy in the middle, and the cream cheese swirl stayed distinct instead of disappearing into the batter. I pulled them at 28 minutes and they sliced cleanly once cooled.
Save these red velvet brownies for the fudgy center, tangy cream cheese swirl, and clean-cut squares that make them look bakery-made.
The Swirl That Stays on Top Instead of Disappearing
Most cream cheese swirl brownies go wrong in one of two ways: the swirl is too thin and sinks, or the batter gets overmixed and turns muddy instead of marbled. Here, the brownie base is thick enough to support the topping, and the swirl mixture is rich enough to sit where you drop it. That gives you distinct ribbons instead of a pink-tinted pan of chocolate batter.
The other key is timing. Once the flour and cocoa go in, stop as soon as you no longer see dry streaks. Overmixing pulls air into the batter and makes the brownies puff more like cake, which works against the dense texture you want. A quick swirl with a knife is enough — if you chase the pattern too much, the cream cheese disappears into the batter.
What Each Ingredient Is Doing in These Red Velvet Brownies
- Melted butter — This gives the brownies their dense, glossy base. You can use salted butter in a pinch, but unsalted keeps the flavor cleaner and gives you better control over the salt.
- Granulated sugar — It sweetens the batter and helps create that crackly top. Brown sugar will make the brownies a little softer and more molasses-heavy, which shifts them away from classic red velvet.
- Eggs — They build structure and help the brownies set without drying out. Room-temperature eggs blend in more smoothly, especially after the melted butter.
- Red food coloring — This is what gives the brownies their signature color. Gel coloring works well if that’s what you have, but it’s stronger, so start small and add until the batter looks deep red.
- Cocoa powder — Just enough to bring in that red velvet cocoa note without making the brownies taste like standard chocolate brownies. Natural cocoa works best here for the more traditional flavor.
- White vinegar — It sharpens the cocoa and brightens the batter. Don’t skip it; you won’t taste vinegar, but you will miss the lift it gives the flavor.
- Cream cheese swirl — Full-fat cream cheese is the one ingredient that matters here. Low-fat versions loosen too much and don’t bake into the same rich, tangy swirl.
Building the Batter So It Stays Fudgy
Mix the base until it looks glossy
Whisk the melted butter and sugar until the mixture looks thick and shiny, then add the eggs, vanilla, and food coloring. That glossy stage matters because it starts dissolving the sugar and gives the brownies their shiny top. If the mixture looks greasy or separated, keep whisking for another few seconds before moving on.
Fold in the dry ingredients lightly
Add the flour, cocoa, vinegar, and salt, then fold just until the batter comes together. The batter will be thick, and that’s what you want. If you keep stirring after the flour disappears, the brownies will bake up tougher and lose that soft, fudgy middle.
Swirl the cream cheese without overdoing it
Beat the cream cheese, sugar, egg, and vanilla until smooth, then drop spoonfuls over the brownie batter. Use a knife or skewer to make a few figure-eight passes across the pan. Stop while the pattern still looks bold; too many swirls blend the layers and make the top look flat instead of marbled.
Pull them before the center turns dry
Bake until the edges are set and the center has only a slight wobble when you move the pan. The top should lose its raw shine, but a toothpick won’t come out completely clean because the cream cheese swirl stays soft. If you wait for a dry toothpick, the brownies will go past fudgy and start tasting cakey.
How to Adapt These Brownies Without Losing the Texture
Gluten-Free Version
Use a 1:1 gluten-free flour blend that includes xanthan gum. The brownies will still be fudgy, but the crumb may be a touch more delicate, so let them cool fully before cutting.
No Food Coloring
You can leave it out and still get a good brownie, but the color will shift toward cocoa brown instead of red velvet red. The flavor stays in place because the cocoa and vinegar are doing the heavier lifting.
Extra Tangy Cream Cheese Swirl
Add an extra teaspoon of vanilla and keep the sugar at the stated amount. More sugar makes the swirl looser, while a little extra vanilla rounds out the tang without changing the bake.
Storage and Reheating
- Refrigerator: Store in an airtight container for up to 5 days. The swirl firms up in the fridge, which actually makes the squares easier to cut.
- Freezer: These freeze well. Wrap individual squares tightly and freeze for up to 2 months, then thaw in the refrigerator so the cream cheese layer doesn’t get watery.
- Reheating: Warm a square for 10 to 15 seconds in the microwave if you want the center a little softer. Don’t overheat them or the cream cheese swirl can turn oily and the brownie texture will dry out fast.
Answers to the Questions Worth Asking
Red Velvet Brownies
Ingredients
Equipment
Method
- Preheat oven to 350F and line a 9x13 pan with parchment for easy release.
- Whisk melted butter and granulated sugar until smooth, then whisk in eggs, vanilla, and red food coloring until glossy and uniform.
- Fold in all-purpose flour, cocoa powder, white vinegar, and salt just until no dry streaks remain.
- Spread the red velvet batter evenly into the lined pan.
- Beat cream cheese, sugar, egg, and vanilla until smooth, thick, and spreadable.
- Dollop the cream cheese swirl over the batter and swirl lightly so it bakes through the center.
- Bake for 25–30 minutes at 350F, until the edges look set and the center no longer jiggles much.
- Cool completely before cutting so the swirl firms up and clean brownie squares slice through.