Tropical pineapple-coconut ice cream turns out best when it tastes bright first and creamy second, with little frozen bites of pineapple running through every scoop. The coconut milk gives it a soft, rich base without making it heavy, and the toasted coconut adds a gentle crunch that keeps each bite interesting instead of flat and one-note.
The trick is balancing fruit and custard. Fresh pineapple brings juice and acidity, which can water down an ice cream base if it goes in too early, so it gets folded in near the end of churning. The custard itself is cooked just enough to thicken and give the finished ice cream a smoother, denser body, and the mixture has to chill all the way through before it ever hits the machine or the texture turns icy.
Below, I’ve included the one timing detail that matters most with pineapple, plus a few ways to adapt the batch if you want it dairy-free or need to work with canned fruit instead of fresh.
The custard came out silky and the pineapple stayed in little sweet-tart pieces instead of turning mushy. I added the coconut at the end like you said and the texture was spot on after an overnight freeze.
Like this pineapple coconut ice cream? Save it for the next time you want a creamy tropical dessert with real fruit pieces and toasted coconut.
The Custard Needs Gentle Heat, Not a Rush
Ice cream bases fail most often when the eggs get shocked or the heat creeps too high. If you pour the hot dairy into the yolks too fast, you’ll scramble them. If you crank the burner once the custard goes back on, you’ll get a grainy texture instead of a smooth one. The goal is a slow, steady thickening until the mixture lightly coats the back of a spoon and reaches 175F.
Pineapple brings its own challenge because it adds water and acidity. That’s why the fruit goes in after churning starts instead of during the custard stage. You keep the custard rich, then fold in the pineapple when the base is cold and moving, which protects the texture and keeps the pieces tasting fresh.
What Each Ingredient Is Doing in This Bowl
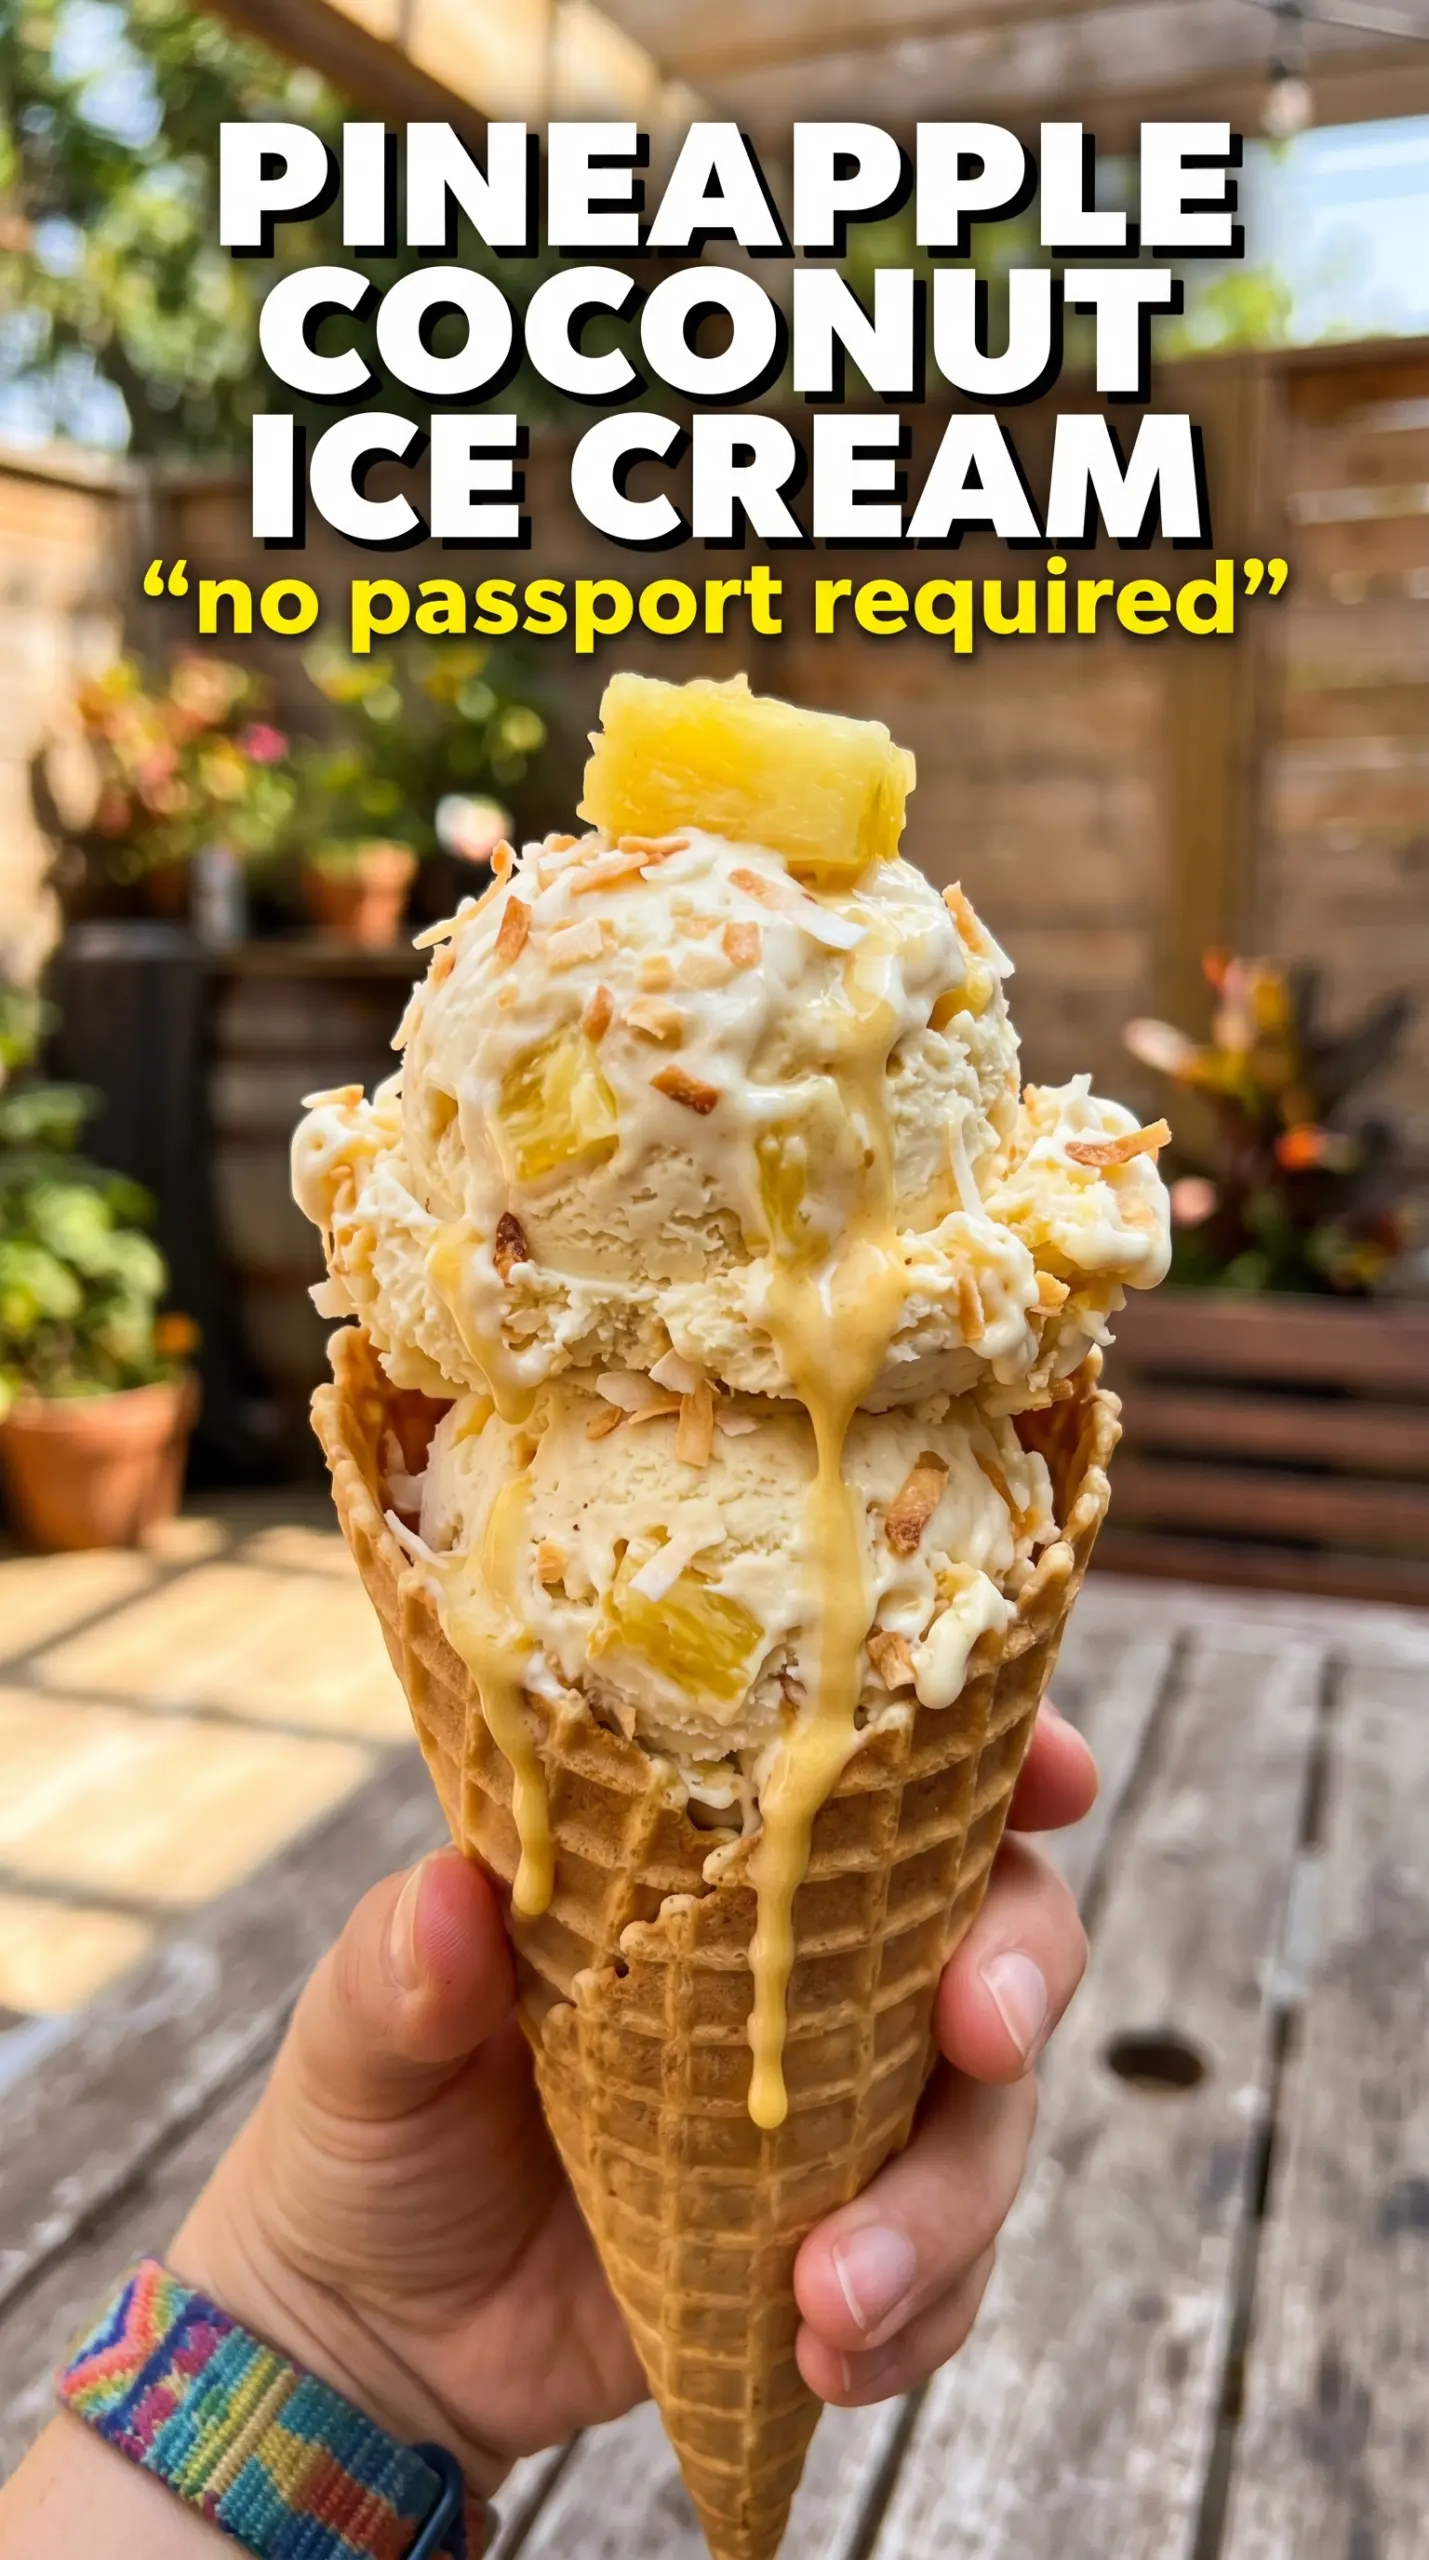
- Full-fat coconut milk — This gives the ice cream its coconut backbone and helps it freeze with a softer scoop. Light coconut milk won’t give the same richness or body.
- Heavy cream — Cream smooths out the coconut milk and keeps the texture from freezing hard. If you skip it, the ice cream turns icier and less lush.
- Granulated sugar — Sugar does more than sweeten here; it keeps the ice cream scoopable. Cutting it too much makes the final texture firm and brittle.
- Egg yolks — Yolks thicken the base and give it that custardy mouthfeel. They also help emulsify the coconut milk and cream so the finished ice cream stays silky.
- Fresh pineapple — Fresh fruit gives the brightest flavor and the cleanest texture. Dice it finely so it distributes well and doesn’t freeze into hard chunks.
- Coconut extract — This boosts the coconut flavor without needing extra coconut milk, which would weaken the custard. Use it sparingly; a little goes a long way.
- Vanilla extract — Vanilla rounds out the pineapple and keeps the flavor from tasting sharp. It’s subtle, but it helps the whole bowl taste more complete.
- Toasted shredded coconut — Toasting brings out a nutty edge and keeps the coconut from tasting raw. Stir it in at the end so it stays pleasantly chewy instead of soft and muted.
Churn It Cold, Then Add the Fruit at the End
Building the Base
Warm the coconut milk, cream, and sugar just until the sugar disappears and the mixture is steaming at the edges. Don’t let it boil. Whisking constantly, add the hot dairy to the egg yolks a little at a time so the yolks warm gradually instead of turning into bits of cooked egg.
Thickening the Custard
Pour the tempered yolk mixture back into the saucepan and cook over medium-low heat, stirring constantly with a spatula or wooden spoon. You want the custard to thicken enough to coat the spoon and hold a line when you run a finger through it. If it starts to steam heavily or bubble, pull it off the heat right away before the eggs overcook.
Straining and Flavoring
Strain the custard into a clean bowl to catch any tiny cooked bits. Stir in the coconut extract, vanilla, and salt while the mixture is still warm so they disperse evenly. This is the moment to fix the balance too; if it tastes flat, a pinch more salt wakes up the pineapple later.
Chilling and Churning
Chill the base completely, then refrigerate it until it’s cold all the way through. A lukewarm custard will churn into a soft, loose mess and never set up cleanly. Once it’s cold, churn it until it looks like thick soft-serve, then add the pineapple and toasted coconut during the last few minutes so they stay distributed instead of sinking.
Freezing to Scoop
Transfer the churned ice cream to a cold container and press parchment or plastic wrap directly against the surface before freezing. Give it at least a few hours to firm up. If it comes out too hard after a long freeze, let it sit on the counter for 8 to 10 minutes before scooping instead of forcing the spoon through it.
How to Adapt It Without Losing the Tropical Balance
Dairy-Free Coconut Ice Cream
Swap the heavy cream for more full-fat coconut milk or a thick canned coconut cream. The ice cream will taste even more coconut-forward and freeze a little firmer, so an extra 10 minutes on the counter before scooping usually helps.
Using Canned Pineapple
Drain it well and pat it dry before chopping. Canned pineapple is softer and sweeter than fresh, so the flavor shifts a bit and the chunks won’t stay as bright, but it still works if fresh pineapple isn’t available.
No Ice Cream Maker
Pour the chilled base into a shallow freezer container and stir every 30 to 40 minutes until it’s frozen enough to hold the pineapple and coconut in place. The texture won’t be as airy, but it still beats a rock-hard block if you keep breaking up the ice crystals while it freezes.
Lighter Sweetness
You can trim the sugar a little, but don’t cut it aggressively. Sugar keeps frozen desserts scoopable, and too much reduction makes this ice cream icy and hard instead of creamy.
Storage and Reheating
- Refrigerator: Ice cream base can be refrigerated up to 2 days before churning. Once churned, keep the finished ice cream in the freezer, not the fridge, or it will melt completely.
- Freezer: Store in a sealed container for up to 2 weeks for the best texture. After that, it can pick up ice crystals and lose some of the pineapple brightness.
- Reheating: Not needed, but for scooping, let the container sit at room temperature for 8 to 10 minutes. Don’t microwave it; that melts the edges before the center softens.
Answers to the Questions Worth Asking
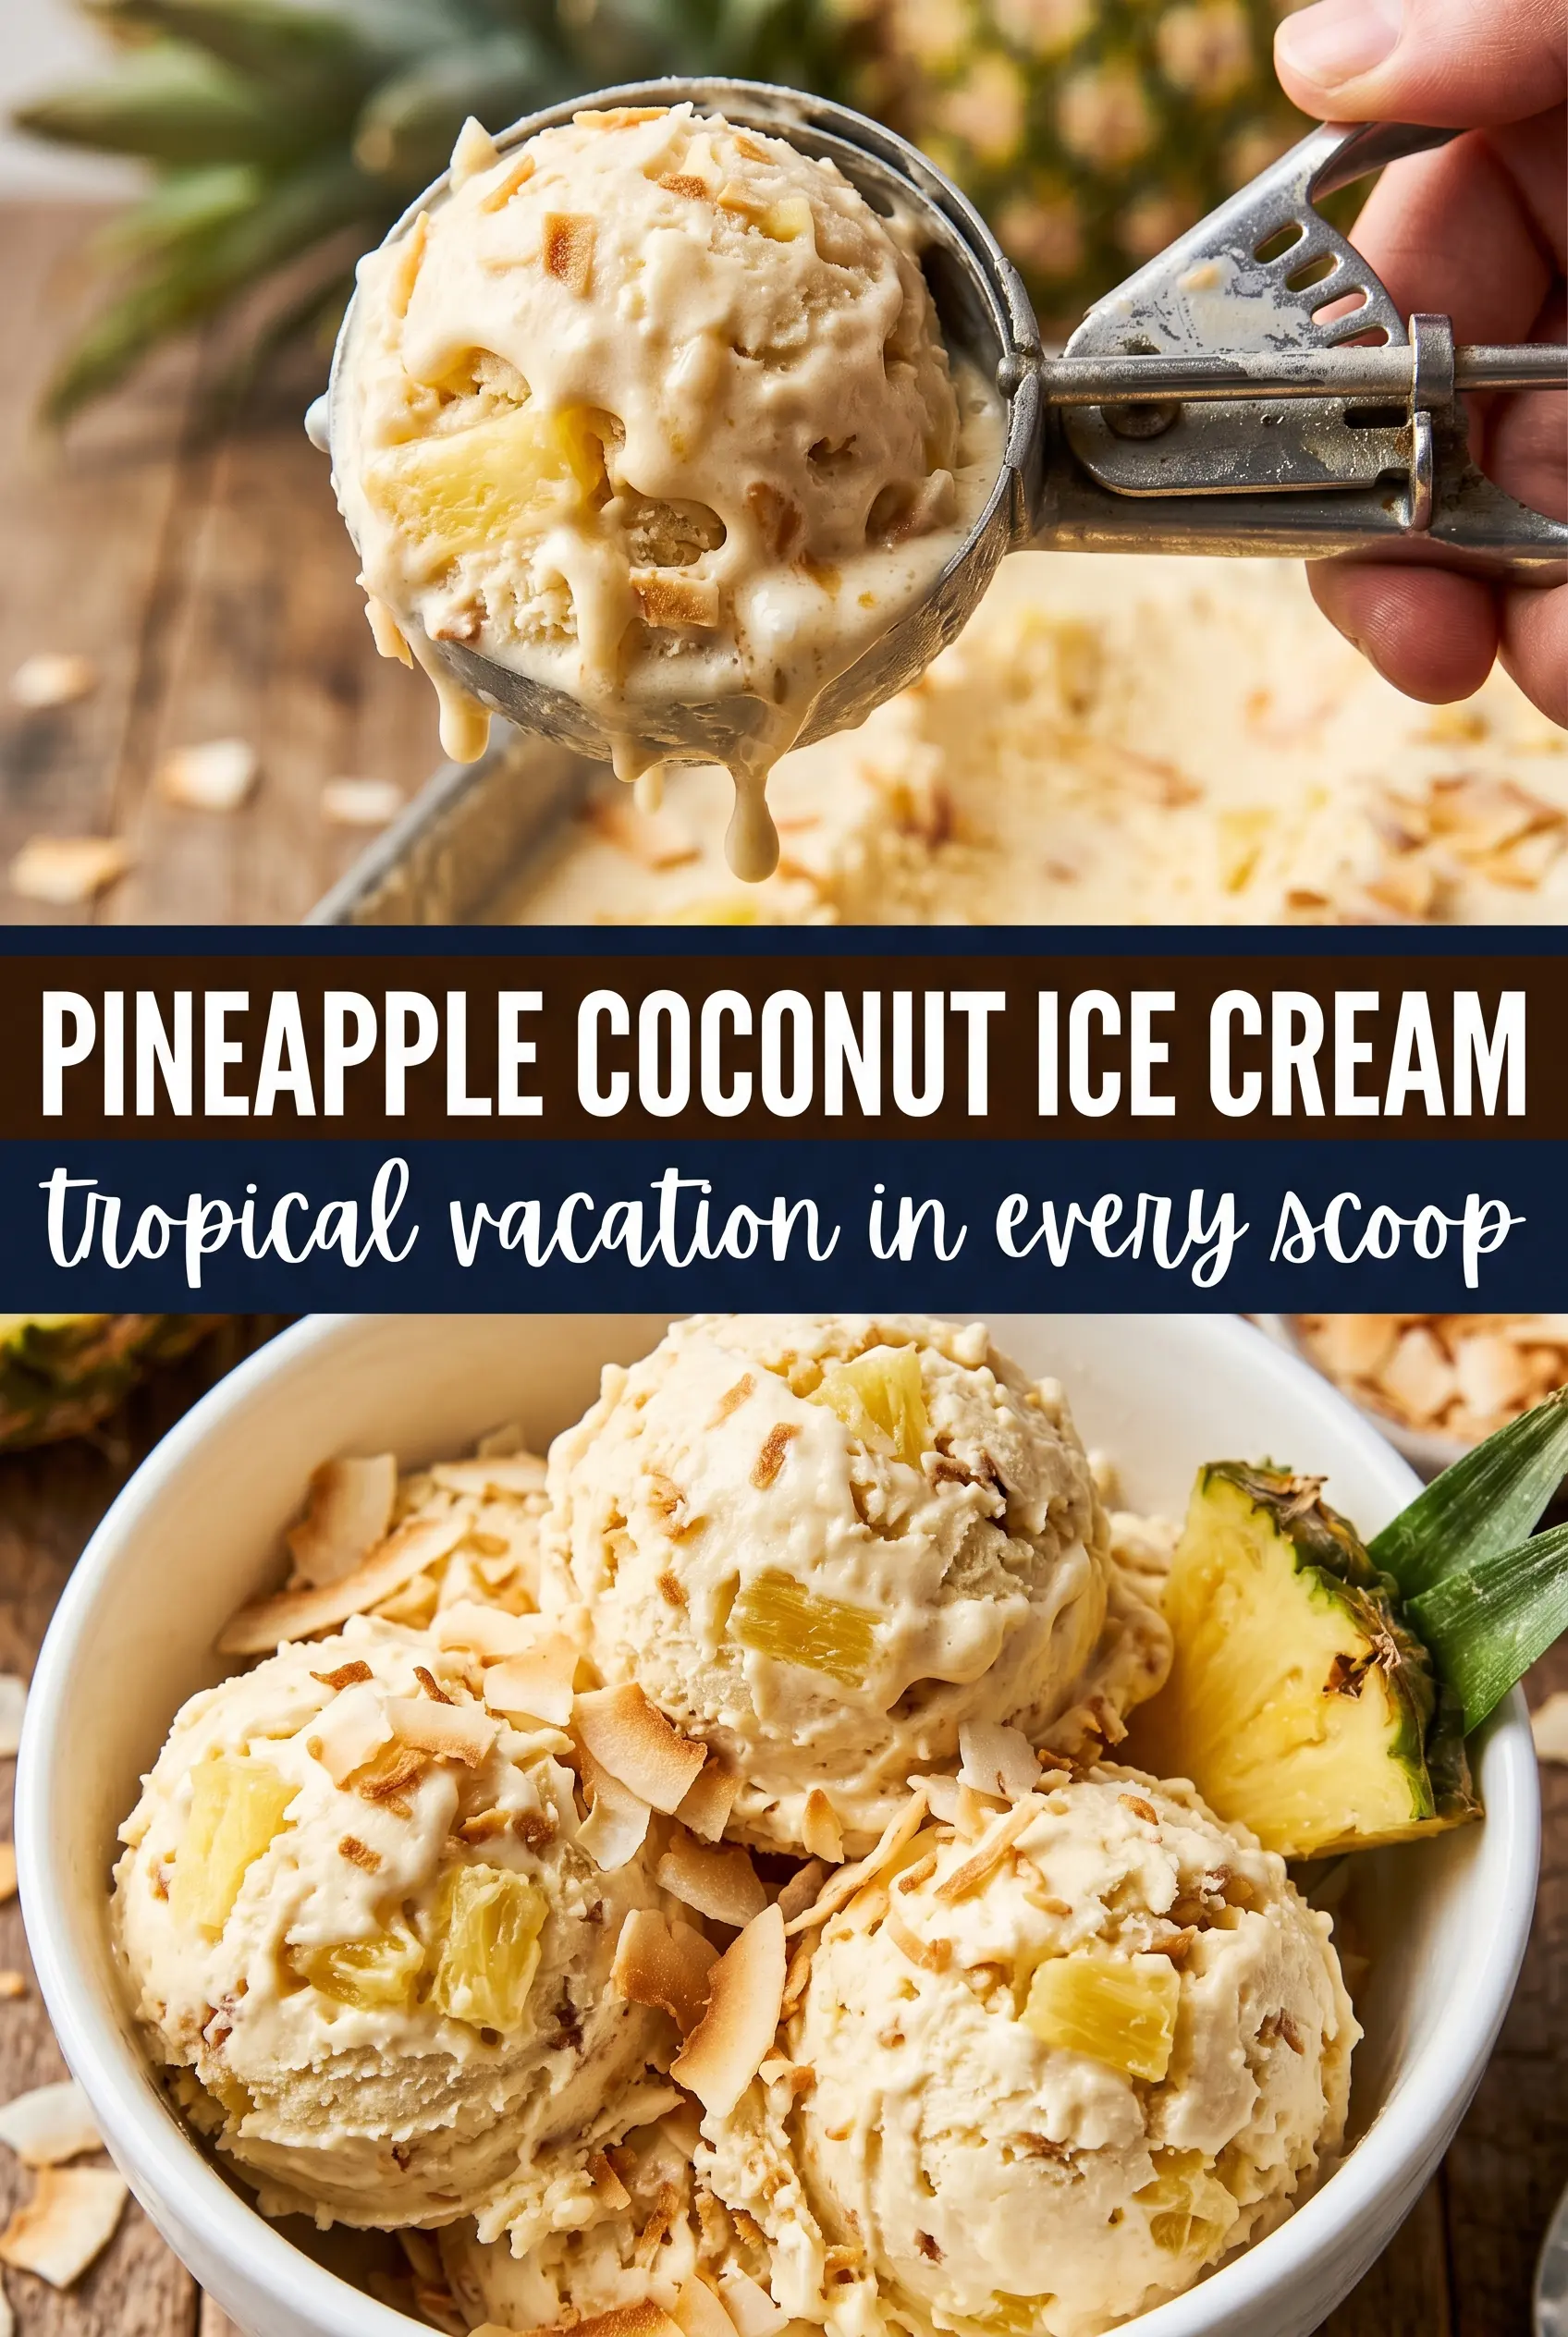
Pineapple Coconut Ice Cream
Ingredients
Equipment
Method
- In a saucepan over medium heat, heat the full-fat coconut milk and heavy cream with granulated sugar, whisking until the sugar dissolves. Visual cue: the mixture looks smooth and glossy with no grainy sugar at the bottom.
- In a steady stream, slowly whisk the hot coconut mixture into the egg yolks to temper them. Visual cue: the yolks lighten in color and thicken slightly without scrambling.
- Return the mixture to the saucepan and cook, stirring constantly, until it reaches 175°F. Visual cue: the custard coats the back of a spoon and holds a clear line when you draw a finger through it.
- Strain the custard into a clean container, then stir in coconut extract, vanilla extract, and salt until fully combined. Visual cue: the final base looks uniform and lightly thickened.
- Cool completely, then refrigerate for at least 4 hours until cold. Visual cue: the mixture is fully chilled and thickened like a spoonable custard.
- Churn the chilled custard in an ice cream maker until it reaches soft-serve consistency. Visual cue: the mixture turns pale and airy.
- During the last 5 minutes of churning, add the finely diced fresh pineapple and toasted shredded coconut. Visual cue: pineapple pieces and coconut flakes distribute throughout.
- Transfer to a freezer-safe container and freeze until scoopable. Visual cue: the ice cream firms up but still yields to a spoon for easy scoops.