Peanut butter ice cream lands with a deep roasted flavor and a dense, creamy scoop that holds its shape on the spoon before it melts into something velvety and rich. The peanut butter doesn’t sit on top as a separate note here; it runs all the way through the custard, so every bite tastes like the inside of a fresh jar of peanut butter turned cold and silky.
The trick is building a proper custard first, then whisking the peanut butter in off the heat so it dissolves completely instead of clumping or turning grainy. Egg yolks give the base that plush texture you can’t get from a simple no-cook mix, and a little salt keeps the peanut flavor from tasting flat. If you’ve ever had homemade ice cream that froze icy or tasted muted after a day in the freezer, this version fixes both problems.
Below, you’ll find the exact point where the custard should thicken, why the straining step matters, and a few smart ways to adapt the recipe without losing that thick peanut butter finish.
The custard thickened up exactly at 175F and the peanut butter whisked in so smoothly. Mine churned into the creamiest peanut butter ice cream I’ve made, and it scooped beautifully after an overnight freeze.
Save this peanut butter ice cream for the nights when you want a custard-rich scoop with real peanut depth and a silky churned finish.
The Part Where Peanut Butter Can Turn Grainy
Most peanut butter ice creams go wrong when the peanut butter gets added too early or over heat that’s too high. Peanut butter is thick, and if the custard is boiling or even simmering hard when it goes in, the fats can separate a little and leave you with a sandy texture instead of a smooth one. The fix is simple: cook the custard gently to 175F, then take it off the heat before whisking in the peanut butter until the mixture looks completely uniform and glossy.
That temperature matters because it gives the yolks enough heat to thicken the base without scrambling them. If you race past it, the custard gets eggy before it gets creamy. If you stop too soon, the base stays thin and the finished ice cream can freeze harder and ice over faster than you want.
What Each Ingredient Is Actually Doing Here
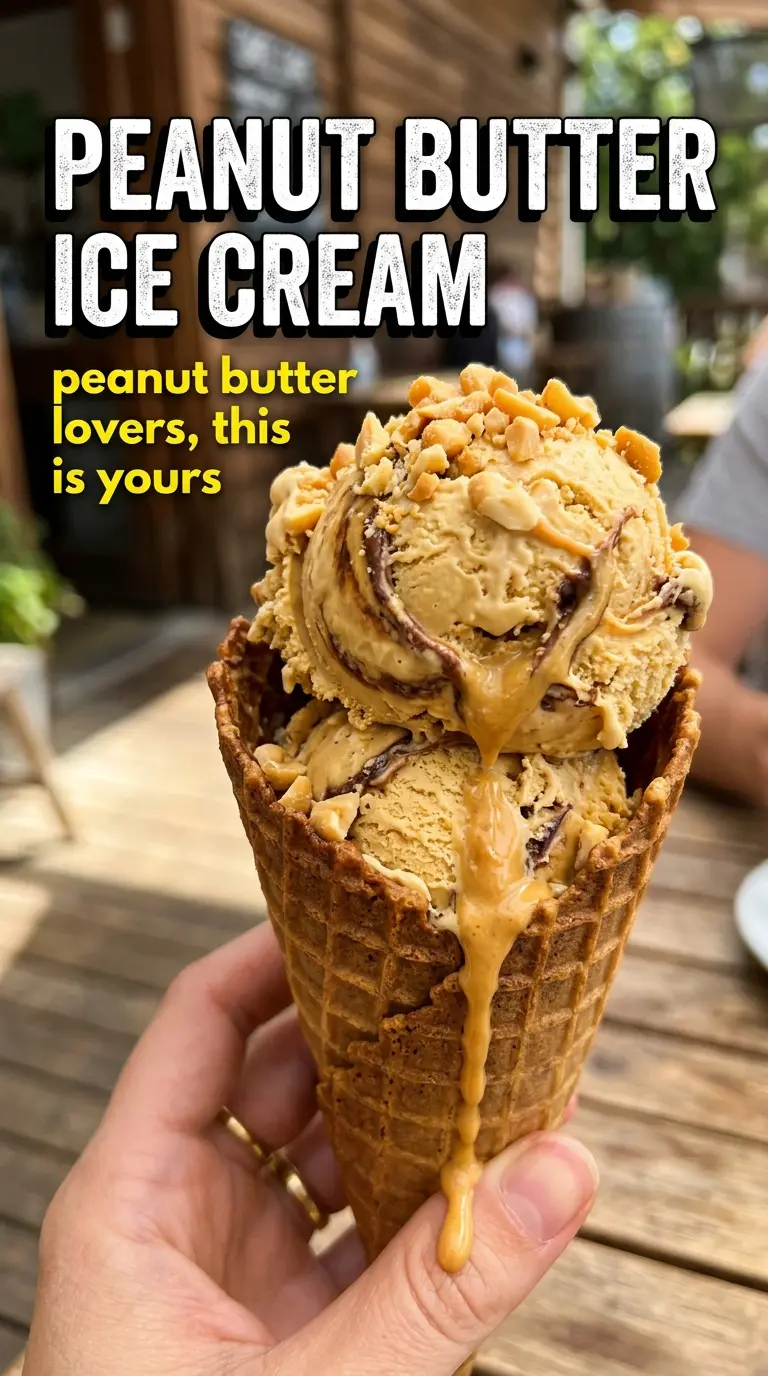
- Heavy cream — This gives the ice cream its lush body and keeps the base from freezing into a brick. There isn’t a true substitute if you want the same plush scoop, though you can swap in half-and-half in a pinch and expect a lighter, icier finish.
- Whole milk — Milk keeps the custard from becoming cloying and helps the peanut butter taste more like peanut butter than frosting. Lower-fat milk works, but the texture gets thinner and the final churn won’t feel as dense.
- Egg yolks — These are what turn the base into custard. They thicken the mixture, add richness, and help the ice cream stay smooth after freezing. Don’t skip the tempering step or you’ll end up with scrambled bits instead of a clean, velvety base.
- Creamy peanut butter — Use a standard creamy peanut butter, not a natural-style jar with lots of oil separation, because emulsifiers help it melt into the custard cleanly. If all you have is natural peanut butter, stir it extremely well first and expect a slightly looser set.
- Vanilla and salt — Vanilla rounds out the peanut flavor, and salt keeps the sweetness from taking over. The salt is subtle, but without it the finished ice cream tastes flatter and less peanut-forward.
Churning the Custard Into a Smooth Freeze
Tempering Without Scrambling the Yolks
Whisk the sugar into the yolks first until the mixture looks pale and a little thickened, then stream in the hot cream and milk slowly while whisking the whole time. That gradual addition warms the yolks without shocking them. If you dump the dairy in too fast, you’ll get little egg flakes instead of a clean custard base.
Cooking to the Right Thickness
Return the mixture to the saucepan and stir constantly over medium-low heat. Watch for the custard to coat the back of a spoon and reach 175F, not a rolling bubble. The moment it starts to look grainy or curdled, the heat is too high, so pull it back and keep stirring; custard forgives patience, not speed.
Making the Peanut Butter Disappear Into the Base
Take the pan off the heat before you add the peanut butter. Whisk until the custard turns smooth and completely uniform, with no streaks or specks left behind. If there are tiny lumps, press the mixture through a fine mesh sieve while it’s still warm, because peanut butter firms up fast once it cools.
Chilling for a Cleaner Churn
Stir in the vanilla and salt, then cool the custard over an ice bath before moving it to the fridge. A cold base churns faster and makes smaller ice crystals, which is the difference between creamy ice cream and a coarse freeze. Give it at least 4 hours, or overnight if you want the cleanest texture.
Freezing Until the Scoop Holds
Churn according to your machine’s instructions, then transfer the ice cream to a freezer-safe container and freeze until firm. The texture is soft-serve right out of the machine, which is normal. If you want tidy scoops, give it a few hours in the freezer before serving so it can set up fully.
How to Tweak This Without Losing the Peanut Butter Finish
Make it dairy-free with full-fat coconut milk
Use canned full-fat coconut milk in place of the cream and milk, then keep the custard technique the same. The result is still rich, but you’ll taste a faint coconut note and the finish will be a little softer in the freezer.
Use crunchy peanut butter for a little texture
Swap in crunchy peanut butter if you want tiny peanut bits scattered through the ice cream. It won’t churn as smoothly as creamy peanut butter, so the texture turns a little rustic, but the flavor stays deep and roasted.
Make a lower-egg version for a lighter custard
If you want a less custardy ice cream, reduce the yolks to 3. The base won’t be quite as plush, but it will still churn smoothly and the peanut butter will stay front and center.
Storage and Reheating
- Refrigerator: The base can be held in the fridge for up to 24 hours before churning. After that, it’s still safe, but the texture starts to lose some of its freshness.
- Freezer: Finished ice cream keeps well for about 2 weeks if it’s stored in an airtight container with parchment pressed onto the surface. After that, it can start picking up freezer flavor and getting a little icy at the edges.
- Reheating: Ice cream doesn’t need reheating, but it does need a short rest on the counter before scooping. Let it sit 5 to 10 minutes so the edges soften; trying to force the scoop through a rock-hard pint is how you tear it instead of serving it cleanly.
Answers to the Questions Worth Asking
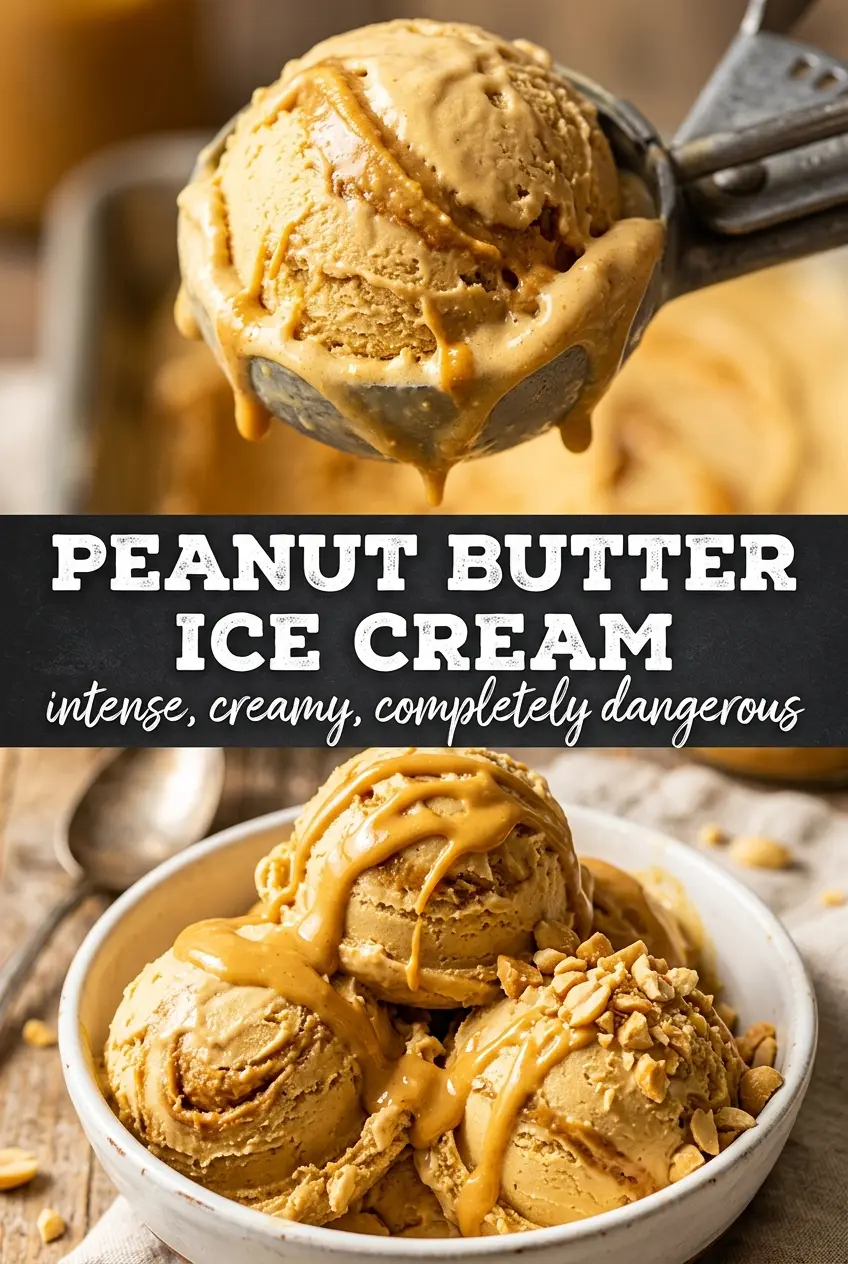
Peanut Butter Ice Cream
Ingredients
Equipment
Method
- Heat the heavy cream and whole milk in a saucepan until steaming, then slowly whisk the hot mixture into the egg yolks beaten with the granulated sugar.
- Return the mixture to the saucepan and cook over medium-low heat, stirring constantly, until the custard reaches 175°F and coats the back of a spoon.
- Remove from the heat and whisk in the creamy peanut butter until completely smooth.
- Strain the custard through a fine mesh sieve, then whisk in the vanilla extract and salt, and cool it over an ice bath.
- Refrigerate at least 4 hours or overnight, then churn in an ice cream maker according to its instructions until thickened.
- Freeze until firm, then serve cold.