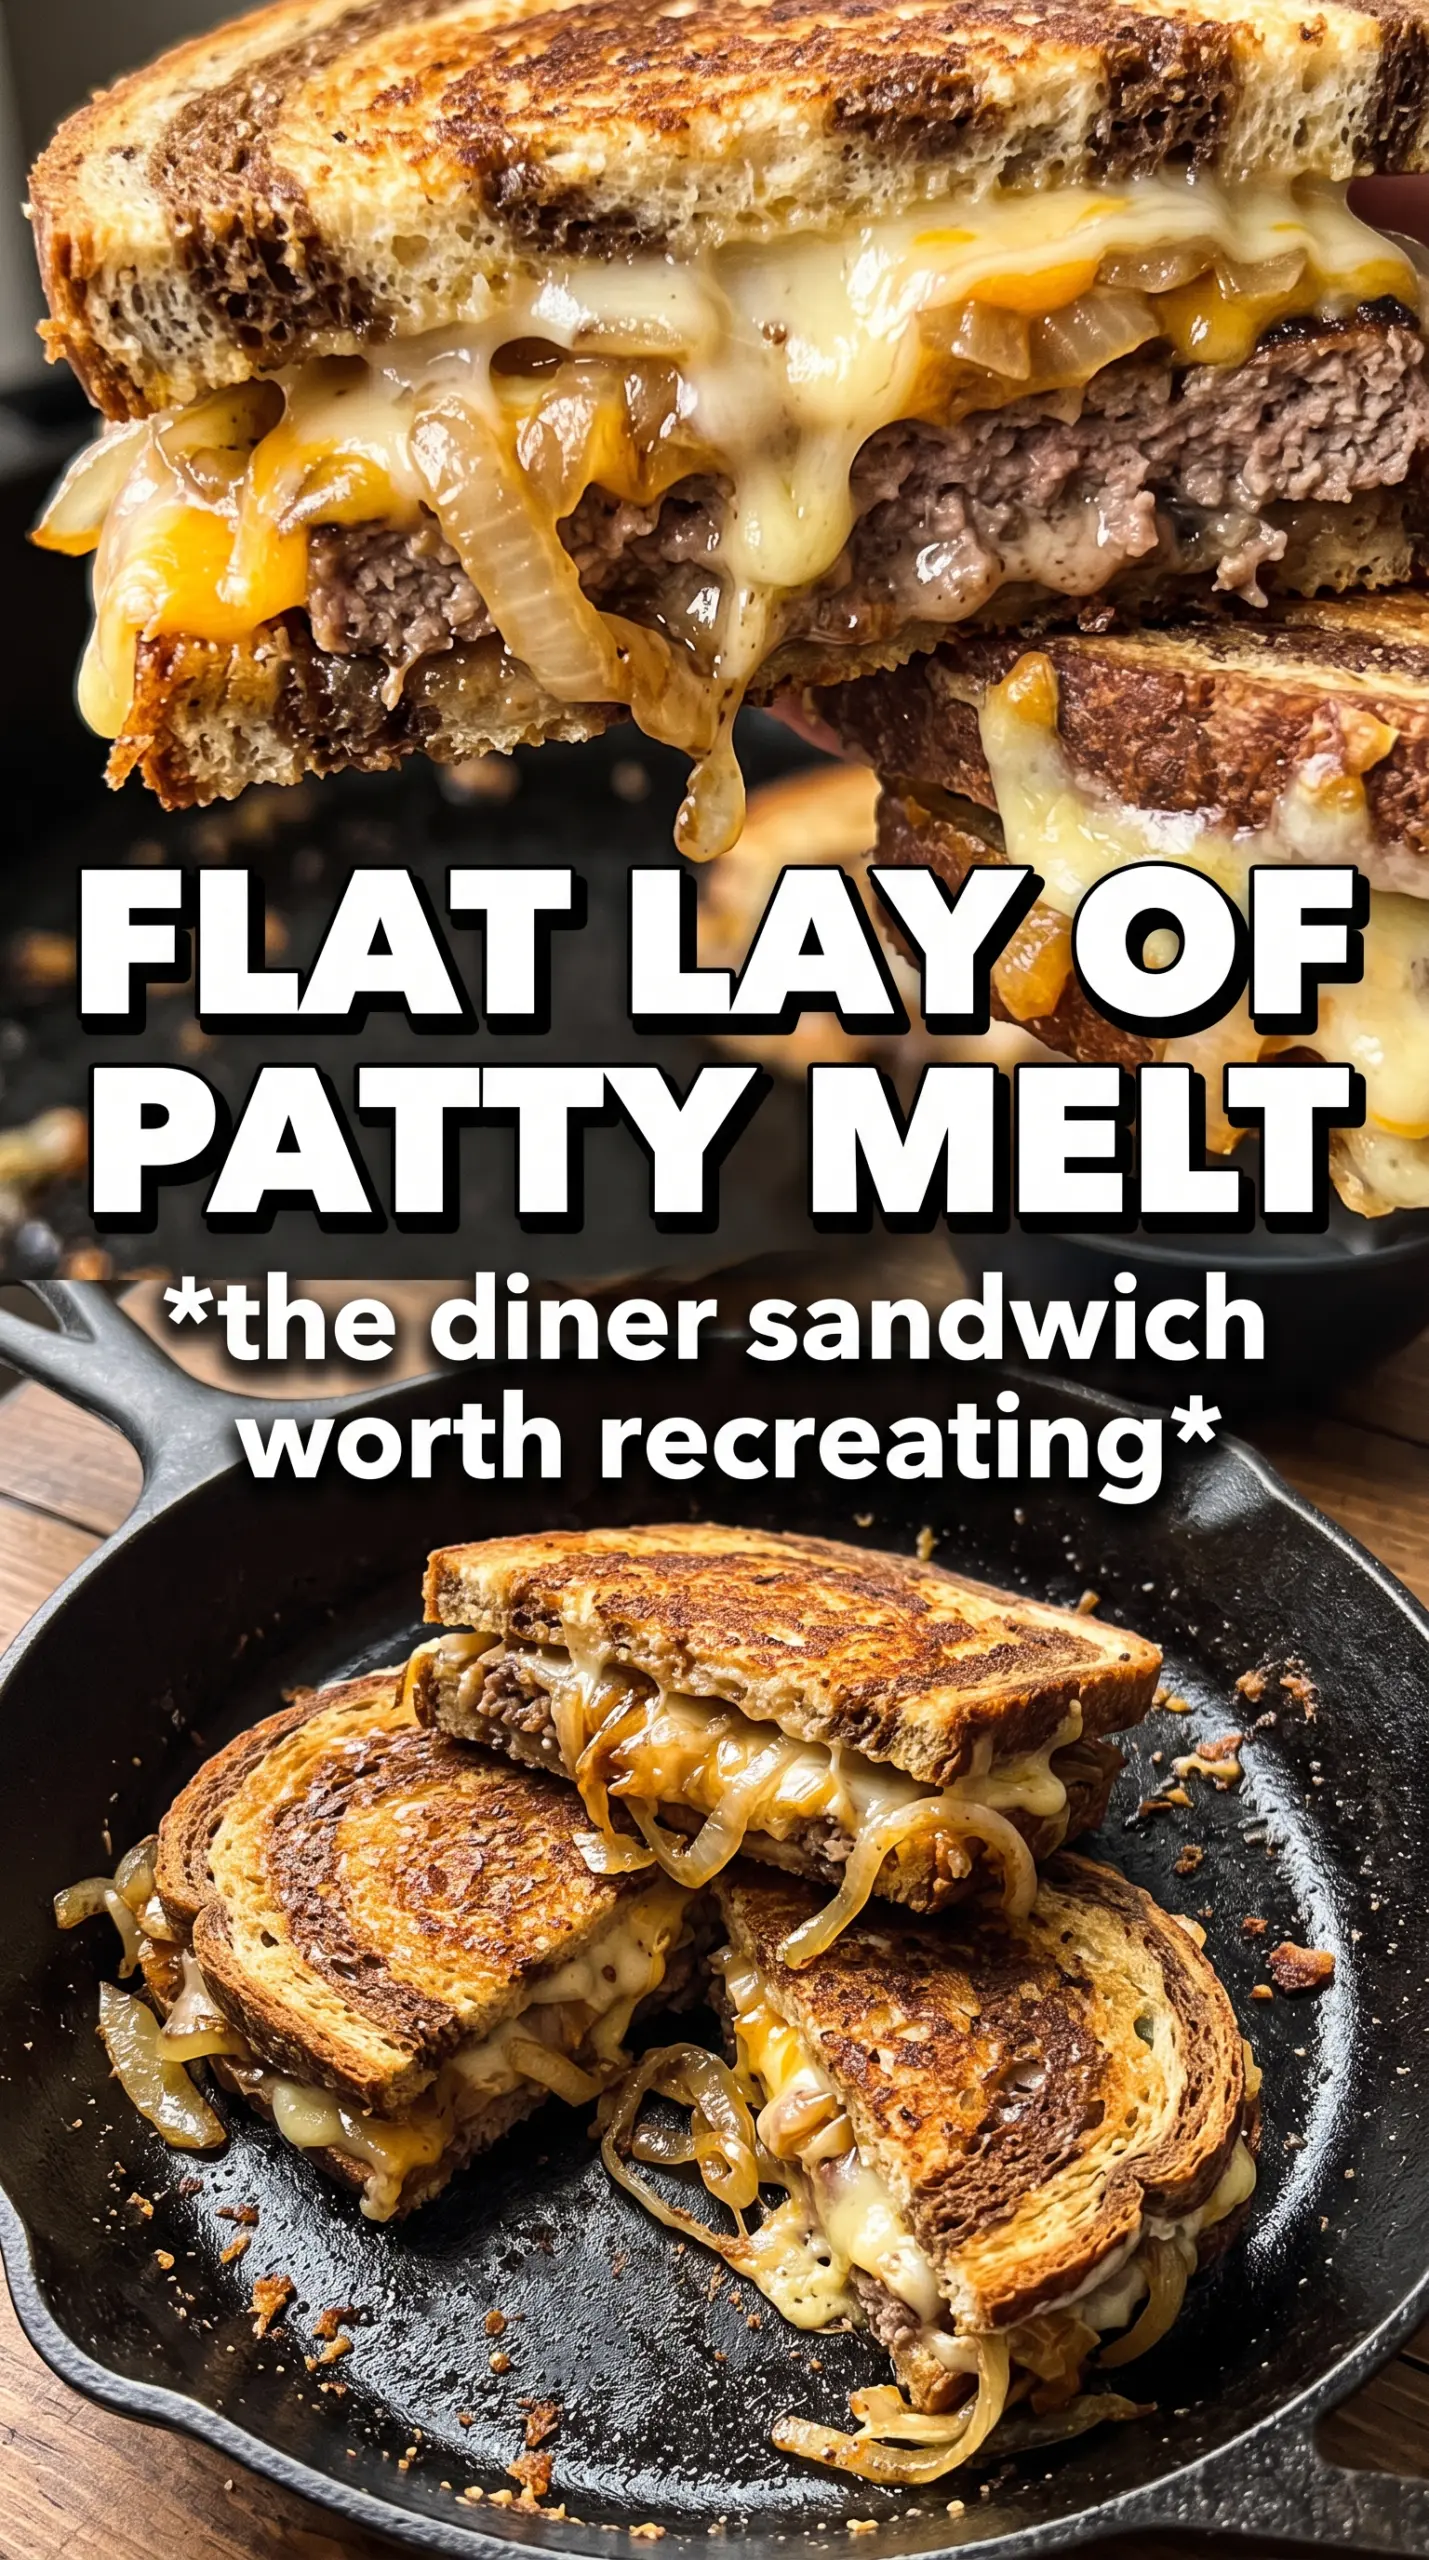
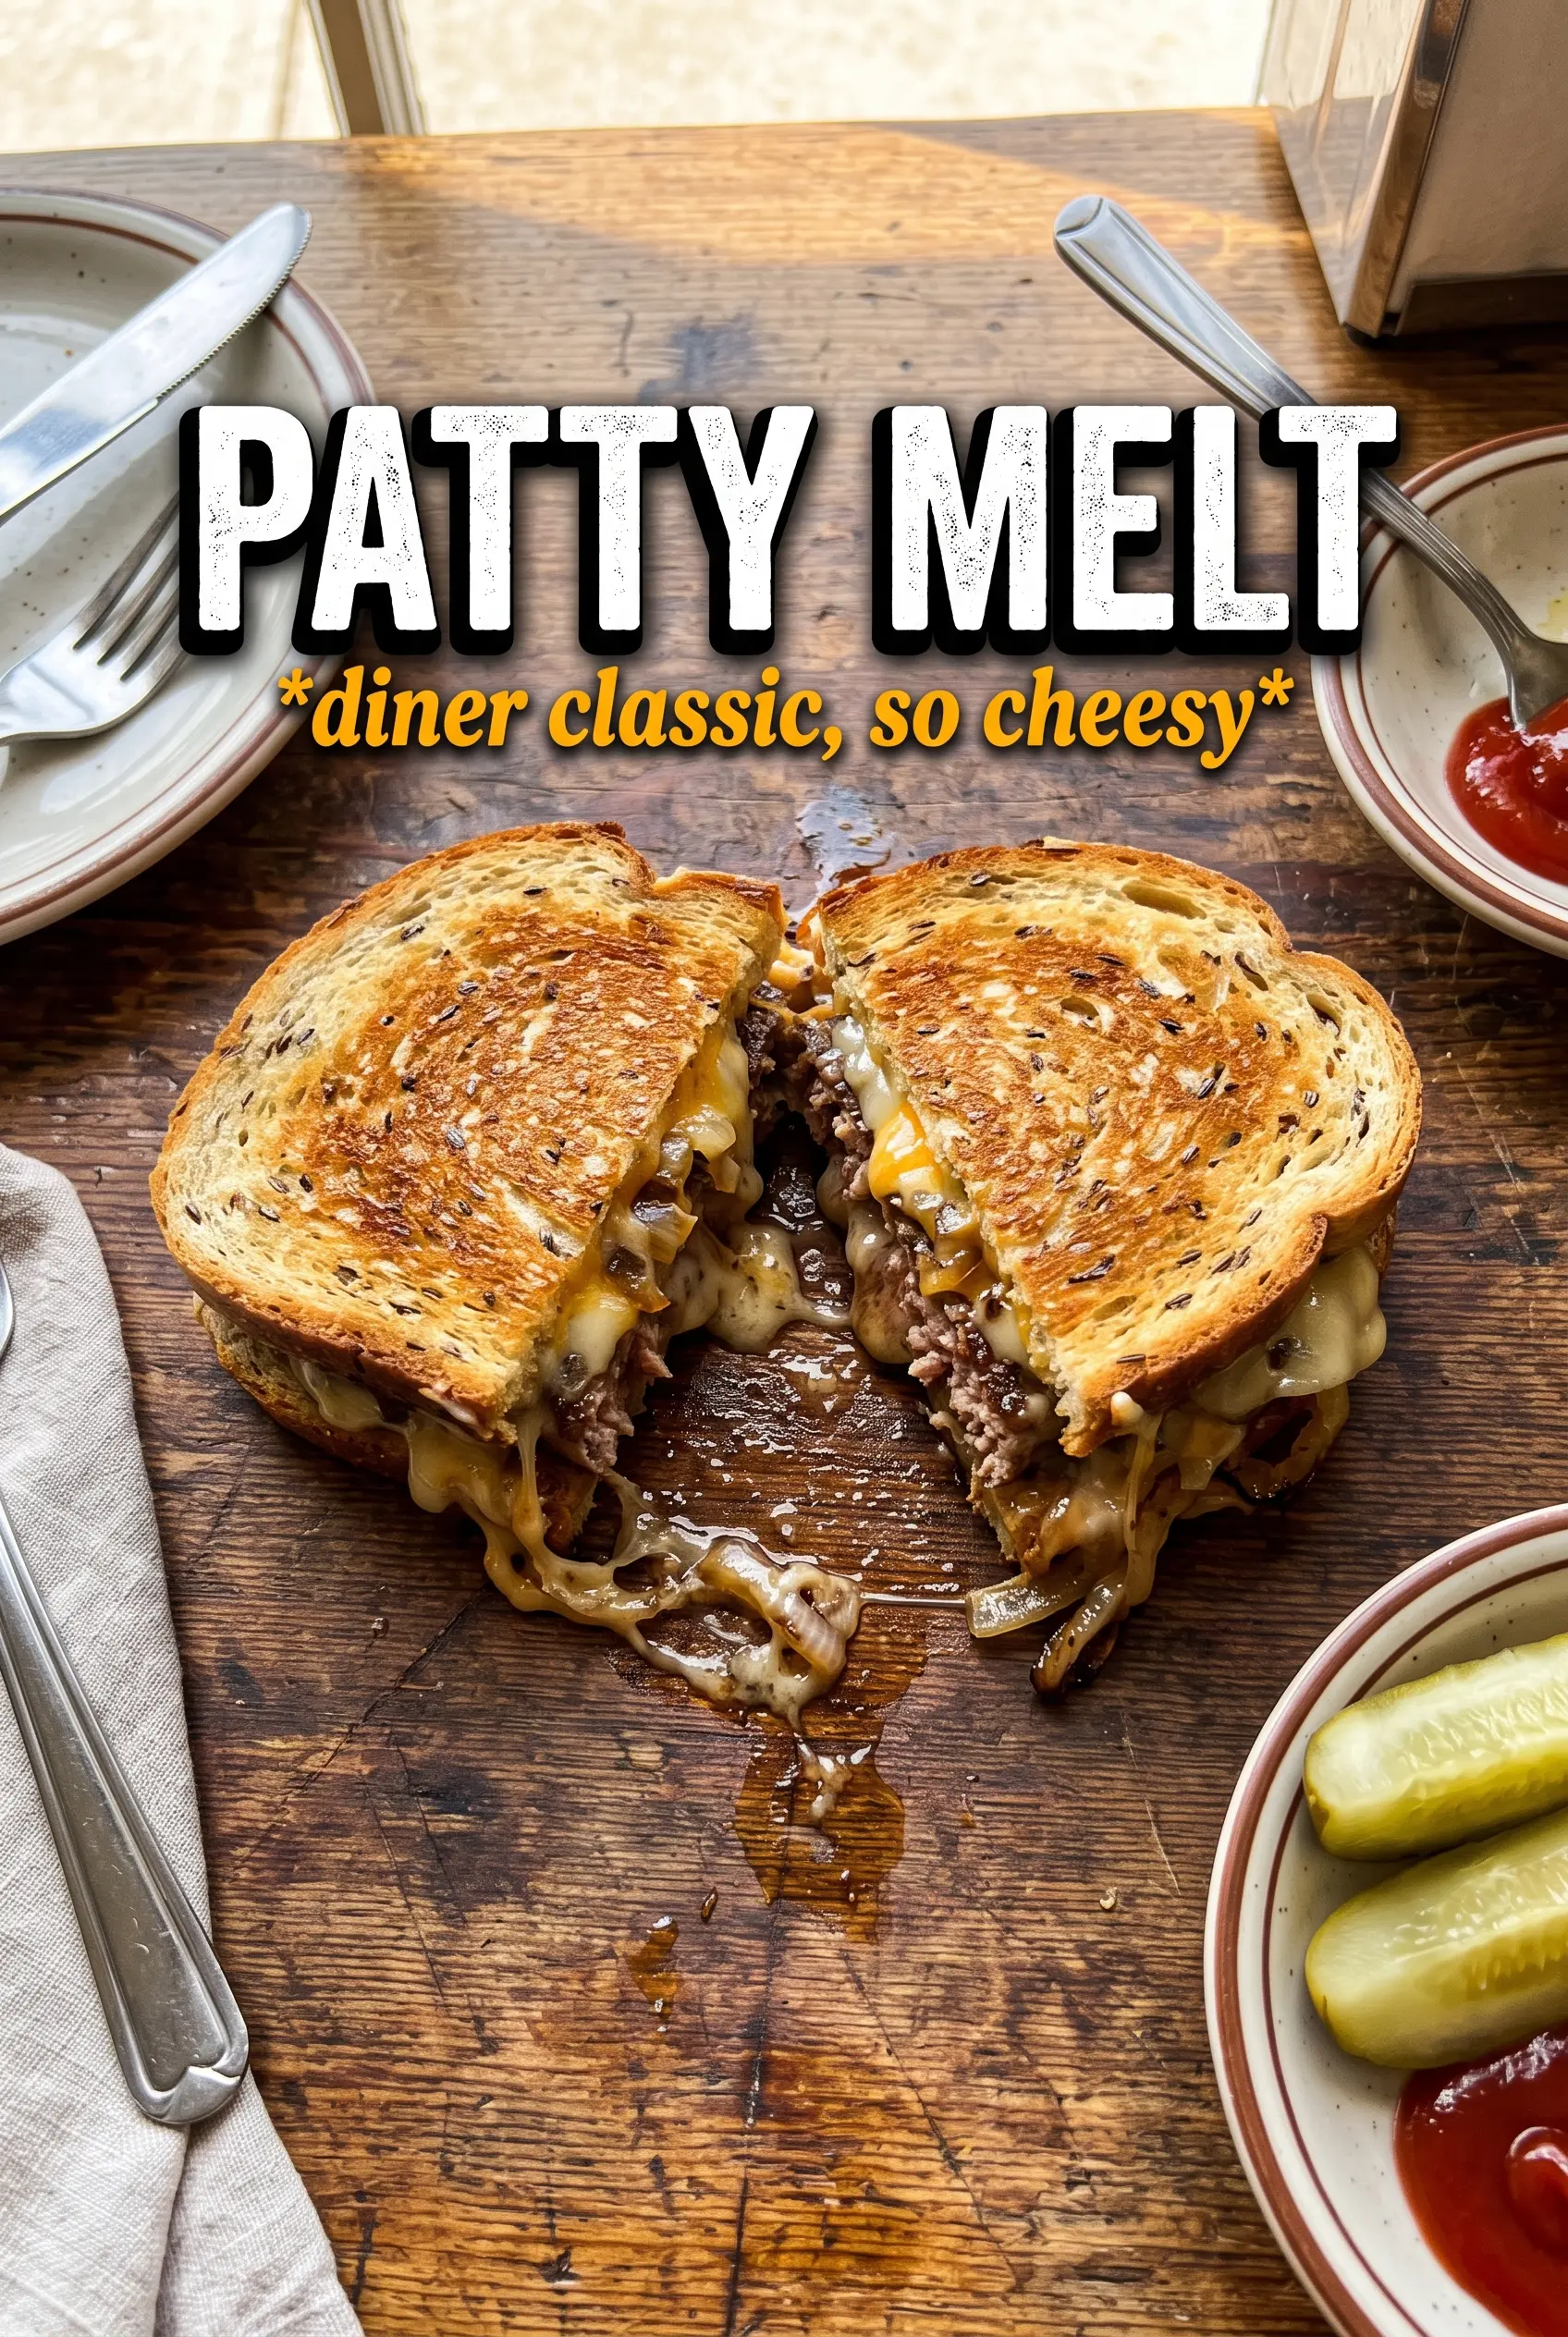
Golden rye, a thin smash-style beef patty, and two layers of melted cheese make a patty melt hit every time because each bite gets crisp bread, juicy meat, and sweet onions all at once. The best ones are built with enough heat to brown the bread fast, but not so much that the cheese barely starts to soften before the bread burns.
The onions do the heavy lifting here. When they cook low and slow until they collapse into a deep amber tangle, they bring sweetness that balances the beef and sharp cheese without turning the sandwich muddy. Using both Swiss and cheddar gives you stretch and a little tang, while the Worcestershire in the beef and the sauce adds a savory backbone that keeps the whole thing from tasting flat.
Below, I’ll show you how to get that classic diner-style crust without losing the melt in the middle, plus the small adjustments that make a patty melt work in your own skillet instead of just on paper.
The onions took the full time to get that deep sweet flavor, but it was worth it. The bread stayed crisp, the cheese melted all the way through, and the sauce gave it that classic diner taste.
Save this patty melt for the nights when you want crisp rye, caramelized onions, and a double-cheese melt that tastes straight from the diner.
The Part That Makes a Patty Melt Taste Like a Diner Sandwich, Not a Burger on Toast
The biggest mistake is treating the bread like an afterthought. Rye needs enough fat in the pan to turn deeply golden and crisp, but it also needs a hot enough surface that the cheese starts melting as the crust forms. If the heat is too low, the sandwich dries out before the bread browns; if it’s too high, the bread scorches before the center warms through.
The other thing that matters is thickness. A patty melt works best when the beef is smashed thin, almost lacy at the edges, because that gives you a better ratio of crusty beef to melty cheese and keeps the sandwich from eating like a thick hamburger between slices of bread. The onions should be soft enough to fold, not stringy or sharp. If they still taste raw, keep cooking them. They need that jammy sweetness to carry the sandwich.
What Each Ingredient Is Doing in This Sandwich
- 80/20 ground beef — The fat keeps the patties juicy after the smash, and it helps the meat brown fast in a hot skillet. Leaner beef can work, but it will eat drier and won’t give you the same diner-style richness.
- Rye bread — This isn’t just tradition. Rye has enough backbone to stand up to the onions and sauce without getting lost. Use sturdy slices; very soft sandwich bread tends to collapse once the sandwich is pressed.
- Swiss and sharp American or cheddar — Swiss brings the classic nutty melt, while cheddar or American gives you extra creaminess and a little sharpness. If you only use Swiss, the sandwich can taste mild; if you only use cheddar, it loses that familiar patty melt character.
- Onions — These are worth the time. Slice them thin and cook them low until they turn deep golden and sweet, because rushed onions taste harsh and make the sandwich heavy instead of balanced.
- Worcestershire sauce — A little in the beef and a little in the special sauce adds savory depth. There isn’t a perfect substitute here, but soy sauce can cover some of the same ground if that’s what you have.
- Butter — Butter gives the bread its color and that clean, toasty flavor. You can mix in a little neutral oil if your pan runs hot, but butter is what gives the crust its taste.
Building the Layers So the Cheese Melts Before the Bread Burns
Caramelizing the Onions
Start the onions in butter over medium-low heat and give them time. They should soften first, then turn translucent, then slowly move into a deep golden brown. If they start sticking too hard or browning too fast, the heat is too high, and you’ll get bitter edges before the sweetness develops. Stir often enough to keep them moving, but not so much that they never make contact with the pan.
Forming and Seasoning the Beef
Divide the beef into loose balls and season them right before they hit the skillet. Worcestershire, garlic powder, salt, and pepper should cling to the outside without being worked into the meat too much; overmixing makes the patties dense. Once they hit the cast iron, smash them thin and let them sear without fussing. If you try to move them too soon, they’ll tear instead of releasing cleanly.
Toasting the Bread and Assembling
Toast the buttered rye in the same skillet so it picks up the beef drippings and browned bits. Build the sandwich with toast, sauce, onions, patty, both cheeses, more onions, then the top slice. That order matters because the cheese needs to sit against the hot patty and onions to start melting before the final press. If the bread is already fully dark, lower the heat before the finished sandwich goes back into the pan.
Pressing Until the Center Turns Gooey
Return the assembled sandwich to the skillet and press it lightly with a spatula or another pan. You’re looking for a crisp exterior and cheese that oozes just at the edges, not a hard crust with cold filling. Flip once and cook the second side until both sides are evenly browned and the cheese has fully melted. If the bread browns too fast before the cheese melts, the pan was too hot and the sandwich needed a gentler finish.
Three Ways to Adjust This Patty Melt Without Losing What Makes It Work
Gluten-Free Version With the Same Crispy Finish
Use a sturdy gluten-free sandwich bread that can handle pan-toasting without falling apart. The flavor won’t be as earthy as rye, but the key is still the same: toast it in butter over moderate heat and assemble only after the bread has some structure.
Dairy-Free Swap That Still Gets You a Melted Center
Use a good melting dairy-free cheese and replace the butter with a neutral oil or plant-based spread that browns well. The texture won’t be identical, but you can still get a crisp exterior if you keep the heat moderate and press the sandwich at the end so the filling heats through evenly.
Make-Ahead Onions for Faster Assembly
The onions can be cooked a day or two ahead and reheated gently before assembling. This saves most of the active time and actually helps on a busy night, because you can focus on the bread and cheese instead of babysitting the pan while dinner gets cold.
Storage and Reheating
- Refrigerator: Store leftover patties, onions, and bread separately for up to 3 days. Fully assembled sandwiches soften as they sit, so the texture is better when you keep the parts apart.
- Freezer: The cooked beef patties freeze well for up to 2 months. Don’t freeze the assembled sandwich; the bread turns soggy and the cheese reheats unevenly.
- Reheating: Rewarm the patties and onions in a skillet, then rebuild the sandwich and toast it fresh. If you microwave the whole thing, the bread goes limp before the cheese has a chance to melt properly.
Questions I Get Asked About This Recipe
Patty Melt
Ingredients
Equipment
Method
- Melt 2 tablespoons unsalted butter in a cast iron skillet over medium-low heat, then add the thinly sliced onions. Cook for 25-30 minutes, stirring occasionally, until deeply golden.
- Divide the 80/20 ground beef into 4 balls. Season each with Worcestershire sauce, garlic powder, salt, and pepper.
- Heat the cast iron skillet over high heat. Smash each beef ball thin and cook for 2-3 minutes per side, seasoning as needed for browning.
- Divide the remaining butter and toast the rye bread slices in the skillet until golden. Flip to toast both sides lightly.
- Assemble sandwiches by layering toasted rye with special sauce, caramelized onions, smash patty, Swiss and sharp American/cheddar, more onions, then top with toasted rye.
- Return the assembled sandwiches to the cast iron skillet and press gently. Cook for 1-2 minutes per side until the cheese is fully melted and the bread is crisp.