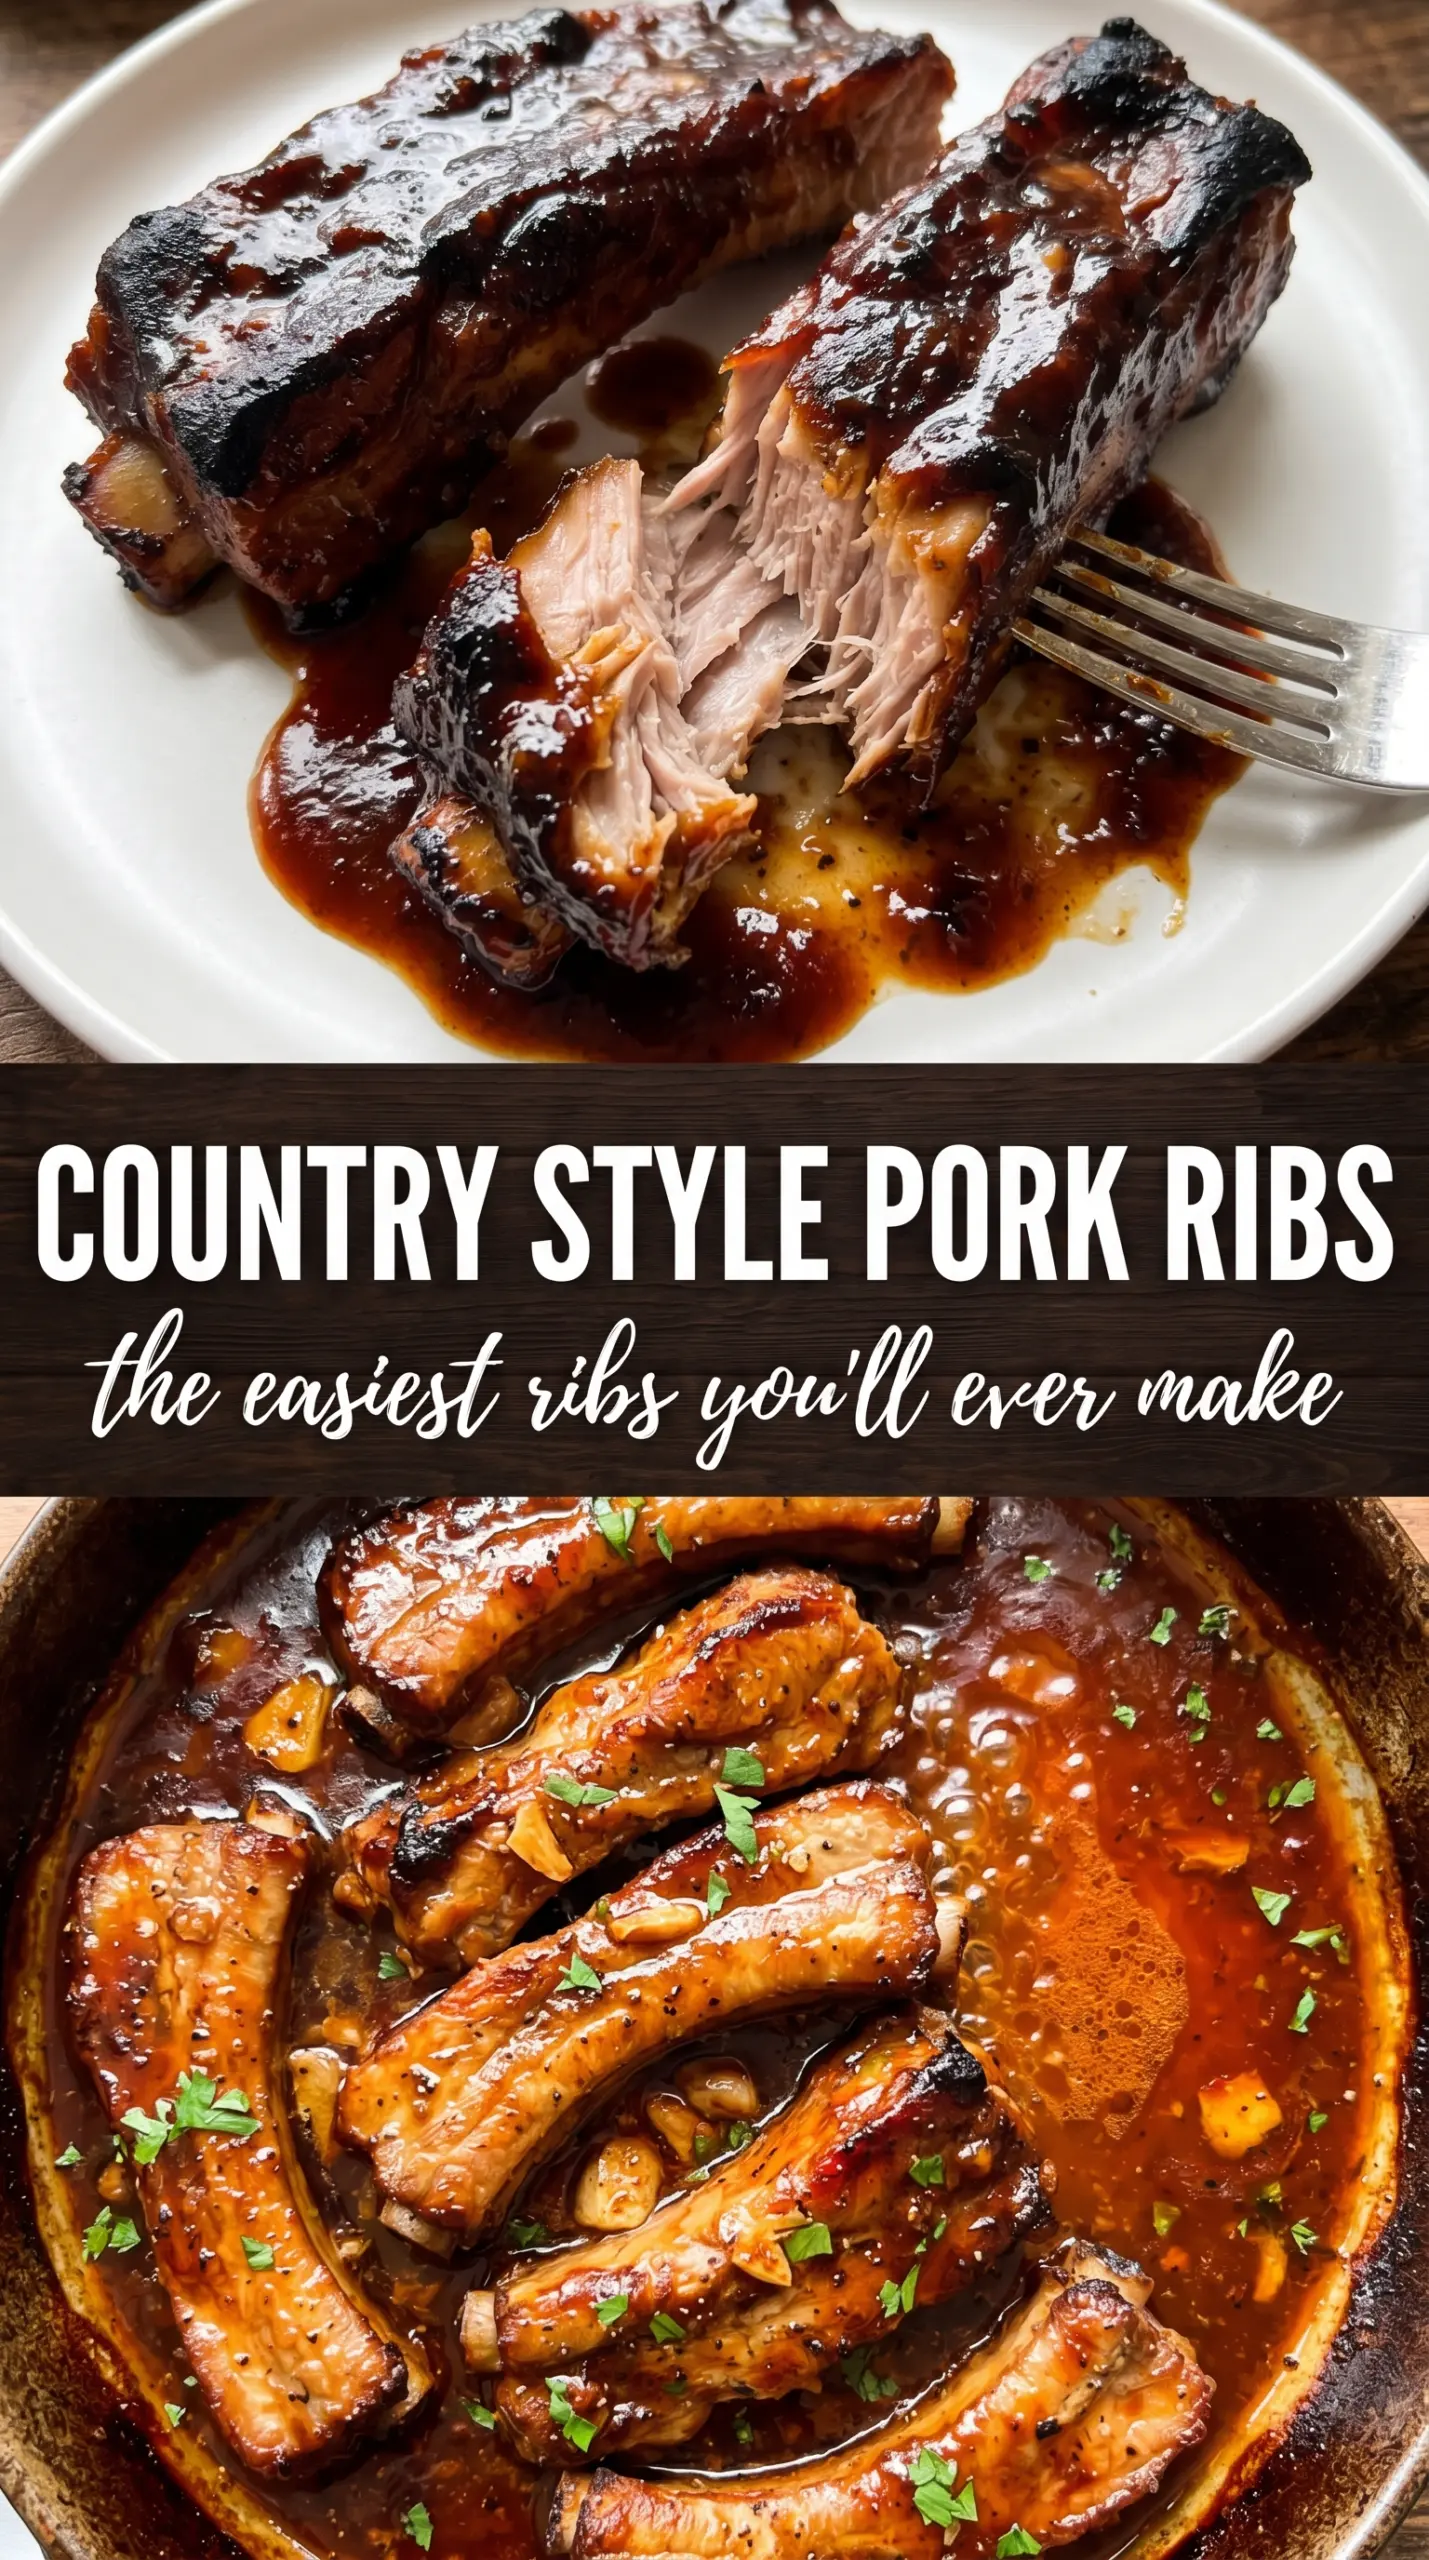
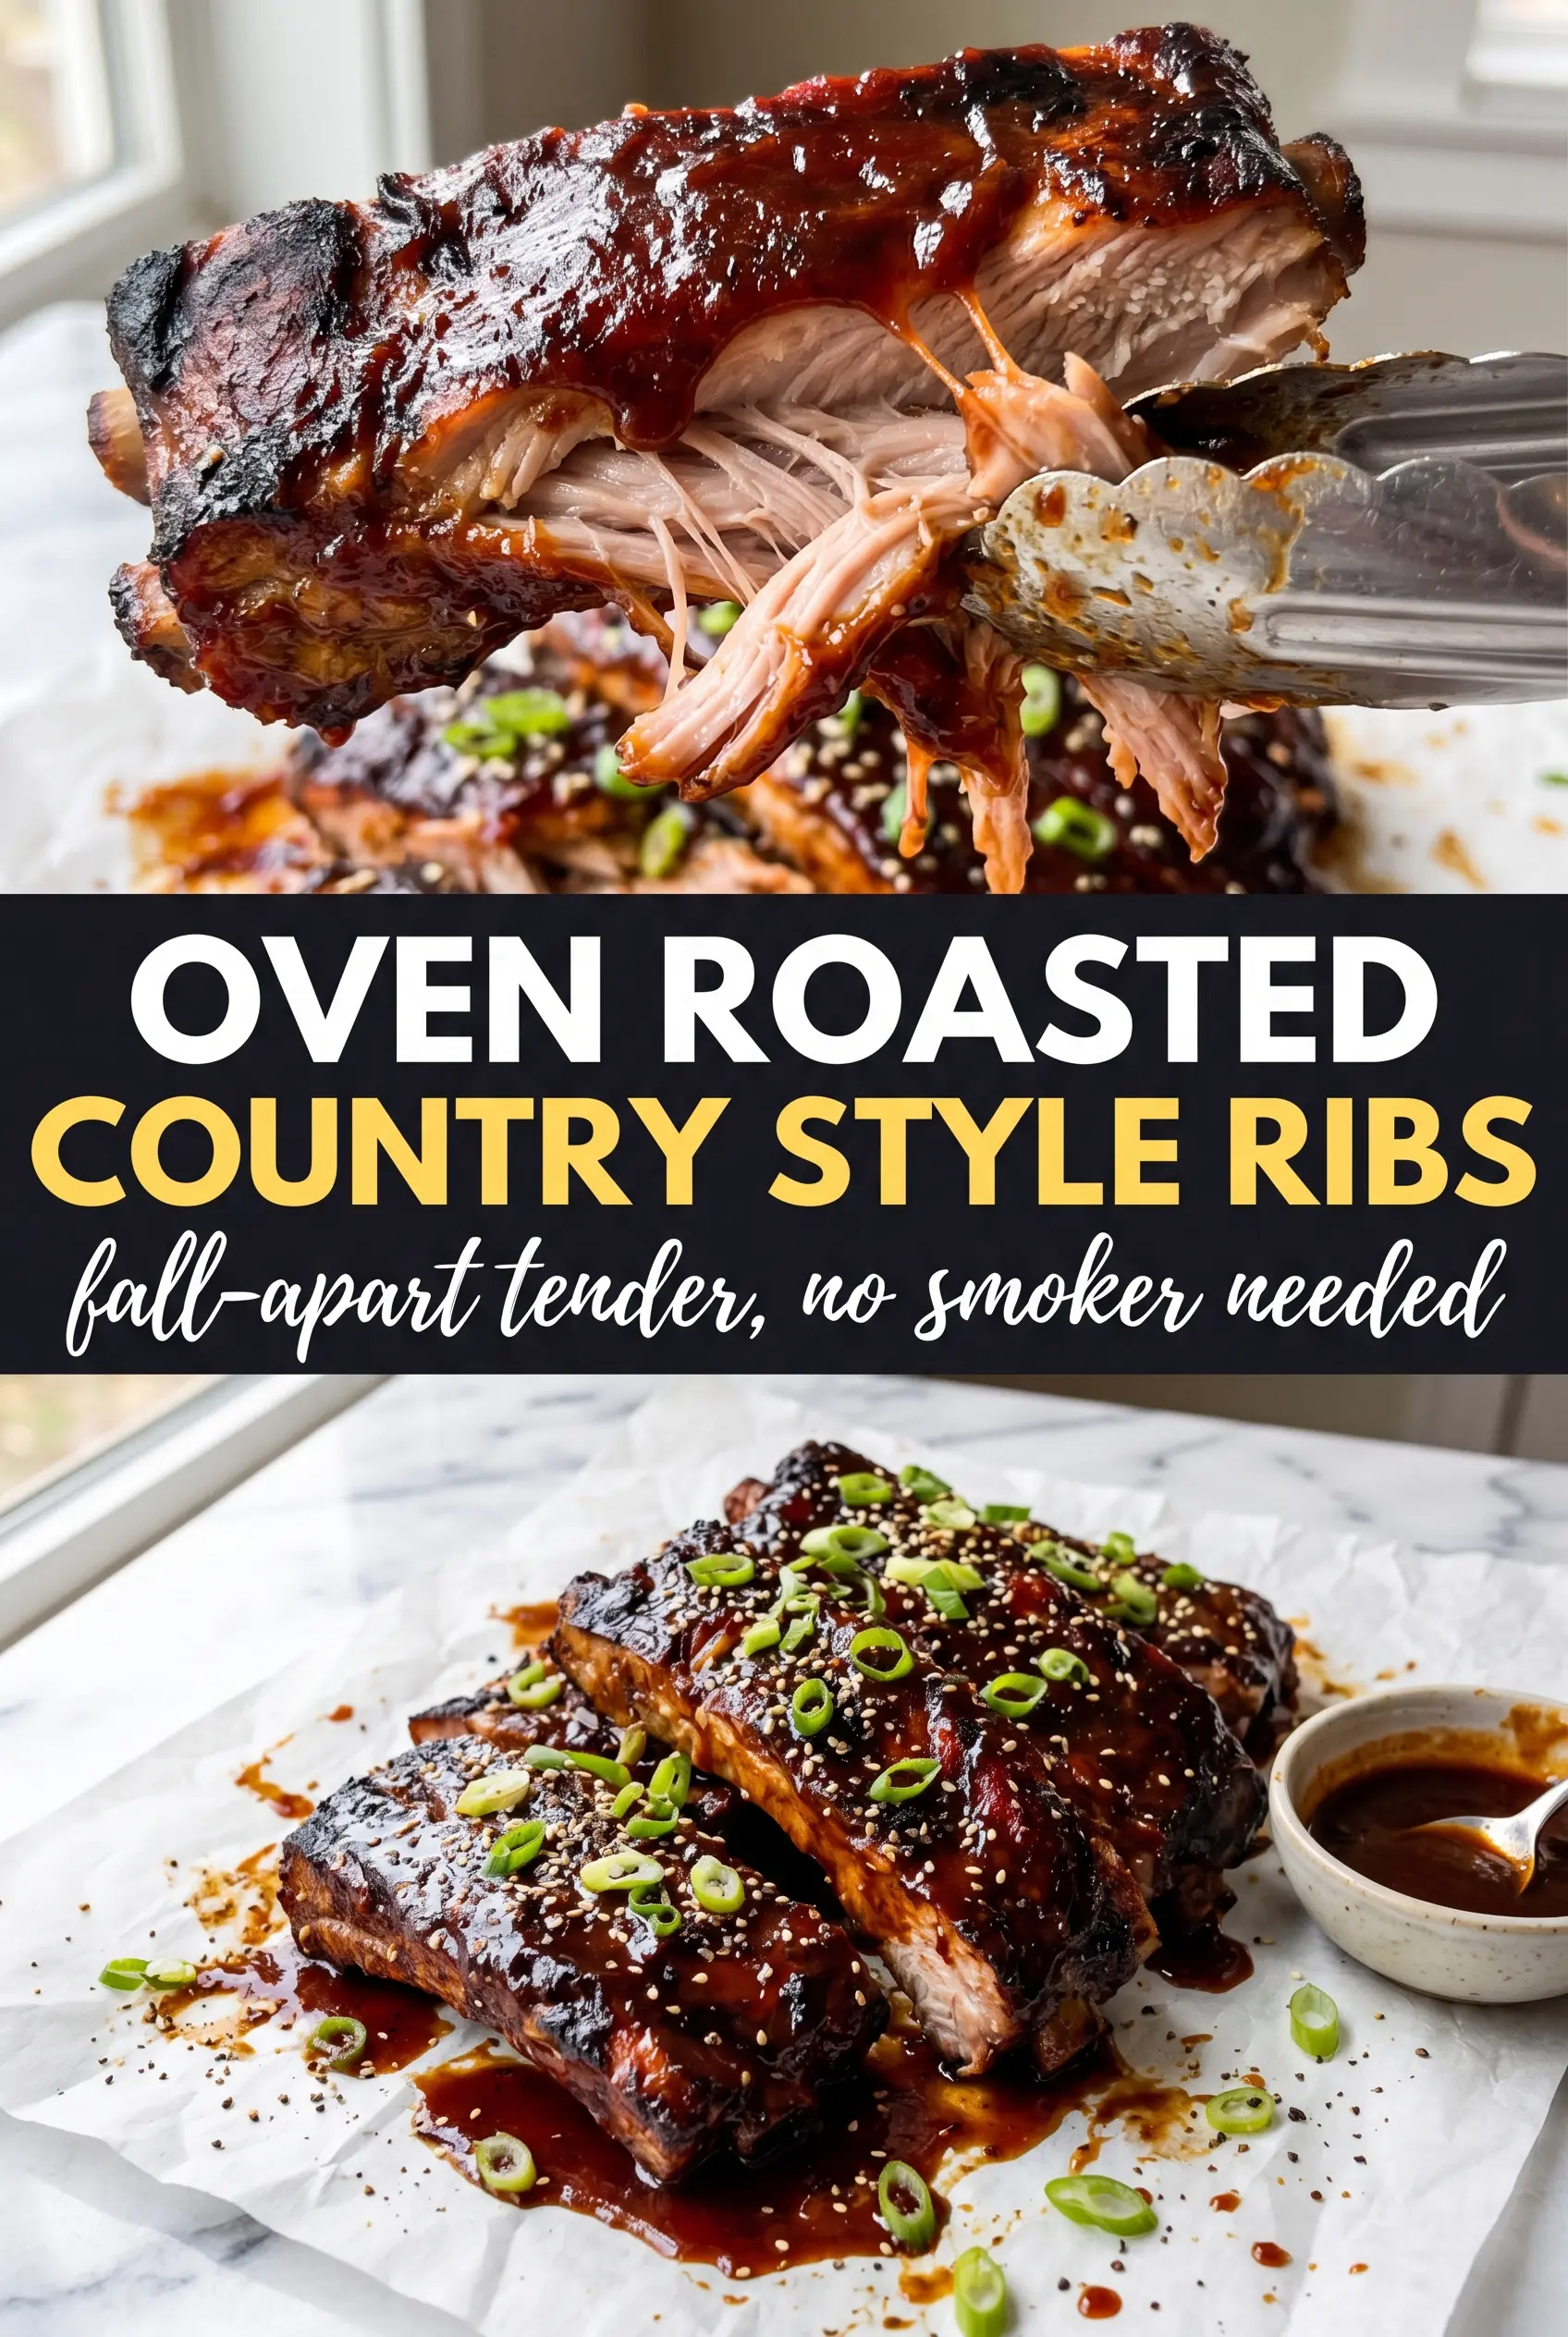
Oven roasted country style ribs come out with the kind of tenderness that makes a fork almost unnecessary. The outside picks up a dark, lightly sticky crust from the dry rub, then the BBQ glaze bakes down into a caramelized finish that clings to every piece. When they’re done right, the meat doesn’t just slice cleanly — it pulls apart into juicy shreds with almost no effort.
The key is the low-and-slow oven time under foil. Country style ribs need that covered heat to soften and relax before the sauce goes on, or they stay firm and chewy no matter how long you blast them at the end. The brown sugar and smoked paprika build a deep, almost grill-like crust in the oven, while the final high-heat glaze gives you the sticky edges people usually chase outdoors.
Below, I’ll walk through the part that matters most: how to tell when the ribs are tender enough to glaze, which rub ingredients actually shape the flavor, and how to tweak the method if you’re working with boneless ribs or want a less sweet finish.
I used boneless ribs and was worried they’d dry out, but the covered bake kept them super tender. The BBQ sauce got thick and sticky in the last 20 minutes, and the edges turned out caramelized instead of burnt.
Oven roasted country style ribs with sticky BBQ glaze belong in your regular rotation for easy dinners that still taste slow-cooked.
The Covered Bake Is What Turns Tough Into Tender
Country style ribs are not the same as baby back ribs, and that matters here. They come from the shoulder, which means they have more meat and more connective tissue. That’s a gift in the oven, but only if you give them enough time under foil. If you rush straight to high heat, the outside browns before the inside has had a chance to soften.
The covered bake creates a moist, trapped environment that lets the ribs relax and turn tender without drying out. You’re looking for meat that yields easily when pressed with a fork, not meat that has shrunk back from the pan and gone stiff. The final uncovered bake is just for the glaze and color; it’s not the part that cooks them through.
What Each Ingredient Is Actually Doing in This Recipe
- Primary ingredient (the star) — Quality matters most. Choose the best you can find.
- Cooking medium (oil, butter, or broth) — This carries flavors and prevents dryness.
- Seasonings (salt, pepper, spices, herbs) — Layer flavors so nothing overpowers. Build depth gradually.
- Aromatics (garlic, onion, herbs) — Cook with fat to bloom flavors. Become the foundation.
- Supporting ingredients — Complement the main ingredient without overpowering it.
- Sauce or liquid (if applicable) — Brings flavors together. Balance richness with acid.
- Acid (lemon, vinegar, wine, or other) — Brightens and prevents flat-tasting results.
- Final finish (garnish, glaze, or sauce) — Prevents one-dimensional taste and adds visual appeal.
What the Rub and Sauce Are Each Doing Here
- Brown sugar — This helps the crust caramelize and gives the BBQ sauce a head start on sticky edges. You can reduce it a little if you want a less sweet finish, but don’t skip it entirely or the final glaze will taste flatter.
- Smoked paprika — This is the deepest smoke note in the recipe. Use the best paprika you have, because a tired jar tastes dusty instead of bold.
- Cumin — A small amount adds warmth and a savory backbone that keeps the ribs from tasting like pure barbecue sauce. It disappears into the background if you use too much, so keep it measured.
- BBQ sauce — Pick one you already like eating. Thin sauce will bake into a glossy glaze; very thick sauce can scorch before it loosens, so brush it on generously but not in a paste.
- Boneless or bone-in ribs — Both work here. Boneless ribs usually cook a little more evenly, while bone-in pieces can bring a slightly richer pork flavor. The method stays the same, but bone-in pieces may need the full covered bake time.
How to Get the Ribs Tender Before the Glaze Goes On
Building the Dry Rub
Mix the brown sugar, paprika, garlic powder, onion powder, cumin, cayenne, salt, and pepper until the rub looks even and sandy. Coat every side of the ribs generously and press the seasoning in with your hands so it sticks. If the rub falls off in clumps, it won’t form that deep crust in the oven. Let the ribs sit long enough for the surface to look seasoned instead of dusty.
Cooking Under Foil
Arrange the ribs in a single layer and cover the pan tightly with foil. Tight matters here; loose foil lets steam escape, which slows the tenderizing process. Bake at 300°F for about 2 hours, then check for fork-tender meat. If they still feel firm in the middle, give them another 15 to 20 minutes covered before moving on.
Glazing and Caramelizing
Once the ribs are tender, uncover them and brush on the BBQ sauce in a thick, even layer. Turn the oven up to 400°F and bake until the sauce bubbles, darkens at the edges, and turns glossy and sticky, about 20 to 25 minutes. If your sauce starts to look burnt before it thickens, your pan is too close to the top heating element. Move it to a lower rack and keep going.
How to Adapt These Ribs for Different Kitchens and Appetites
Make them less sweet
Cut the brown sugar to 1 tablespoon and use a tangier BBQ sauce. You’ll lose a little of the candy-like edge on the glaze, but the ribs will taste more savory and a little more balanced.
Gluten-free version
Use a BBQ sauce that’s labeled gluten-free and check your spice blend if it’s store-bought. The texture doesn’t change, and the ribs still caramelize the same way.
Heat it up
Add another 1/4 teaspoon cayenne or a pinch of chipotle powder. That gives the glaze a slower burn without changing the texture of the finished ribs.
Storage and Reheating
- Refrigerator: Store leftovers in an airtight container for up to 4 days. The sauce thickens as it chills, which helps the ribs reheat without drying out.
- Freezer: These freeze well for up to 2 months. Wrap tightly and freeze with a little extra sauce so the meat doesn’t taste dry after thawing.
- Reheating: Reheat covered in a 300°F oven with a spoonful of sauce or a splash of water until hot. The biggest mistake is blasting them uncovered in the microwave, which tightens the meat and dulls the glaze.
Answers to the Questions Worth Asking
Oven Roasted Country Style Ribs
Ingredients
Equipment
Method
- Preheat the oven to 300°F. Set a baking dish or sheet pan aside so the ribs can go in immediately.
- Mix the dry rub ingredients and coat the ribs generously on all sides. Make sure every surface is covered for a caramelized crust.
- Place the ribs in a single layer in a baking dish, cover tightly with foil, and bake for 2 hours at 300°F until very tender. The meat should be soft enough to pull apart with a fork.
- Uncover the ribs, brush generously with BBQ sauce, and increase the oven to 400°F. Coat all exposed areas so the glaze caramelizes evenly.
- Bake uncovered for 20–25 minutes at 400°F until the sauce is caramelized and sticky. Watch for darkened edges and a glossy glaze.
- Serve with extra BBQ sauce. Letting it rest briefly helps the juices settle before slicing or shredding.