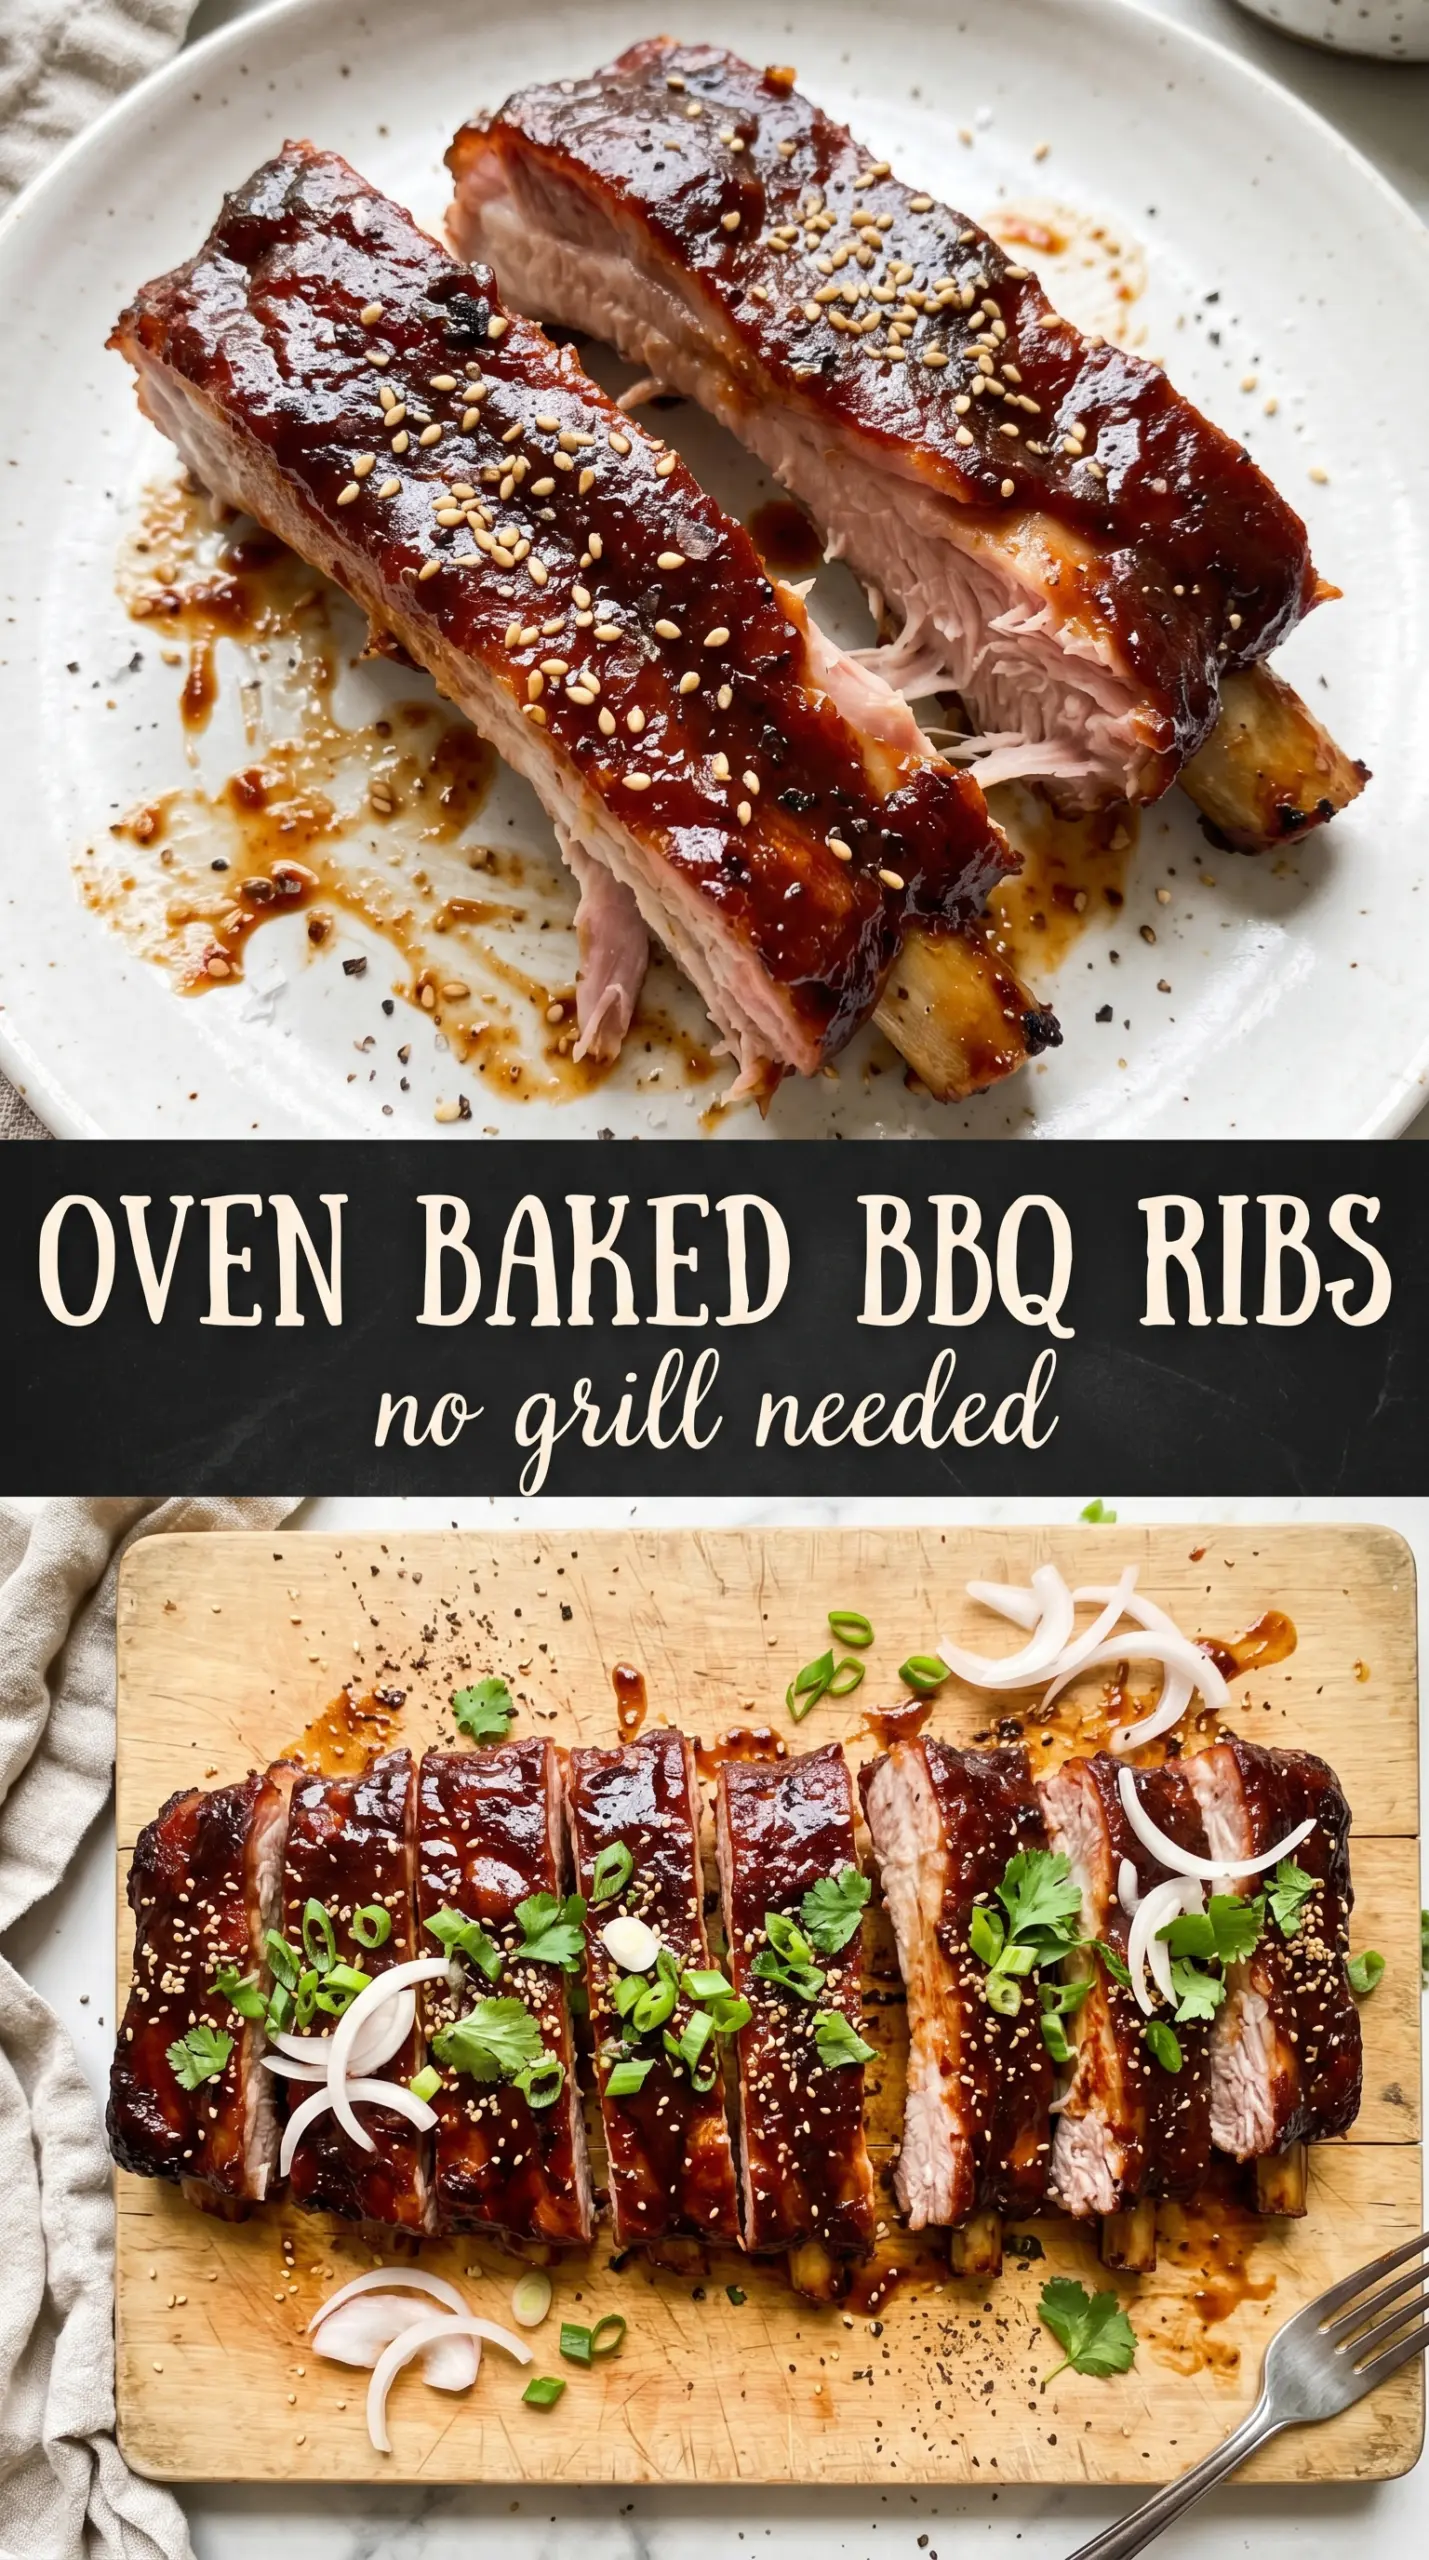
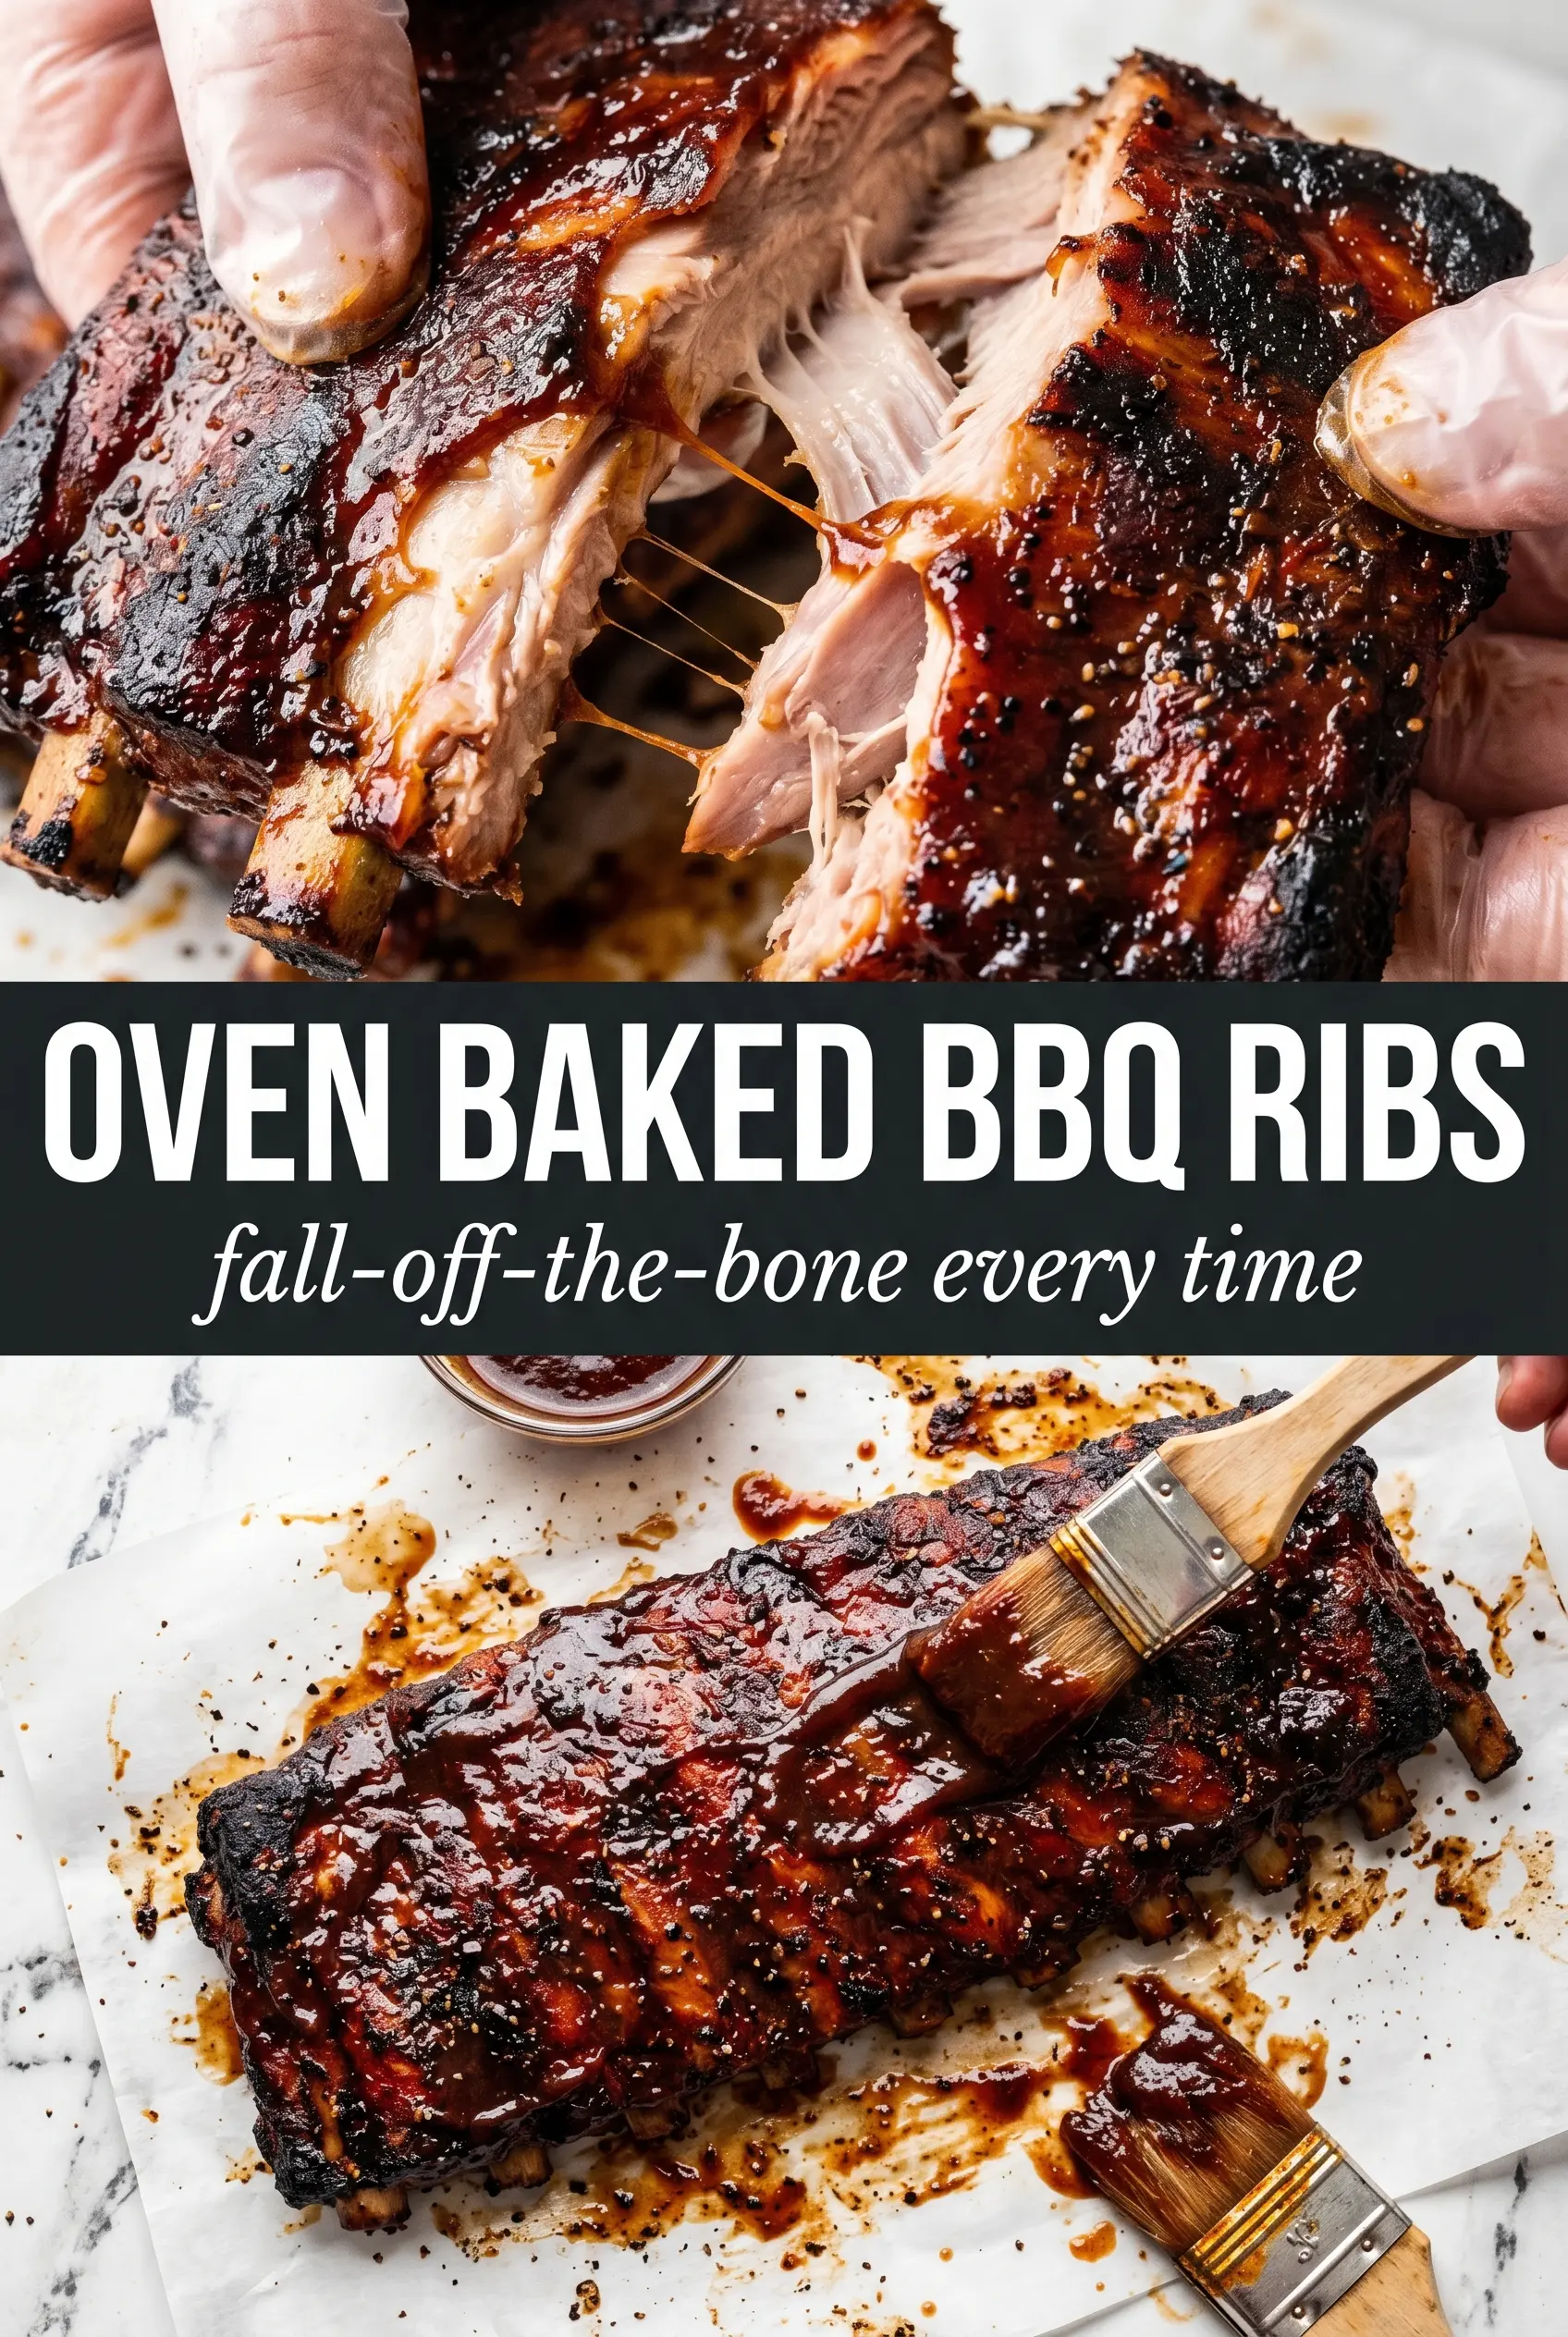
Oven baked BBQ ribs come out with the kind of meat that pulls cleanly from the bone and a sticky glaze that sets up in a way a lot of grilled ribs never quite manage. The slow bake keeps the pork tender from edge to edge, then the broiler finishes the job with a caramelized crust that tastes like it spent all afternoon over smoke, even though it never left the oven.
The real trick here is patience with low heat and enough time for the fat and connective tissue to soften before the sauce goes on. The dry rub builds flavor under the glaze, and removing the membrane from the back of the ribs keeps every bite tender instead of chewy. A short rest after baking matters too, because it lets the juices settle and keeps the ribs from falling apart the second you cut them.
Below, you’ll find the little details that make these ribs work every time, from how tightly to wrap them to when the sauce should go on so it turns glossy instead of burning.
The ribs were tender all the way through and the sauce turned glossy and sticky under the broiler without drying out. I followed the foil wrap exactly and they came out pulling apart at every bone.
Save these oven baked BBQ ribs for a night when you want fall-off-the-bone pork with a sticky, broiled finish and no grill required.
The Part That Keeps These Ribs Tender Instead of Dry
The oven does the heavy lifting here, but the low temperature is only half the story. Ribs need time for the collagen to soften before the meat gets a chance to toughen, and that’s why the foil wrap matters so much. It traps steam, keeps the surface from drying out, and turns the baking phase into a gentle braise.
The other failure point is rushing the finish. Sauce added too early can scorch before the ribs are tender, especially under a broiler. That’s why the glaze goes on at the end, after the ribs have already cooked through and the surface is ready to take on heat.
- Baby back ribs — These cook evenly in the time listed and turn tender without needing hours and hours of extra oven time. St. Louis-style ribs work too, but they usually need a longer bake because they’re meatier.
- Foil — Heavy-duty foil is worth using here because a tight wrap keeps the ribs moist and helps them cook evenly. If the foil leaks, the ribs can dry out before they’re tender.
- Brown sugar in the rub — This helps the crust caramelize later and gives the surface a deeper color under the broiler. If you reduce it, the ribs still work, but the glaze won’t have the same rounded sweetness.
- Smoked paprika and cumin — These bring the smoky backbone that makes oven ribs taste like more than just baked pork. Regular paprika works in a pinch, but you’ll lose some of that wood-fired depth.
- BBQ sauce — Use a sauce you already like on its own, because broiling concentrates everything. A thin, sugary sauce can burn fast, while a thicker sauce gives you a better lacquered finish.
What Each Ingredient Is Actually Doing in This Recipe
- Primary ingredient (the star) — Quality matters most. Choose the best you can find.
- Cooking medium (oil, butter, or broth) — This carries flavors and prevents dryness.
- Seasonings (salt, pepper, spices, herbs) — Layer flavors so nothing overpowers. Build depth gradually.
- Aromatics (garlic, onion, herbs) — Cook with fat to bloom flavors. Become the foundation.
- Supporting ingredients — Complement the main ingredient without overpowering it.
- Sauce or liquid (if applicable) — Brings flavors together. Balance richness with acid.
- Acid (lemon, vinegar, wine, or other) — Brightens and prevents flat-tasting results.
- Final finish (garnish, glaze, or sauce) — Prevents one-dimensional taste and adds visual appeal.
How to Bake, Glaze, and Broil the Ribs Without Ruining the Finish
Removing the Membrane
Slide a knife under the thin silver membrane on the back of each rack, then grip it with a paper towel and peel it off in one piece if you can. If you leave it on, the ribs can turn chewy and the rub won’t get down into the meat the way it should. A little stubbornness here pays off later when the ribs pull apart cleanly.
Building the Dry Rub Layer
Mix the brown sugar, paprika, garlic powder, onion powder, cumin, cayenne, salt, and black pepper, then coat every side of the ribs generously. The rub should look like a full blanket on the surface, not a dusting. If you’re too light with it, the finished ribs taste flat under the sauce instead of seasoned all the way through.
Wrapping for the Long Bake
Wrap each rack tightly in heavy-duty foil and set them on a baking sheet so they catch any leaks. The ribs should steam gently inside the packet, and that trapped moisture is what gets the meat tender. If the foil is loose, the edges dry out before the center has time to soften.
Finishing Under the Broiler
Unwrap the ribs carefully, brush on a generous layer of BBQ sauce, and broil just until the glaze bubbles and darkens at the edges. Stay close, because this part moves fast and sugary sauce can go from glossy to burnt in a minute. Once the surface is shiny and caramelized, pull them out and let them rest before slicing.
How to Adapt These Ribs When You Need a Different Finish
Spicier Ribs With More Bite
Increase the cayenne to 1 teaspoon or add a pinch of chipotle powder to the rub. That gives the ribs a deeper heat that cuts through the sweetness of the sauce without changing the cook time or the texture.
Lower-Sugar Version
Cut the brown sugar in half and use a BBQ sauce that isn’t loaded with added sugar. The ribs will still caramelize under the broiler, but the crust will be a little less sticky and a little more savory.
Gluten-Free Ribs
Use a gluten-free BBQ sauce and check the labels on your spice blends if they’re pre-mixed. The cooking method doesn’t change, and this is one of the easiest ways to keep the ribs naturally gluten-free without sacrificing the sticky finish.
Make-Ahead for a Crowd
Bake the ribs until tender, then cool and refrigerate them wrapped in their foil packets. When you’re ready to serve, unwrap, sauce, and broil just before eating so the glaze stays fresh and glossy instead of softening in the fridge.
Storage and Reheating
- Refrigerator: Store leftovers in an airtight container for up to 4 days. The glaze will soften a bit, but the meat stays tender.
- Freezer: Freeze wrapped portions for up to 2 months. Thaw overnight in the fridge before reheating so the ribs warm evenly.
- Reheating: Warm covered in a 300°F oven until hot, then uncover and brush with a little extra sauce if needed. Don’t blast them in the microwave unless you’re only warming a small portion, because high heat dries the meat fast.
Answers to the Questions Worth Asking
Oven Baked BBQ Ribs
Ingredients
Equipment
Method
- Preheat the oven to 275°F so it reaches a steady low temperature for gentle cooking.
- Remove the silver membrane from the back of each rack to help the rub and smoke-like flavor penetrate.
- Mix the brown sugar, smoked paprika, garlic powder, onion powder, cumin, cayenne, salt, and black pepper until evenly combined.
- Coat the ribs thoroughly on all sides with the dry rub, pressing lightly so it adheres.
- Wrap each rack tightly in heavy-duty foil and place on a baking sheet to seal in moisture.
- Bake for 2.5–3 hours at 275°F until the meat is tender and pulls away from the bone.
- Unwrap carefully and let the ribs rest/dry for 30 minutes so the surface firms up before glazing.
- Brush the ribs generously with BBQ sauce to coat every surface.
- Broil for 5–7 minutes until the glaze is caramelized and shiny, watching closely to prevent burning.
- Serve with extra BBQ sauce for a sticky, saucy bite at the table.