Crispy chicken thighs and Parmesan rice baked together in one pan turn into the kind of dinner that disappears fast and doesn’t leave you with a sink full of dishes. The chicken skin stays crackly on top while the rice underneath turns tender, savory, and rich with garlic and cheese. It’s the contrast that makes this dish work: browned, seasoned chicken over a creamy rice base that still holds its grains.
The trick is starting the thighs in a hot skillet before the rice ever goes in. That first sear gives you rendered fat for flavor and a skin that keeps its texture in the oven instead of going soft. Toasting the rice for a couple of minutes before the broth goes in also matters; it gives the grains a little backbone so they don’t collapse into a heavy, sticky mass.
Below, I’m walking through the part that matters most: how to keep the rice from drying out while the chicken finishes, plus the small ingredient choices that make the whole pan taste like it cooked for hours instead of fifty minutes.
The rice came out creamy without turning mushy, and the chicken skin stayed crispy even after baking. I loved that the Parmesan flavor was built right into the pan instead of just sprinkled on top at the end.
Save this one-pan Garlic Parmesan Chicken and Rice for the nights when you want crispy chicken thighs and creamy rice from a single skillet.
The Move That Keeps the Chicken Skin Crispy While the Rice Cooks
The biggest mistake in baked chicken-and-rice dishes is tucking the chicken too deep into the liquid. Once the skin sits under broth, it steams instead of browns, and you lose the whole point of searing it first. Nestling the thighs skin-side up on top of the rice lets the rendered fat drip down for flavor while the skin stays exposed to dry oven heat.
Long-grain white rice is the right choice here because it cooks up fluffy and separate. Short-grain rice will turn softer and denser, and brown rice needs a different liquid ratio and more time than this pan can give it. The broth level matters too: enough to cook the rice fully, but not so much that the final pan looks soupy.
What Each Ingredient Is Actually Doing in This Pan
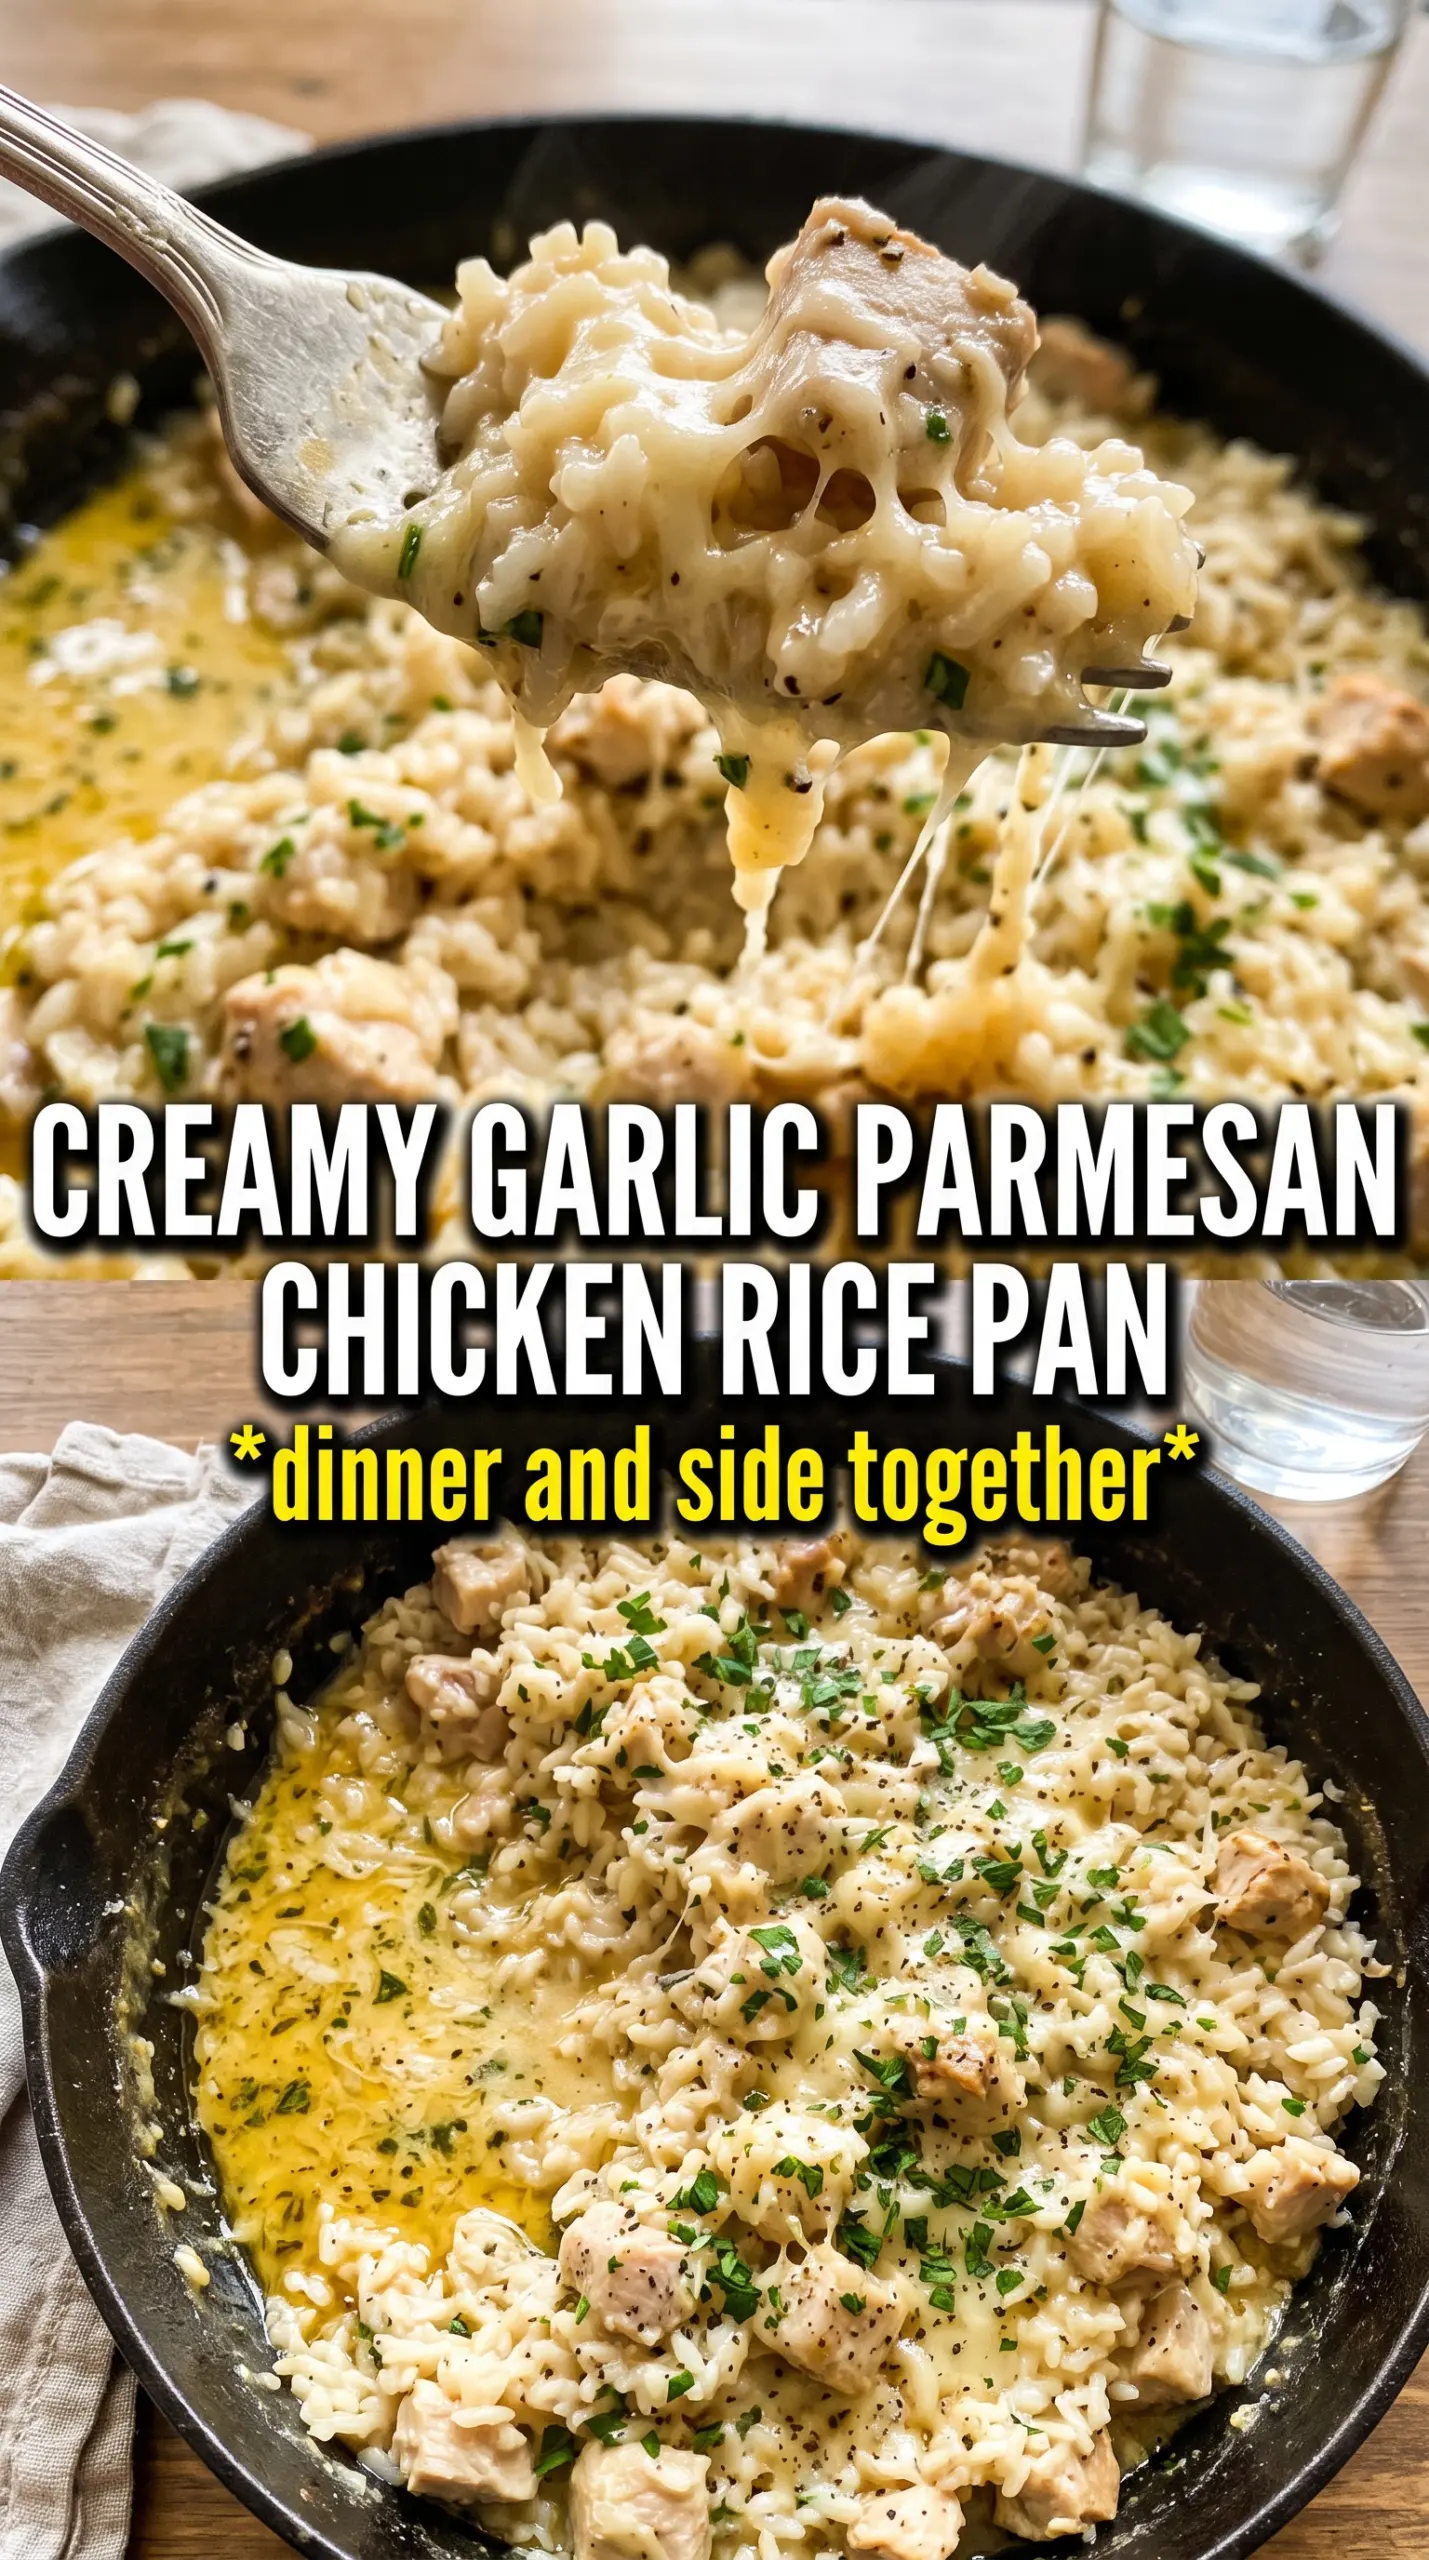
- Bone-in, skin-on chicken thighs — These bring the best flavor and stay juicy through the bake. Boneless thighs will work, but they cook faster and won’t give you the same crisp top or rich pan drippings.
- Long-grain white rice — This holds its shape and finishes fluffy instead of sticky. If you rinse it, drain it well so you don’t dilute the broth and end up with underseasoned rice.
- Parmesan cheese — Use grated Parmesan, not the powdery shelf-stable kind, if you want the rice to taste nutty and savory instead of flat. Freshly grated melts into the broth better and gives you a creamier finish.
- Chicken broth — This is the backbone of the rice, so a good broth makes a noticeable difference. Low-sodium broth gives you better control because the Parmesan and seasoned chicken already bring salt.
- Garlic, onion, and Italian seasoning — These build the base of the dish before anything goes into the oven. The garlic should just soften and smell sweet; if it browns hard in the skillet, it turns bitter and carries through the whole pan.
How to Build the Rice So It Stays Creamy, Not Heavy
Searing the Thighs First
Heat the oil until it shimmers, then lay the chicken thighs skin-side down without moving them. After 6 to 7 minutes, the skin should be a deep golden color and release from the pan with little resistance. If the pan is crowded, the chicken will steam and pale instead of sear, so use a skillet large enough for an even layer. Pull the thighs out once the skin is crisp; they’ll finish cooking in the oven.
Cooking the Aromatics and Toasting the Rice
Use the same skillet and cook the onion until it softens and picks up the browned bits from the pan. Add the garlic for just a minute; it should smell fragrant, not sharp. Stir in the uncooked rice and let it toast for 2 minutes so the grains get coated in fat and start to smell nutty. This tiny step keeps the rice from tasting boiled.
Baking Until the Top Sets and the Bottom Turns Tender
Once the broth, Parmesan, and Italian seasoning go in, bring the mixture to a simmer before the chicken returns to the pan. That simmer matters because the oven needs a head start on the rice. Nestle the chicken back in skin-side up, sprinkle on more Parmesan, and bake uncovered until the rice is tender and the chicken is cooked through. If the rice looks dry before it’s done, the skillet may be running hot; add a splash of broth and cover loosely with foil for the last few minutes.
How to Adapt This for Different Kitchens and Bigger Appetites
Make It Gluten-Free Without Changing the Texture
This recipe is already naturally gluten-free as long as your broth is certified gluten-free. The rice, chicken, and cheese don’t need any special swaps, which is one of the reasons this dish is such an easy weeknight keeper.
Use Boneless Thighs for a Faster Finish
Boneless thighs work if that’s what you have, but they’ll finish sooner and won’t bring quite as much richness to the pan. Check them earlier, and don’t bury them under the rice or they’ll dry out before the grains are tender.
Add Vegetables Without Waterlogging the Pan
A handful of thawed peas or chopped spinach can go in near the end, after the rice is cooked. Firmer vegetables like mushrooms or diced bell peppers should be sautéed with the onion so they lose their moisture before the broth goes in, or they’ll make the rice soft and muddy.
Storage and Reheating
- Refrigerator: Store leftovers in an airtight container for up to 4 days. The rice will firm up as it chills, but the flavor deepens.
- Freezer: This freezes fairly well for up to 2 months, though the rice gets a little softer after thawing. Cool it completely before freezing in portions.
- Reheating: Reheat covered in the oven at 325°F with a splash of broth to bring the rice back to life. The common mistake is blasting it uncovered in the microwave, which dries out the chicken and makes the rice tough.
Questions I Get Asked About This Recipe
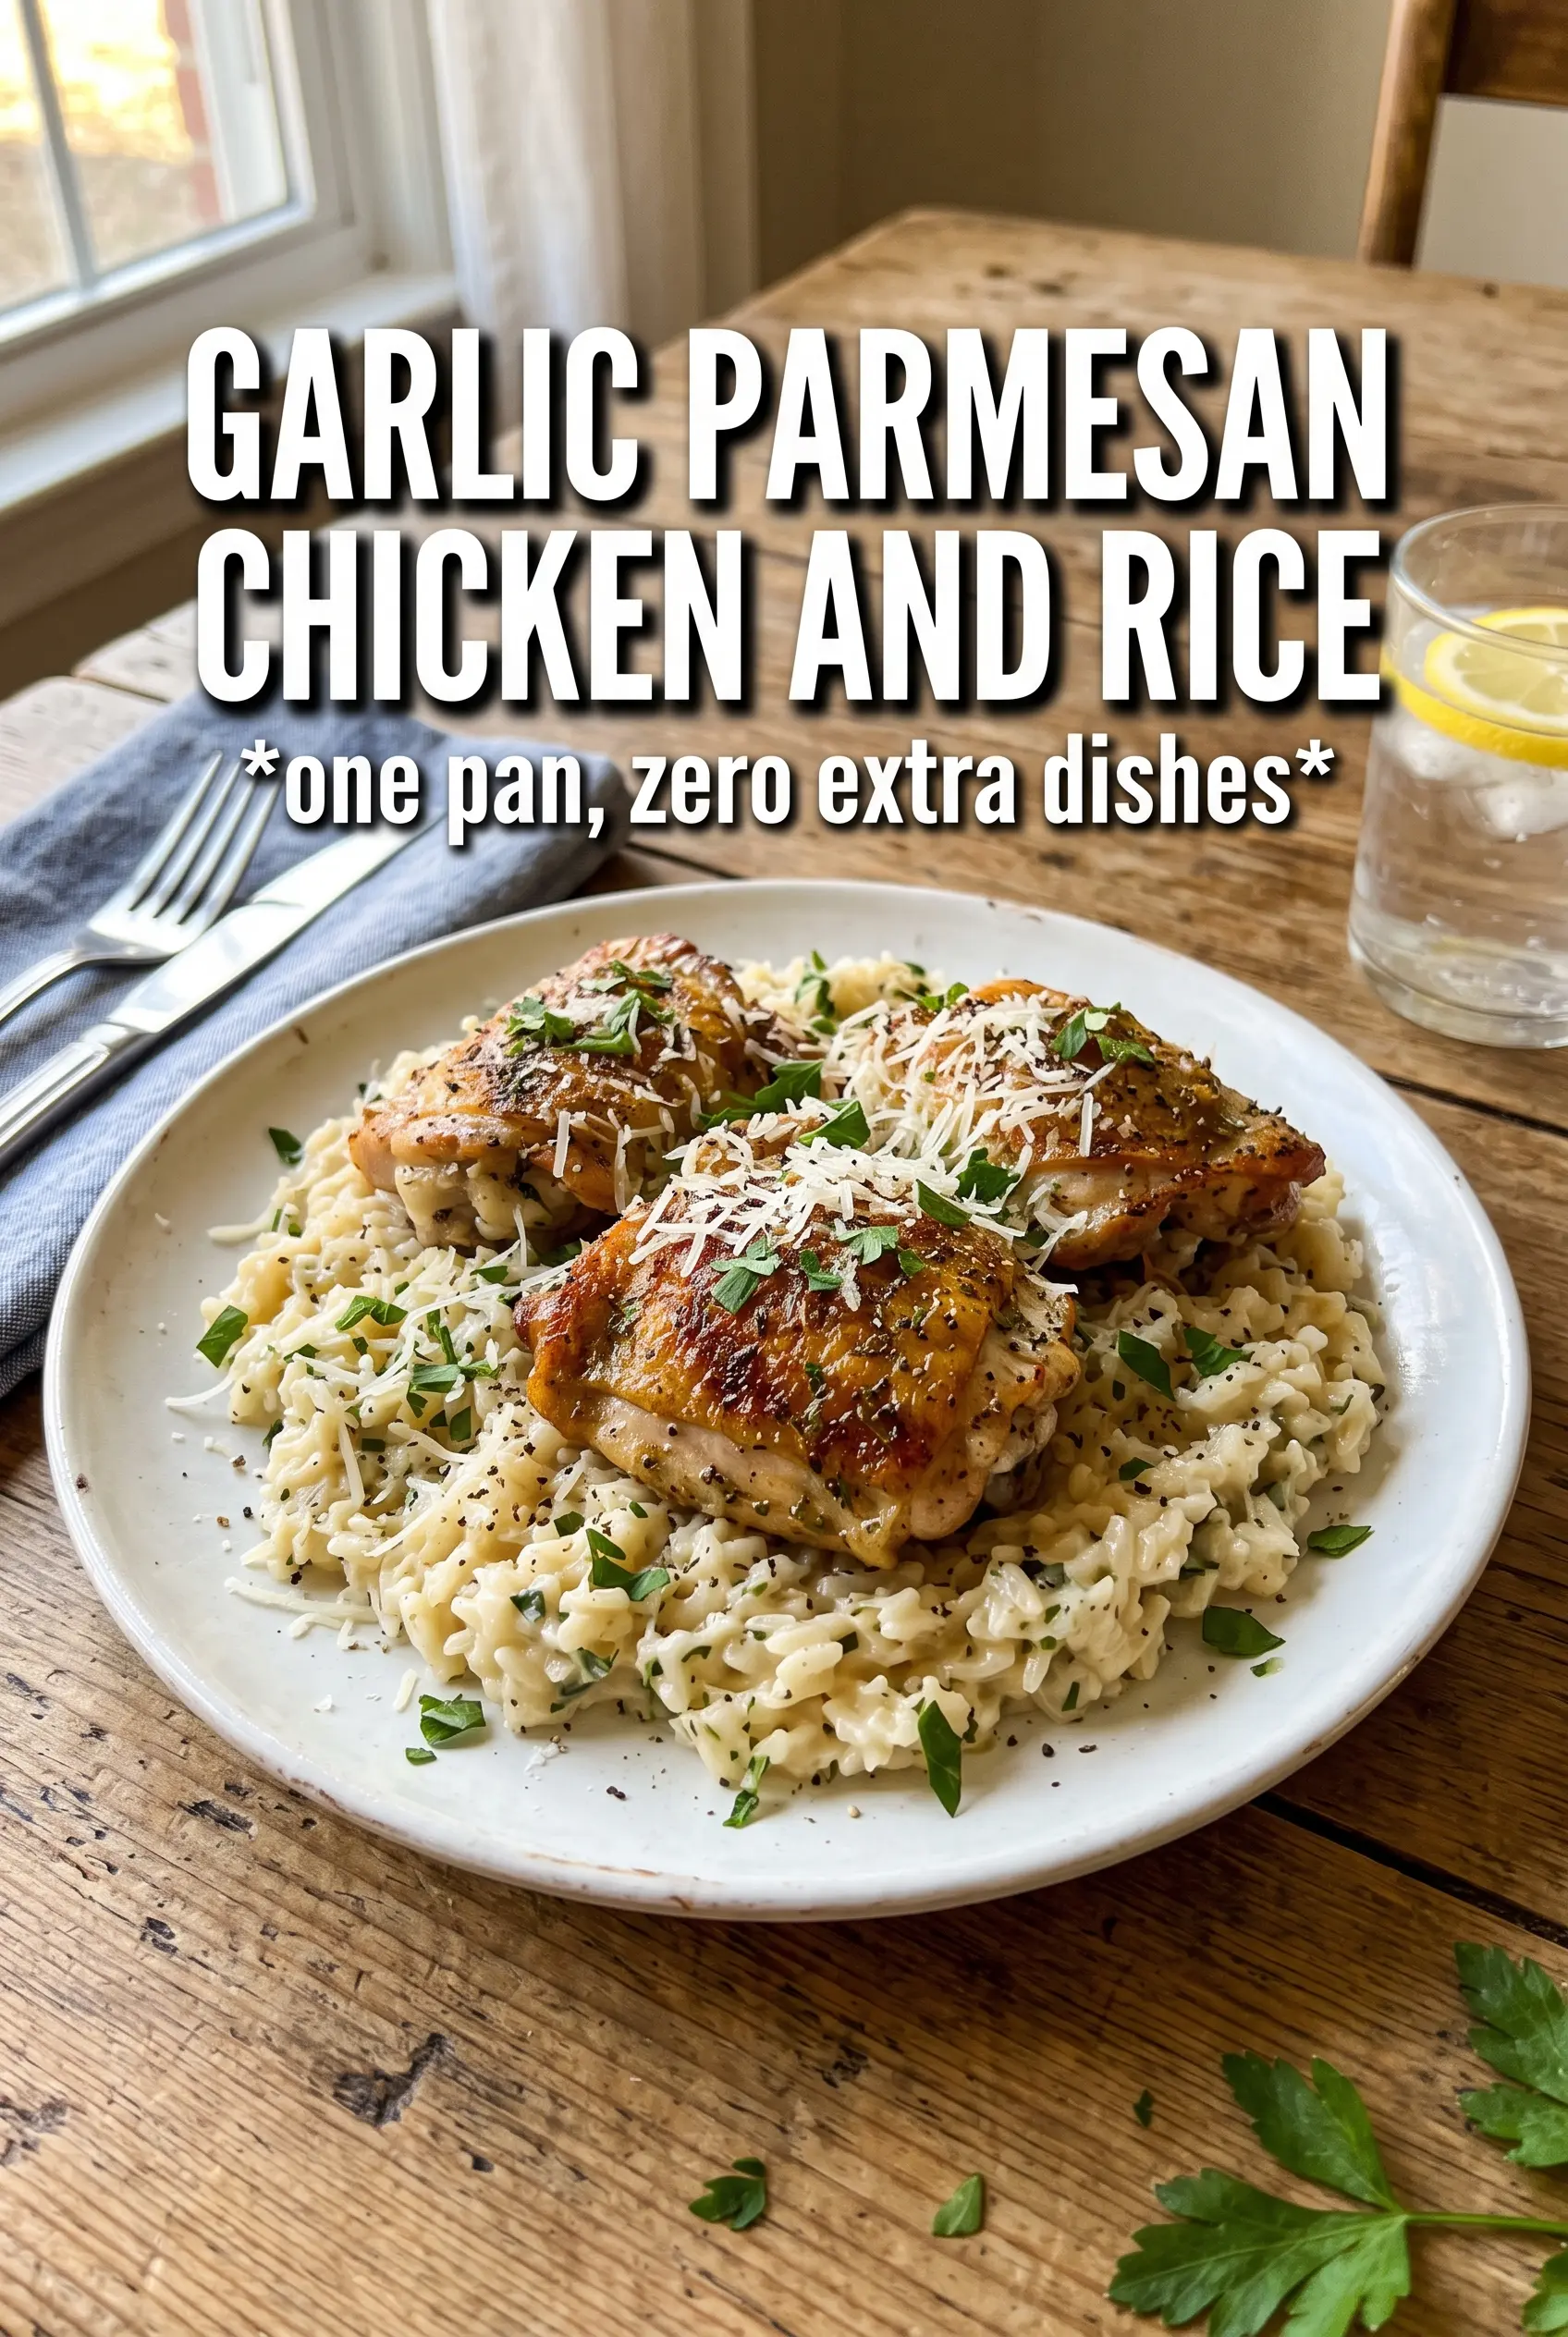
One-Pan Garlic Parmesan Chicken and Rice
Ingredients
Equipment
Method
- Preheat oven to 400°F. Season the chicken thighs all over with salt, black pepper, garlic powder, Italian seasoning, and smoked paprika.
- Heat olive oil in a large oven-safe skillet over medium-high heat, then sear chicken skin-side down for 6-7 minutes until golden. Remove the thighs to a plate, leaving the drippings in the pan.
- Cook the diced onion in the same skillet for 3 minutes until softened. Add minced garlic and cook for 1 minute until fragrant.
- Add the uncooked long-grain white rice and toast for 2 minutes. Pour in the chicken broth, then stir in Parmesan and dried Italian seasoning and bring to a simmer.
- Nestle the chicken thighs skin-side up into the rice and sprinkle with extra Parmesan. Transfer the skillet to the oven and bake uncovered for 30-35 minutes until the rice is cooked and the chicken skin is golden.
- Garnish with fresh parsley and serve. Rest for 5 minutes so the rice sets slightly and the chicken skin stays crisp.