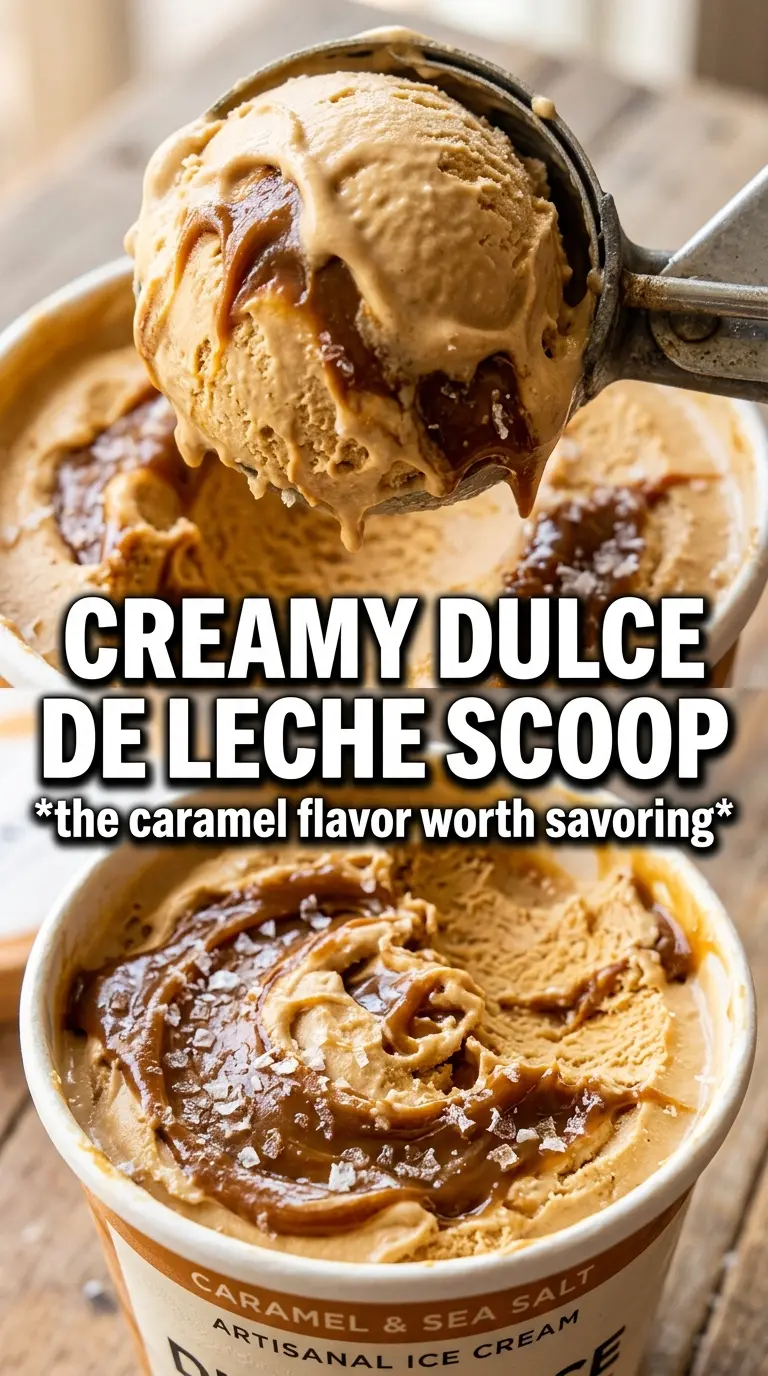
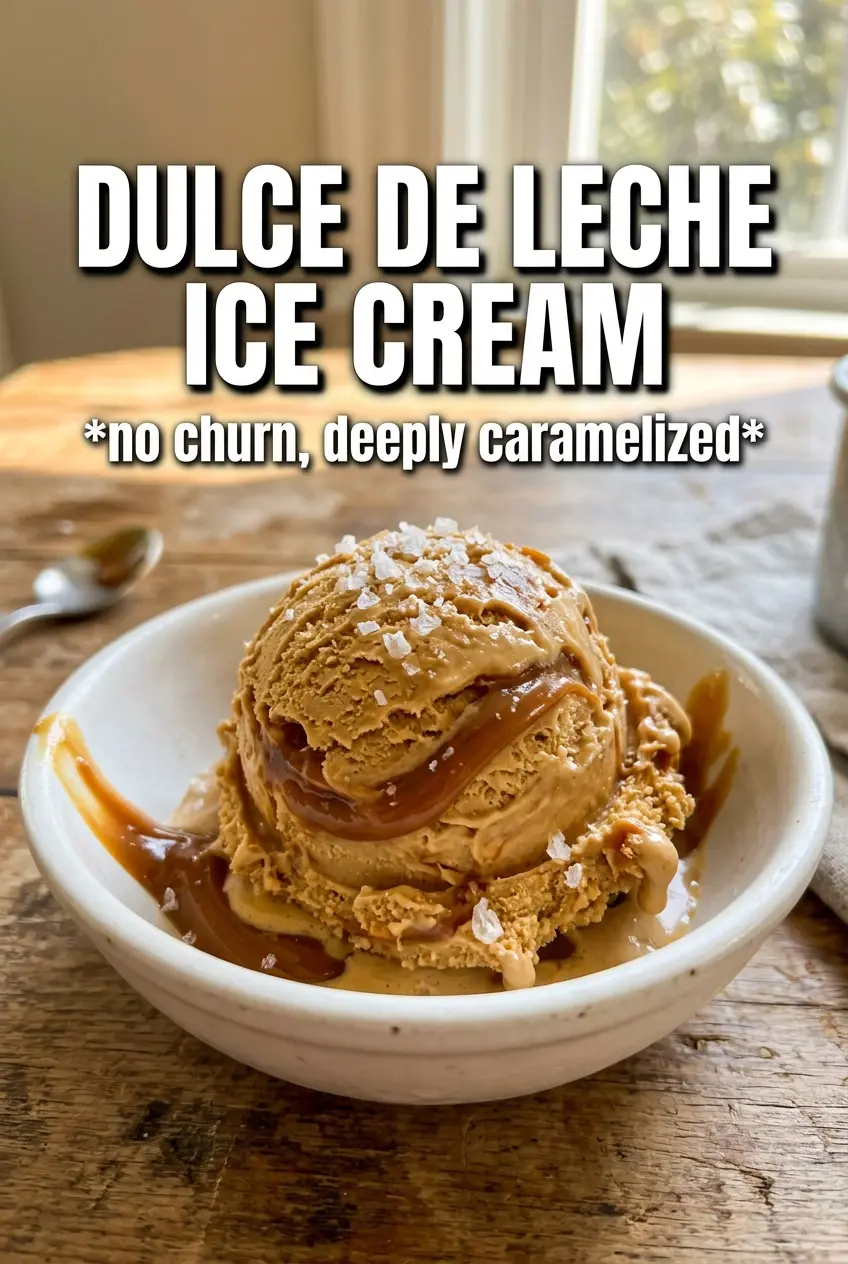
Silky no-churn ice cream gets a lot of love, but the versions worth making again and again are the ones that hold their shape, scoop cleanly, and still taste like something you’d order at a good dessert counter. This no-churn dulce de leche ice cream does exactly that. The base stays plush and creamy, while thick ribbons of dulce de leche run through every bite so you get both the lightness of whipped cream and the deep caramel pull of the swirls.
The key is balancing richness without letting the mixture turn heavy or icy. Sweetened condensed milk gives the base its smooth body, and whipped cream keeps it airy. A little salt sharpens the dulce de leche so it tastes fuller, not flatter, and the swirl goes in at the end so it stays distinct instead of disappearing into the cream.
Below, you’ll find the trick for getting those caramel ribbons to stay visible after freezing, plus a few smart variations if you want to change the finish or make the dessert ahead for company.
The dulce de leche stayed in gorgeous ribbons instead of blending in, and the texture froze up smooth with no icy bits. I added a pinch of flaky salt on top and my husband said it tasted like a fancy restaurant dessert.
Save this swirl-heavy dulce de leche ice cream for the nights when you want a no-churn dessert with real caramel ribbons and a salty finish.
The Swirl That Keeps Dulce de Leche from Disappearing
The mistake most people make with no-churn caramel ice cream is stirring the dulce de leche all the way through the base. That gives you a uniformly caramel-colored ice cream, but you lose the contrast that makes each spoonful interesting. Here, the swirl goes in after the cream mixture is folded together, and it’s only dragged through the pan a few times with a knife or skewer. That keeps the ribbons thick and distinct.
Temperature matters too. Dulce de leche that’s too cold can clump and tear through the base, while dulce de leche that’s warm and loose will sink. You want it soft enough to drizzle in slow ribbons, not pour like sauce. The result is a cleaner swirl, better texture, and those glossy caramel pockets that freeze into little pockets of richness.
What Each Ingredient Is Actually Doing in the Bowl
- Heavy cream — This is what gives the ice cream its body and soft, scoopable texture. Whip it to stiff peaks so it can hold the condensed milk mixture without collapsing. Light cream or half-and-half won’t give you the same frozen structure.
- Sweetened condensed milk — This does the sweetening and the smoothing at the same time. It’s the ingredient that keeps no-churn ice cream from freezing hard and icy, so don’t swap it for regular milk or evaporated milk.
- Dulce de leche — The flavor lives here. Use a thick, spoonable dulce de leche so it swirls instead of melting into the base; if yours is very stiff, warm it just enough to loosen it. A good jar or can makes a noticeable difference because thin caramel sauces don’t give the same rich, milky depth.
- Vanilla extract — It rounds out the caramel and keeps the flavor from tasting one-note. Use the real stuff if you can, but this is not the place for expensive vanilla bean paste unless you already have it on hand.
- Salt — A small amount wakes everything up and keeps the dessert from tasting overly sweet. The flaky sea salt on top is more than garnish; it gives you a crisp little hit right before the ice cream melts.
Folding and Freezing Without Losing the Air
Whipping the Cream to the Right Point
Whip the heavy cream until stiff peaks form and the whisk leaves clear ridges that hold their shape when you lift it. If you stop too soon, the base won’t set with enough lift. If you overwhip it, the texture can turn grainy and buttery, which shows up later as a dense frozen finish instead of a plush one.
Building the Custard-Free Base
Whisk the condensed milk, half the dulce de leche, vanilla, and salt until the mixture looks smooth and glossy. This is the moment to break up any thick streaks of caramel so they don’t clump in the finished ice cream. Then fold that mixture into the whipped cream in broad, gentle sweeps, stopping as soon as no pale streaks remain.
Layering the Swirls
Pour half the mixture into a loaf pan, drizzle on half the remaining dulce de leche, then repeat with the rest. Use a knife or skewer to make just a few slow figure-eight passes through the pan. If you over-swirl, the caramel disappears into the base; if you barely move it, you get heavy clumps. The sweet spot is visible ribbons in every slice.
Freezing for a Clean Scoop
Finish with flaky sea salt and freeze the pan uncovered or tightly wrapped until firm, at least 6 hours. The surface should feel fully set and the center should no longer give when pressed lightly. If you try to scoop it early, the edges will be firmer than the middle and the swirl will smear instead of cutting cleanly.
How to Adapt This for a Salted Caramel or Dairy-Free Finish
Salted caramel version
Add a little extra flaky salt on top and use the full cup of dulce de leche for deeper caramel flavor. This pushes the dessert toward a more pronounced sweet-salty balance, which works especially well if your dulce de leche is very rich.
Coffee-caramel twist
Stir 1 to 2 teaspoons of instant espresso powder into the condensed milk mixture before folding it in. The coffee doesn’t make the ice cream taste like mocha; it deepens the caramel and makes the dulce de leche taste darker and more grown-up.
Dairy-free version
Use a coconut-based whipping cream and a dairy-free sweetened condensed milk, then choose a dairy-free caramel sauce in place of traditional dulce de leche. The texture will still be creamy, but the coconut note will show through, so it tastes best with the salt on top to keep the flavor balanced.
Storage and Reheating
- Refrigerator: Not applicable for this ice cream; it should stay frozen until serving.
- Freezer: Keeps well for up to 2 weeks when covered tightly. After that, it can start to pick up ice crystals around the edges.
- Reheating: Not needed. For the cleanest scoop, let the pan sit at room temperature for 5 to 10 minutes before serving. If you try to dig in straight from the freezer, the swirl can crack and the texture feels too hard.
Answers to the Questions Worth Asking
No-Churn Dulce de Leche Ice Cream
Ingredients
Equipment
Method
- Whip heavy cream until stiff peaks form, with visible ridges that hold their shape when the whisk is lifted. Stop when the peaks look glossy but not dry.
- Whisk sweetened condensed milk, 1/2 cup dulce de leche, vanilla extract, and salt until smooth and evenly caramel-colored. Keep whisking until no streaks remain.
- Fold the dulce de leche mixture into the whipped cream gently until no white streaks show. Use slow motions so the foam stays airy.
- Pour half of the ice cream mixture into a 9x5 loaf pan and spread it into an even layer. You should see a creamy surface ready for drizzle.
- Drizzle half of the remaining dulce de leche over the first layer and swirl lightly with a knife tip or skewer for ribbon streaks. Aim for thick caramel trails, not fully mixed.
- Pour the remaining ice cream mixture on top and smooth the surface again. The caramel streaks should peek through at the edges.
- Drizzle the rest of the remaining dulce de leche over the top and swirl lightly to create caramel ribbons throughout. The top should look marbled with golden streaks.
- Finish with flaky sea salt and freeze at least 6 hours until firm. The loaf should slice cleanly when ready.