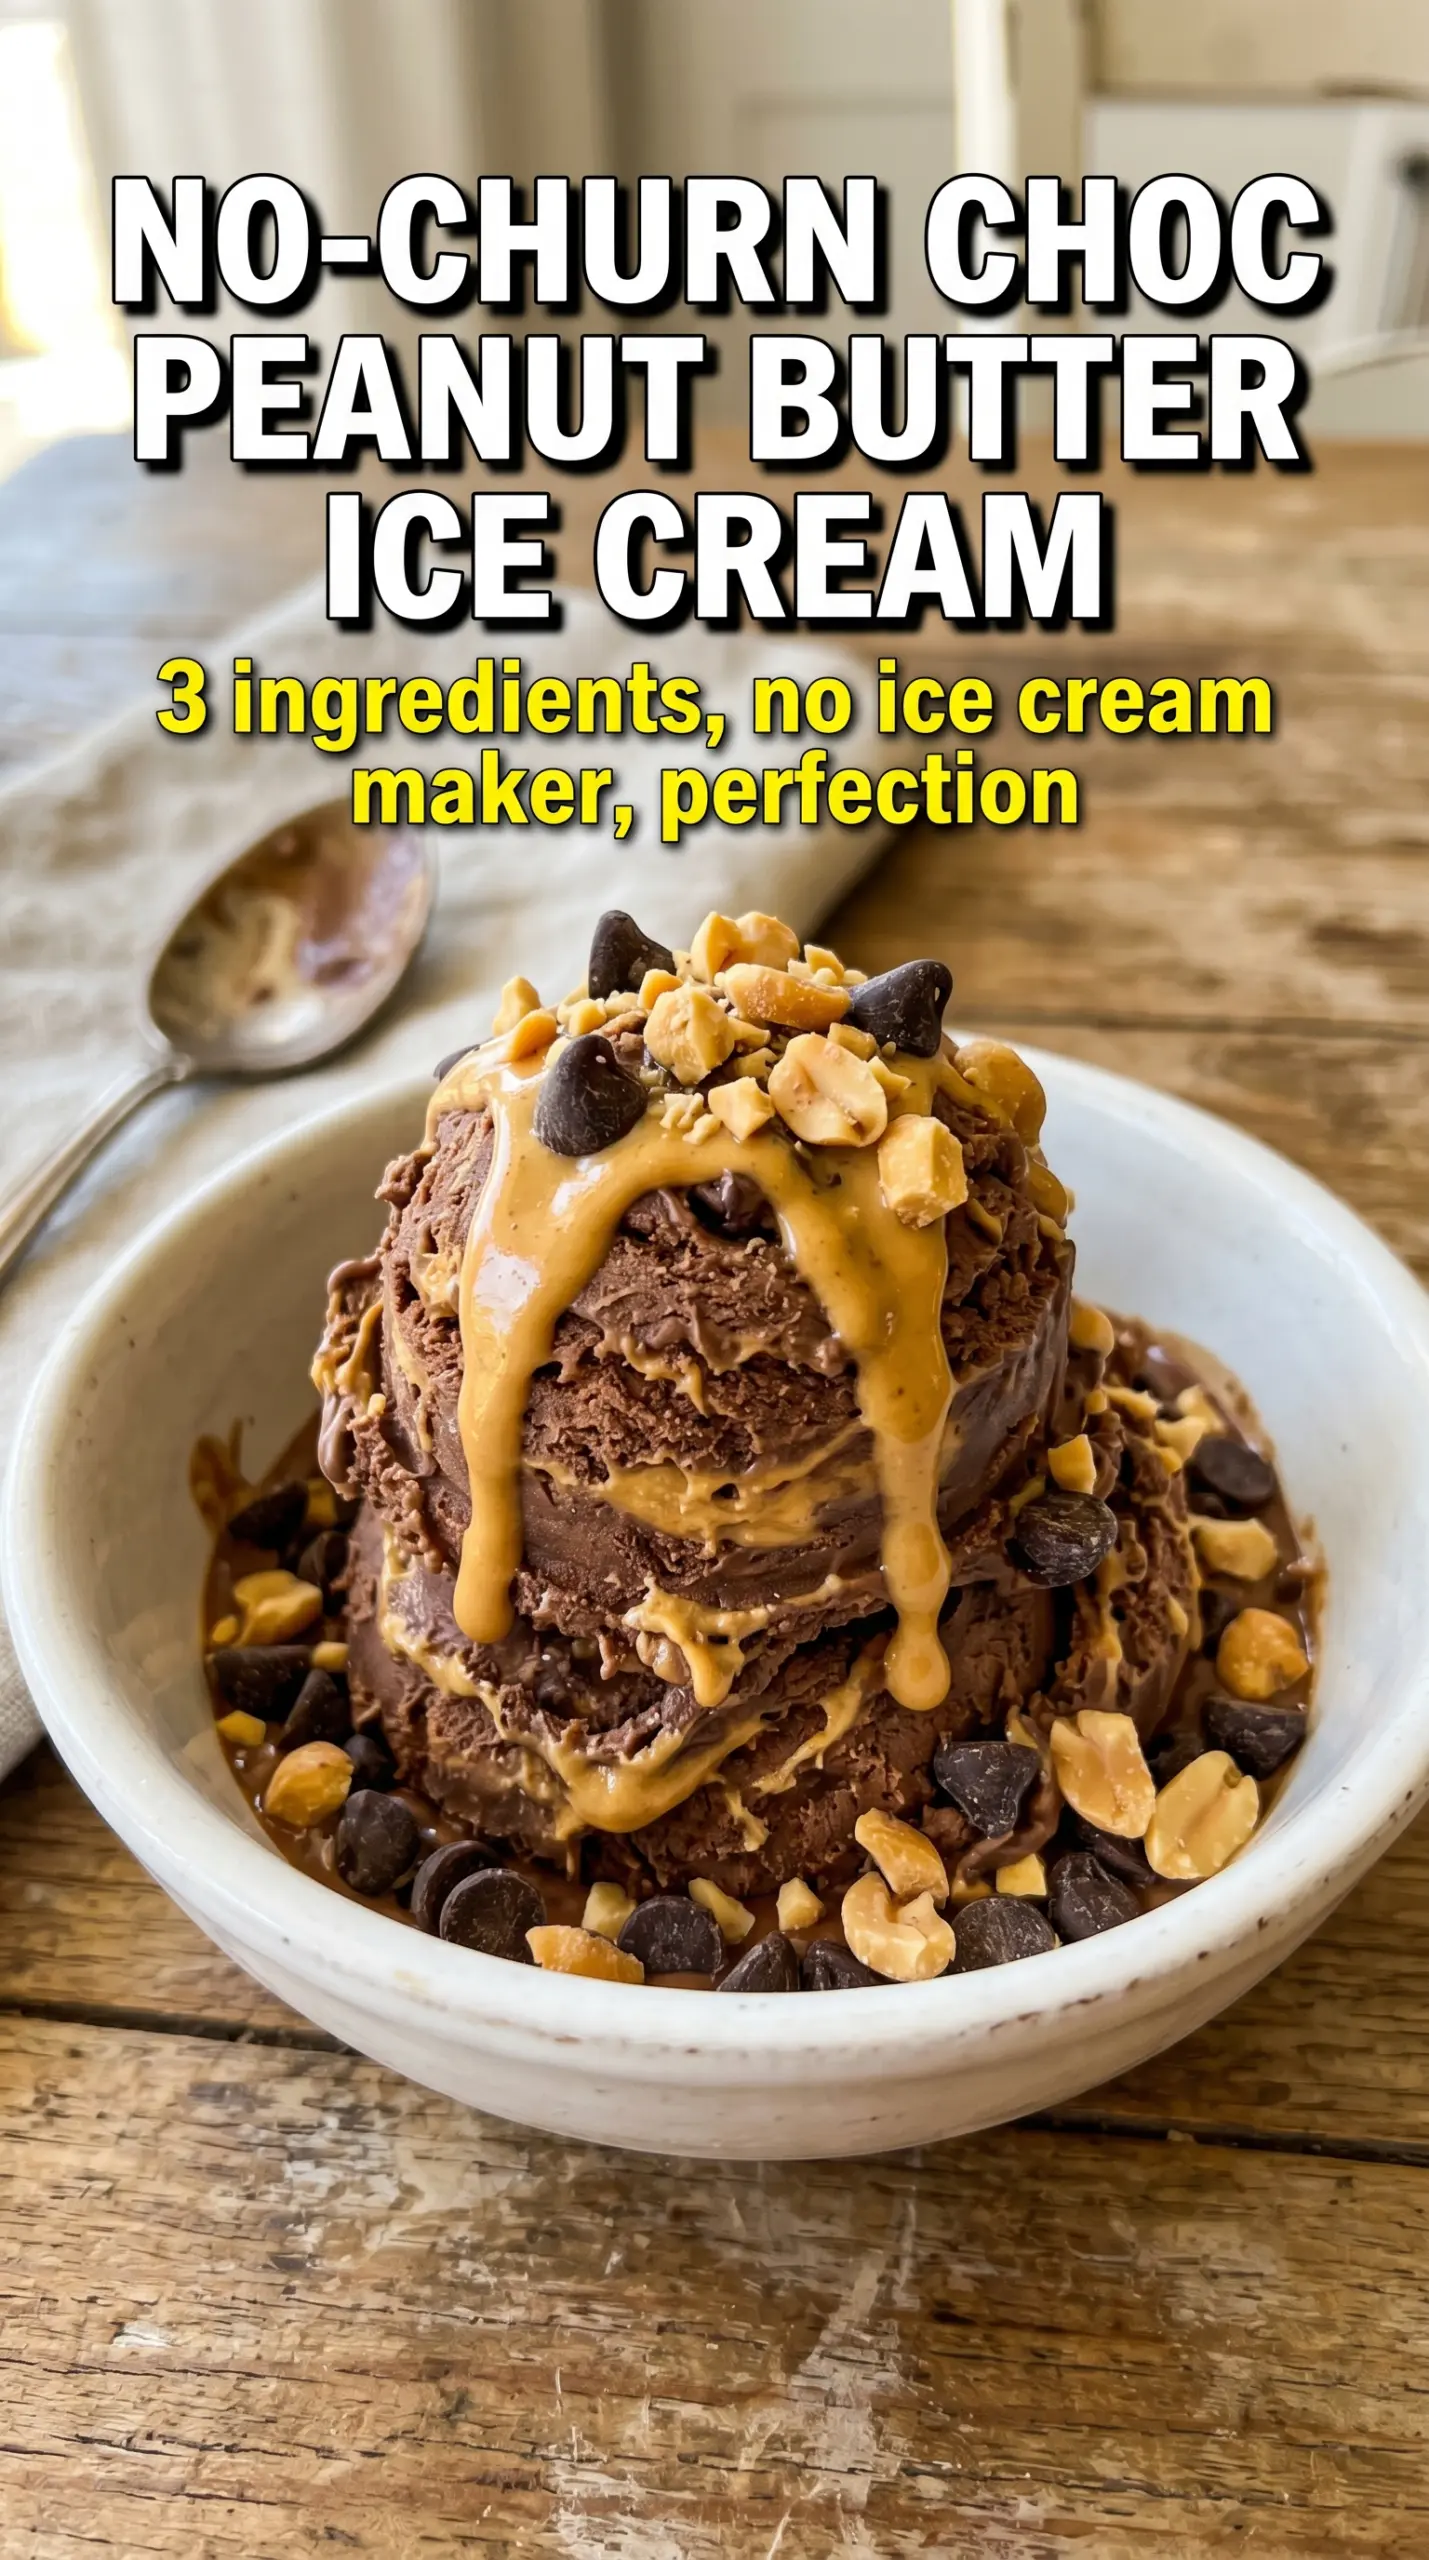
Thick, fudgy chocolate ice cream with ribbons of peanut butter running through it is the kind of dessert that disappears fast. The texture lands somewhere between soft-scoop ice cream and a frozen mousse, and the peanut butter swirl keeps every bite from tasting flat or overly sweet. You get all of that without a machine, without custard, and without standing over a stove.
The trick is building enough structure in the whipped cream before the condensed milk goes in. That’s what gives the finished ice cream its creamy body instead of an icy freeze. The cocoa powder gets whisked into the condensed milk first so it dissolves cleanly, and the peanut butter is warmed just enough to drizzle in loose ribbons instead of clumps.
Below, I’ll show you how to keep the swirl visible, how to avoid deflating the base, and what to do if you want to turn this into a make-ahead dessert for a crowd.
The peanut butter stayed in perfect ribbons instead of sinking, and the ice cream scooped cleanly after about 6 hours. Tastes just like a fancy ice cream shop version with no machine.
Save this no-churn chocolate peanut butter ice cream for the night you want a thick, fudgy frozen dessert with a true peanut butter swirl.
The Step That Keeps No-Churn Ice Cream Creamy Instead of Icy
No-churn ice cream lives or dies by how much air you keep in the base. If the whipped cream gets flattened when you fold in the condensed milk mixture, the finished ice cream turns dense and a little icy instead of soft and scoopable. The goal is to keep the mixture airy enough that it freezes into a plush texture, even without a churner.
The other place people run into trouble is the peanut butter swirl. Cold peanut butter seizes and streaks instead of flowing, so warming it just until pourable matters more than you’d think. You want visible ribbons, not a blended brown mixture, which is why the swirl happens in layers and only gets a few knife passes.
- Whipped cream — Stiff peaks give the ice cream its body. Stop whipping as soon as the cream holds its shape; if it looks grainy or clumpy, it’s overwhipped and won’t fold smoothly.
- Sweetened condensed milk — This is the sweetener and the softening agent. There isn’t a true substitute here, because its thick, sugary consistency helps keep the ice cream scoopable straight from the freezer.
- Cocoa powder — Unsweetened cocoa gives the ice cream that deep chocolate base without extra sugar. Dutch-process works too, but the flavor will be a little rounder and less sharp.
- Creamy peanut butter — Use a smooth style that stirs easily once warmed. Natural peanut butter can work if it’s fully homogenized, but it tends to be thinner and the swirl can disappear more easily.
What Each Ingredient Is Actually Doing in This Ice Cream
- Base ingredient (cream, milk, or custard) — This provides the foundation and richness. Quality matters.
- Sweetener (sugar, honey, or condensed milk) — This sweetens and prevents ice crystals. The ratio is critical.
- Flavor element (vanilla, fruit, chocolate, or other) — This defines the ice cream personality. Use quality ingredients.
- Egg yolks (if making custard base) — These create richness and silky texture. Optional but elevates ice cream.
- Churning (if using ice cream maker) — This incorporates air and prevents ice crystals. Critical for smooth texture.
- Freezing temperature and time — Proper freezing prevents rock-hard texture. Store at 0°F or below.
- Mix-ins (chocolate, cookies, fruit, or swirls) — These add texture and prevent one-dimensional flavor. Add near end of churning.
- Serving temperature (slightly soft, not rock hard) — This provides creamy mouthfeel. Remove from freezer 5 minutes before serving.
Folding, Swirling, and Freezing Without Losing the Texture
Whipping the Cream to the Right Point
Start with cold heavy cream in a large bowl and whip until stiff peaks stand up when you lift the beaters. That’s the structure that carries the whole dessert. If you stop at soft peaks, the base won’t hold enough air and the final texture will freeze heavy. If you whip past stiff peaks, the cream starts to look rough and can turn buttery when you fold it.
Making a Smooth Chocolate Base
Whisk the condensed milk, cocoa powder, vanilla, and salt together until the mixture looks glossy and no dry cocoa pockets remain. Cocoa likes to clump, so don’t dump it straight into the whipped cream. If you see little dark specks at this stage, keep whisking until the base is completely smooth or those streaks will show up in the finished ice cream.
Folding Without Deflating
Add the chocolate mixture to the whipped cream in two additions and fold gently with a spatula, scooping from the bottom and turning the bowl as you go. The mixture should look uniform, but still light. If you stir aggressively, you’ll knock out the air and end up with a firmer, denser ice cream that scoops more like a frozen block.
Creating the Peanut Butter Ribbons
Pour half the ice cream base into a loaf pan, drizzle over half the warmed peanut butter, then add the rest of the base and finish with the remaining peanut butter. A thin knife or skewer only needs a few passes through the layers. Too much swirling muddies the streaks, and too much peanut butter on top can sink into the base instead of sitting in those bold golden ribbons.
Use Almond Butter for a Different Kind of Swirl
Almond butter works in the same amount and gives you a slightly nuttier, less sweet finish. It won’t taste like classic peanut butter cup ice cream, but it does hold up well in ribbons if you warm it first. Use a creamy version so it drizzles cleanly.
Make It Dairy-Free
Use a full-fat coconut whipping cream and a dairy-free sweetened condensed milk alternative. The texture will be a little softer and the coconut note will come through, but it still freezes into a scoopable no-churn dessert. Choose a peanut butter with no added milk solids.
Turn It into Peanut Butter Cup Ice Cream
Fold chopped peanut butter cups into the base right before freezing. That adds chunks instead of just swirl, which gives you a little bite against the soft chocolate cream. Freeze the chopped candy first if your kitchen is warm so it doesn’t smear into the mixture.
Storage and Reheating
- Refrigerator: This ice cream isn’t meant to sit in the fridge; it will melt into a thick chocolate cream within minutes.
- Freezer: Store tightly covered for up to 2 weeks. After that, the texture starts to get a little harder and more brittle around the edges.
- Reheating: Not applicable. For best scoops, let it sit at room temperature for 5 to 10 minutes before serving so the spoon can cut through the frozen layers cleanly.
Answers to the Questions Worth Asking
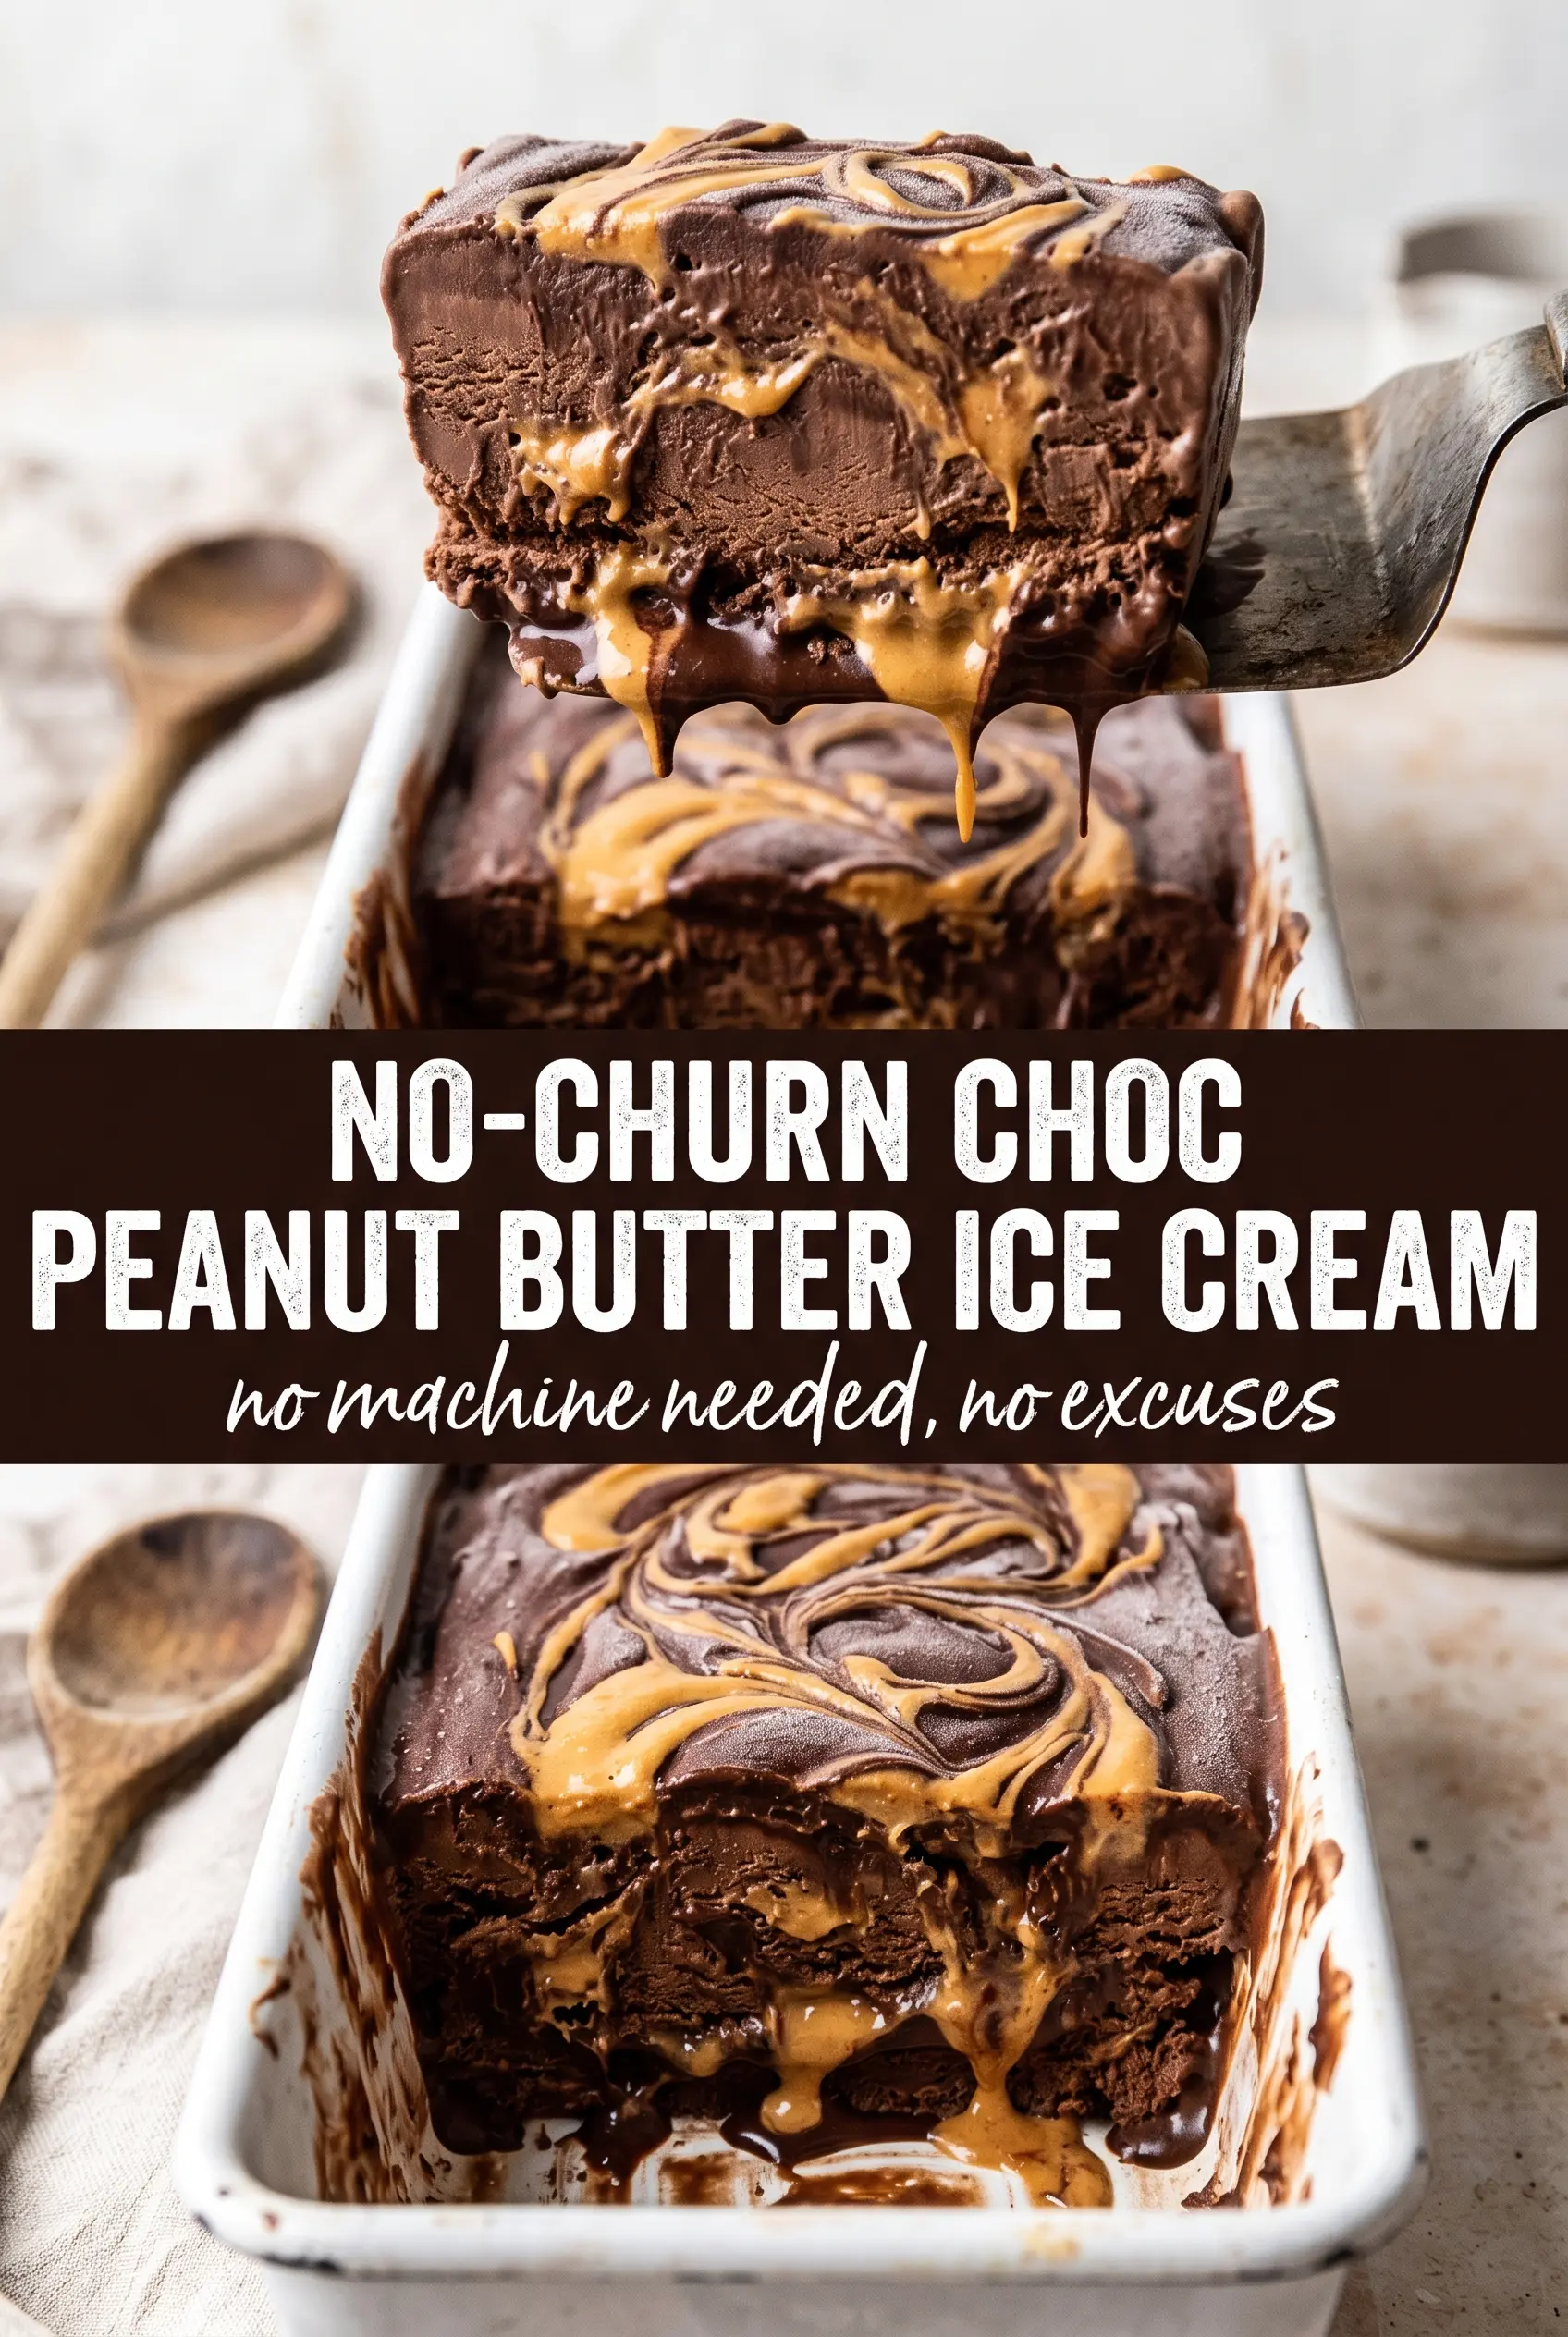
No-Churn Chocolate Peanut Butter Ice Cream
Ingredients
Equipment
Method
- Whip the heavy cream to stiff peaks in a large bowl, keeping it thick and cloud-like, not runny. Stop once the beaters leave clear trails in the cream.
- Whisk the condensed milk, cocoa powder, vanilla, and salt together until smooth and fully combined, with no cocoa lumps. The mixture should look glossy and dark.
- Gently fold the condensed milk mixture into the whipped cream until just combined, using slow strokes so you do not deflate the volume. Stop as soon as no streaks of white remain.
- Pour half the ice cream mixture into a 9x5 loaf pan, spreading it into an even layer. Aim for a level surface so the swirl distributes nicely.
- Drizzle half the warm peanut butter over the first layer, then swirl with a knife in gentle figure-eight motions. You should see thick golden ribbons forming on top.
- Add the remaining ice cream mixture and smooth the top lightly with the back of a spoon. Keep the surface close to level before the final swirl.
- Drizzle the remaining peanut butter over the top and swirl again with a knife. Work quickly so the ribbons stay distinct rather than melting away.
- Freeze for at least 6 hours or overnight until firm, so it slices cleanly. The center should be fully set with no soft wobble when pressed.