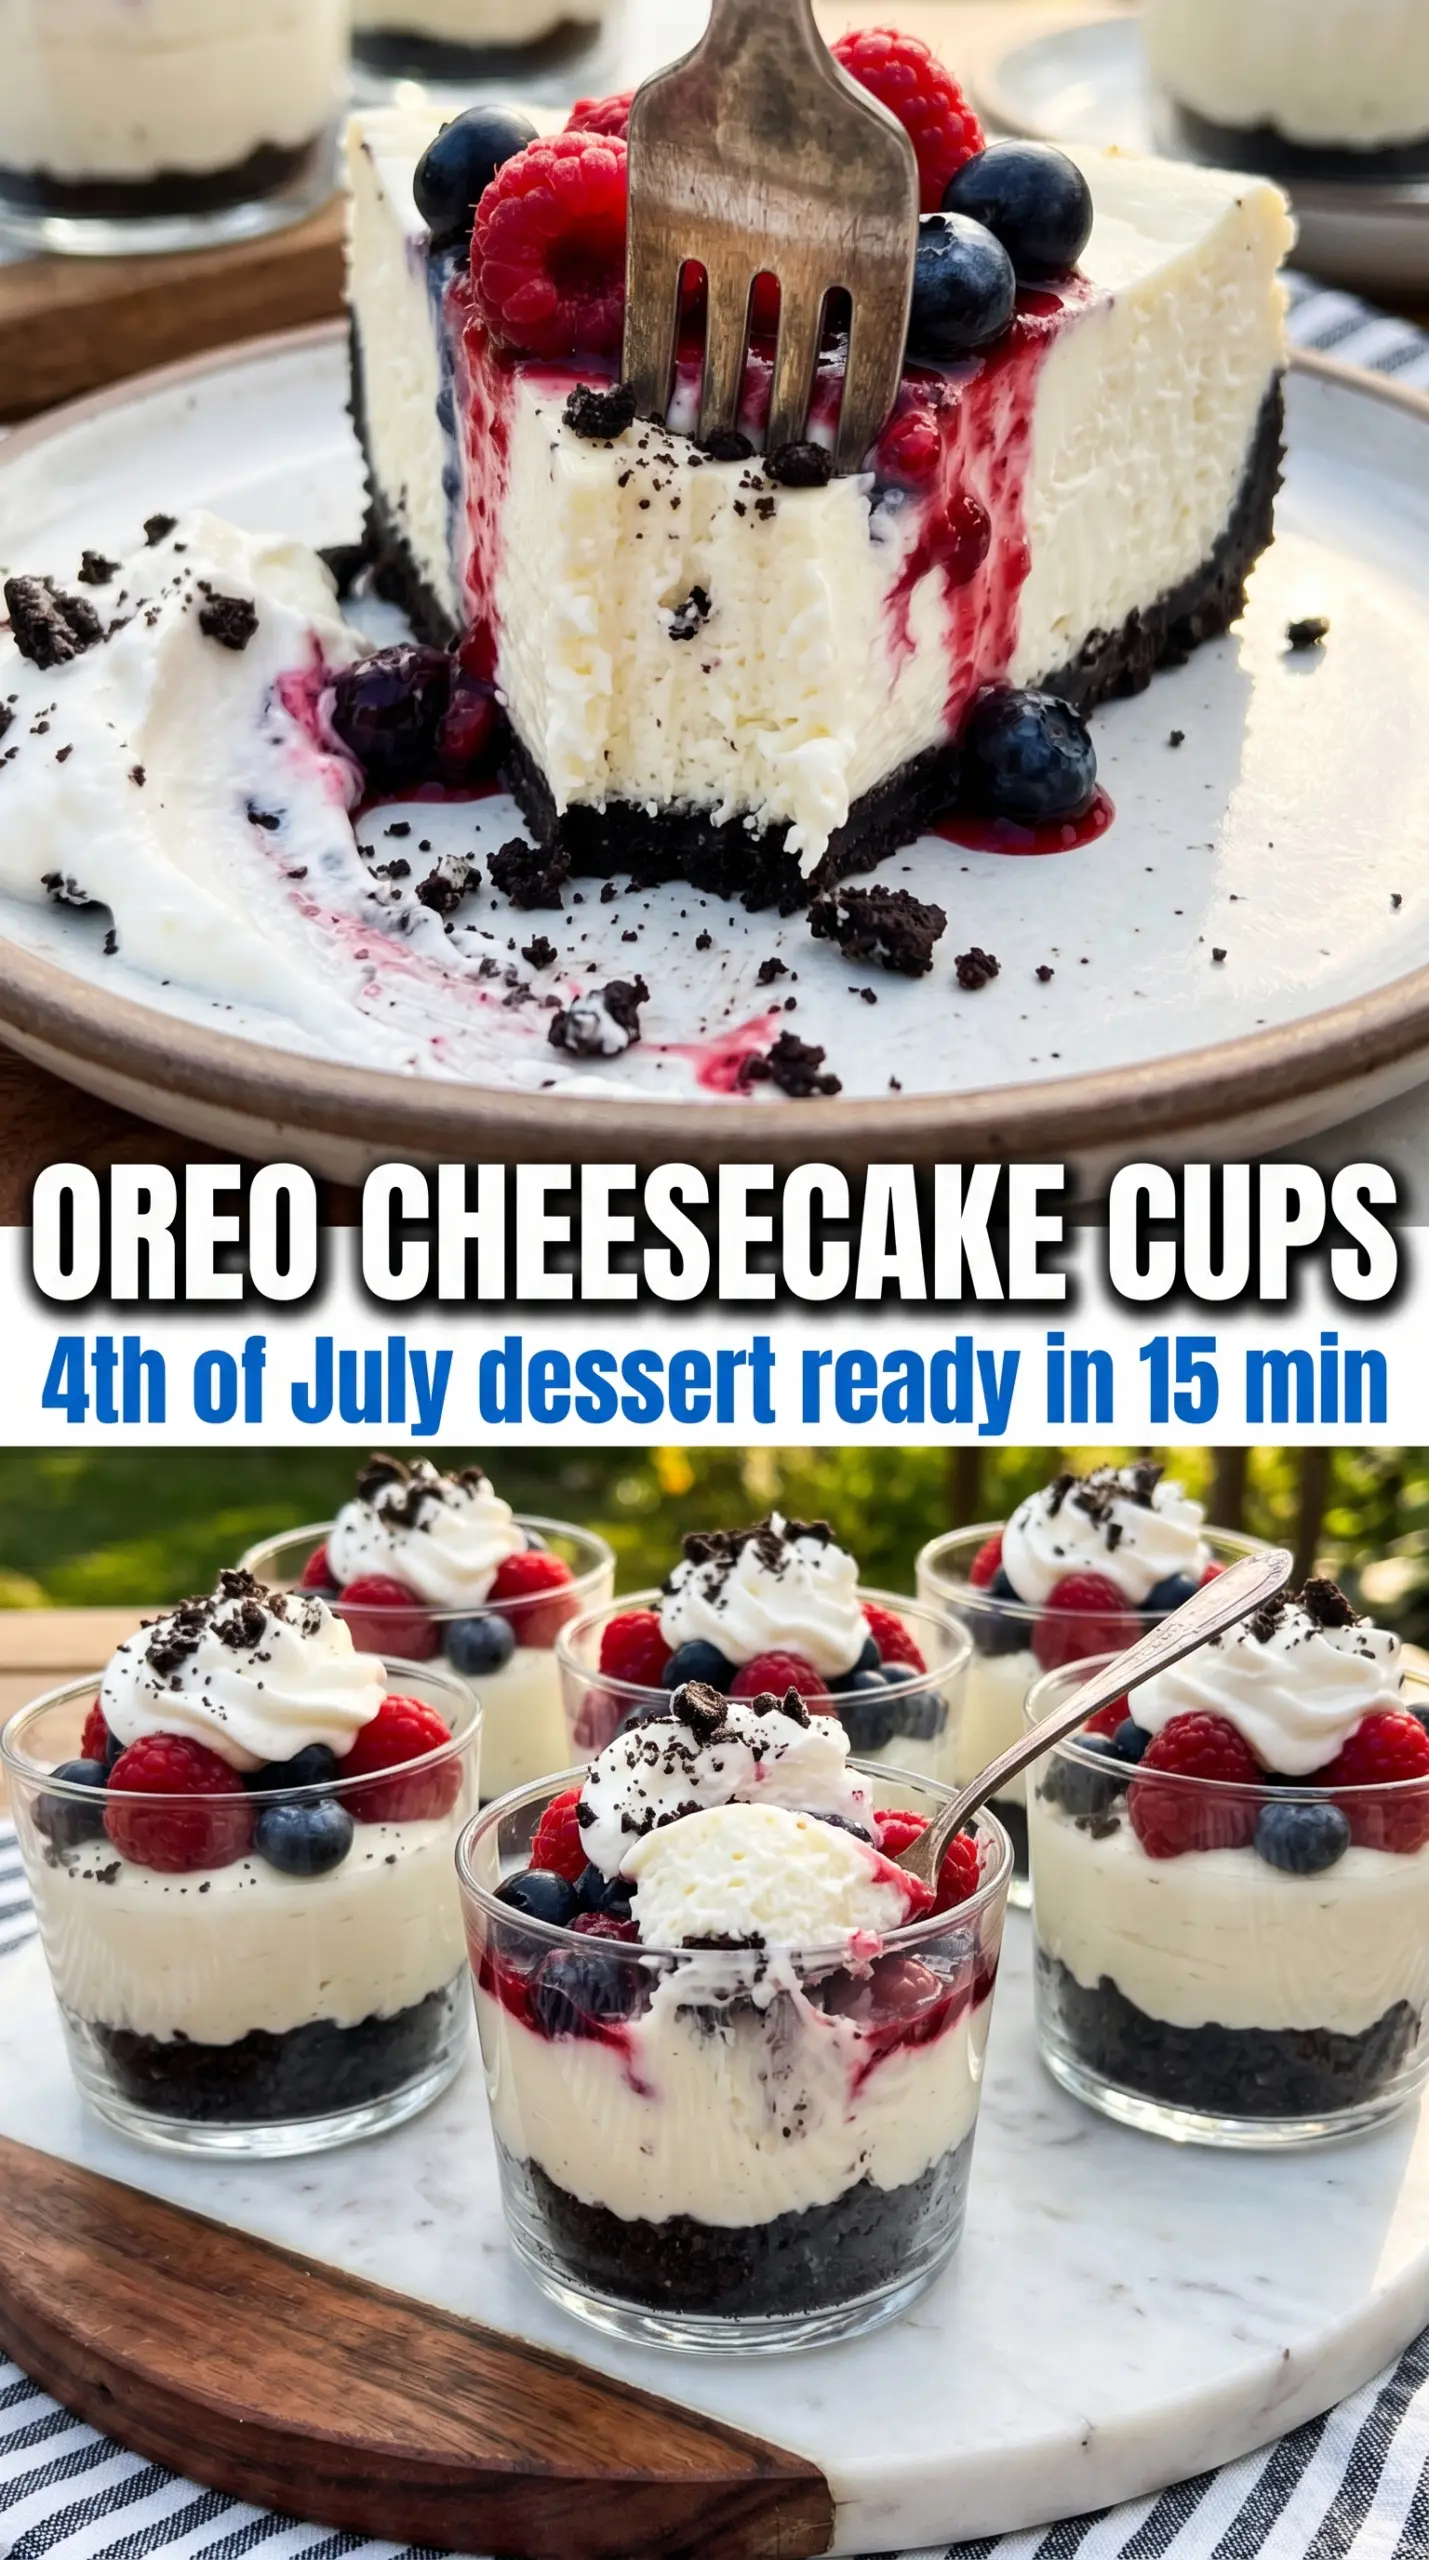
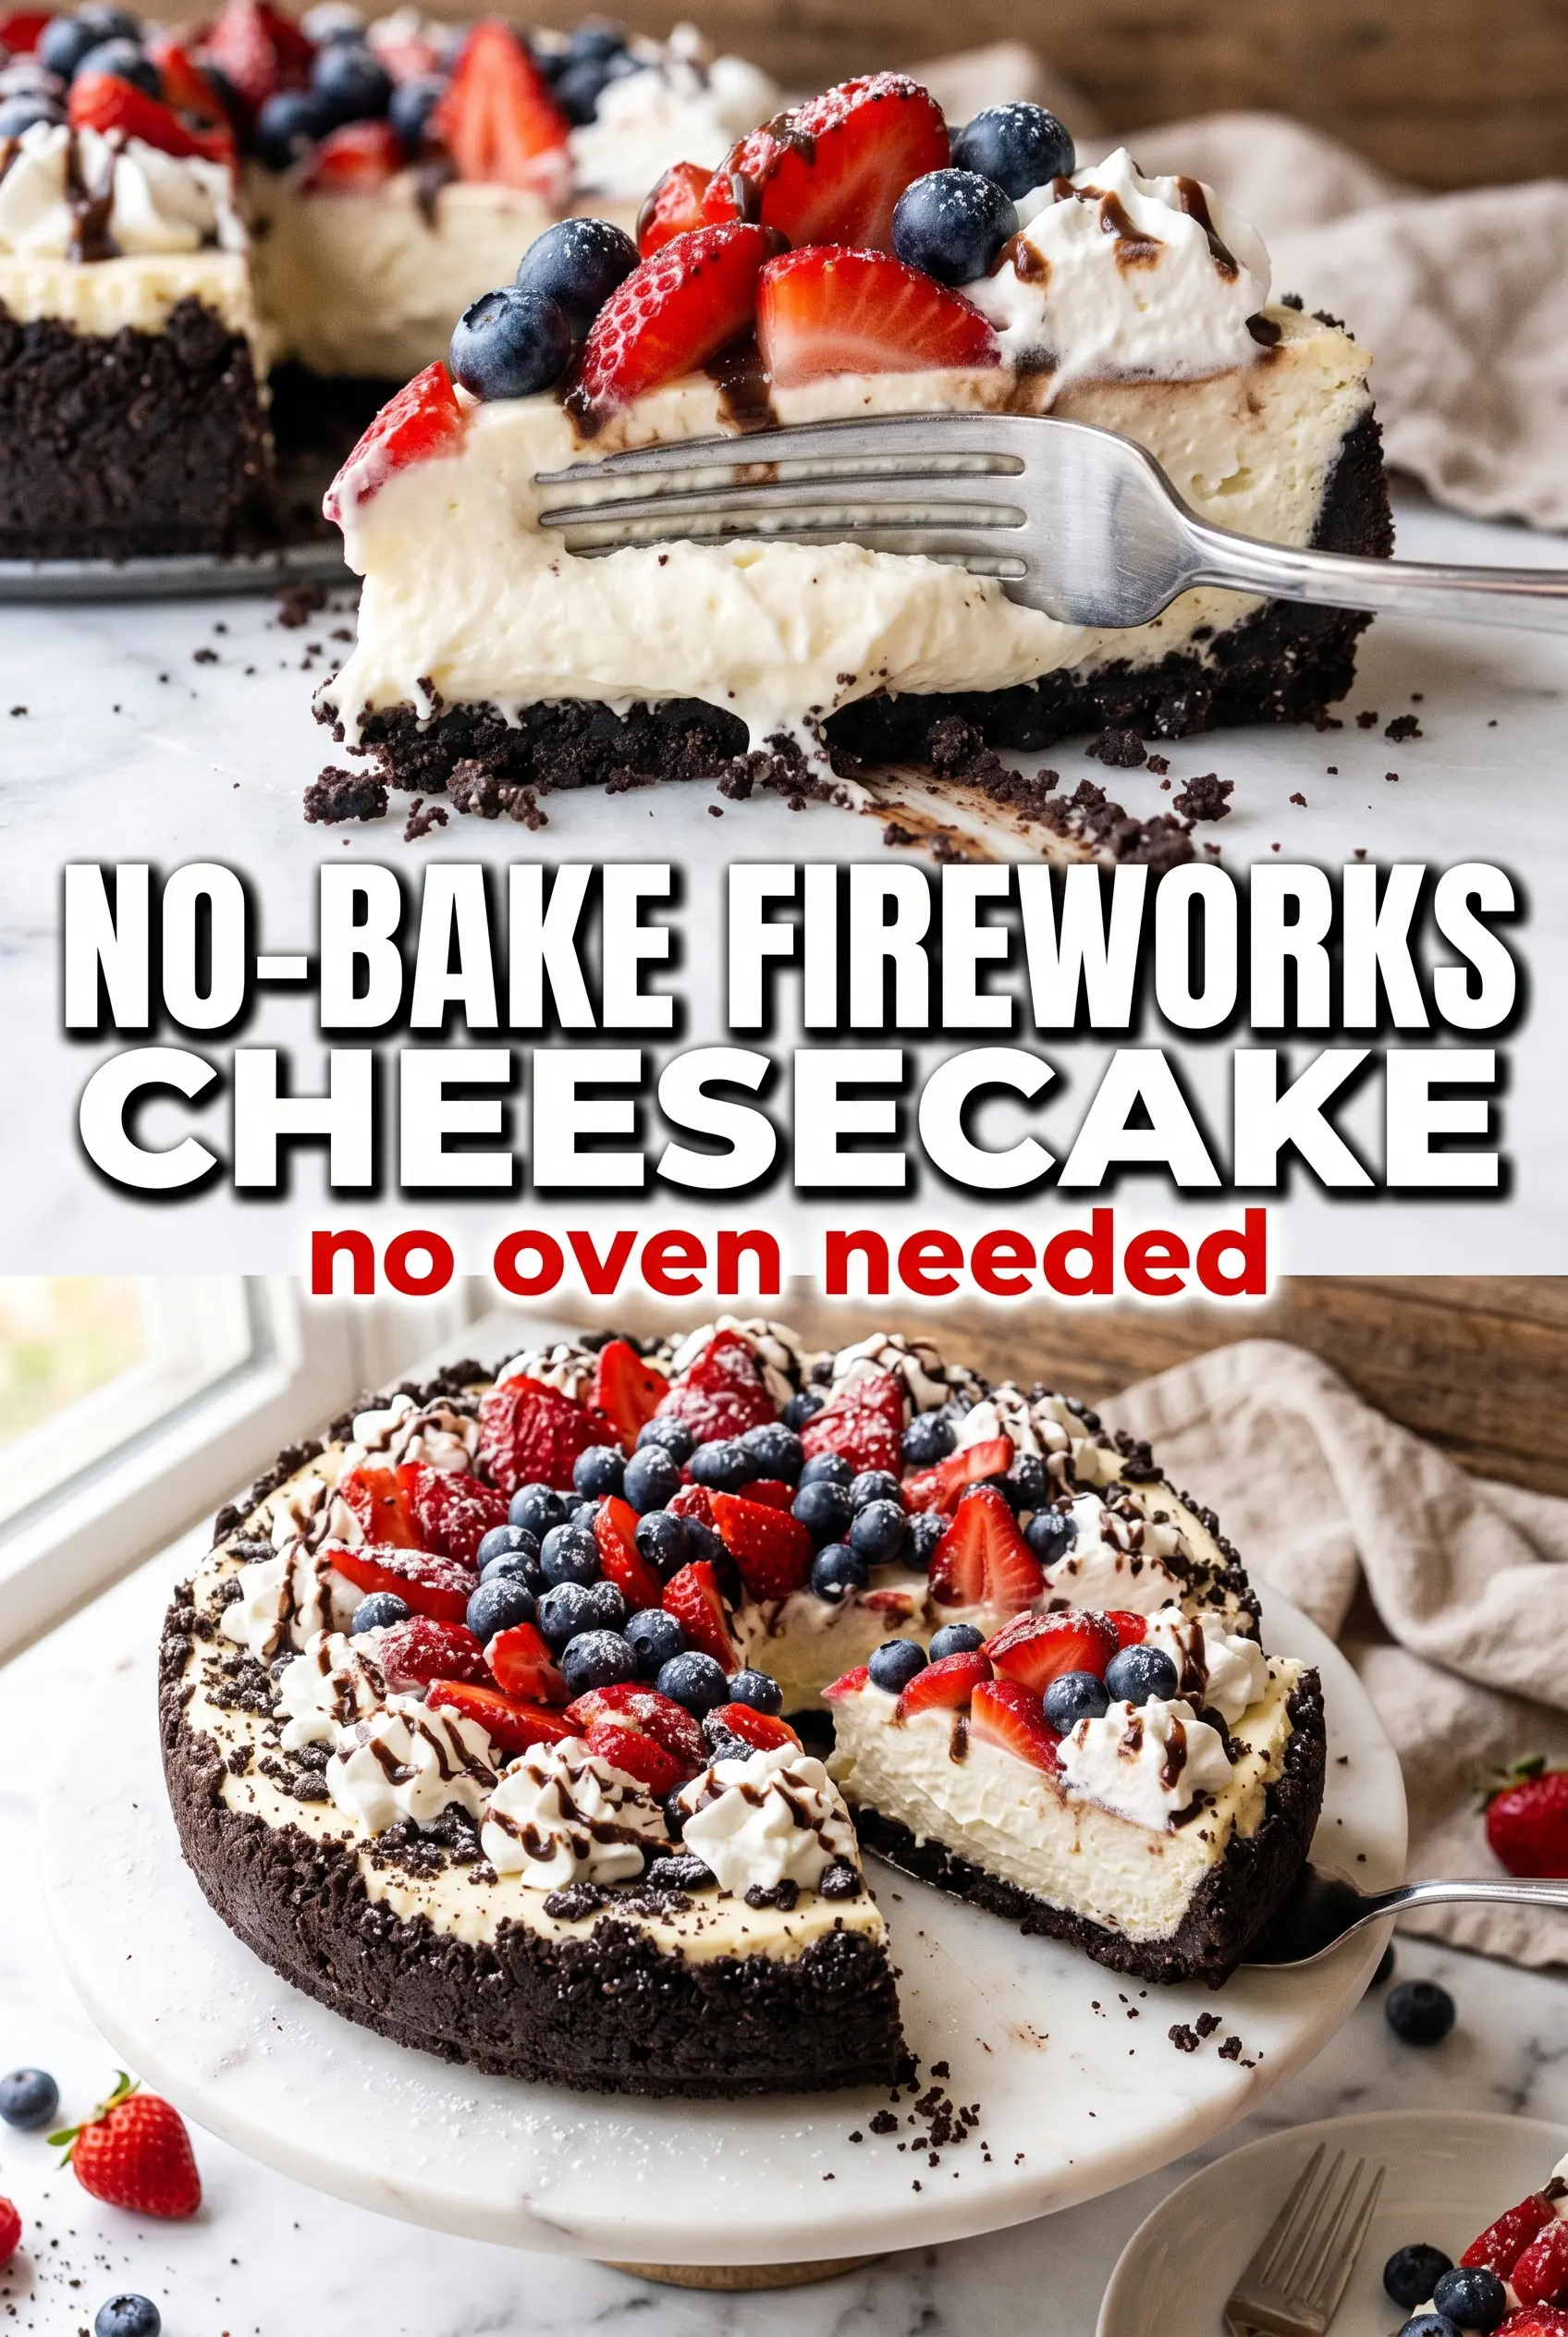
Cold, creamy cheesecake layered over a dark Oreo crust has a way of stealing the whole dessert table. This no-bake version sets up with a mousse-like filling that slices cleanly after a long chill, and the Oreo crust gives every bite that cookies-and-cream crunch without ever turning on the oven. The red, white, and blue topping makes it feel festive, but the real win is how polished it looks for something that comes together in about 25 minutes.
The texture comes from two things done right: the cream cheese gets beaten until it’s completely smooth before anything else goes in, and the whipped cream is folded in gently so the filling stays airy instead of dense. The crust also matters more than people think. If you press it firmly into the pan and chill it before filling, it holds together when you slice instead of crumbling into the first piece.
Below, I’ve included the one detail that keeps the filling from going grainy, plus a few easy ways to adapt the topping if you want to keep it simple or make it ahead for a crowd.
The filling set up perfectly after overnight chilling, and the Oreo crust stayed firm enough to cut clean slices. My kids loved the star sprinkles, and the whipped cream around the edge made it look like I spent all day on it.
Save this No-Bake Fireworks Oreo Cheesecake for the dessert table when you want a chilled Oreo crust cheesecake with a dramatic red, white, and blue finish.
The Filling Sets Because the Air Stays in It
The biggest mistake with no-bake cheesecake is overmixing after the whipped cream goes in. Once the cream reaches stiff peaks, it has to be folded into the cream cheese mixture with a light hand so you keep that mousse-like structure. If you stir it hard, the filling turns heavy and can settle into a dense layer that never feels quite as fluffy after chilling.
Temperature matters here too. Softened cream cheese blends smooth; cold cream cheese leaves little lumps that won’t fully disappear later. Beat the base until it looks glossy and completely even before folding in the whipped cream, and the finished cheesecake will slice cleanly instead of looking grainy at the cut.
What Each Layer Is Really Doing Here
- Oreos — These build the crust and bring both structure and flavor. You don’t need to remove the filling; the cookie cream helps the crumbs bind and adds richness. Use a food processor if you have one, but a zip-top bag and rolling pin work fine as long as the crumbs are very fine.
- Butter — Melted butter is what turns dry cookie crumbs into a crust that holds together. Too little and the base will fall apart when sliced; too much and it turns greasy. The mixture should feel like wet sand and clump when you squeeze it.
- Cream cheese — This is the backbone of the filling, so full-fat cream cheese matters. Low-fat versions can set softer and taste thin. Let it soften at room temperature so it beats smooth without leaving tiny lumps behind.
- Heavy whipping cream — This gives the cheesecake its lift and helps it set without gelatin. Don’t swap in light cream or half-and-half; they won’t whip the same way. Whip to stiff peaks, not soft ones, or the filling may not hold its shape.
- Powdered sugar — It sweetens the filling and dissolves cleanly, which keeps the texture silky. Granulated sugar can leave a slight graininess that shows up in a no-bake filling. Start with the amount listed, then taste only if you’re comfortable adjusting the sweetness of the whole batch.
Pressing, Whipping, and Chilling Without Losing the Structure
Building the Oreo Crust
Mix the Oreo crumbs with melted butter until every crumb looks moistened and the mixture starts to clump when pressed. Pack it firmly into the bottom of a 9-inch springform pan, pressing evenly from the center out to the edges. A loose crust is the reason slices break apart later, so use the bottom of a measuring cup to really compact it. Chill the crust while you make the filling so it sets enough to support the cheesecake layer.
Making the Filling Smooth
Beat the cream cheese, powdered sugar, and vanilla until the mixture is completely smooth and glossy. Stop and scrape the bowl well, especially around the bottom edge where little lumps like to hide. If the filling still looks grainy at this stage, the cream cheese was too cold and needs another minute of beating before you add the whipped cream.
Folding in the Whipped Cream
Whip the heavy cream to stiff peaks so it holds a clean point when you lift the whisk. Add it to the cream cheese mixture in two additions and fold just until no white streaks remain. The goal is a thick, airy filling that mounds slightly in the bowl. If you overfold, the mixture deflates and the cheesecake sets up more like a thick pudding than a sliceable dessert.
Letting It Set Fully
Pour the filling over the chilled crust and smooth the top with an offset spatula. Cover the pan and refrigerate for at least 6 hours, but overnight is better if you want the cleanest slices. Don’t rush this part; if you cut too early, the center will slump and the crust may separate from the filling. Add the whipped cream, sprinkles, and Oreo crumb decoration right before serving so the topping stays crisp and bright.
How to Adapt the Cheesecake for Different Crowds and Dietary Needs
Gluten-Free Version
Use certified gluten-free chocolate sandwich cookies in place of regular Oreos. The crust bakes the same way in the fridge, and the flavor stays close to the original. This is the easiest swap in the recipe because the filling is already naturally gluten-free.
Chocolate Lover’s Extra-Filled Crust
Add 6 to 8 more crushed Oreos to the crust for a thicker base if you want a firmer cookie bite under the filling. It makes each slice a little more substantial and gives the dessert a stronger cookies-and-cream flavor. Press it very firmly so the extra crumbs don’t spill when you slice.
Make-Ahead Party Dessert
This cheesecake can be made a full day ahead and held in the refrigerator until serving. Add the whipped cream border and sprinkles within a few hours of serving so the decoration stays fresh and the colors stay sharp. If you’re transporting it, keep it in the springform pan until you reach the party.
Lighter Topping, Same Festive Look
If you want a less sweet finish, use a thinner ring of whipped cream around the edge and keep the center mostly sprinkled with crushed Oreos and stars. You’ll still get the fireworks look, but the first bite won’t feel overloaded with topping. This works best if the cheesecake has chilled overnight and the surface is fully set.
Storage and Reheating
- Refrigerator: Store covered for up to 4 days. The crust softens slightly over time, but the cheesecake will still slice well.
- Freezer: Freeze whole or in slices for up to 1 month, wrapped tightly and then sealed in an airtight container. Thaw in the refrigerator, not on the counter, so the filling doesn’t weep.
- Reheating: No reheating needed. Serve it cold straight from the refrigerator after a short 10-minute rest for the cleanest texture and best flavor.
Answers to the Questions Worth Asking
No-Bake Fireworks Oreo Cheesecake
Ingredients
Equipment
Method
- Mix finely crushed Oreo cookies with melted unsalted butter until the texture resembles wet sand. Press the mixture firmly into the bottom of a 9-inch springform pan, then refrigerate.
- Beat softened cream cheese, powdered sugar, and vanilla extract until completely smooth with no lumps. Scrape down as needed so the mixture is uniform.
- Whip heavy whipping cream in a separate bowl to stiff peaks. Fold it gently into the cream cheese mixture in two additions.
- Pour the filling over the chilled Oreo crust and smooth the top with an offset spatula. Tap the pan lightly to release any trapped air.
- Cover and refrigerate for at least 6 hours or overnight until fully set. Keep it chilled until you’re ready to serve.
- Before serving, pipe whipped cream around the edge in a starburst pattern. Scatter red and blue star sprinkles across the center and dust with crushed Oreos in a fireworks burst pattern.