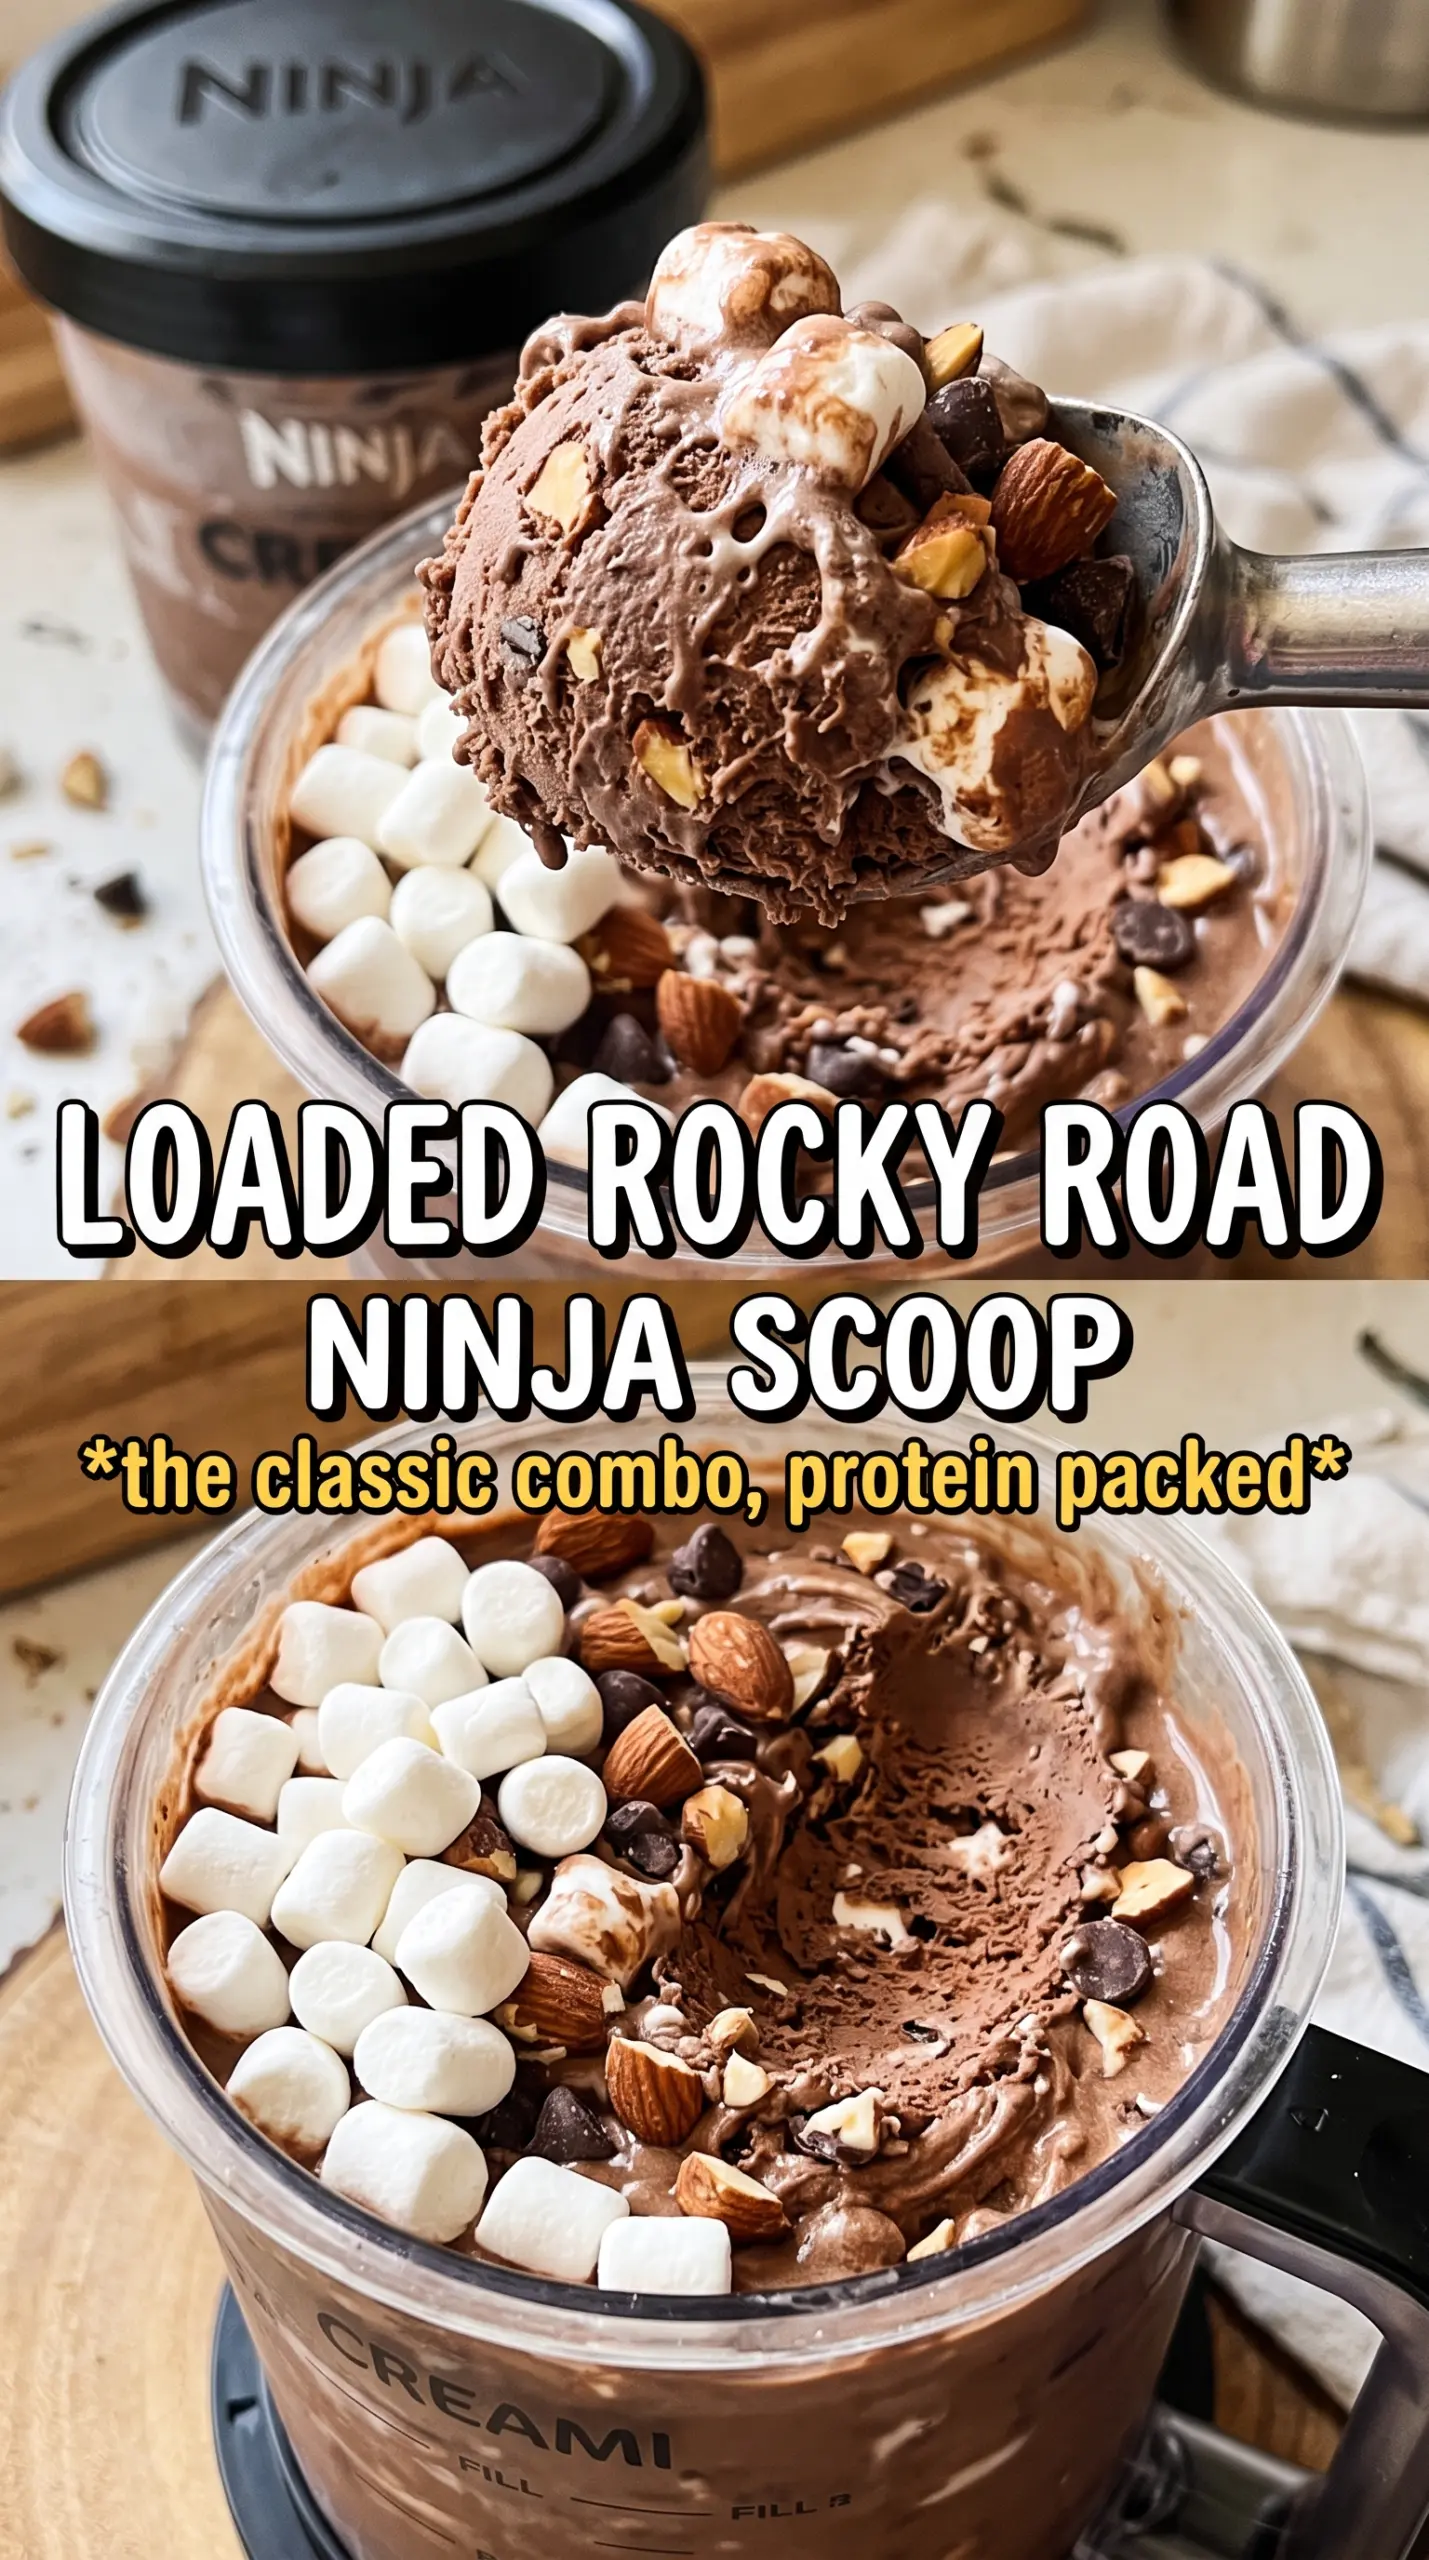
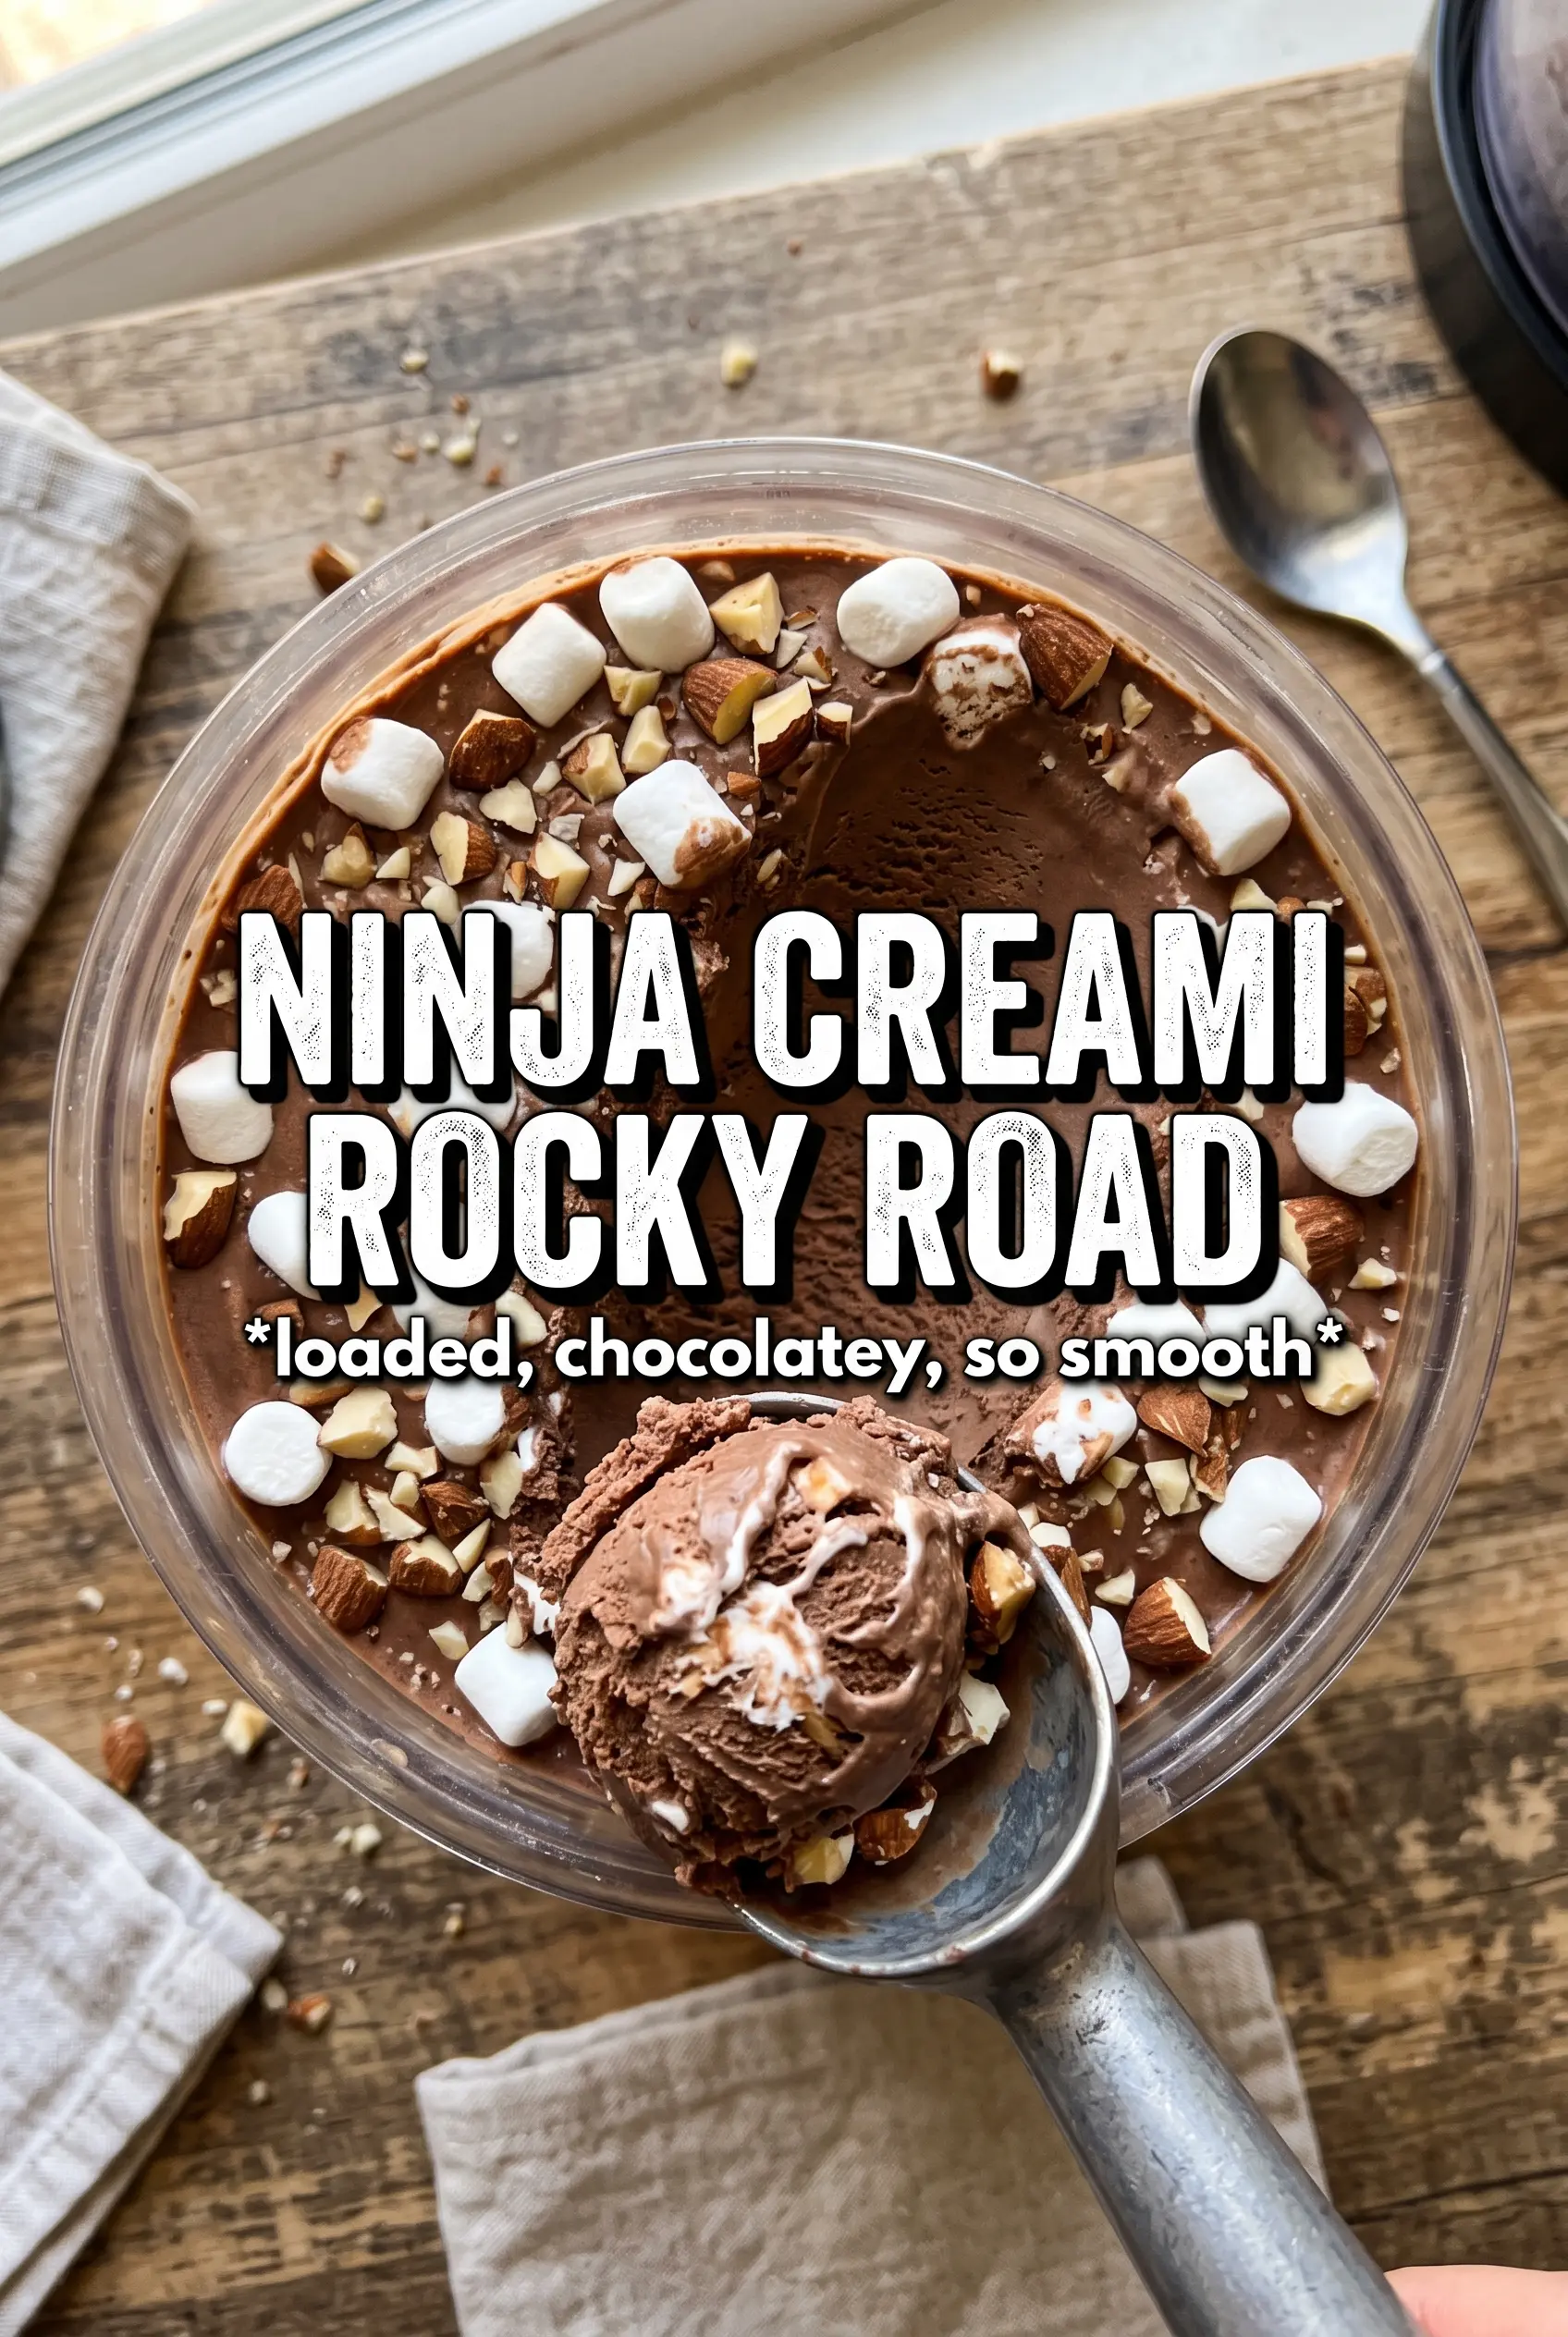
Rich chocolate ice cream with marshmallows, chocolate chips, and toasted almonds hits that rocky road sweet spot: creamy, a little chewy, a little crunchy, and cold enough to snap into the spoon. The best part is that the Ninja Creami turns a simple base into something that tastes churned, even though there’s no traditional ice cream machine involved.
This version leans on a chocolate milk and cocoa base, which gives you deeper chocolate flavor without making the pint heavy or icy. A little cream cheese adds body, so the finished ice cream spins up dense and scoopable instead of loose and slushy. The mix-ins go in at the end, which keeps the marshmallows soft, the almonds crisp, and the chocolate chips scattered instead of melted into the base.
Below, I’ll show you the small details that keep the texture smooth and the mix-ins evenly distributed. If you’ve had Ninja Creami batches turn crumbly or thin before, the fixes are here.
The base spun up creamy on the first try, and the Mix-In cycle kept the marshmallows intact instead of melting them into a sticky mess. The toasted almonds gave it that real rocky road crunch I was missing in other recipes.
Save this Ninja Creami rocky road ice cream for the nights when you want chocolate, marshmallow, and almond crunch in a single-serve pint.
The Freezer Step That Decides Whether This Spins Creamy or Crumbly
The freezing stage matters more here than the spin itself. If the base isn’t frozen solid all the way through, the Creami shaves off soft ice cream on one side and icy slush on the other, and no amount of re-spinning fixes that uneven texture completely. Give it the full 24 hours and set the pint on a level surface so the top freezes flat.
The other trap is overloading the base with mix-ins too early. Marshmallows and chocolate chips belong in the Mix-In cycle because they’re there for contrast, not to disappear into the chocolate. Almonds also hold their best crunch when they stay out of the initial spin.
- Chocolate milk or chocolate milk plus cocoa — Chocolate milk keeps the base smooth and easy, while the cocoa option gives you a darker, more pronounced chocolate flavor. If you use plain whole milk and cocoa, whisk it long enough that no dry streaks remain, or you’ll get powdery flecks in the finished pint.
- Heavy cream — This is what gives the ice cream its dense, scoopable body. Half-and-half works in a pinch, but the result will be lighter and a little less rich.
- Cream cheese — A small amount acts like insurance against iciness. It also helps the base spin into that classic Creami texture instead of turning airy or thin.
- Toasted almonds — Toasting matters because raw almonds can taste flat next to the chocolate. If you skip the toast, the recipe still works, but the rocky road flavor won’t land with the same depth.
What Each Ingredient Is Actually Doing in This Ice Cream
- Base ingredient (cream, milk, or custard) — This provides the foundation and richness. Quality matters.
- Sweetener (sugar, honey, or condensed milk) — This sweetens and prevents ice crystals. The ratio is critical.
- Flavor element (vanilla, fruit, chocolate, or other) — This defines the ice cream personality. Use quality ingredients.
- Egg yolks (if making custard base) — These create richness and silky texture. Optional but elevates ice cream.
- Churning (if using ice cream maker) — This incorporates air and prevents ice crystals. Critical for smooth texture.
- Freezing temperature and time — Proper freezing prevents rock-hard texture. Store at 0°F or below.
- Mix-ins (chocolate, cookies, fruit, or swirls) — These add texture and prevent one-dimensional flavor. Add near end of churning.
- Serving temperature (slightly soft, not rock hard) — This provides creamy mouthfeel. Remove from freezer 5 minutes before serving.
How to Freeze, Spin, and Fold in the Rocky Road Mix-Ins
Blend Until the Base Is Completely Smooth
Blend the chocolate milk, cream, sugar, cream cheese, vanilla, and salt until the mixture looks uniform and glossy. Any tiny lump of cream cheese will show up after freezing, and those bits stay stubborn through the spin. If you’re using cocoa powder, blend long enough that it disappears into the liquid instead of sitting on top.
Freeze the Pint Flat and Undisturbed
Pour the base into the Ninja Creami pint container and freeze it on a level shelf. The surface should look solid and even, not slanted or icy around the edges. If your freezer runs cold on one side, rotate the pint once during the first few hours so the freeze stays even.
Spin, Then Re-Spin Only If the Texture Needs It
Process on the Ice Cream setting and look for a texture that’s sandy but cohesive before judging it. That first pass often looks crumbly, and that’s normal. If it still looks dry after the cycle, add 1 tablespoon milk and re-spin once; adding too much milk turns the pint soft and melty instead of creamy.
Add the Rocky Road Pieces at the End
Use the Mix-In function to fold in the mini marshmallows, chocolate chips, and almonds. This keeps the marshmallows distinct and prevents the chocolate chips from disappearing into the base. The finished pint should look streaked and studded, not blended smooth.
How to Adapt This Pint When You Want It Richer, Lighter, or Dairy-Free
Dairy-Free Rocky Road
Use full-fat coconut milk or a thick oat-based cream alternative in place of the heavy cream, then choose a dairy-free chocolate milk or unsweetened plant milk plus cocoa. The texture will still be creamy, but it won’t taste quite as rich as the dairy version, so the toasted almonds and vanilla matter more.
Extra-Chocolate Version
Swap the chocolate milk for whole milk plus the full 2 tablespoons cocoa, and add an extra teaspoon of sugar if you like a sweeter pint. This version tastes darker and less milky, which is great if you want the chocolate base to stand up to the mix-ins.
Nut-Free Rocky Road
Skip the almonds and replace them with chopped pretzels or extra chocolate chips for crunch. You lose the classic nutty note, but the sweet-salty contrast works well and keeps the rocky road feel intact.
Storage and Reheating
- Refrigerator: Not a good fridge dessert. It melts fast and loses the Creami texture within minutes.
- Freezer: You can refreeze leftovers in the pint for up to 1 week, but the mix-ins get harder and the texture becomes denser after the first day.
- Reheating: Let it sit at room temperature for 5 to 10 minutes before scooping. Don’t microwave it, or the marshmallows and chocolate pieces will melt unevenly while the base stays half-frozen.
Questions I Get Asked About This Recipe
Ninja Creami Rocky Road Ice Cream
Ingredients
Equipment
Method
- Blend chocolate milk or whole milk, cocoa, heavy cream, sugar, cream cheese, vanilla extract, and salt until completely smooth and no cocoa lumps remain (aim for a silky pour).
- Pour the mixture into the Ninja Creami pint container, level the top, and freeze for 24 hours until fully firm.
- Process on the Ice Cream setting, then check texture; if it looks too soft or icy, re-spin with 1 tablespoon milk.
- Use the Mix-In function to fold in mini marshmallows, chocolate chips, and chopped toasted almonds so they are distributed throughout the pint.
- Serve immediately for the best scoop with evenly mixed rocky road components.