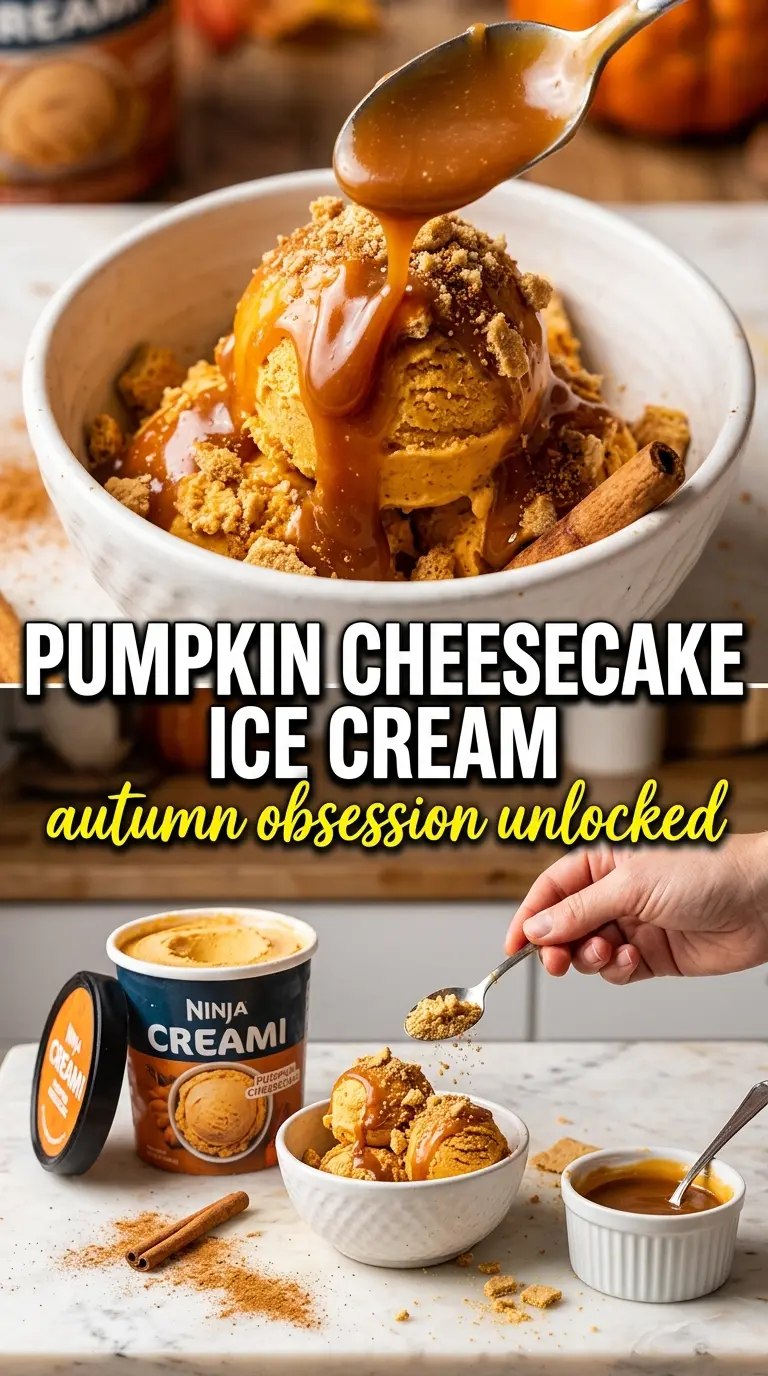
Warm pumpkin spice, a tangy cream cheese finish, and that dense, scoopable Ninja Creami texture make this pumpkin cheesecake ice cream feel like a dessert shop version of fall in a pint. The first spoonful is cold and creamy, then the cheesecake note shows up right behind the pumpkin, which is exactly what keeps this from tasting like plain spiced ice cream.
The trick is getting the base completely smooth before it ever hits the freezer. Cream cheese needs to be blended until it disappears, or you’ll end up with little soft bits instead of that cheesecake flavor woven through the whole pint. The pumpkin puree also brings body, so the final texture stays rich without needing eggs or a long custard step.
Below you’ll find the small details that matter most: how to avoid a chalky base, when to add the milk for a better spin, and how to use the graham cracker mix-in so it tastes like an actual cheesecake crust instead of just crumbs.
The base spun up light and creamy after one re-spin, and the graham cracker pieces stayed crunchy enough to taste like cheesecake crust. My husband kept saying it tasted like frozen pumpkin pie filling in the best way.
Save this Ninja Creami Pumpkin Cheesecake Ice Cream for the next time you want a frozen dessert that tastes like pumpkin cheesecake with a graham cracker crust.
The Reason This Base Needs to Be Silky Before Freezing
The Ninja Creami can turn a slightly imperfect base into something good, but it can’t hide cream cheese lumps or grainy pumpkin puree. Those problems get frozen in place, then they show up after the first spin as little pockets that never fully smooth out. Blending until the mixture looks glossy and uniform matters more here than in a lot of other frozen desserts.
The other thing that helps is the balance between dairy and pumpkin. Too much pumpkin puree without enough milk leaves you with a dense block that spins up dry. This formula stays in the range where the machine can break it down into a creamier texture without needing custard, eggs, or extra sugar syrup.
- Softened cream cheese — This gives the cheesecake tang. Cold cream cheese stays in tiny lumps, even if you blend hard, so let it sit out until it presses easily with a finger.
- Pumpkin puree — Use plain pumpkin puree, not pumpkin pie filling. Pie filling already has sugar and spice added, which throws off the balance and can make the base too sweet.
- Brown sugar — This adds a caramel note that works with the spice and keeps the flavor from tasting flat. Light or dark brown sugar both work; dark brown sugar gives a deeper molasses edge.
- Whole milk — Whole milk gives the pint enough fat to spin creamy. Lower-fat milk will still work, but the finished texture is a little icier and usually needs more help from a re-spin.
What Each Ingredient Is Actually Doing in This Ice Cream
- Base ingredient (cream, milk, or custard) — This provides the foundation and richness. Quality matters.
- Sweetener (sugar, honey, or condensed milk) — This sweetens and prevents ice crystals. The ratio is critical.
- Flavor element (vanilla, fruit, chocolate, or other) — This defines the ice cream personality. Use quality ingredients.
- Egg yolks (if making custard base) — These create richness and silky texture. Optional but elevates ice cream.
- Churning (if using ice cream maker) — This incorporates air and prevents ice crystals. Critical for smooth texture.
- Freezing temperature and time — Proper freezing prevents rock-hard texture. Store at 0°F or below.
- Mix-ins (chocolate, cookies, fruit, or swirls) — These add texture and prevent one-dimensional flavor. Add near end of churning.
- Serving temperature (slightly soft, not rock hard) — This provides creamy mouthfeel. Remove from freezer 5 minutes before serving.
Getting the Pumpkin Cheesecake Pint Ready for the Machine
Blend the milk, pumpkin puree, cream cheese, brown sugar, pumpkin pie spice, vanilla, and salt until the mixture looks completely smooth and slightly thickened. If you still see specks of cream cheese, keep going. Pouring a half-lumpy base into the pint means the final texture will never turn fully creamy.
Freeze the pint on a level surface for a full 24 hours. If it freezes at an angle, the blade can hit uneven sections and the spin gets patchy. After the first Ice Cream cycle, judge the texture before adding milk; if it looks crumbly or powdery, one tablespoon of milk usually brings it together without making it loose.
Blending the Base Smooth
Add everything to a blender and run it until the color is uniform and the mixture looks silky, not speckled. Stop and scrape down the sides if needed, especially around the cream cheese. The base should pour easily but still look thick enough to coat a spoon lightly.
Freezing Without Creating Ice Pockets
Pour the mixture into the Ninja Creami pint container and freeze it flat and undisturbed. Don’t overfill the pint, because expansion can push the top into a dome that spins unevenly. A hard, level freeze gives the blade a consistent surface to work through, which is what you want for a smooth first spin.
Spinning, Re-Spinning, and the Crumb Finish
Process on the Ice Cream setting and check the middle. If it comes out powdery or sandy, add 1 tablespoon milk and re-spin once. Fold in the crushed graham crackers with the Mix-In function at the end so they stay distinct instead of disappearing into the base. Top with whipped cream and a dusting of cinnamon right before serving.
How to Adapt This Pint Without Losing the Cheesecake Feel
Dairy-Free Version
Use full-fat canned coconut milk in place of the whole milk and a dairy-free cream cheese that blends smoothly. You’ll still get the tang and body, but the coconut note will come through a little, especially if your substitute cream cheese is mild.
Lower-Sugar Version
Cut the brown sugar back to 2 tablespoons and add a little extra vanilla to keep the flavor rounded. The texture will be a touch firmer and less soft-scoop, but the pumpkin and cream cheese still carry the dessert.
Gluten-Free Topping Swap
Skip the graham crackers and use crushed gluten-free vanilla cookies or toasted pecans. The pint still gets that cheesecake-style contrast, but the finish becomes a little nuttier and less like a classic crust.
Pumpkin Pie Spice Adjustment
If you like a sharper spice edge, add another 1/4 teaspoon pumpkin pie spice after the first spin and stir before re-freezing for a few minutes. That keeps the spice brighter than mixing in too much at the start, which can taste muddy after freezing.
Storage and Reheating
- Refrigerator: This is best eaten right after spinning. If you store leftovers in the fridge, the texture melts into a thick pumpkin cream rather than staying scoopable.
- Freezer: You can refreeze the spun ice cream in the pint for up to 1 week, but it will set harder than the first time and usually needs another spin before serving.
- Reheating: Let the pint sit on the counter for 5 to 10 minutes before spinning again. Don’t microwave it; that melts the edges and leaves the center icy.
Questions I Get Asked About This Recipe
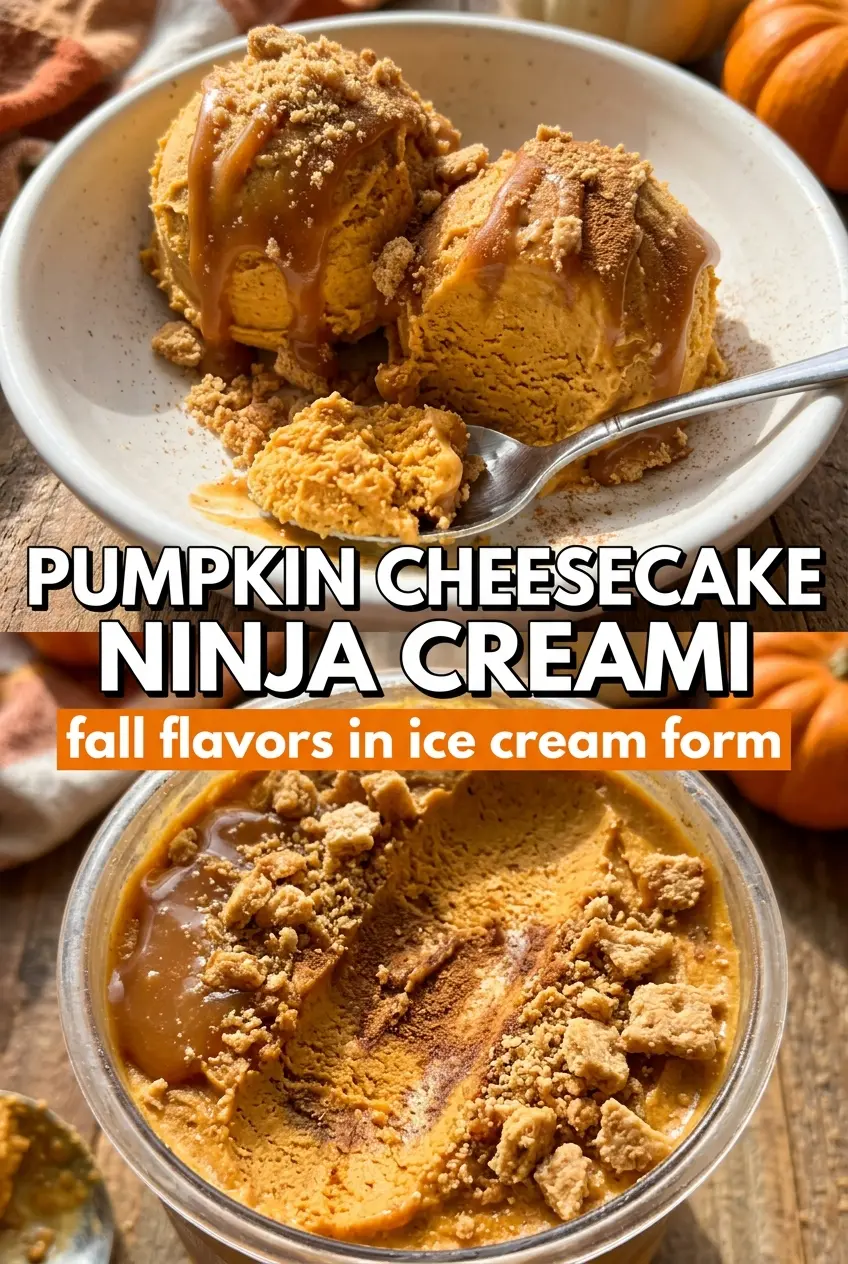
Ninja Creami Pumpkin Cheesecake Ice Cream
Ingredients
Equipment
Method
- Blend whole milk, pumpkin puree, cream cheese, brown sugar, pumpkin pie spice, vanilla extract, and salt until completely smooth and no cream cheese lumps remain.
- Pour the mixture into the Ninja Creami pint container and freeze for 24 hours.
- Process on the Ice Cream setting, then re-spin with 1 tablespoon milk if needed.
- Use the Mix-In function to fold in crushed graham crackers.
- Top the ice cream with whipped cream and dust with cinnamon before serving.