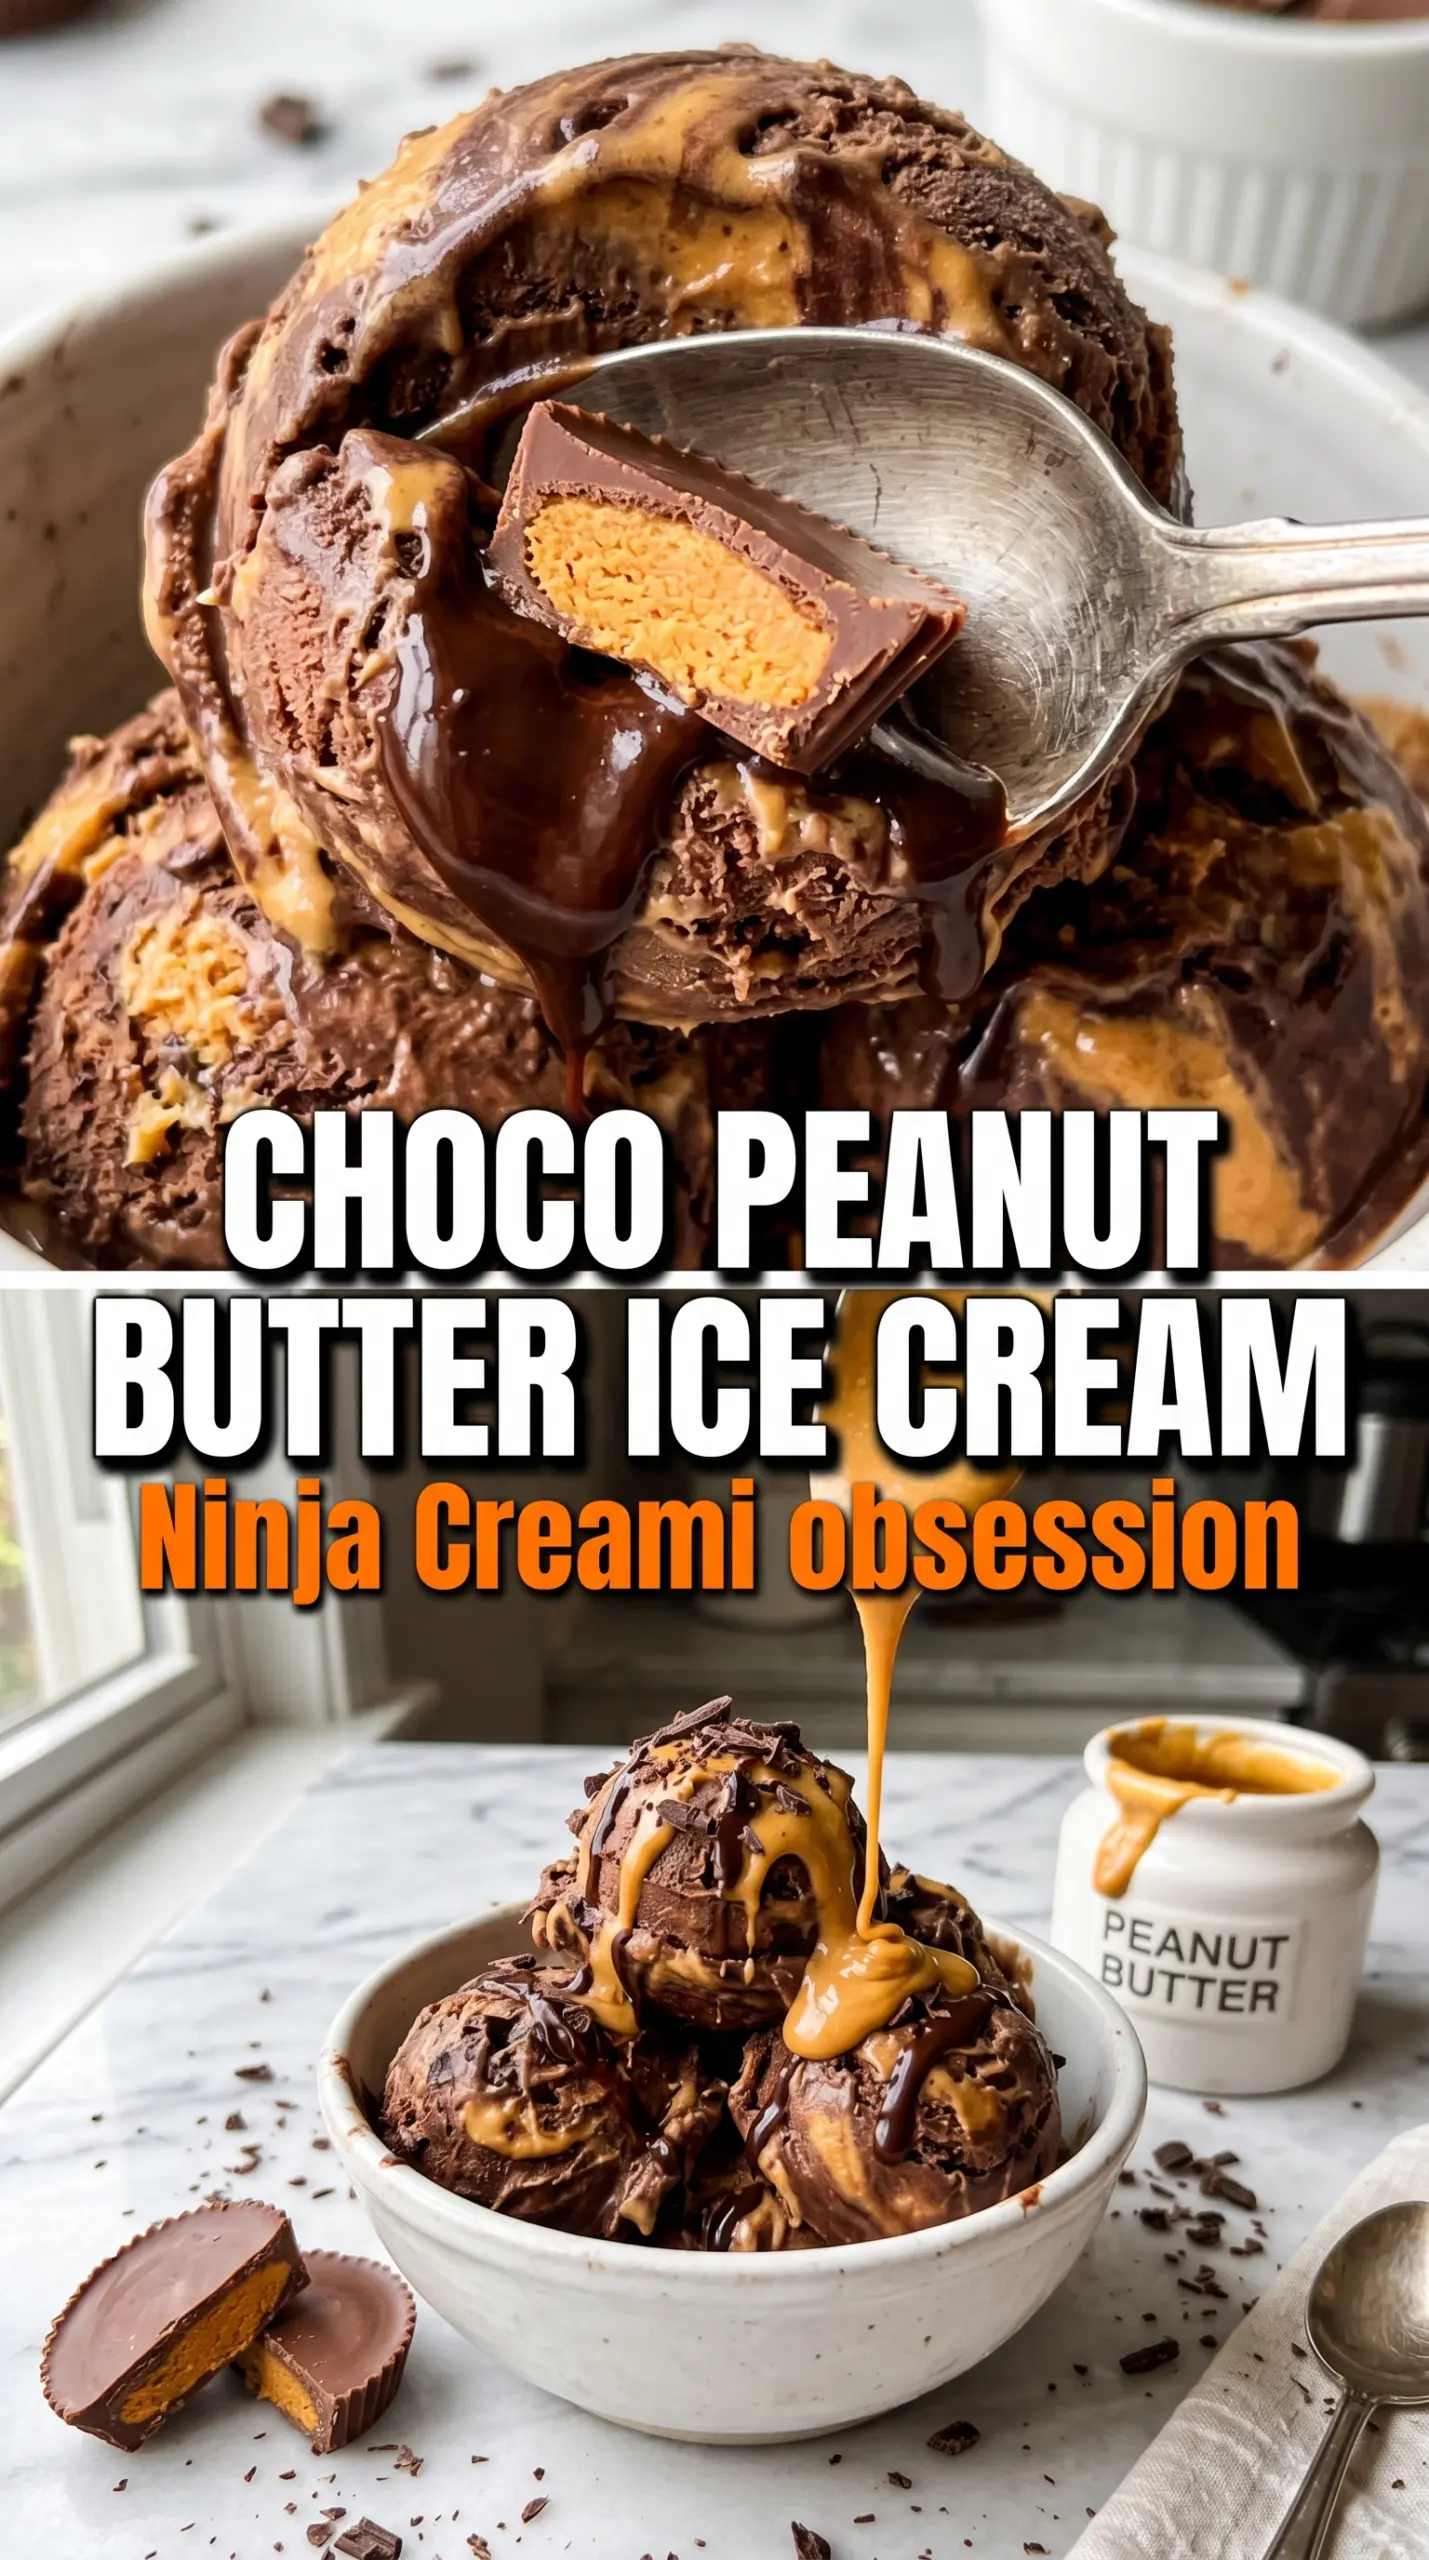
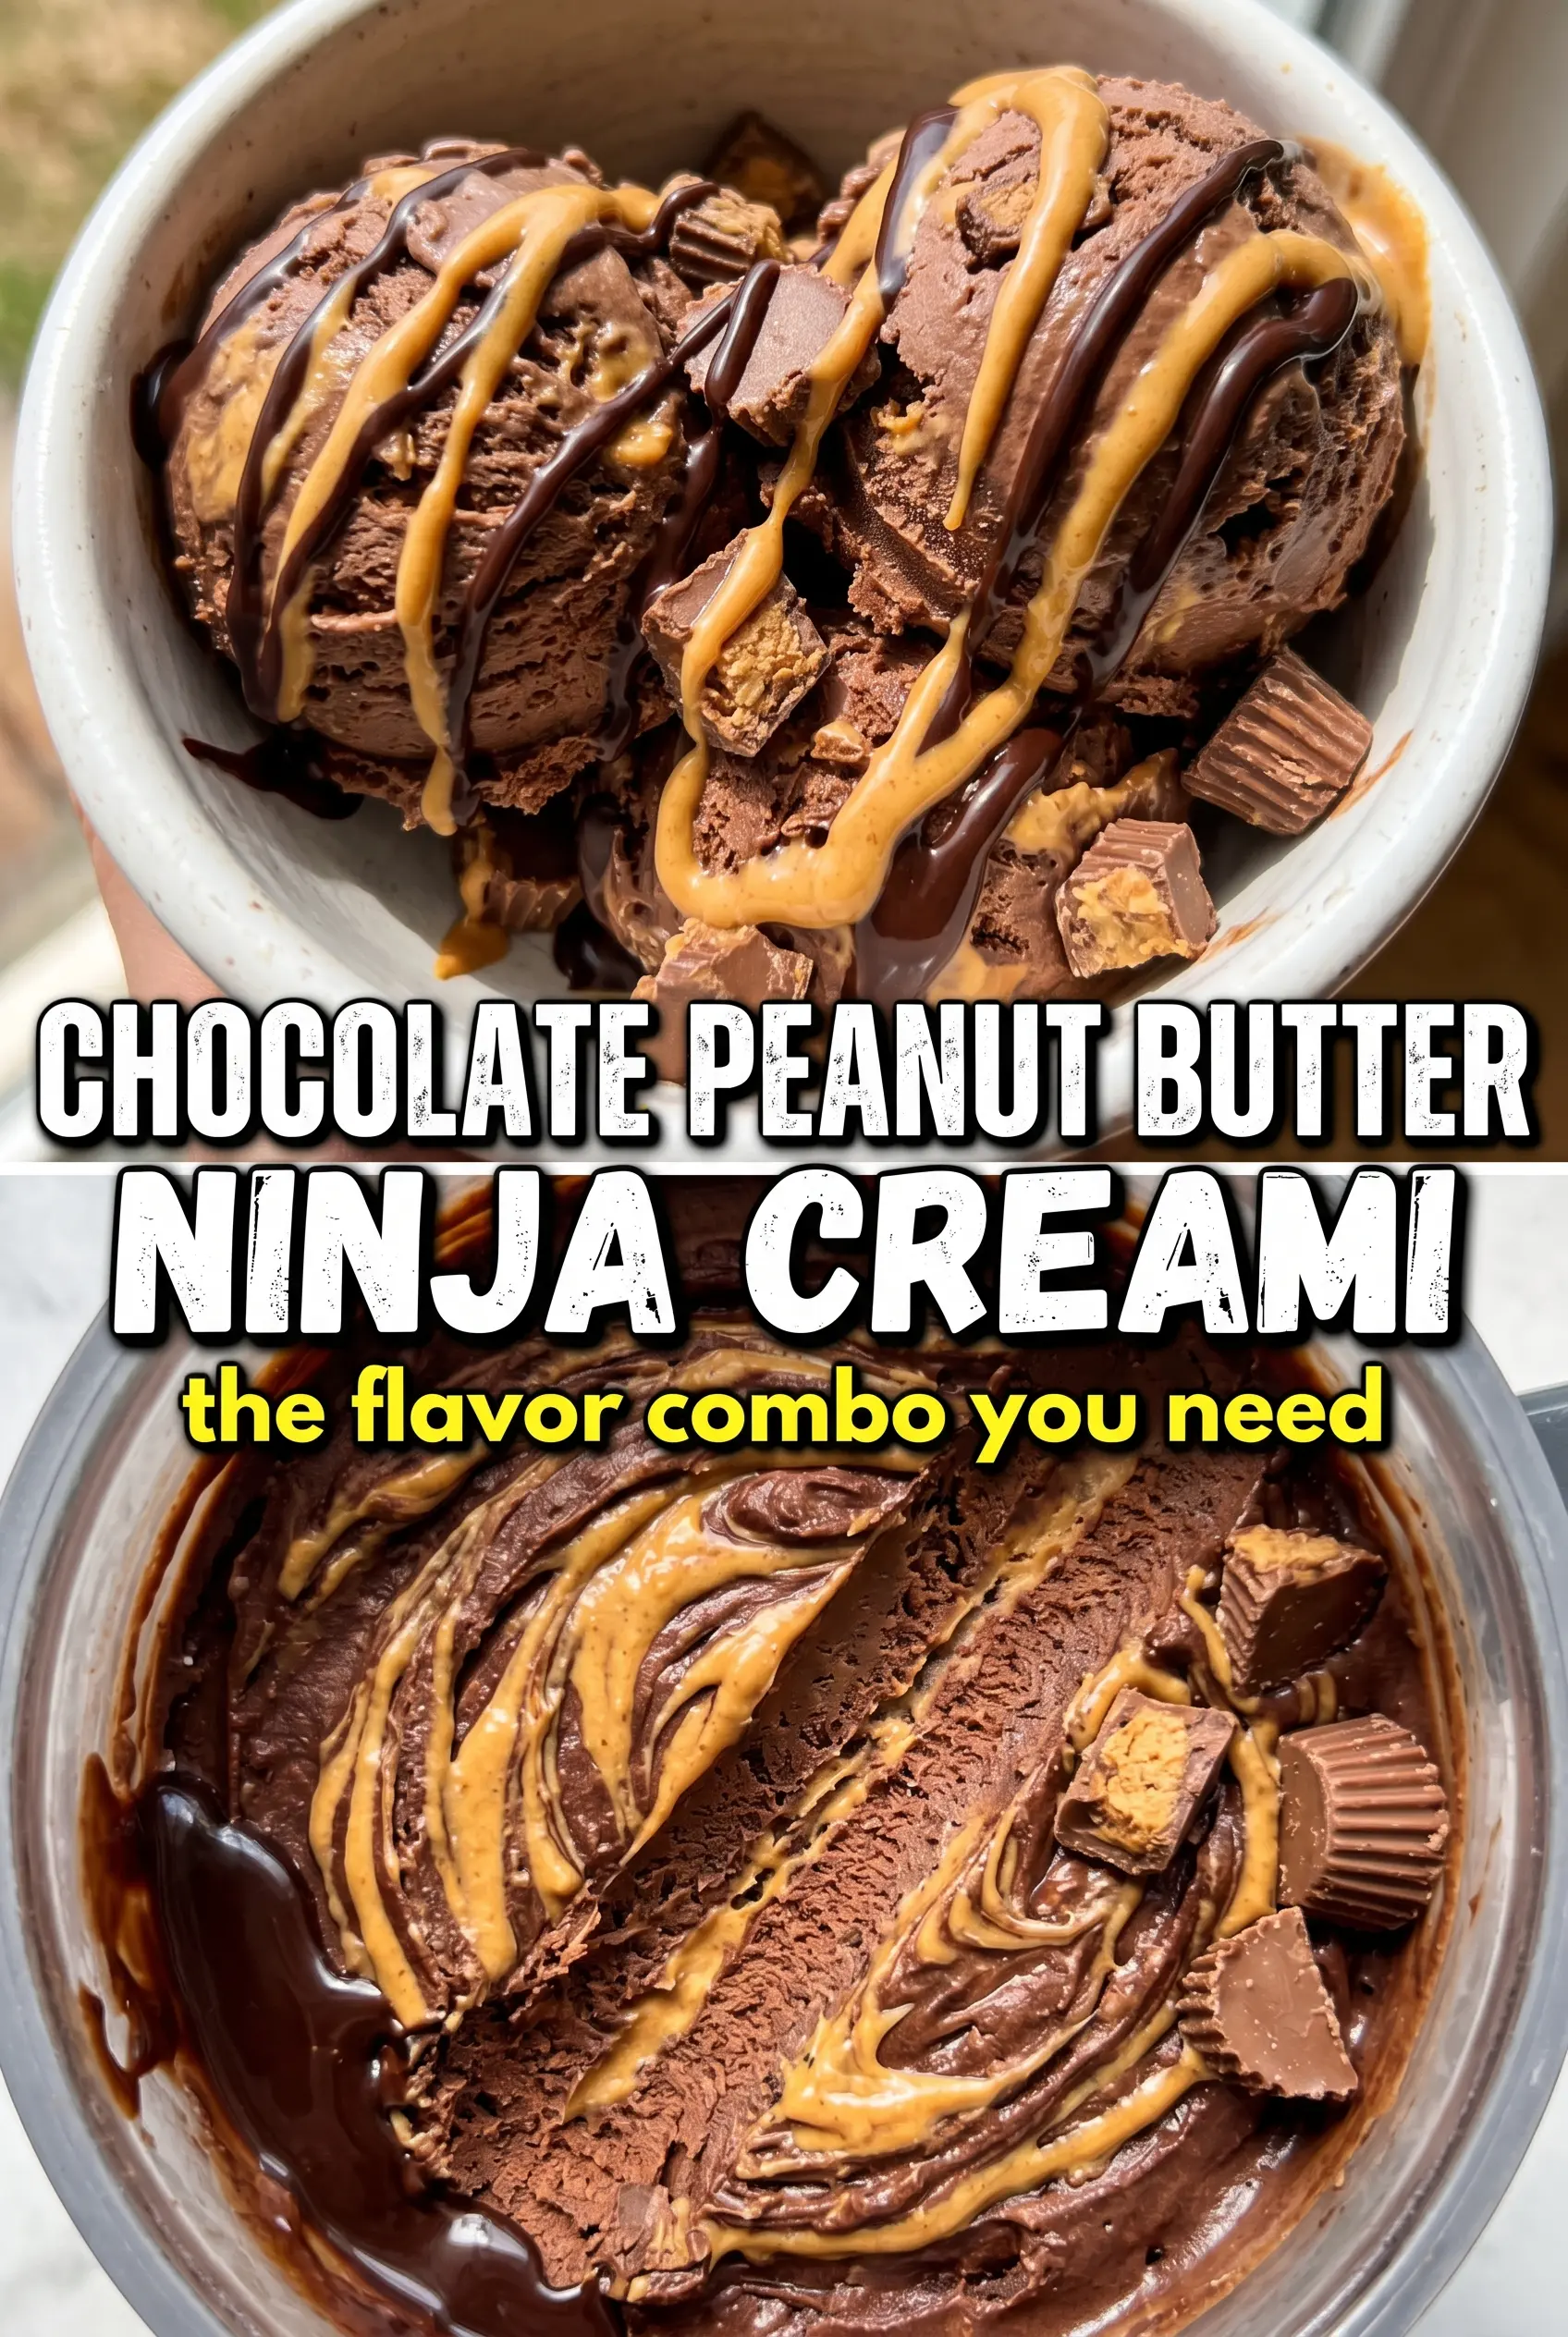
Dense chocolate ice cream with a peanut butter swirl hits the exact spot between fudgy and creamy. The chocolate base freezes up rich instead of icy, and the warm peanut butter cuts through it with a salty, nutty ribbon that tastes far more intentional than a quick drizzle on top. The result is the kind of pint that disappears fast because every bite gives you both flavors at once.
This version works because the base is built for the Ninja Creami. Cocoa powder alone can freeze chalky, so the cream cheese adds body and keeps the texture smooth after processing. The cream and whole milk give you enough fat for a real ice cream mouthfeel, while the sugar balances the cocoa so the chocolate tastes deep instead of flat. Warming the peanut butter matters, too — cold peanut butter just sits on top, but warm peanut butter swirls cleanly through the ice cream and creates those thick streaks people actually want.
Below, I’ve included the one spot where most Creami pints go wrong, plus a few smart swaps if you want to lean richer, lighter, or more peanut-butter-forward.
The base came out smooth on the first spin, and the warm peanut butter made those perfect thick ribbons instead of sinking to the bottom. My husband said it tasted like a Reese’s cup in ice cream form.
Love the thick chocolate base and peanut butter swirl? Save this Ninja Creami chocolate peanut butter ice cream for the next time you want a pint that tastes like a frozen peanut butter cup.
The Freeze That Decides the Texture
The biggest mistake with Ninja Creami ice cream is rushing the freeze. If the base isn’t frozen solid all the way through, the machine can’t shave it into that fine, creamy texture and you end up with a slushy middle or a gritty spin. Twenty-four hours is the sweet spot here because this base has cream, milk, cocoa, and cream cheese, all of which need time to freeze evenly.
The other failure point is the base itself. Cocoa powder likes to clump, and cream cheese can hide little soft bits if you don’t blend long enough. Once the mixture is completely smooth before freezing, the finished ice cream tastes rich instead of dusty and the texture stays close to a true scooped pint after processing.
What Each Ingredient Is Actually Doing in This Pint
- Chocolate milk or whole milk — This is the liquid base, and it carries the cocoa into a smooth frozen mixture. Chocolate milk gives you a head start on flavor and sweetness, while whole milk makes a slightly cleaner, less sweet pint. If you use plain milk, the cocoa flavor comes through more sharply.
- Heavy cream — This is what gives the pint that dense, scoopable finish instead of an icy texture. Lower-fat milk can work, but the final result will be lighter and a little harder after freezing. If you want the richest texture, don’t skip it.
- Cream cheese — The small amount here is doing more than you’d expect. It adds body, helps emulsify the base, and keeps the cocoa from tasting thin. Softened cream cheese blends in cleanly; cold cream cheese leaves little bits behind.
- Cocoa powder — Unsweetened cocoa is what gives the ice cream its deep chocolate edge. Dutch-process cocoa tastes smoother and darker, while natural cocoa tastes a little sharper. Either works, but it has to be whisked or blended completely smooth.
- Peanut butter — Warm peanut butter is the swirl that makes the pint. Natural peanut butter can work, but it should be stirred well first so it doesn’t separate. Thinner, creamy peanut butter swirls easiest and gives you those thick Reese’s-style ribbons.
Getting the Creami Spin and Peanut Butter Swirl Right
Blending the Base Until It Disappears
Add everything except the peanut butter and blend until the mixture looks completely uniform and glossy. You shouldn’t see cocoa specks or cream cheese lumps on the sides of the blender. That smooth base matters because the Ninja Creami doesn’t fix a lumpy mixture; it just freezes the lumps into place. Pour it into the pint container and freeze it flat so the blade can work evenly through the whole surface.
Spinning for a Creamy Finish
Process on the Ice Cream setting and check the texture right after the first spin. If it looks powdery or crumbly, a tablespoon of milk is enough to bring it back. Add the milk slowly, then use Re-Spin rather than flooding the cup, because too much liquid turns the edges soft before the center is actually creamy. The goal is a dense, scoopable pint that holds its shape but still yields under a spoon.
Swirling in the Peanut Butter at the End
Warm the peanut butter just enough that it drizzles in ribbons. Spoon it over the top and swirl it through with a butter knife or use the Mix-In function if you want more defined pockets. If the peanut butter is cold, it will tear through the ice cream instead of marbling it. Serve it right away, while the texture is at its softest and the swirl is still glossy.
How to Change the Pint Without Losing the Good Part
Make It More Like a Reese’s Cup
Add crushed peanut butter cups as a Mix-In after the first spin. That gives you little chocolate-and-peanut bursts in every scoop, but it also makes the pint heavier and a little less smooth. It’s the best choice if you want a candy-bar finish instead of a clean swirl.
Dairy-Free Version
Use a rich dairy-free milk like cashew or oat, plus a thick coconut cream in place of the heavy cream. Skip the cream cheese and add a tablespoon of coconut yogurt or a small spoonful of dairy-free cream cheese alternative for body. The texture will be a little less velvety, but it still spins well if the base is fully frozen.
Lower-Sugar Chocolate PB Ice Cream
Use unsweetened almond milk or plain whole milk and reduce the sugar slightly if you prefer a darker, less sweet base. The pint will taste more like intense chocolate mousse than candy-style ice cream. Keep enough sugar in the mix, though, because too little makes the frozen texture hard and dulls the chocolate.
Storage and Reheating
- Refrigerator: Not a refrigerator dessert. Once spun, it’s best served right away because the texture softens fast.
- Freezer: You can refreeze leftovers in the pint, but the texture gets harder and more crumbly after a second freeze. If that happens, let it sit at room temperature for 10 to 15 minutes before respinning.
- Reheating: There’s no reheating here. If the pint is too firm after refreezing, a quick rest on the counter is the fix; microwaving will melt the edges before the center is usable.
Answers to the Questions Worth Asking
Ninja Creami Chocolate Peanut Butter Ice Cream
Ingredients
Equipment
Method
- Add the chocolate milk, heavy cream, cocoa powder, granulated sugar, cream cheese, vanilla extract, and salt to a blender and blend until completely smooth with no lumps remaining. Scrape down as needed so the mixture looks uniformly dark and glossy.
- Pour the blended base into the Ninja Creami pint container and cover. Freeze for 24 hours until solid.
- Process on the Ice Cream setting according to the Ninja Creami instructions until the texture is scoopable. If it looks too firm or hasn’t mixed through, re-spin with 1 tablespoon milk until smooth and dense.
- Warm the peanut butter until it’s pourable, then drizzle it over the frozen surface. Swirl in with a spoon (or use the Mix-In function) to create thick ribbons.
- Scoop and serve immediately for the best dense, fudgy texture and clean chocolate-peanut butter contrast. Serve straight from the pint for fastest softening.