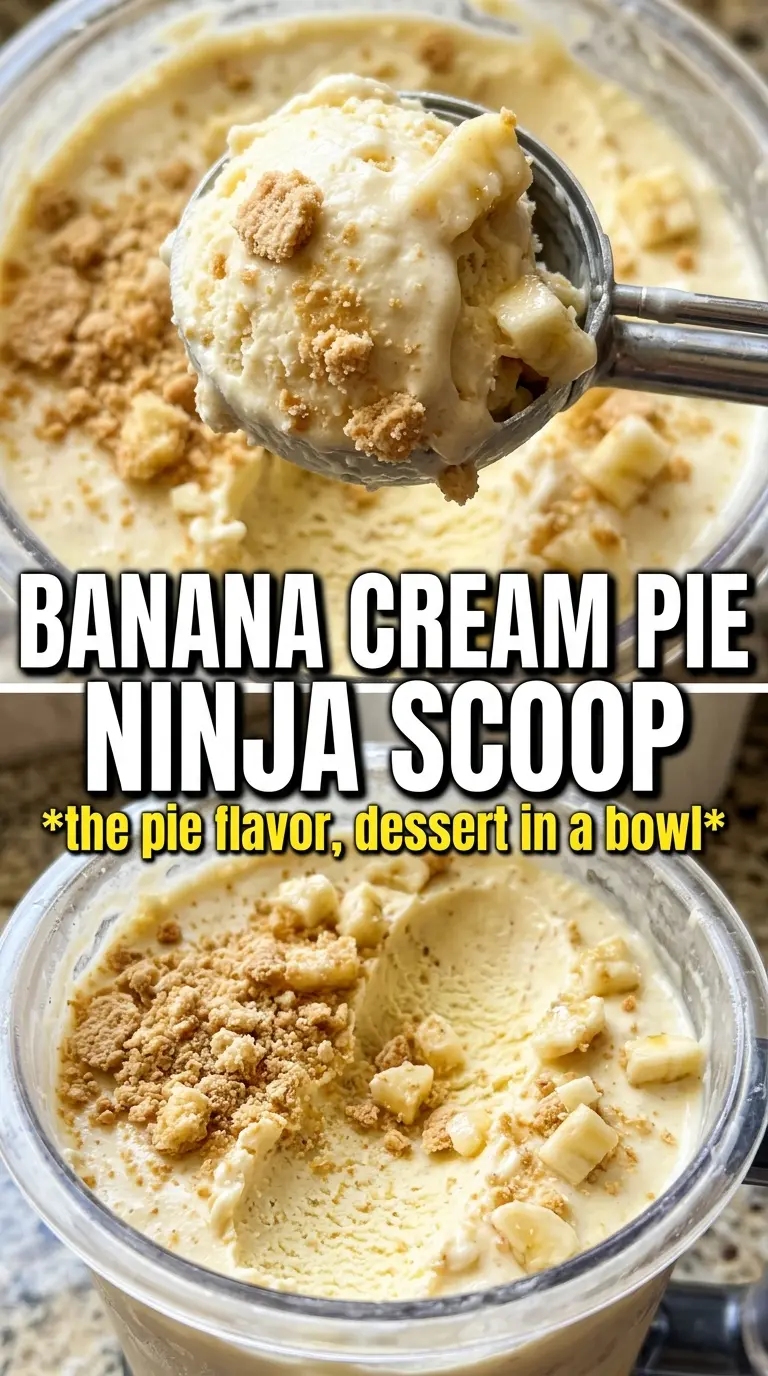
Pale yellow, custardy, and packed with banana-vanilla pie flavor, this Ninja Creami banana cream pie ice cream lands somewhere between soft-serve and the filling of a really good banana cream pie. The texture is rich and scoopable after a quick spin, and the Nilla wafer mix-in gives each bite that buttery, cookie-crumble finish that makes the whole thing taste complete.
The trick is building a base that tastes like pie filling before it ever hits the freezer. Instant pudding mix brings that classic banana-cream thickness, while a little cream cheese adds the faint tang and body you expect from a proper cream pie. A ripe banana does the heavy lifting on flavor, but it needs to be blended until totally smooth or you end up with icy flecks instead of a creamy pint.
Below, I’ve laid out the parts that matter most: how to keep the base from freezing into a brick, why the pudding mix earns its place, and how to handle the re-spin if your first pass comes out a little crumbly.
The base froze up smooth and creamy, and the Nilla wafers stayed a little crunchy instead of disappearing. I used one splash of milk for the re-spin and it came out just like banana cream pie filling in ice cream form.
Love the creamy banana-vanilla pie flavor? Save this Ninja Creami banana cream pie ice cream for the next time you want a dessert that tastes like pie filling with cookie crumbles.
Why the Base Has to Taste Like Banana Cream Pie Before It Freezes
Ninja Creami recipes can look forgiving, but this one depends on the base being fully blended and already balanced before freezing. Once it turns solid, the machine is working with a frozen block, not a churned custard, so the flavor and texture have to be right up front. If the banana is under-ripe, the finished ice cream tastes flat and a little dusty instead of creamy and pie-like.
The instant pudding mix does two jobs here: it thickens the base and gives it that banana-pudding feel that reads as pie filling once it’s frozen and spun. The cream cheese adds just enough body to keep the texture from going slack, and it also keeps the banana from tasting one-dimensional. Skip the temptation to leave the mixture slightly chunky; any banana bits left behind can turn icy in the freezer.
What Each Ingredient Is Actually Doing in This Pint
- Very ripe banana — This is the main flavor. You want plenty of brown speckles so the banana tastes sweet and round instead of green and starchy. If your banana is just barely ripe, the ice cream will need more sugar and still won’t taste as soft and full.
- Instant vanilla pudding mix — This is what gives the base its pie-filling body. It’s the ingredient that most closely mimics that thick, spoonable banana cream texture after freezing. I wouldn’t swap this for cooked pudding here, because the instant mix blends cleanly and thickens without extra stovetop work.
- Heavy cream and whole milk — The balance matters. The cream keeps the pint rich, while the milk keeps it from freezing too dense. If you use all milk, the result is more icy; if you use all cream, it can spin a little greasy and heavy.
- Cream cheese — Just a tablespoon makes the base taste more like a real pie filling. It adds body and a slight tang that keeps the banana from turning flat. Soften it first, or you’ll end up with little specks that never fully disappear in the blender.
- Nilla wafers — These are the pie crust stand-in. Crush them after the base is frozen and only add them with the Mix-In cycle so they keep a little texture. If they go in too early, they soften and lose that cookie crunch.
Freezing the Pint So It Spins Creamy Instead of Choppy
Blend Until the Base Looks Uniform
Blend the banana, milk, cream, pudding mix, sugar, cream cheese, vanilla, and salt until the mixture looks completely smooth and a little thickened. You shouldn’t see banana threads or cream cheese flecks. If the base is even slightly lumpy going into the pint, those bits freeze harder than the rest and the finished ice cream turns uneven.
Freeze the Pint Flat and Leave It Alone
Pour the mixture into the Ninja Creami pint container and freeze it level for a full 24 hours. A tilted pint freezes unevenly, and that can make one side spin fluffier than the other. The lid should go on right away so the top doesn’t dry out or form ice crystals.
Spin, Then Judge the Texture
Run the Ice Cream setting first and check the center before adding anything else. If it comes out powdery or crumbly, that doesn’t mean it failed; it usually means the pint is just very cold. Add 1 tablespoon of milk and re-spin only as needed, because too much liquid can make the pint loose and slushy instead of creamy.
Fold in the Wafers at the End
Use the Mix-In function for the crushed Nilla wafers so they stay in distinct little pockets throughout the ice cream. If you stir them in by hand after spinning, they tend to sink and clump. Finish with a banana slice right before serving, because sliced banana browns fast once it hits the air.
How to Adapt This Pint Without Losing the Pie Feel
Dairy-Free Version
Use full-fat canned coconut milk in place of the milk and cream, and choose a dairy-free cream cheese substitute that blends smoothly. The texture will still be rich, but the flavor shifts slightly toward coconut, so keep the vanilla strong and use a very ripe banana for the best pie-like finish.
Lower-Sugar Version
Cut the granulated sugar down to 1 tablespoon if your banana is heavily speckled and sweet. The pudding mix already adds sweetness, so this still tastes like banana cream pie without crossing into candy-sweet territory. Don’t cut the sugar entirely unless you like a firmer, less rounded result.
No Nilla Wafers on Hand
Use vanilla wafer-style cookies, shortbread cookies, or even graham cracker crumbs in the Mix-In cycle. Shortbread gives the closest buttery crumble, while graham crackers lean more toward banana cream pie crust than cookie crust. Add them only after the final spin so they don’t dissolve into the base.
Make It a Bigger Batch
This recipe is built for one pint, so don’t overfill the container trying to stretch it. If you want more, make a second pint with the same ratio rather than doubling one container. Overfilling can freeze the top unevenly and keeps the blade from processing the base cleanly.
Storage and Re-Spinning
- Refrigerator: Not ideal once spun. This is best eaten right after processing, since the texture softens quickly.
- Freezer: The base can stay frozen in the pint for up to 2 weeks before spinning, tightly covered. After spinning, it freezes hard again and usually needs another quick re-spin.
- Reheating: Let a fully frozen spun pint sit on the counter for 5 to 10 minutes, then run the Ice Cream or Re-spin setting. Don’t add too much milk at once or the edges will turn loose before the center has a chance to smooth out.
Questions I Get Asked About This Recipe
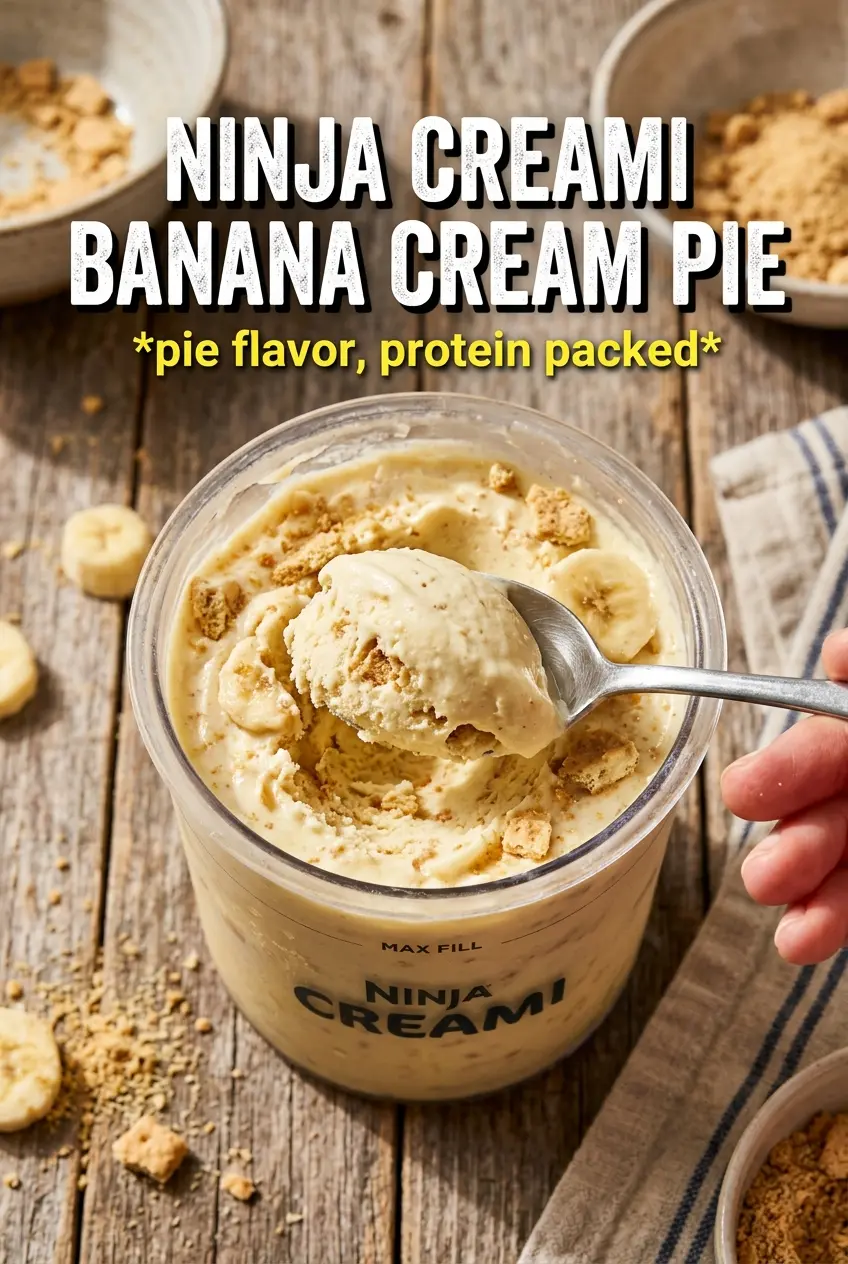
Ninja Creami Banana Cream Pie Ice Cream
Ingredients
Equipment
Method
- Blend the very ripe banana, whole milk, heavy cream, vanilla pudding mix (instant), granulated sugar, cream cheese, vanilla extract, and salt until completely smooth, with no visible banana bits.
- Pour the smooth mixture into the Ninja Creami pint container, making sure the top is level.
- Freeze the pint for 24 hours until firm, with the surface fully solidified.
- Process on the Ice Cream setting; if it seems too thick to spread, re-spin with 1 tablespoon milk for better scoopable texture.
- Use the Mix-In function to fold in the crushed Nilla wafers, mixing until the crumbs are evenly distributed.
- Garnish with a banana slice and serve immediately for the best contrast between creamy ice cream and crisp crumbs.