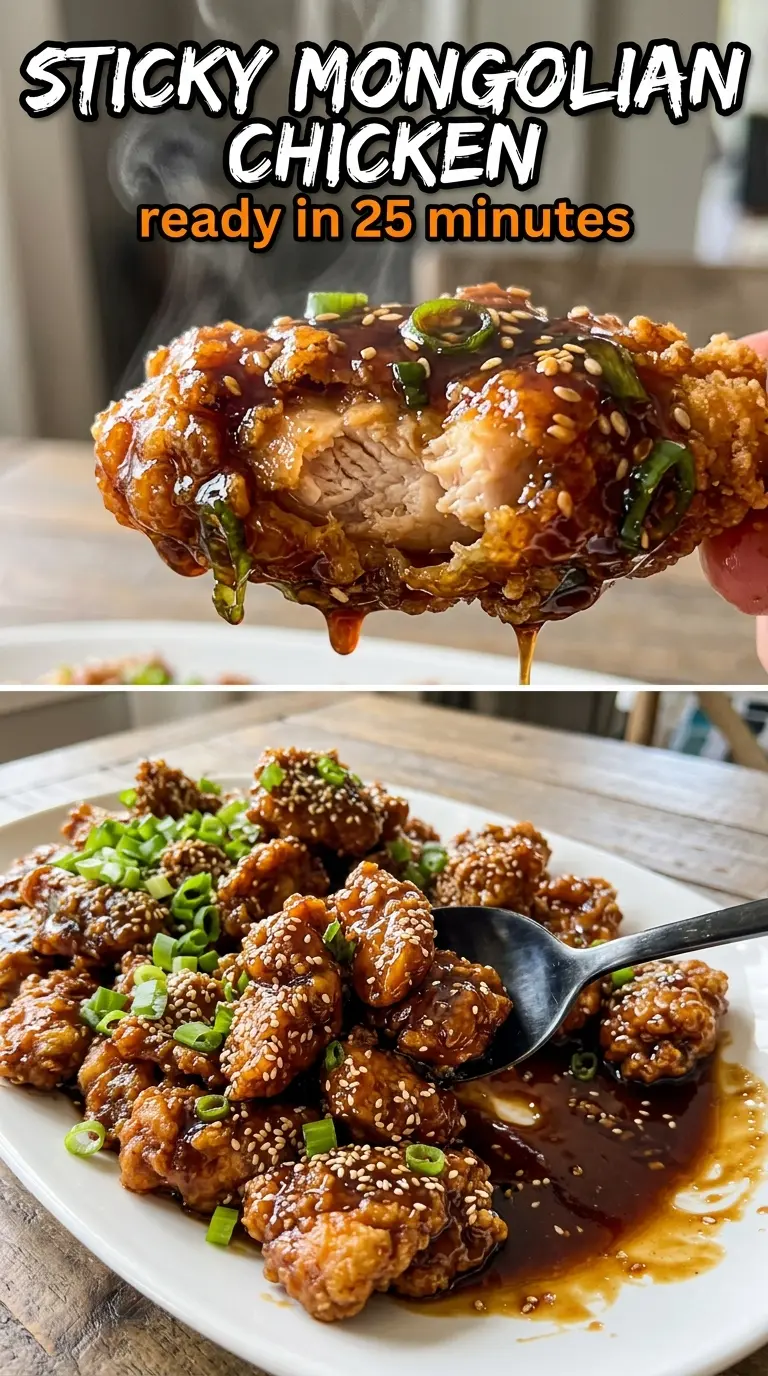
Crispy-edged chicken coated in a dark, glossy sauce is the kind of dinner that disappears fast, and this Mongolian chicken gets there without feeling fussy. The cornstarch on the chicken gives you those bronzed edges in the skillet, then the sauce tightens up into a sticky glaze that clings instead of pooling at the bottom of the bowl. It tastes like takeout in the best way, but it still has that homemade freshness from garlic, ginger, and green onions.
What makes this version work is the order. The chicken gets a light starch coating before it hits the pan, which helps it brown and keeps the meat juicy while the sauce is built separately in the same skillet. The cornstarch slurry goes in at the end, not right away, so the sauce has time to boil and turn shiny instead of tasting thin or chalky. A little hoisin deepens the sweetness and gives the sauce more body without making it heavy.
Below, I’ve included the trick for keeping the sauce glossy, a few smart swaps, and the small timing details that make the difference between decent and restaurant-style Mongolian chicken.
The sauce turned thick and glossy in minutes, and the chicken stayed crisp around the edges even after tossing it back in. My husband asked if I could put this on the weekly rotation.
Save this Mongolian chicken for the nights when you want crispy chicken, a sticky soy-ginger glaze, and dinner on the table fast.
The Cornstarch Coating Is What Keeps the Chicken Crisp Under Sauce
Most Mongolian chicken turns soft because the chicken goes straight into the sauce without any kind of protective coating. Here, the light cornstarch dredge does two jobs at once: it helps the chicken brown fast in hot oil, and it gives the sauce something to grip later. That means the glaze clings to each piece instead of sliding off in a puddle.
The other key is heat. Use a large skillet or wok and let the oil get hot before the chicken goes in. If the pan is only warm, the chicken will steam, the coating will go pasty, and you’ll miss the crisp edges that make this dish worth making. Work in a single layer if your pan allows it.
What Each Ingredient Is Actually Doing in This Sauce
The chicken breast slices cook fast and stay tender when they’re cut thin and evenly sized. If the pieces are thick in some spots and thin in others, the thin pieces dry out before the thicker ones are done. Chicken thighs work too if you want a richer result and a little more forgiveness.
- Cornstarch — This is doing more than thickening the sauce. It coats the chicken, helps it brown, and gives the finished glaze that slick, takeout-style finish.
- Soy sauce — Use a standard all-purpose soy sauce here. It brings salt and deep savory flavor; low-sodium works if that’s what you keep on hand, but the sauce may need a touch more reducing.
- Brown sugar — This is what turns the sauce sticky and glossy. Granulated sugar can work in a pinch, but brown sugar adds a little molasses depth that fits this dish better.
- Hoisin sauce — A small amount gives the sauce body and roundness. Without it, the sauce tastes flatter and a little sharper.
- Fresh ginger and garlic — Don’t swap these for powders if you can help it. Fresh aromatics keep the sauce lively, and they fry quickly in the leftover oil to perfume the whole pan.
- Sesame oil — This is for finish and aroma, not cooking. Add it with the sauce so it stays fragrant instead of fading in the heat.
- Green onions — They soften just enough in the hot sauce while keeping a little bite. Add them at the end so they don’t collapse into mush.
Building the Glaze Without Breaking It
Coating and Browning the Chicken
Toss the sliced chicken with cornstarch, salt, and pepper until every piece looks lightly dusted, not caked. That thin layer should turn pale and almost velvet-like once it hits the hot oil. If you pack too much chicken into the skillet, the temperature drops and the coating won’t crisp. Cook in batches if that’s what it takes.
Making the Sauce in the Same Pan
After the chicken comes out, the garlic and ginger go into the same pan for a quick stir-fry. They only need about 30 seconds; any longer and the garlic can go bitter. Pour in the sauce mixture and let it come to a real boil so the sugar dissolves fully and the sauce starts to tighten before the slurry goes in.
Finishing to a Sticky, Glossy Coat
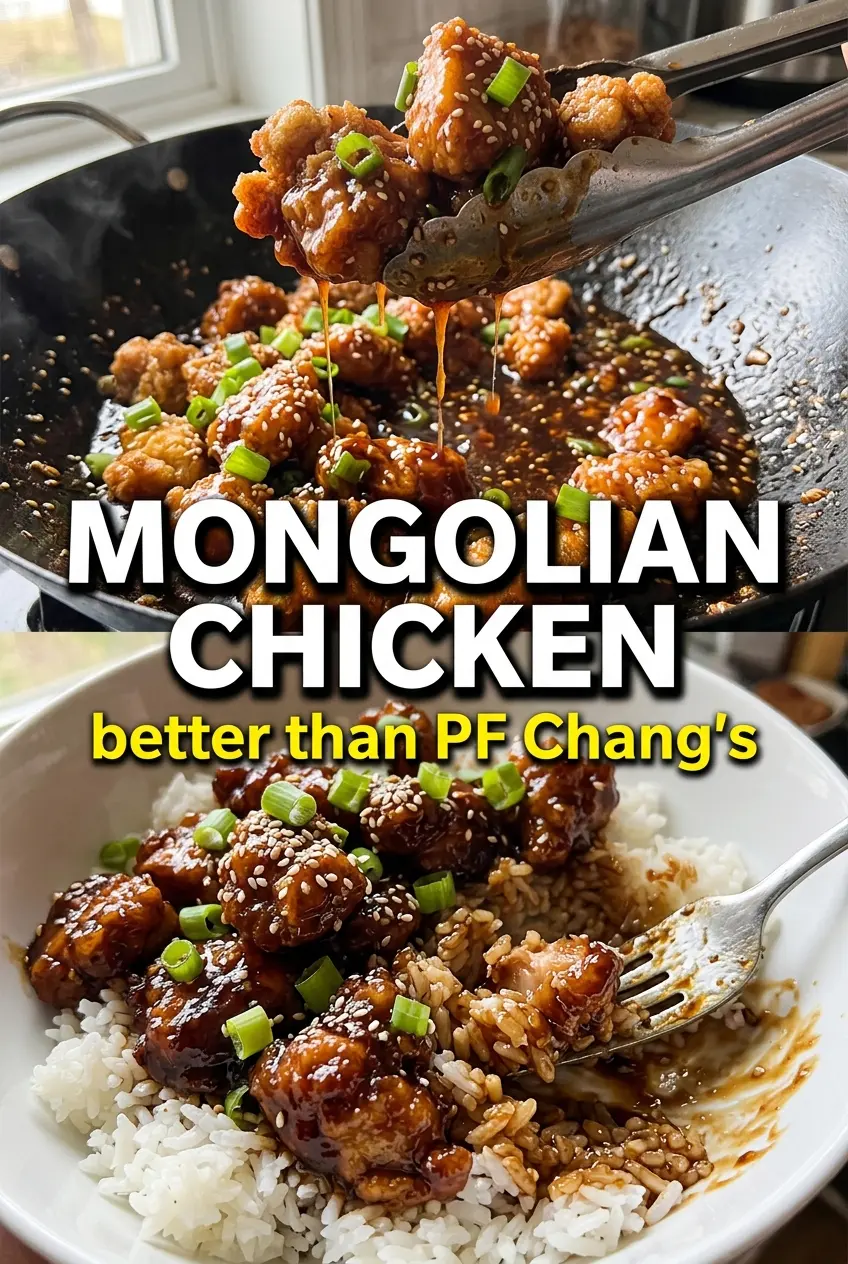
Stir in the cornstarch slurry and keep the sauce moving as it bubbles. It should go from thin and dark to thick, shiny, and just clingy enough to coat the back of a spoon. If it looks cloudy or pasty, it hasn’t cooked long enough. Return the chicken and green onions to the pan only after the sauce thickens, then toss just until everything is coated.
How to Make It Spicier Without Throwing Off the Sauce
Increase the red pepper flakes a little at a time, or add a spoonful of chili crisp at the end. Adding too much heat at the start can bury the sweet-salty balance that makes Mongolian chicken taste right, so it’s better to build the spice after the sauce has thickened.
Turning It into a Gluten-Free Dinner
Use a certified gluten-free soy sauce or tamari and check your hoisin, since some brands contain wheat. The texture stays the same, and you still get that sticky glaze, but the flavor can be a little cleaner and less salty depending on the brand.
Using Chicken Thighs Instead of Breasts
Boneless, skinless thighs work beautifully if you want a juicier result and a little more leeway on the stovetop. They take a minute or two longer to cook, but they hold up well against the sauce and stay tender even if you leave them in the pan a touch too long.
Storage and Reheating
- Refrigerator: Store leftovers in an airtight container for up to 4 days. The sauce thickens as it chills, but the flavor stays strong.
- Freezer: It freezes okay for up to 2 months, though the chicken won’t stay as crisp after thawing. Freeze in a flat container for quicker reheating.
- Reheating: Warm it in a skillet over medium-low heat with a splash of water to loosen the sauce. Microwaving works, but it softens the chicken more and can make the glaze look oily if you overheat it.
Questions I Get Asked About This Recipe
Mongolian Chicken
Ingredients
Equipment
Method
- Toss the sliced chicken with cornstarch, salt, and pepper until coated and lightly dry on the surface.
- Whisk soy sauce, brown sugar, water, hoisin sauce, sesame oil, and red pepper flakes until the sugar looks dissolved.
- Heat vegetable oil in a large skillet or wok over high heat until shimmering.
- Cook the chicken for 3-4 minutes per side until deeply golden and cooked through, then remove to a plate.
- Add garlic and ginger to the same pan and stir-fry for 30 seconds, watching for a fragrant aroma without browning.
- Pour in the sauce mixture and bring it to a boil, bubbling steadily and turning darker.
- Stir in the cornstarch slurry and cook for 1-2 minutes until thickened and glossy.
- Return the chicken to the pan and toss to coat, then add the green onions and toss again until bright and lightly charred at the edges.
- Serve the sticky Mongolian chicken over steamed rice and top with sesame seeds so they cling to the glossy sauce.