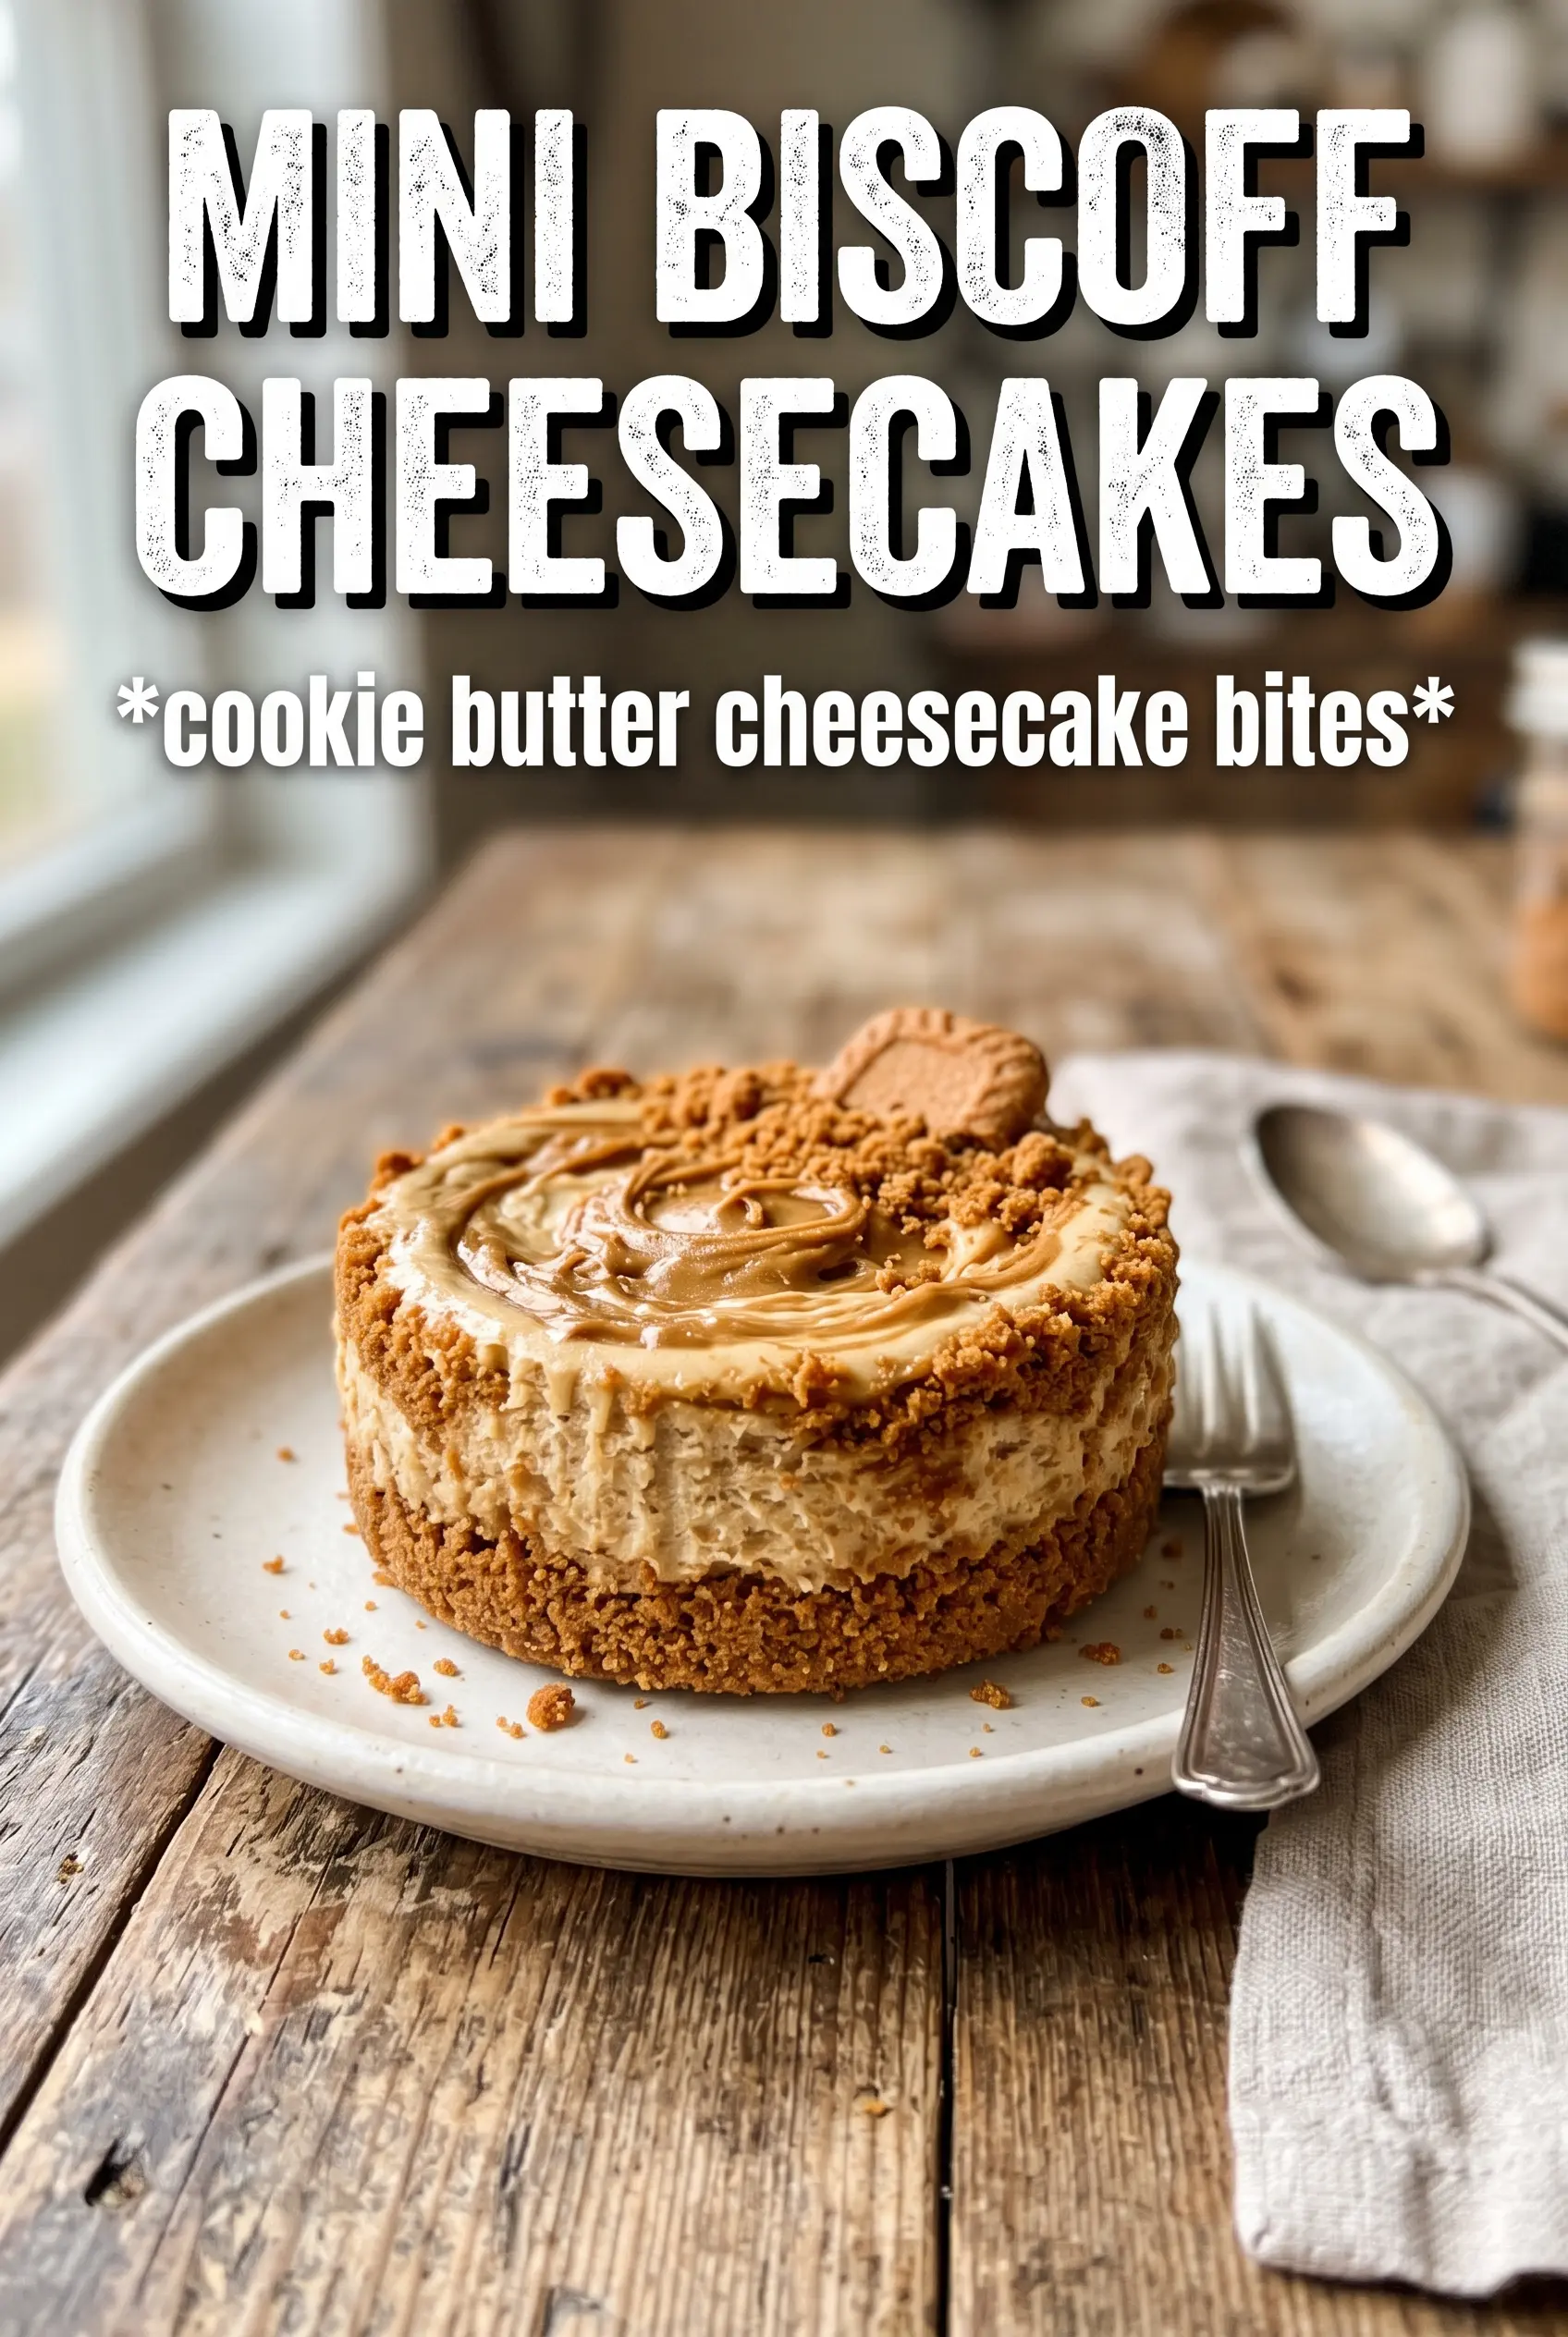
Mini Biscoff cheesecakes hit that sweet spot between rich and light: a crisp cookie crust, a creamy center, and just enough cookie butter flavor to taste unmistakable without turning heavy. The little size matters here. They chill faster, bake more evenly, and give you that clean cheesecake bite without the stress of slicing a full pan.
What keeps these from turning dense is the method. The cream cheese has to be softened all the way through, the eggs go in one at a time, and the filling gets mixed just until smooth. Overbeating brings in too much air, which can cause the tops to puff, crack, or sink after baking. The crust also gets a quick bake before the filling goes in, so it stays set instead of turning pasty under the cream layer.
Below, I’m walking through the part that matters most: getting the centers just set, not overbaked, and finishing them with that warm Biscoff drizzle so they look as good as they taste.
The crust stayed crisp even after chilling, and the filling set up with that perfect creamy middle. I used the whole cookie on top and the Biscoff drizzle made them look bakery-made.
Save these Mini Biscoff Cheesecakes for the cookie butter dessert that bakes up creamy, chills cleanly, and finishes with that glossy drizzle.
The Trick to Keeping the Centers Creamy Instead of Dense
The biggest mistake with mini cheesecakes is treating them like cupcakes. They are done when the edges are set and the centers still have a gentle wobble, not when the top looks fully firm in the oven. Carryover heat finishes the job as they cool, and that’s what gives you a smooth, creamy middle instead of a dry, rubbery one.
The other thing that matters is temperature control. Cold cream cheese leaves lumps, and overmixed batter traps air that can rise and collapse. Beat the cream cheese and sugar until completely smooth before the eggs go in, then stop mixing as soon as everything looks uniform.
What Each Ingredient Is Doing in These Mini Biscoff Cheesecakes
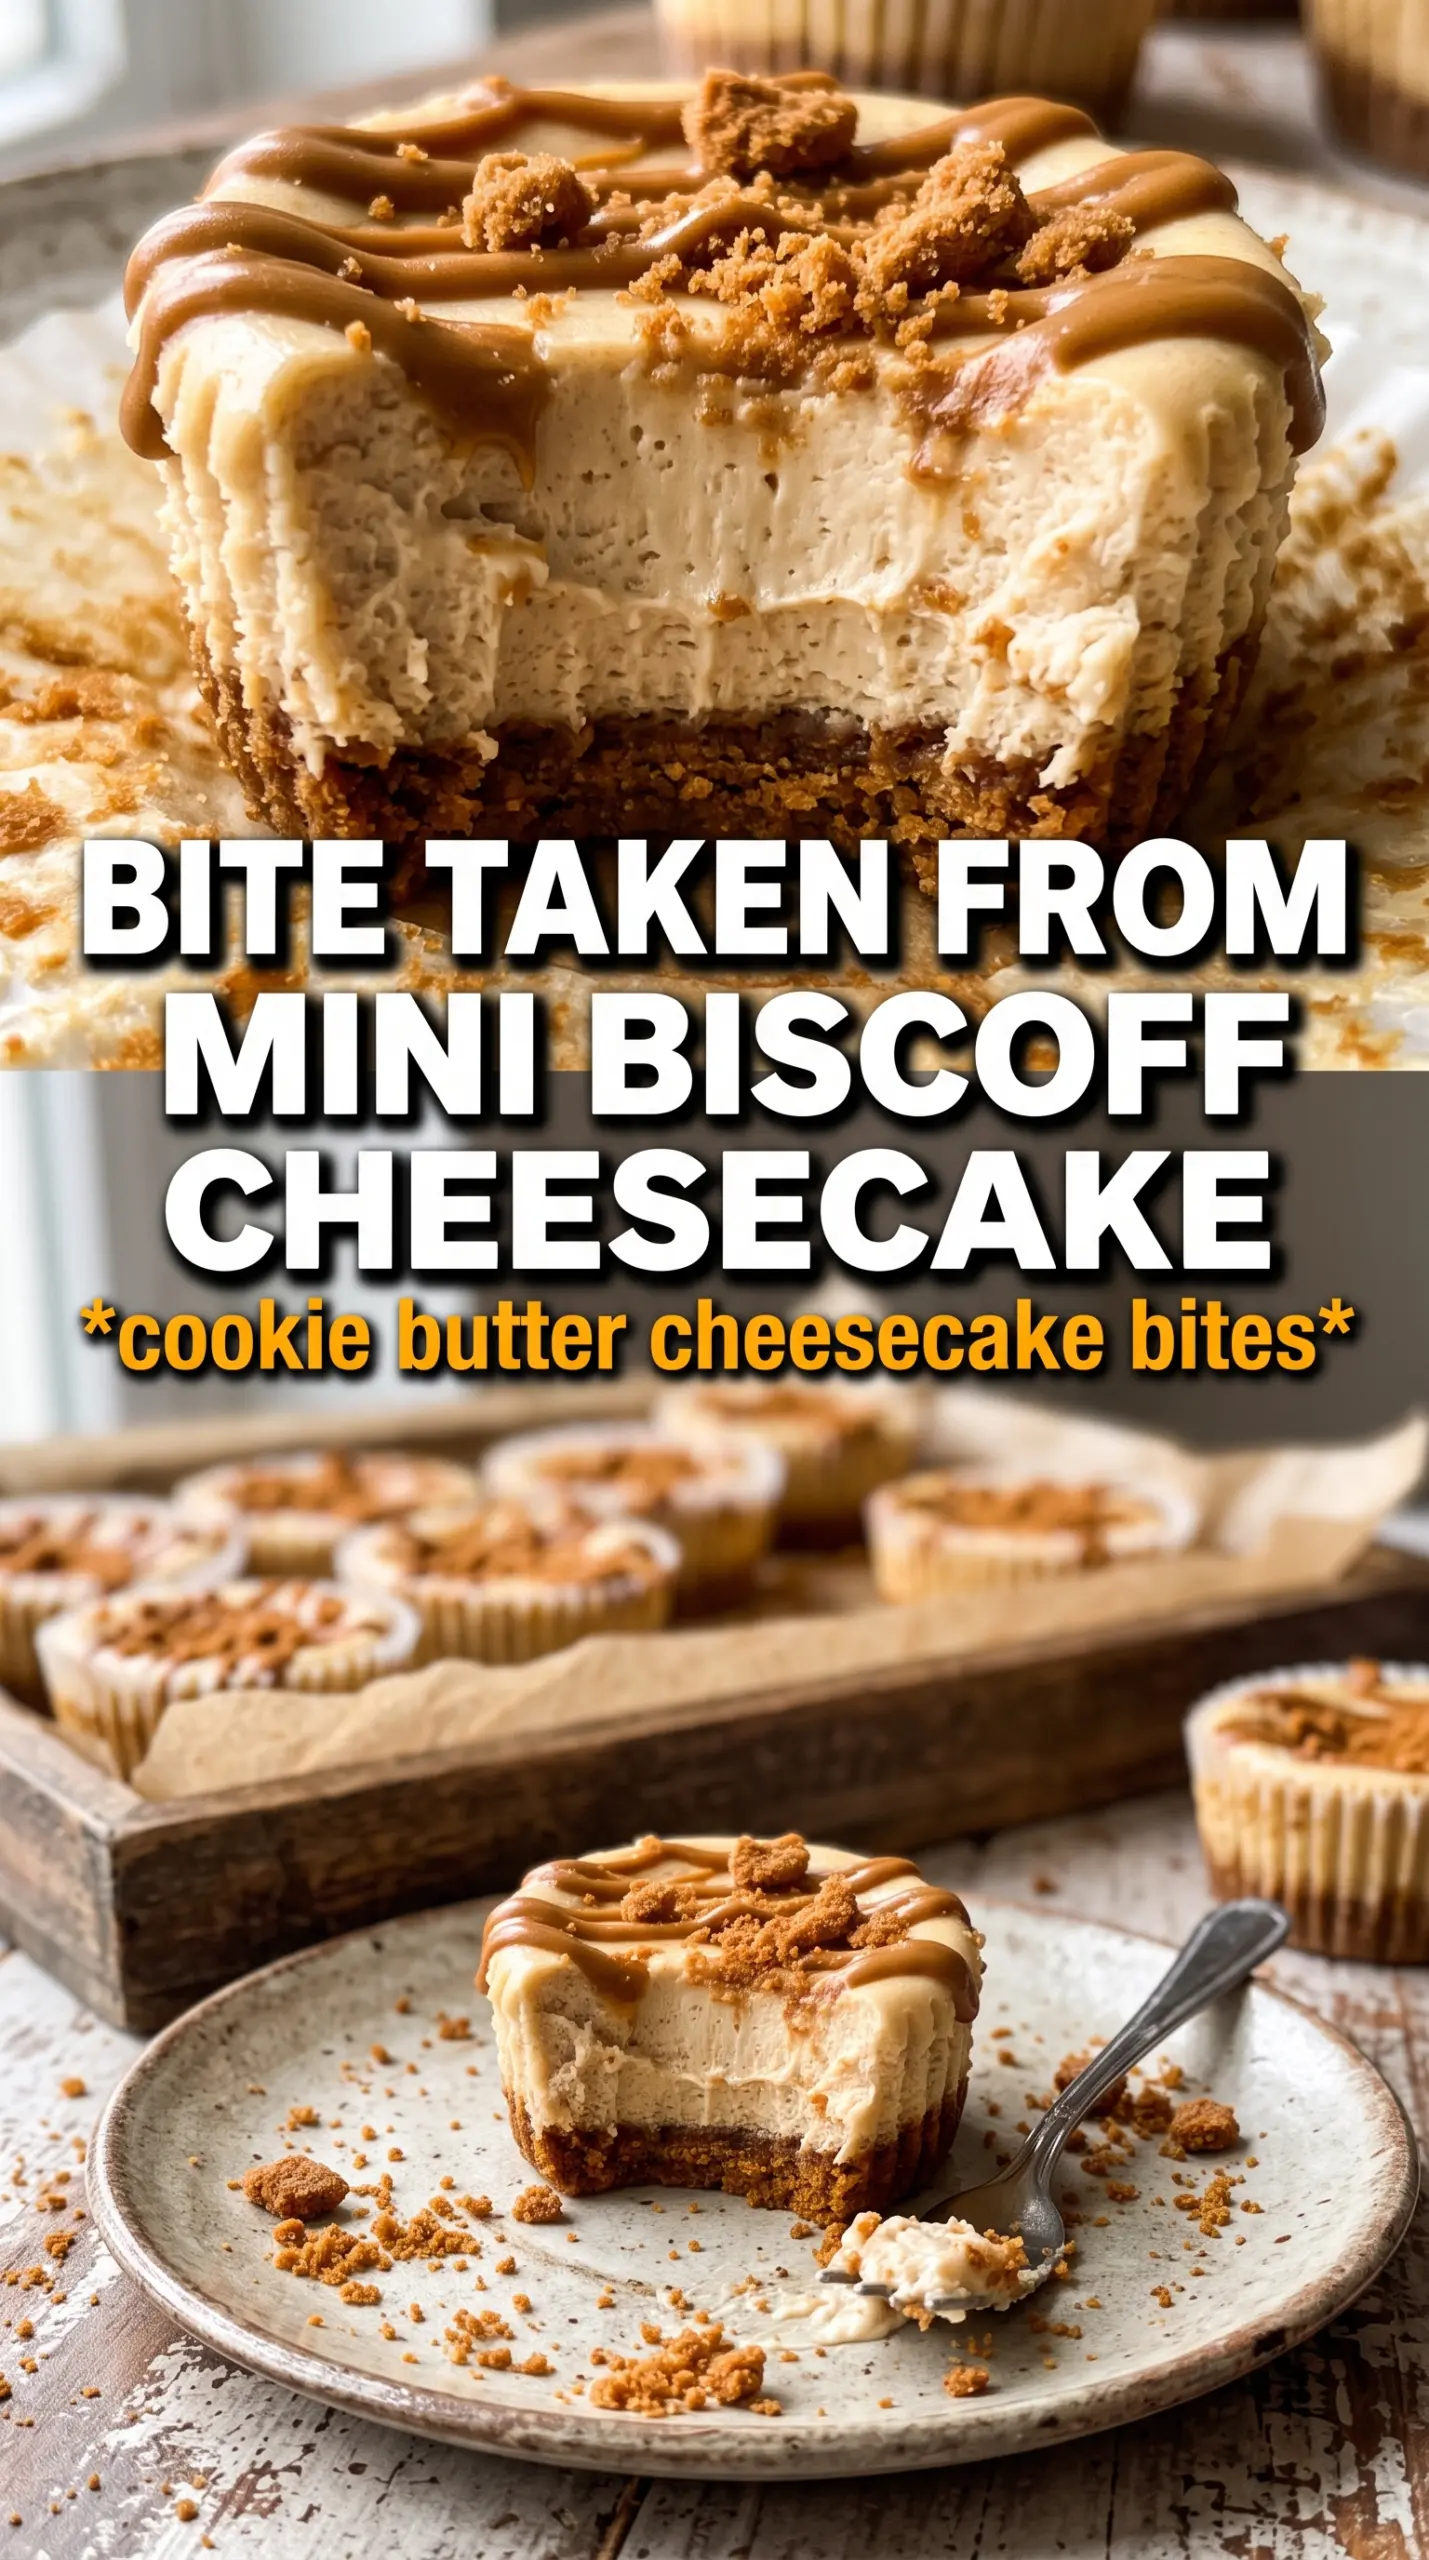
- Biscoff cookies — These make the crust taste like the cheesecake itself, not just like a generic cookie base. Crushing them finely gives a tighter crust that holds together when you peel off the liner.
- Butter — Melted butter binds the crumbs without making them greasy. If the crust seems sandy, it usually needs another small spoonful; if it looks wet, it will bake up hard.
- Cream cheese — Full-fat cream cheese gives the filling structure and the classic cheesecake tang. Low-fat versions can work in a pinch, but they set softer and can taste a little thin.
- Biscoff cookie butter — This is the flavor backbone, so use the real spread here. A generic cookie butter can work, but the flavor is usually less deep and less spiced.
- Sour cream — It keeps the filling plush and balances the sweetness. Greek yogurt can substitute, but the finish is a little tangier and less silky.
Building the Mini Cheesecake Batter Without Overmixing It
Pressing and Prebaking the Crust
Mix the crushed cookies, melted butter, and sugar until the crumbs look evenly moistened, then press them firmly into the liners. A flat-bottomed measuring spoon makes this easy and keeps the crust compact. Bake just long enough to set the base; you’re not trying to brown it, only to lock it in so it doesn’t crumble under the filling.
Making the Filling Smooth
Beat the cream cheese and sugar first until no lumps remain, then add the eggs one at a time. That order matters because the eggs can’t smooth out cold cream cheese once they’re already in the bowl. Stir in the sour cream, cookie butter, vanilla, and cinnamon just until combined. If the batter starts looking loose and glossy, stop mixing. That’s your cue.
Baking to the Right Jiggle
Divide the batter evenly among the cups and bake until the edges are set and the centers still tremble slightly when you tap the pan. If they look completely firm in the oven, they’ve gone too far. Pull them out, let them cool at room temperature, then chill for at least 3 hours. The chill is what turns the filling from soft to sliceable.
Finishing with the Drizzle and Cookie Topper
Warm the Biscoff spread just enough to loosen it, then drizzle it over the chilled cheesecakes. Press the whole cookies on top after the drizzle so they stay visible and don’t slide off. If the spread is too hot, it runs off the edges; if it’s too thick, it clumps instead of draping.
Three Smart Ways to Change These Without Losing the Texture
Gluten-Free Version
Use certified gluten-free cookies for the crust and check the cookie butter label. The filling is naturally gluten-free, so the swap is straightforward. The texture stays almost identical as long as the crumbs are still packed down firmly before baking.
Dairy-Free Adaptation
Use dairy-free cream cheese and a plant-based butter for the crust, then skip the sour cream or replace it with a thick dairy-free yogurt. The filling won’t be quite as rich, and it may set a little softer, but it still bakes into a clean mini cheesecake if you chill it fully.
Make Them Ahead for a Party Tray
Bake and chill the cheesecakes a day in advance, then add the warmed drizzle and cookie topper right before serving. That keeps the cookies crisp and the topping neat. If you decorate too early, the cookie can soften and the drizzle can lose its shine.
Storage and Reheating
- Refrigerator: Store covered for up to 5 days. The crust softens a little over time, but the filling stays creamy.
- Freezer: These freeze well without the topping. Wrap individually and freeze for up to 2 months, then thaw overnight in the fridge.
- Reheating: Don’t reheat them. Cheesecake is meant to be served cold or just slightly cool, and heat will break the texture. Add the drizzle after thawing or chilling so it stays smooth.