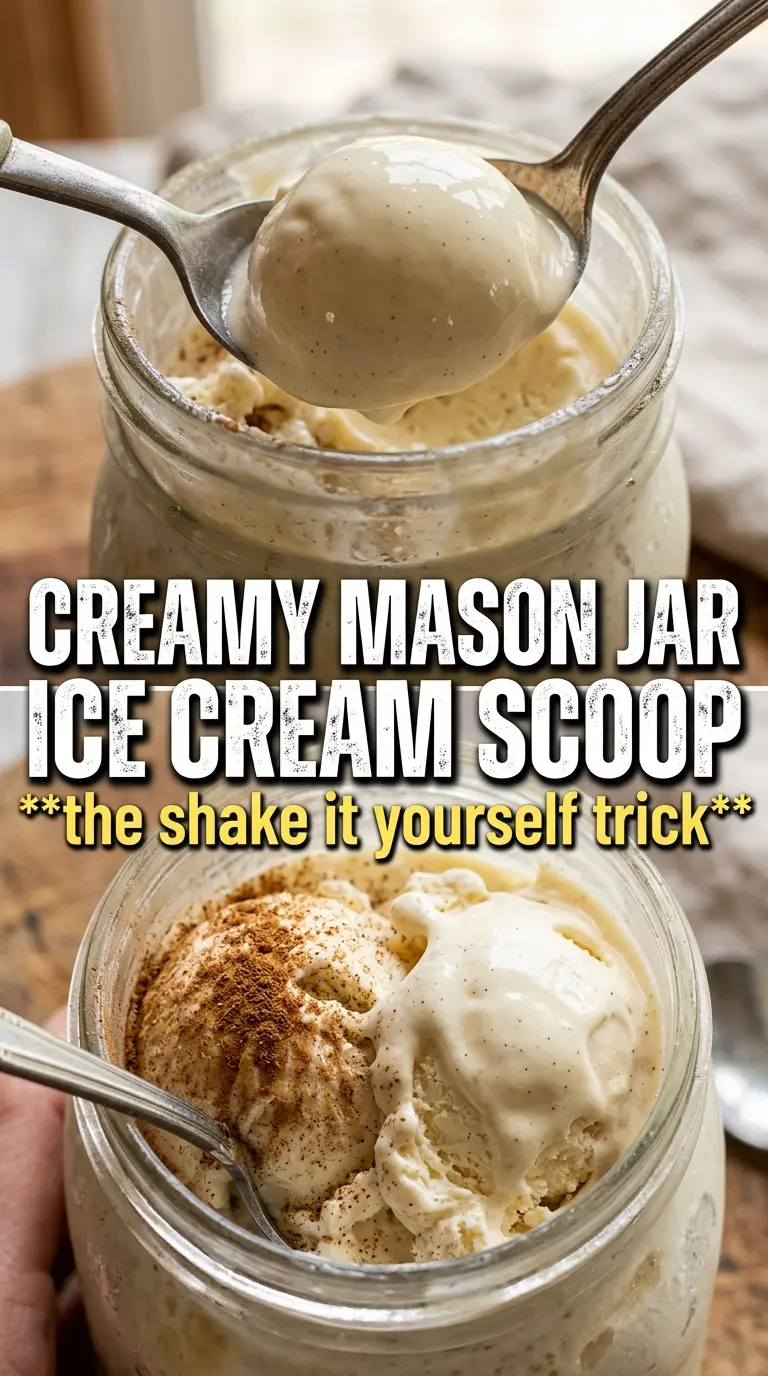
Mason jar ice cream turns four pantry ingredients into a small-batch dessert that feels playful and surprisingly polished. The texture lands somewhere between soft-serve and scoopable ice cream, with a clean vanilla finish and just enough sweetness to keep it from tasting flat. It’s the kind of dessert that disappears fast because there’s no churning, no special machine, and no half-gallon container sitting around tempting everyone later.
The trick is in the shake. Heavy cream thickens when it’s agitated, but it needs a tight lid and enough time for the fat to start trapping air. The sugar dissolves in the jar as you shake, so the mixture tastes smooth instead of gritty, and the tiny pinch of salt keeps the vanilla from reading one-note. Once it goes into the freezer, the last bit of texture happens slowly, which is why a short rest on the counter before eating makes such a difference.
Below, I’ve included the timing that matters most, the mix-ins that work best without making the ice cream icy, and the one storage note that helps keep this from turning into a frozen brick.
I was skeptical that shaking cream in a jar would work, but it actually thickened up fast and froze into a smooth little batch. I stirred in mini chocolate chips before freezing and it tasted like homemade ice cream with almost no cleanup.
Love the creamy shake-and-freeze method? Save this mason jar ice cream for a no-churn dessert that’s cold, simple, and fun to make.
Why the Shake Matters More Than the Freezer Time
The freezer sets the ice cream, but the shake gives it the body you want. If you skip the vigorous shaking or stop too soon, the mixture can freeze into a dense, icy layer instead of turning creamy. The goal is to thicken the cream before it goes into the freezer so the final texture is already halfway there.
One more thing matters here: the jar needs space. A 16-ounce mason jar gives the cream room to move around while you shake, and that movement is what helps the air get trapped into the mixture. If the jar is packed too full, the cream won’t whip as efficiently and the result will be flatter and icier.
- Heavy cream — This is the base that gives the ice cream its rich, scoopable texture. Half-and-half won’t whip the same way, and milk alone won’t give you enough fat to hold the air you’re building in the jar.
- Granulated sugar — Sugar sweetens the base and helps keep the texture softer after freezing. Brown sugar can be used for a deeper caramel note, but it will change the flavor and make the ice cream taste less like classic vanilla.
- Vanilla extract — This is the main flavor here, so use a vanilla you actually like. A good extract makes the finished ice cream taste round and clean; imitation vanilla will work in a pinch, but the flavor is flatter.
- Pinch of salt — It doesn’t make the ice cream salty. It sharpens the vanilla and keeps the sweetness from turning dull once the dessert is cold.
- Optional mix-ins — Sprinkles, mini chocolate chips, and crushed Oreos all work, but keep them small so they don’t turn the ice cream hard to scoop. Add them before freezing if you want them distributed through the jar, or sprinkle them on top right before serving for a cleaner texture.
What Each Ingredient Is Actually Doing in This Ice Cream
- Base ingredient (cream, milk, or custard) — This provides the foundation and richness. Quality matters.
- Sweetener (sugar, honey, or condensed milk) — This sweetens and prevents ice crystals. The ratio is critical.
- Flavor element (vanilla, fruit, chocolate, or other) — This defines the ice cream personality. Use quality ingredients.
- Egg yolks (if making custard base) — These create richness and silky texture. Optional but elevates ice cream.
- Churning (if using ice cream maker) — This incorporates air and prevents ice crystals. Critical for smooth texture.
- Freezing temperature and time — Proper freezing prevents rock-hard texture. Store at 0°F or below.
- Mix-ins (chocolate, cookies, fruit, or swirls) — These add texture and prevent one-dimensional flavor. Add near end of churning.
- Serving temperature (slightly soft, not rock hard) — This provides creamy mouthfeel. Remove from freezer 5 minutes before serving.
The Jar-Shaking Stage That Gives You Creamy Ice Cream
Start With a Tight, Empty-Headed Jar
Pour the cream, sugar, vanilla, and salt into a 16-ounce mason jar, then screw the lid on firmly. The jar should have enough room for the liquid to move around; if it’s overfilled, the cream won’t whip properly. Shake for a few seconds first to dissolve the sugar before you commit to the full vigorous shake.
Shake Until the Cream Thickens, Not Until It Turns Butter
Keep shaking for 3 to 5 minutes, and watch for the cream to look a little thicker and more opaque. It won’t become whipped cream, but it should lose that thin, sloshy look. If you shake until it’s stiff, you’ve gone too far and the texture starts getting grainy, which is the point where the fat has crossed over from thickening to clumping.
Freeze Until Firm, Then Let It Loosen Up
Set the sealed jar in the freezer for about 4 hours. The ice cream should feel firm around the edges and set through the center, but not rock-solid. If it freezes harder than expected, let it sit at room temperature for 3 to 5 minutes before eating; that short pause softens the texture enough to scoop straight from the jar.
How to Change the Flavor Without Ruining the Texture
Chocolate Chip Mason Jar Ice Cream
Stir in mini chocolate chips before freezing for little bursts of crunch in every bite. Use mini chips instead of regular ones so the jar still shakes easily and the mix-ins don’t sink into a hard layer at the bottom.
Cookies-and-Cream Version
Crush Oreos and fold them in right before freezing. They soften a little in the freezer, which gives you a creamy base with cookie pieces that stay distinct instead of disappearing into the ice cream.
Dairy-Free Version
Use full-fat canned coconut cream in place of the heavy cream. It won’t taste exactly like classic dairy ice cream, but it does freeze into a rich, spoonable dessert with a coconut note that works especially well with chocolate or crushed cookies.
Make It a Kids’ Activity
Let kids add sprinkles or mini chips after the cream thickens, then shake the jar in short turns. The stop-and-start method keeps the jar easier to manage, and the end result still freezes into a fun single-serving treat without any extra equipment.
Storage and Freezing
- Refrigerator: This dessert isn’t meant to sit in the fridge; it will turn loose and separated within a few hours.
- Freezer: Best eaten the same day. It can hold overnight, but the texture gets firmer and more icy the longer it sits.
- Reheating: There’s no reheating here. Let the jar stand at room temperature for 3 to 5 minutes until the edges soften, then eat straight from the jar.
Answers to the Questions Worth Asking
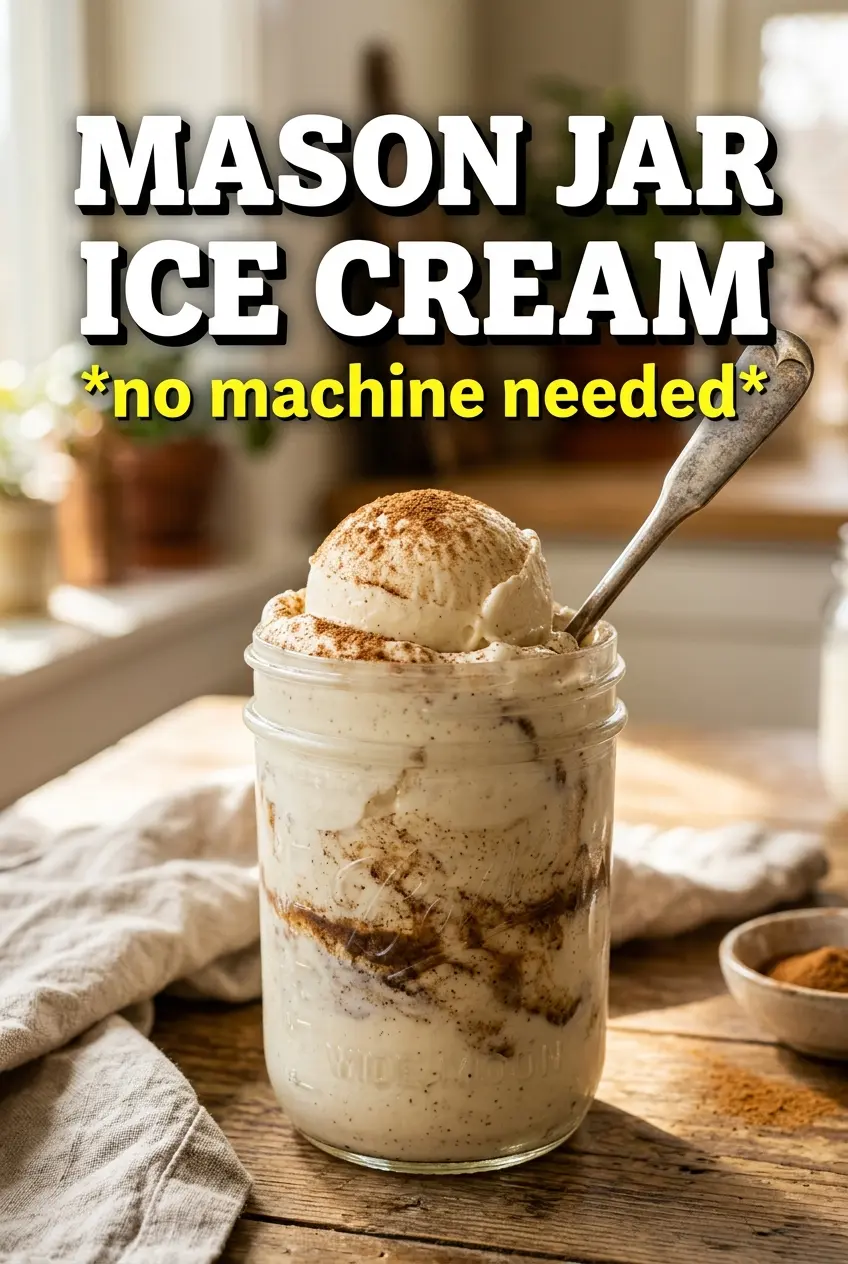
Mason Jar Ice Cream
Ingredients
Equipment
Method
- Add heavy cream, granulated sugar, vanilla extract, and salt to a 16-oz mason jar.
- Seal the lid tightly, then shake vigorously for 3-5 minutes until the cream thickens noticeably.
- Place the sealed jar in the freezer for 4 hours until firm.
- Before freezing, stir in optional mix-ins such as sprinkles, mini chocolate chips, or crushed Oreos if desired.
- Let the jar sit at room temperature for 3-5 minutes before eating directly from the jar.