Golden lemon pepper chicken earns its place on the table because it gives you a crisp, crackly spice crust and a bright butter sauce in under 30 minutes. The chicken stays juicy, the pepper stays bold, and the lemon never turns muddy or flat.
What makes this version work is the way the seasoning gets rubbed directly onto the chicken before it hits the pan. That mix of zest, cracked black pepper, garlic powder, and onion powder forms a dry coating that browns instead of steaming. Then the sauce is built in the same skillet, which pulls up the browned bits and turns them into the kind of pan sauce that tastes like you spent a lot longer on dinner than you did.
Below, I’ll walk through the little things that matter here: how to get that deep sear without drying out the chicken, why the butter sauce should stay gentle, and what to do if you want to swap in chicken thighs or make this dairy-free.
The lemon zest in the rub made a huge difference, and the sauce thickened just enough to cling to the chicken without breaking. I’ve already made it twice, and the sear stayed golden both times.
Save this lemon pepper chicken for the nights when you want a bright skillet dinner with a crisp crust and a glossy lemon butter finish.
The Step That Keeps the Crust Bright Instead of Soggy
The biggest mistake with lemon pepper chicken is putting the lemon in too early. Acid can muddy the surface of the chicken and keep the seasoning from browning cleanly, which is why the zest goes into the dry rub and the juice waits for the sauce. You get all the citrus aroma up front, then the sharp lemon bite comes in at the end where it belongs.
Even the sear depends on restraint. If the pan is crowded or the chicken is wet, the surface steams and the pepper never really blooms in the oil. A hot skillet and dry chicken give you that deep golden edge that tastes like the whole dish has more going on than the ingredient list suggests.
What Each Ingredient Is Actually Doing in This Recipe

- Primary ingredient (the star) — Quality matters most. Choose the best you can find.
- Cooking medium (oil, butter, or broth) — This carries flavors and prevents dryness.
- Seasonings (salt, pepper, spices, herbs) — Layer flavors so nothing overpowers. Build depth gradually.
- Aromatics (garlic, onion, herbs) — Cook with fat to bloom flavors. Become the foundation.
- Supporting ingredients — Complement the main ingredient without overpowering it.
- Sauce or liquid (if applicable) — Brings flavors together. Balance richness with acid.
- Acid (lemon, vinegar, wine, or other) — Brightens and prevents flat-tasting results.
- Final finish (garnish, glaze, or sauce) — Prevents one-dimensional taste and adds visual appeal.
What the Lemon Zest Is Doing That Juice Can’t
- Lemon zest — This is the backbone of the seasoning. It carries the bright citrus oils without adding too much liquid, so it perfumes the crust instead of watering it down.
- Cracked black pepper — Use actual cracked pepper if you can. The coarser bits toast better in the pan and give the chicken that sharp, peppery bite you notice in every slice.
- Chicken breasts — Boneless, skinless breasts work best when they’re roughly even in thickness. If one side is much thicker, pound it lightly so the pieces finish at the same time and the thinner end doesn’t dry out.
- Butter — This carries the sauce and softens the lemon’s edge. If you swap in a butter substitute, the sauce will still taste good, but it won’t have the same body or silky finish.
- Fresh lemon juice — Bottled juice can work in a pinch, but fresh juice tastes cleaner and less bitter. Add it after the garlic has cooked so the sauce stays bright instead of harsh.
Build the Sear Before You Build the Sauce
Seasoning the Chicken Evenly
Mix the lemon zest, pepper, garlic powder, onion powder, and salt until the zest is evenly coated with the dry spices. Rub it over both sides of the chicken and press it in so the seasoning actually sticks. If the chicken surface looks damp, pat it dry first or the crust will slip right off in the pan.
Getting the Golden Sear
Heat the oil until it shimmers, then lay the chicken in and leave it alone. You’re looking for a steady sizzle, not a violent splatter. If the chicken releases too early, it usually means it hasn’t browned enough yet; let it keep cooking until it lifts cleanly and the underside is a deep golden color.
Finishing the Chicken to 165°F
Cook the second side until the center reaches 165°F and the juices run clear when you cut into the thickest part. Thin chicken breasts can overcook fast, so start checking early rather than waiting for the full time window. Pull them from the skillet before they look dry; the sauce will finish the job.
Making the Lemon Butter Sauce
Keep the heat at medium and add the garlic to the butter just until it smells fragrant. If the garlic browns, the sauce turns bitter fast. Stir in the lemon juice and zest off the hottest part of the pan, then return the chicken and spoon the sauce over the top so the crust stays intact.
How to Change the Pan Dinner Without Losing the Point
Use chicken thighs for a richer, juicier result
Boneless thighs work well here and stay juicier than breasts, but they need a little longer in the skillet. The flavor gets deeper and more savory, though you’ll lose the lean, clean slice that makes the original feel a little lighter.
Make it dairy-free with olive oil instead of butter
Skip the butter and finish the sauce with a little extra olive oil and a splash of chicken broth if you want something dairy-free. The sauce will be looser and less plush, but the lemon and pepper still come through cleanly.
Add a little heat without overpowering the lemon
A pinch of red pepper flakes in the sauce gives the dish a warmer finish without turning it into a spicy recipe. Add them with the garlic so they bloom in the butter instead of staying raw and sharp.
Storage and Reheating
- Refrigerator: Store leftovers in an airtight container for up to 3 days. The crust softens a bit, but the flavor holds up well.
- Freezer: This freezes, but the sauce can separate a little when thawed. Freeze the chicken and sauce together for up to 2 months, then thaw overnight in the fridge.
- Reheating: Reheat gently in a covered skillet over low heat with a splash of water or broth. High heat dries out the chicken fast and can make the butter sauce oily.
Questions I Get Asked About This Recipe
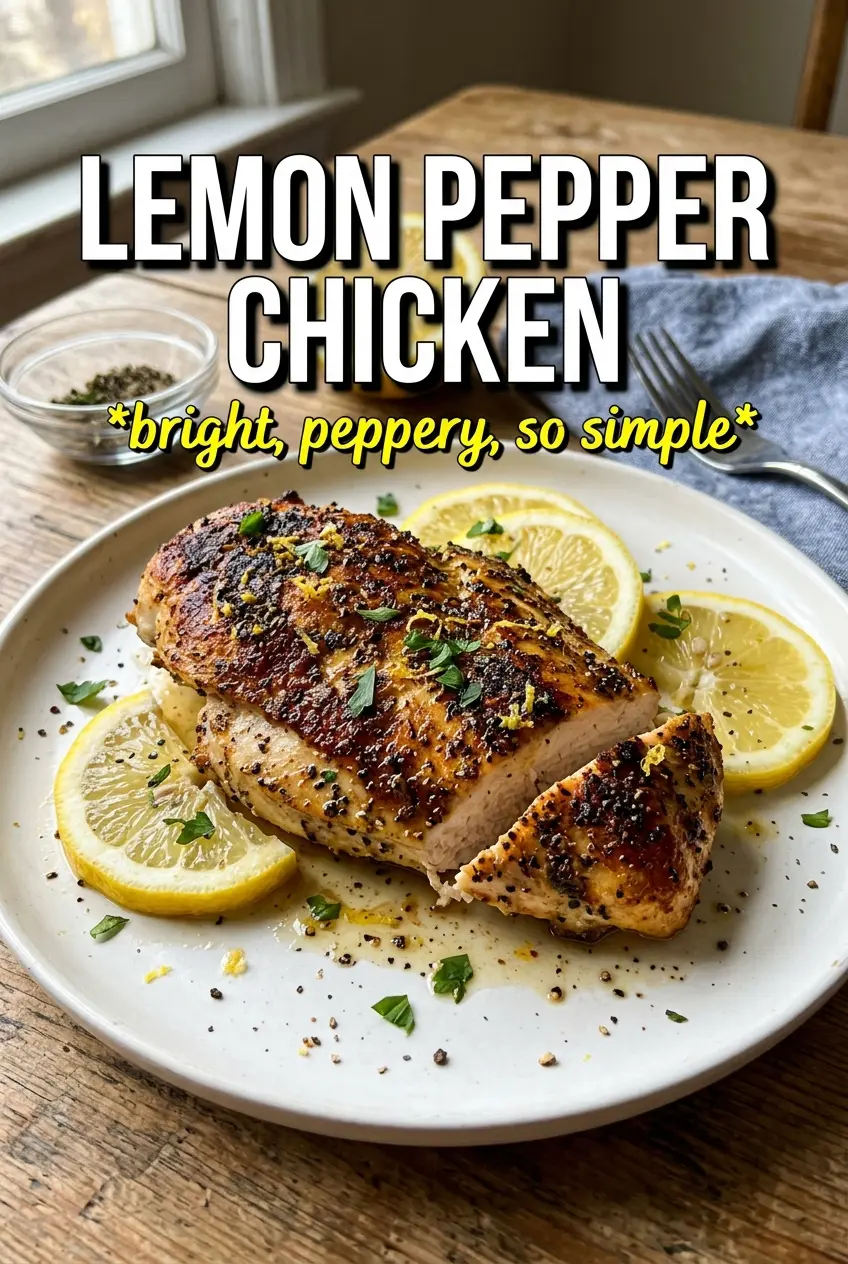
Lemon Pepper Chicken
Ingredients
Equipment
Method
- Mix lemon zest, cracked black pepper, garlic powder, onion powder, and salt, then rub generously over both sides of each chicken breast.
- Heat olive oil in a large skillet over medium-high heat and sear chicken for 5-6 minutes per side, until golden and the internal temperature reaches 165°F; remove to a plate.
- Melt butter in the same pan over medium heat, then cook the minced garlic for 1 minute while stirring.
- Stir in fresh lemon juice and lemon zest until the sauce is bubbling and aromatic, about 30-60 seconds.
- Return chicken to the pan and spoon the lemon butter sauce over each breast.
- Garnish with fresh parsley and lemon slices, then serve immediately.