Thin chicken cutlets with a Romano crust are one of those dinners that disappears fast because the contrast is hard to beat: crisp, salty coating on the outside, juicy chicken in the middle, and a lemon butter sauce that cuts through the richness without softening the crust too soon. The best versions stay snappy long enough to plate, sauce, and serve without rushing, which is exactly what this one does.
The trick is in the breading and the pan. Pecorino Romano brings sharp, salty flavor and helps the coating brown fast, while a little panko gives the crust enough structure to stay crisp instead of turning sandy. Pounding or halving the chicken into thin cutlets matters too, because they cook through quickly before the cheese in the coating has a chance to burn.
Below, I’ll show you how to keep the crust crunchy, how to build the pan sauce without breaking it, and what to change if you need a gluten-free version or want to use what you already have on hand.
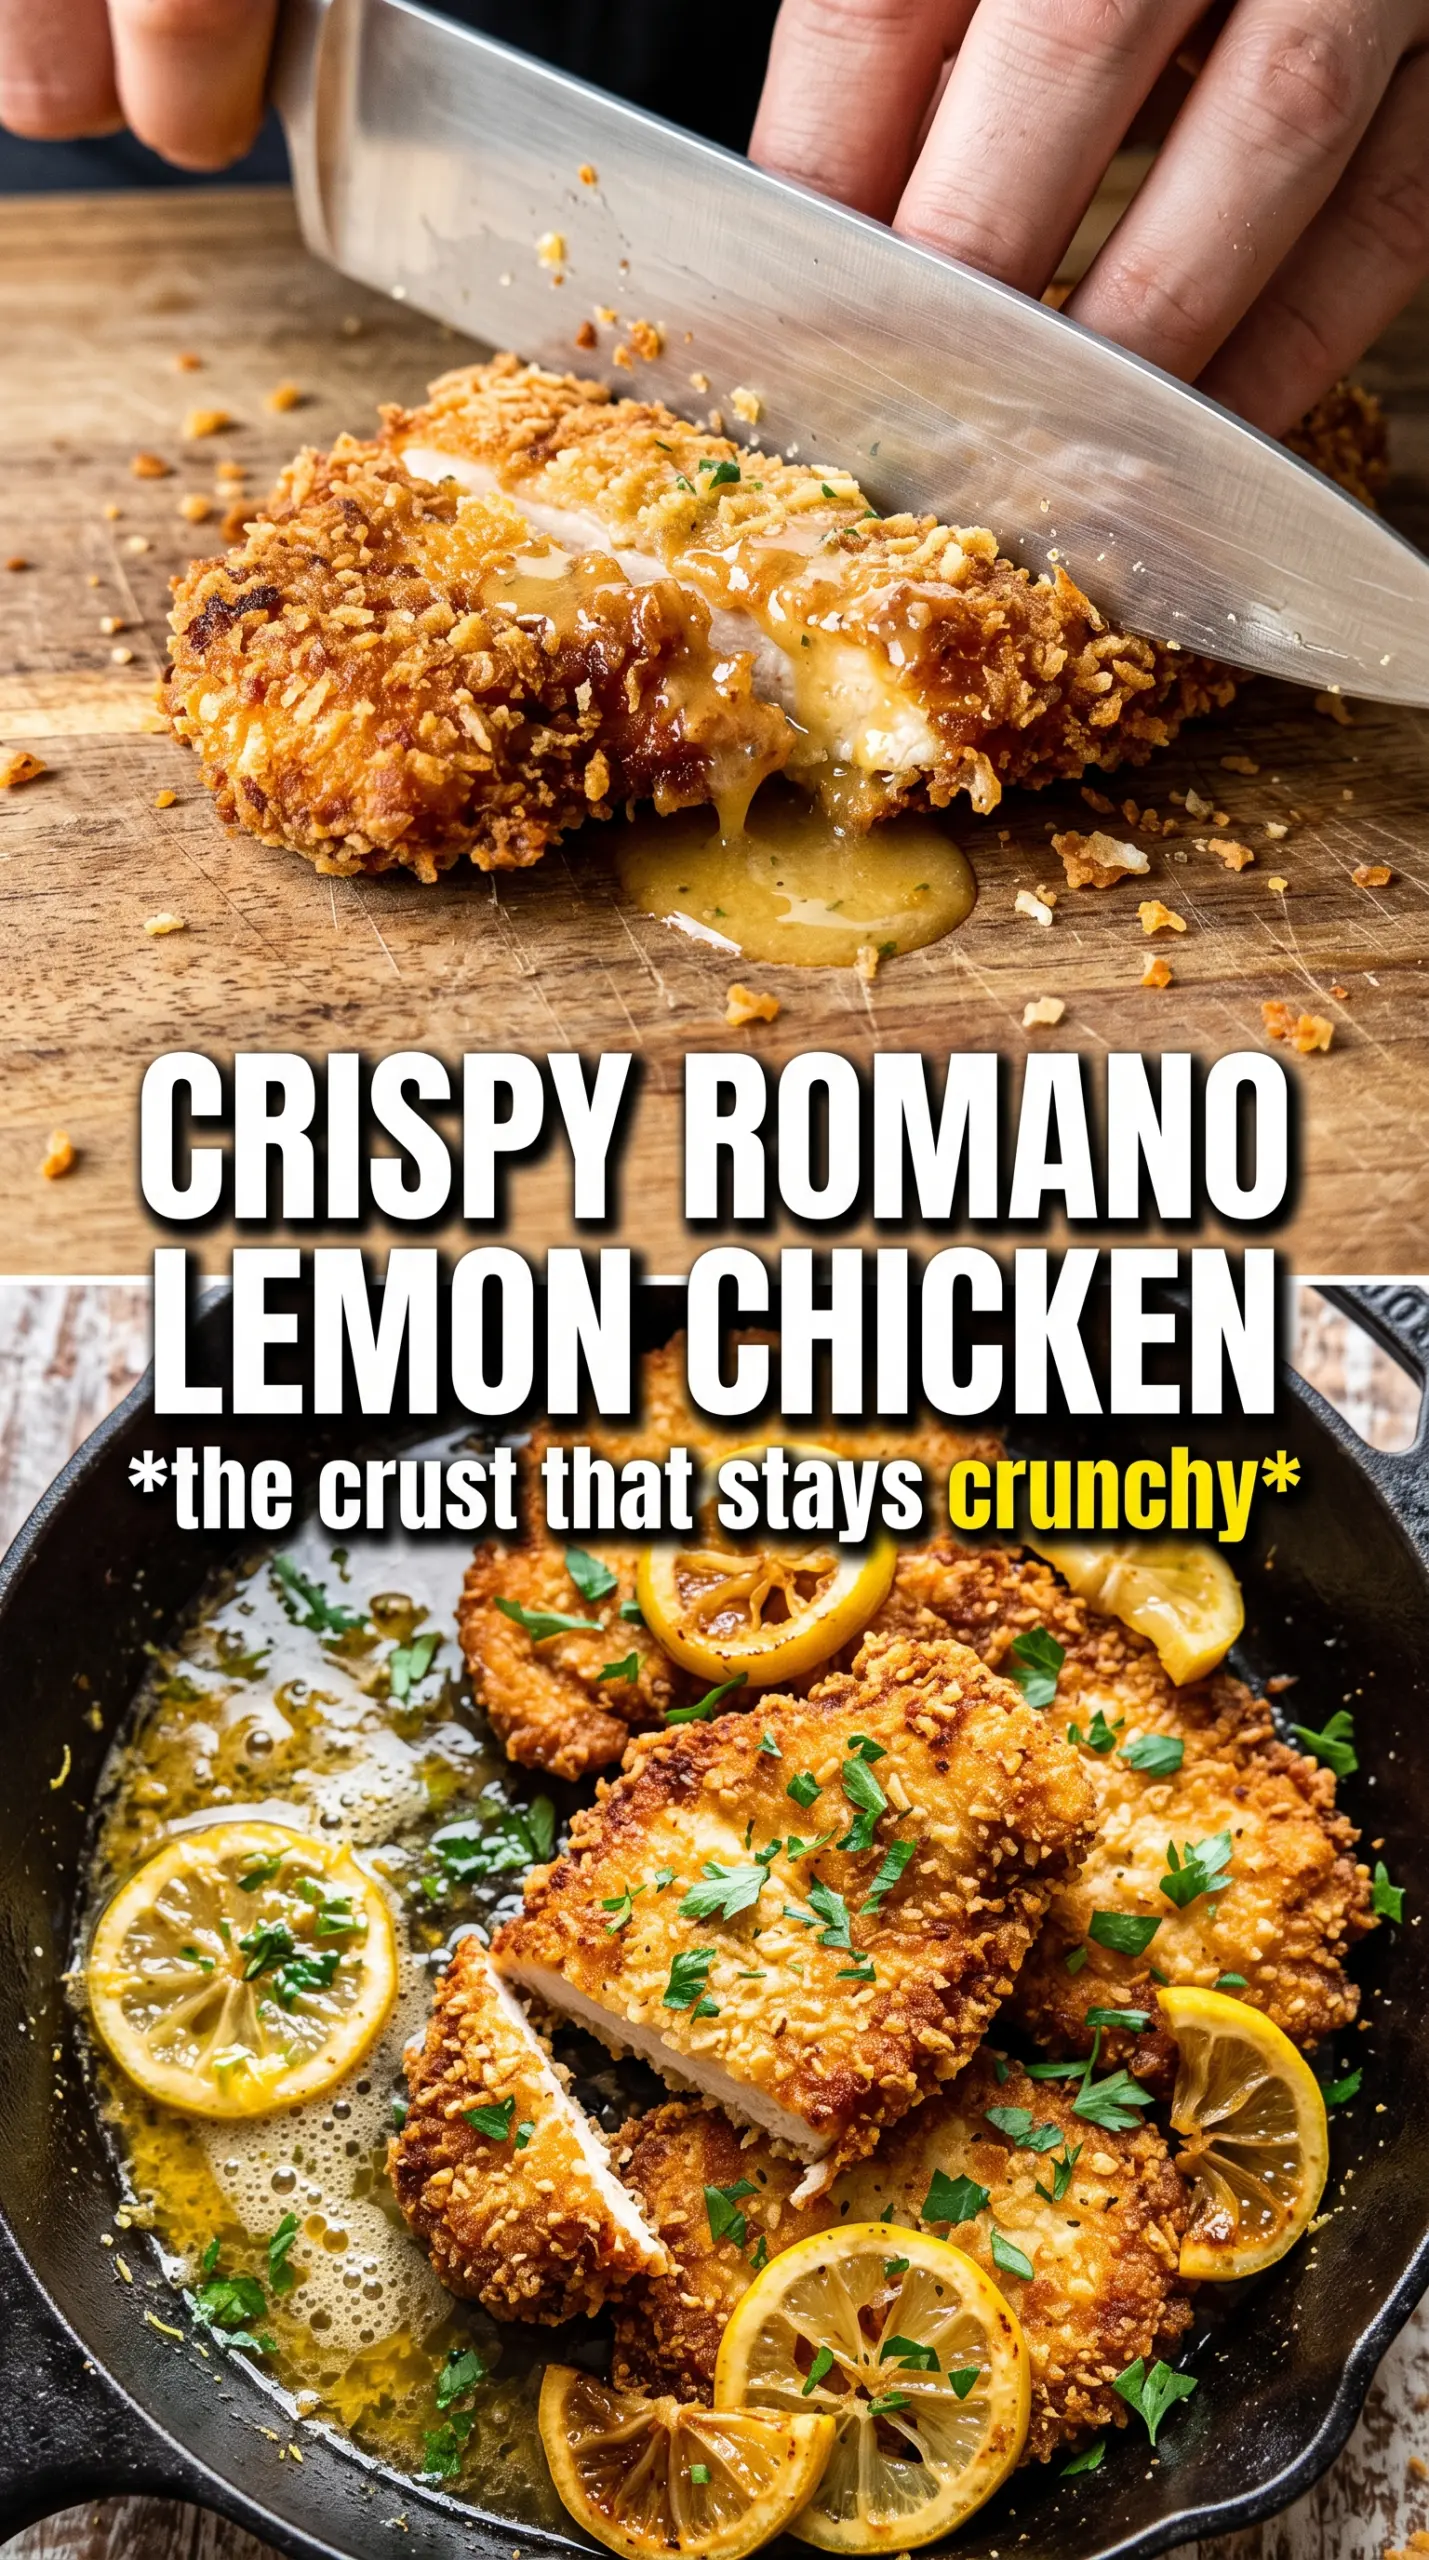
The crust stayed crisp even after I spooned the lemon caper sauce over it, and the chicken was still juicy after 20 minutes in the pan. My husband kept saying the sauce tasted like something from a restaurant.
Save this Lemon Chicken Romano for the nights when you want a shattering Romano crust and a bright lemon-caper pan sauce in under 40 minutes.
The Crust Fails When the Chicken Is Too Thick
If the cutlets are bulky, the outside overbrowns before the center cooks through, and you end up lowering the heat to save them. That’s when the Romano crust starts absorbing oil instead of crisping. Thin cutlets solve the problem before it starts. They cook fast, stay tender, and give you enough surface area for the cheese to brown into a hard, salty shell.
The other thing that matters is the pan temperature. Medium-high heat is where the coating turns deeply golden without giving the cheese time to scorch. If the pan looks dry, add the butter and oil together, not one at a time. The oil raises the smoke point, and the butter brings flavor and browning.
What Each Ingredient Is Actually Doing in This Recipe
- Primary ingredient (the star) — Quality matters most. Choose the best you can find.
- Cooking medium (oil, butter, or broth) — This carries flavors and prevents dryness.
- Seasonings (salt, pepper, spices, herbs) — Layer flavors so nothing overpowers. Build depth gradually.
- Aromatics (garlic, onion, herbs) — Cook with fat to bloom flavors. Become the foundation.
- Supporting ingredients — Complement the main ingredient without overpowering it.
- Sauce or liquid (if applicable) — Brings flavors together. Balance richness with acid.
- Acid (lemon, vinegar, wine, or other) — Brightens and prevents flat-tasting results.
- Final finish (garnish, glaze, or sauce) — Prevents one-dimensional taste and adds visual appeal.
What the Romano, Panko, and Lemon Are Each Doing Here
Pecorino Romano is the backbone of this dish. It’s sharper and saltier than Parmesan, which means it seasons the crust from the inside out and gives it that aggressive, savory bite. Finely grated cheese works best because it sticks evenly; coarse shreds can fall off in the pan and burn before they’ve bonded to the chicken.
Panko is there for structure, not bulk. It lightens the cheese coating and helps it fry into a sturdier crust. If you need a gluten-free version, use gluten-free panko or crushed rice crackers, but keep the crumbs fine so the coating presses on tightly. Fresh lemon juice is nonnegotiable in the sauce. Bottled juice tastes flat here and won’t give the same bright finish after the butter goes in.
- Chicken breasts — Halving them horizontally gives you even cutlets that cook in minutes. If one side is much thicker, gently pound it to an even thickness so the breading finishes at the same time as the meat.
- Pecorino Romano — This is the flavor maker. Parmesan can work in a pinch, but it’s milder and less salty, so the crust won’t taste as bold.
- Panko breadcrumbs — These keep the cheese crust from turning dense and help it hold together in the pan. If you skip them entirely, the coating becomes more fragile and more likely to slide off.
- Dry white wine — It lifts the browned bits from the pan and adds acidity before the lemon goes in. Use something dry and crisp; sweet wine makes the sauce taste off.
- Capers — They add little bursts of briny sharpness that keep the sauce from tasting flat. Drain them, but don’t rinse them completely unless they’re packed very heavily in brine.
Getting the Chicken Crispy Before the Sauce Goes In
Set Up the Breading So It Sticks
Season the chicken first, then set out flour, beaten egg, and the Romano-panko mixture. The flour gives the egg something to grip, which is what keeps the crust from slipping off in the skillet. Press each cutlet firmly into the cheese mixture instead of just dipping it through. You want a full, even layer that looks packed on, not dusted on.
Fry Until the Coating Is Deeply Golden
Lay the cutlets into the pan and leave them alone long enough for the crust to set. If you move them too soon, the coating tears and sticks. Three to four minutes per side is usually enough for thin cutlets, but go by color and texture as much as time. The crust should feel firm when you nudge it with tongs and pull away cleanly from the pan.
Build the Sauce in the Same Pan
Once the chicken comes out, the pan should still have the browned bits clinging to the bottom. That’s the foundation of the sauce. Cook the garlic for just 30 seconds, then add the wine to stop it from scorching and to loosen those browned bits. Let the liquid reduce for a few minutes before whisking in the lemon juice and capers, then finish with cold butter off the heat so the sauce turns glossy instead of greasy.
How to Adapt This Without Losing the Crisp Crust
Gluten-Free Cutlets
Use a 1:1 gluten-free flour blend for the dredge and gluten-free panko for the coating. The crust will still crisp up, though it may brown a little faster, so keep the heat at medium-high instead of cranking it higher. The key is still pressing the coating on firmly so it adheres before frying.
No Wine Sauce
Replace the wine with chicken broth plus an extra teaspoon of lemon juice. You’ll lose a little of the sharp, round depth that wine brings, but the sauce will still loosen the pan drippings and taste bright. Reduce it for a minute or two longer so it doesn’t taste watery.
Extra Crispy Romano Version
For a thicker crust, add a few more tablespoons of panko and grate the Romano very finely. You’ll get a lighter, crunchier shell that holds up a little longer under the sauce. Don’t make the coating too thick, though, or it can turn bready instead of crisp.
Storage and Reheating
- Refrigerator: Store the chicken and sauce separately for up to 3 days. The crust will soften once it sits in sauce.
- Freezer: The breaded cooked chicken freezes better than the finished sauced dish. Freeze the cutlets on a tray, then pack them airtight for up to 2 months.
- Reheating: Reheat the chicken on a rack in a 375°F oven until hot and crisp, then warm the sauce separately on low. Microwaving softens the crust and makes the cheese coating greasy.
Questions I Get Asked About This Recipe
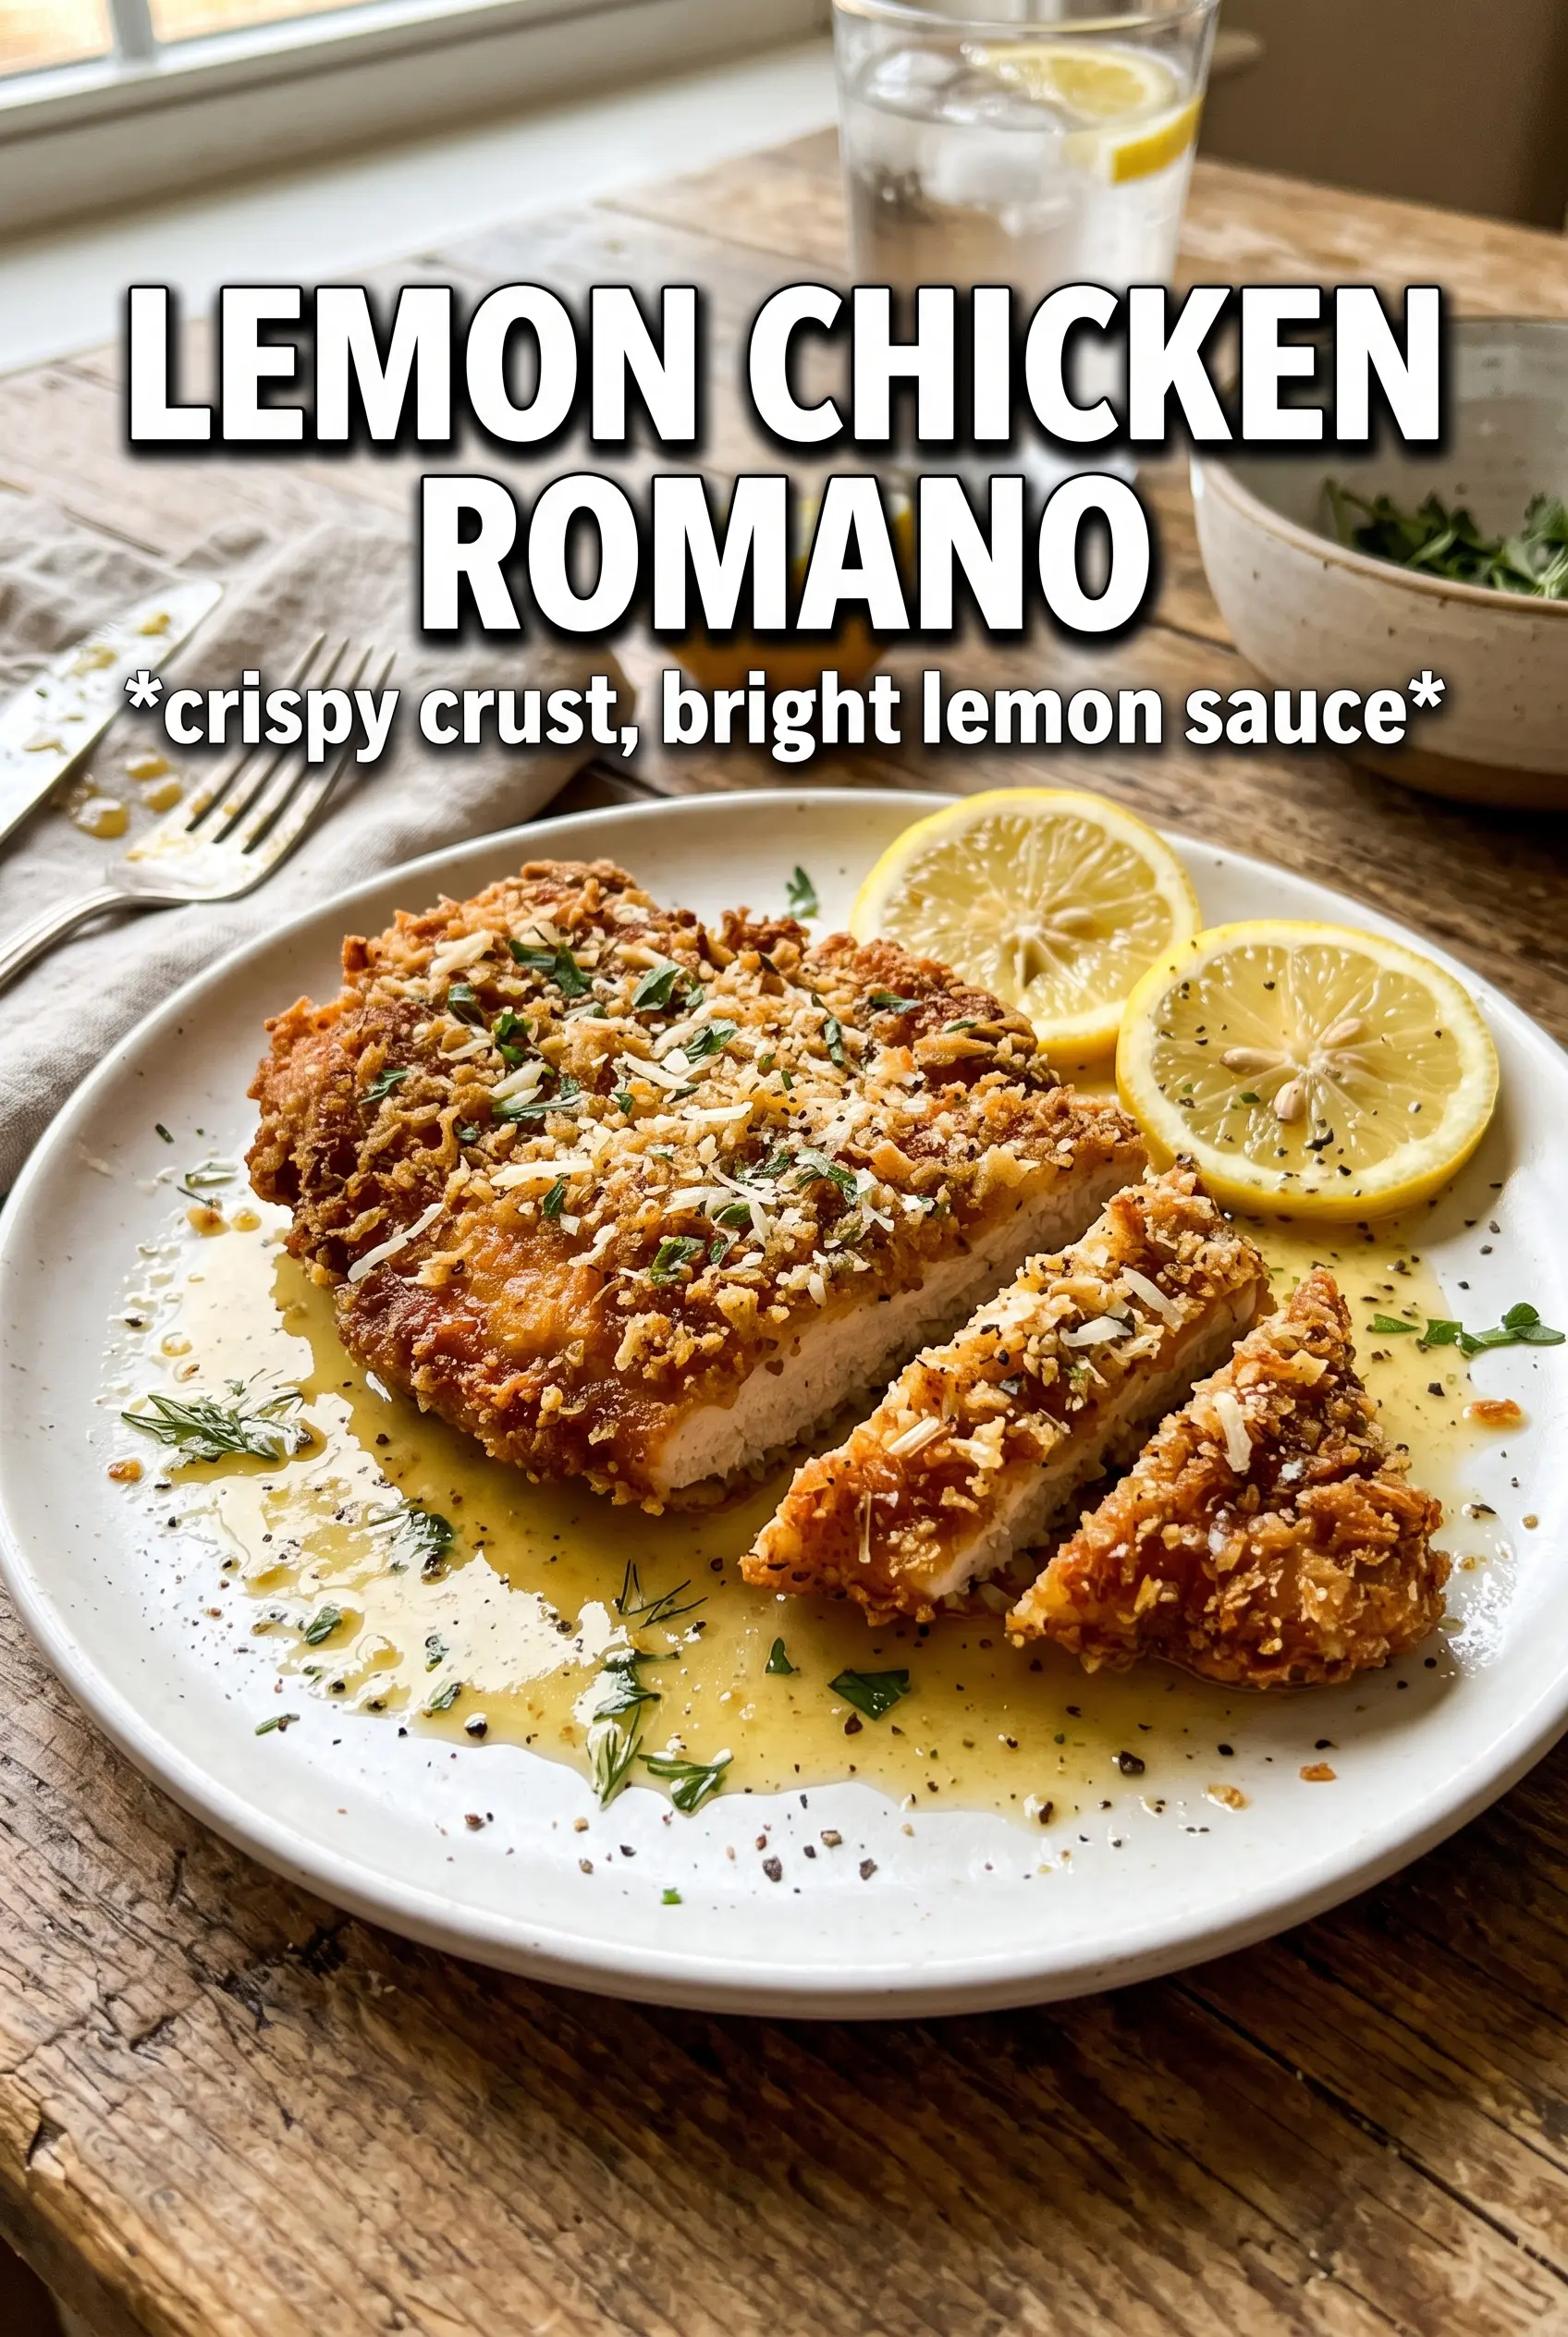
Lemon Chicken Romano
Ingredients
Equipment
Method
- Season the thin cutlets with salt and pepper, then set out a breading station with flour, beaten egg, and the combined Romano cheese with panko.
- Dredge each cutlet in flour, then dip into the beaten egg, and press firmly into the Romano-panko coating so it sticks.
- Heat olive oil with 2 tablespoons butter in a skillet over medium-high heat, then pan-fry the cutlets for 3-4 minutes per side until deeply golden and crisp.
- Remove the cutlets to a plate while you make the sauce, keeping the coating intact and visibly shattering-crisp.
- In the same pan, cook the garlic for 30 seconds, watching for fragrant light browning without burning.
- Deglaze with the white wine, scraping up browned bits from the pan, then stir in the lemon juice and capers.
- Simmer the sauce for 3 minutes until slightly reduced, then swirl in the remaining 2 tablespoons cold butter until glossy.
- Plate the cutlets and pour the lemon-caper butter sauce over each one, then garnish with fresh parsley for a fresh green finish.