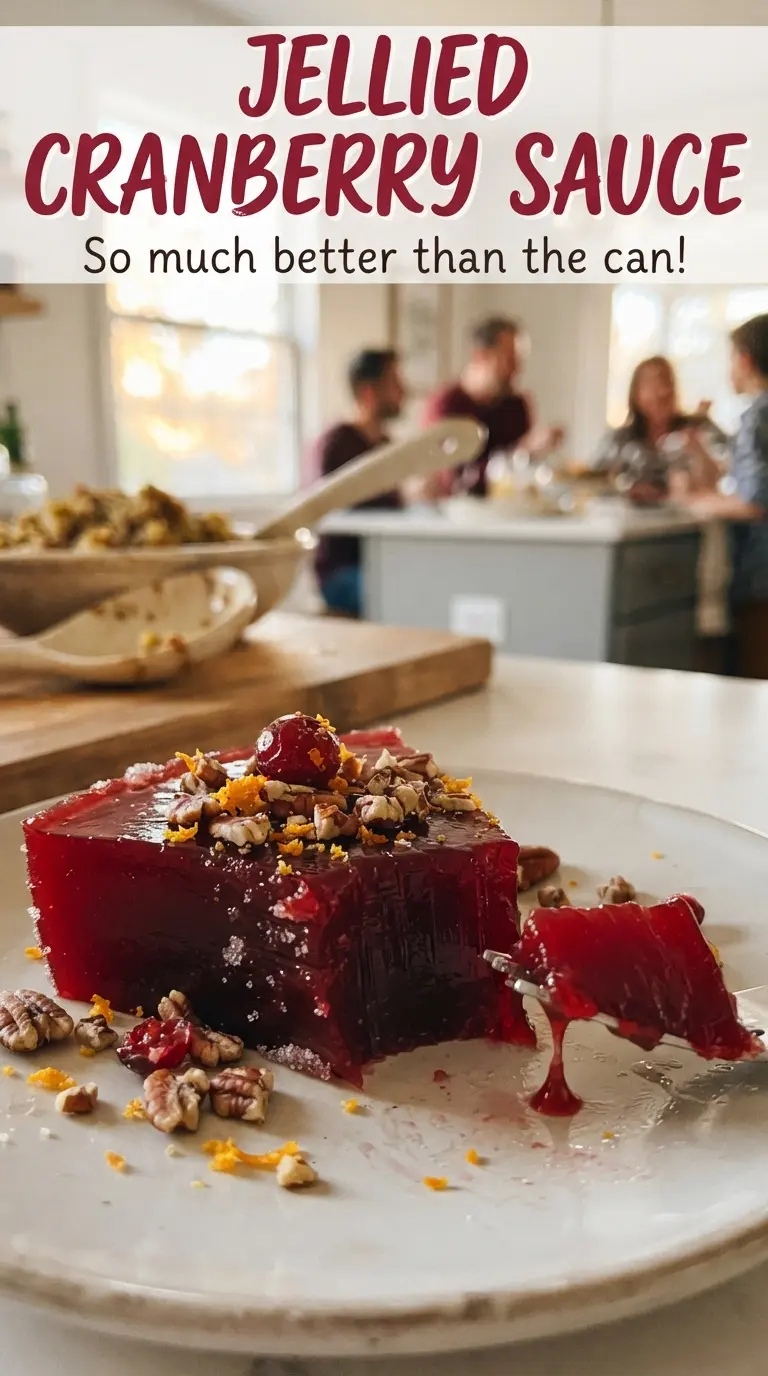
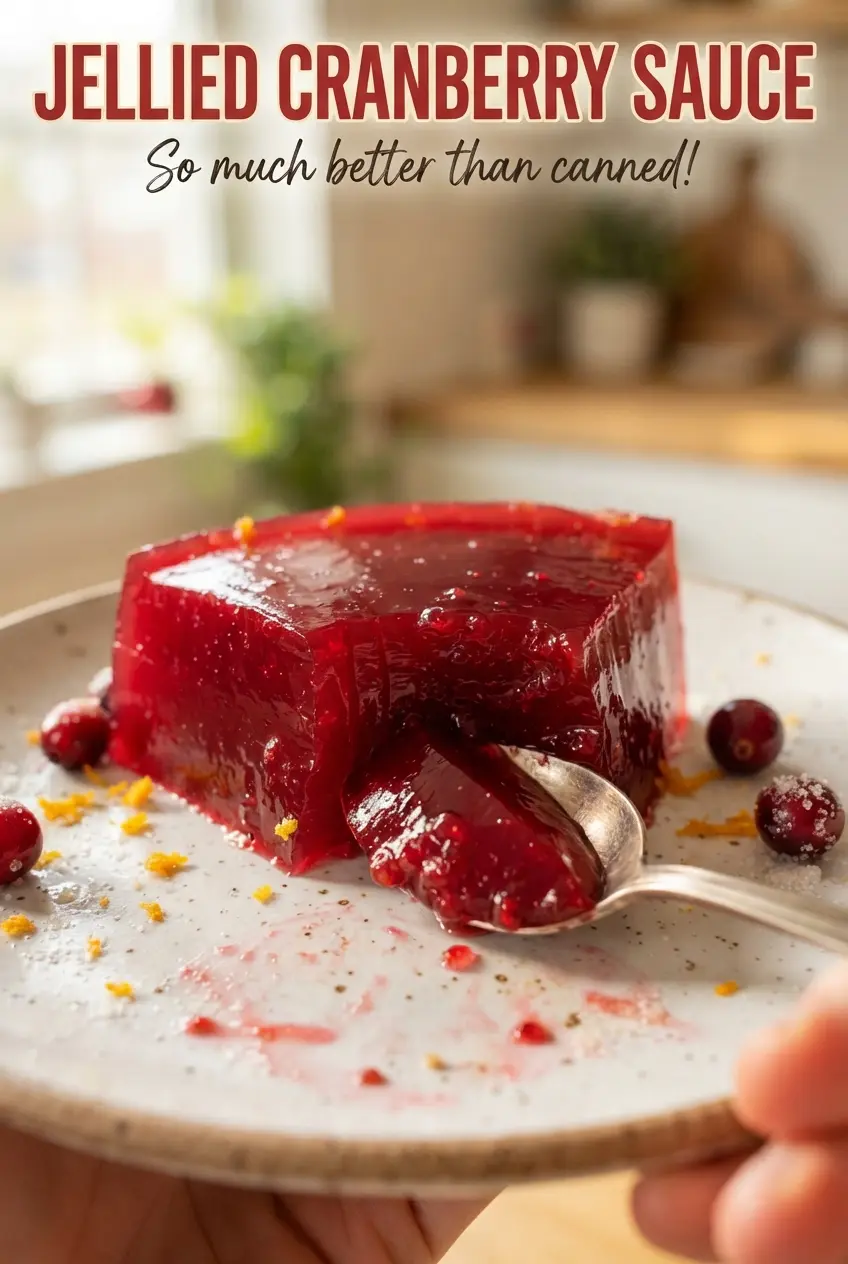
Jellied cranberry sauce sets up into that glossy, ruby-red slice that holds its shape on the plate and still tastes bright, not overly sweet. When it’s made well, it has a clean cranberry tang, a smooth finish, and the kind of firm-yet-tender texture that cuts into neat rounds instead of slumping into a spoonable mess.
The trick is getting enough natural pectin from the cranberries and then cooking the strained puree just long enough to concentrate it without turning it sticky. A quick boil for the berries, a thorough strain, and a short final cook with lemon juice is what gives this version its clean slice and sharp flavor. If you’ve only had the canned version, the homemade one lands fresher and a little brighter, but still gives you that classic molded look.
Below, I’ll show you how to strain it without wasting the good part, how to tell when it’s cooked enough, and what to do if you want to mold it in a loaf pan or an old clean can for that familiar ridged shape.
The sauce turned out glossy and set up perfectly in the loaf pan. I sliced it the next day and it held its shape with clean edges, just like the old-fashioned cranberry sauce I remember.
Love that glossy, sliceable Jellied Cranberry Sauce? Save it to Pinterest for the holiday table or any meal that needs a bright, make-ahead side.
The One Thing That Keeps Jellied Cranberry Sauce from Turning Grainy
The biggest mistake with jellied cranberry sauce is stopping too soon at the straining stage. If you leave too much pulp behind, the finished sauce can taste thin and set unevenly; if you rush and don’t press enough of the cooked cranberry mixture through the sieve, you lose both body and that smooth, classic slice. Scraping the underside of the strainer matters here. That’s where a lot of the thickest puree sits.
The other thing that matters is the second boil. Once the puree goes back into the pot with lemon juice and salt, it needs a few minutes of active bubbling to tighten up. That’s what helps the sauce set firmly after chilling. If it looks loose in the pot, don’t panic. It should still pour. The real test happens after a long chill.
What Each Ingredient Is Actually Doing in This Sauce
- Fresh cranberries — These bring the pectin that makes the sauce set. Frozen cranberries work too, and you don’t need to thaw them first. What you don’t want is old berries that have started to soften and dry out, because they give less clean flavor and can take longer to break down.
- Sugar — This isn’t just sweetness; it helps the sauce gel and gives the finished slice that smooth, shiny look. Cutting it much lower changes the set and makes the result sharper and looser. If you like a tarter sauce, reduce it a little, but don’t expect the same classic firmness.
- Water — The water gives the cranberries enough room to burst without scorching the pan. Too little and the sugar can catch before the berries fully collapse. Too much and you’ll need extra cook time to reduce the puree before it sets well.
- Lemon juice — This lifts the flavor and keeps the sweetness from flattening out. Bottled lemon juice works in a pinch, but fresh tastes brighter. It also helps the finished sauce taste lively after chilling.
- Pinch of salt — Small amount, big payoff. Salt doesn’t make the sauce salty; it sharpens the cranberry flavor and keeps the sugar from tasting one-note.
How to Cook It So It Sets Cleanly
Boil Until Every Berry Bursts
Put the cranberries, sugar, and water in a saucepan and bring it all to a boil. Once it starts bubbling steadily, keep it there for about 10 minutes until the berries collapse and the mixture looks thick and jammy around the edges. If the heat is too low, the berries won’t fully burst and the sauce can stay loose. You want a lively simmer that keeps moving.
Strain for That Smooth, Molded Texture
Set a fine-mesh strainer over a bowl and press the cranberry mixture through with a spoon or spatula. Scrape the bottom of the strainer often, because the thickest puree collects there. Don’t toss extra liquid back in unless it’s part of the strained puree; any loose juice left in the pulp can make the set less firm. The goal is a smooth puree with no skins.
Finish the Puree Before It Goes Into the Mold
Return the strained puree to the pan with lemon juice and salt, then boil it for 3 to 4 minutes while stirring. This last cook tightens the mixture and helps it set after chilling. If it starts spattering, lower the heat just enough to keep a steady boil. Pour it into a lightly oiled mold, loaf pan, or a clean can while it’s still fluid, because it firms up as it cools.
Chill Until the Slice Holds Its Shape
Refrigerate the mold for at least 6 hours, but overnight gives you the cleanest release. Don’t try to unmold it while it’s still soft in the center; it will slump and smear on the plate. Run a thin knife around the edge, dip the outside of the pan in warm water for a few seconds if needed, then invert it onto a serving plate. A set sauce should hold its shape and slice cleanly with a knife.
How to Adapt This for a Different Table
Use a Loaf Pan Instead of a Mold
A lightly oiled loaf pan gives you neat, even slices and is probably the easiest option if you don’t have a decorative mold. The shape won’t have the same ridged look as a can, but the texture and set are the same. Line the pan only if you want easier lifting; otherwise, a thin coat of oil is enough.
Make It Slightly Less Sweet
You can trim the sugar a bit if you like a sharper cranberry bite, but go slowly. Less sugar means a looser set and a more tart finish, so the sauce may not slice as neatly. If you reduce it, chill it overnight and expect a softer edge when you serve it.
Frozen Cranberries Work Fine
Frozen cranberries can go straight into the pot, which makes this an easy make-ahead side when fresh berries aren’t around. They may take a minute or two longer to burst, but the final texture is the same. Don’t thaw them first, or they’ll release extra liquid before cooking and you’ll lose control of the reduction.
Storage and Reheating
- Refrigerator: Keeps for about 1 week, tightly covered. The texture stays firm, though the surface can lose a little shine after a day or two.
- Freezer: It freezes well for up to 2 months. Wrap the molded sauce tightly and thaw it in the refrigerator overnight before serving. The texture may be a touch softer after thawing, but it still slices well.
- Reheating: This isn’t a reheating recipe. Serve it cold or at cool room temperature. If you warm it, the gel loosens and you’ll lose the clean slice that makes jellied cranberry sauce special.
Answers to the Questions Worth Asking
Jellied Cranberry Sauce
Ingredients
Equipment
Method
- Bring fresh cranberries, sugar, and water to a boil in a pot, stirring until the sugar dissolves. Simmer for 10 minutes, until all the berries burst and the mixture looks thickened.
- Press the hot mixture through a fine-mesh strainer, scraping the underside to push all the pulp through, and discard the skins. Keep straining until only dry skins remain in the strainer.
- Return the strained puree to the pot with lemon juice and salt, then bring to a boil. Boil for 3-4 minutes while stirring, until slightly thickened and glossy.
- Pour the hot cranberry mixture into a lightly oiled mold, loaf pan, or clean can and smooth the top. Let it cool just enough to handle before chilling.
- Chill at least 6 hours or overnight until firm. The center should feel fully set with no liquid wobble.
- Run a knife around the edge, invert onto a plate, and slice into rounds. Serve chilled for clean slices and a firm, jellied texture.