Golden, bubbling apple crumble lands in the dish with the kind of contrast that makes people go back for a second spoonful before the first one is finished. The topping stays sandy and crisp in spots, the fruit underneath turns jammy without collapsing into mush, and the whole thing smells like butter, cinnamon, and caramelized sugar the moment it comes out of the oven.
This version works because the filling gets a head start on the stove. Apples and pears soften just enough to release their juices, but they still hold shape under the crumble, which keeps the bottom from turning watery. Ground almonds in the topping add a little richness and help the crust bake up with a deeper, more toasted flavor than plain flour alone can give.
Below, I’ve included the small details that matter here: how soft the fruit should be before it goes into the oven, why you should not press the topping down, and the swaps that still keep the crumble crisp. If you’ve ever had a crumble that baked up pale or soggy, this version fixes both problems.
The fruit softened just enough on the stove and the topping stayed crisp instead of soggy. I used custard on top and my husband went back for leftovers the next night.
Save this apple and pear crumble for the nights when you want a crisp, buttery topping and bubbling fruit under custard.
The Reason the Filling Gets Cooked First, Not Left Raw
A raw fruit filling sounds simpler, but it’s the quickest way to end up with either undercooked apples or a topping that burns before the fruit has softened. Cooking the apples and pears for a few minutes first gives them a head start, and it lets the juices mingle with the sugar, spice, and lemon zest before they go under the crumble. That means the fruit bakes evenly instead of shrinking late and leaving a gap under the topping.
The other thing that matters here is the texture of the fruit before it goes into the dish. You want it slightly softened, not fully tender. If it’s already falling apart in the pan, the bake goes a little flat and jammy; if it goes into the oven completely raw, the crumble may be done before the center is ready. That short stovetop cook keeps everything in sync.
- Apples — Use a firm baking apple if you can. A softer apple will work, but it loses shape faster and makes the filling looser.
- Pears — Ripe pears add sweetness and a softer texture. If yours are very ripe, cut them a little larger so they don’t disappear into the filling.
- Lemon zest — This keeps the fruit from tasting flat. Don’t skip it unless you replace it with a little extra spice, because it brightens the whole dish.
What the Almonds and Brown Sugar Are Doing in the Crumble
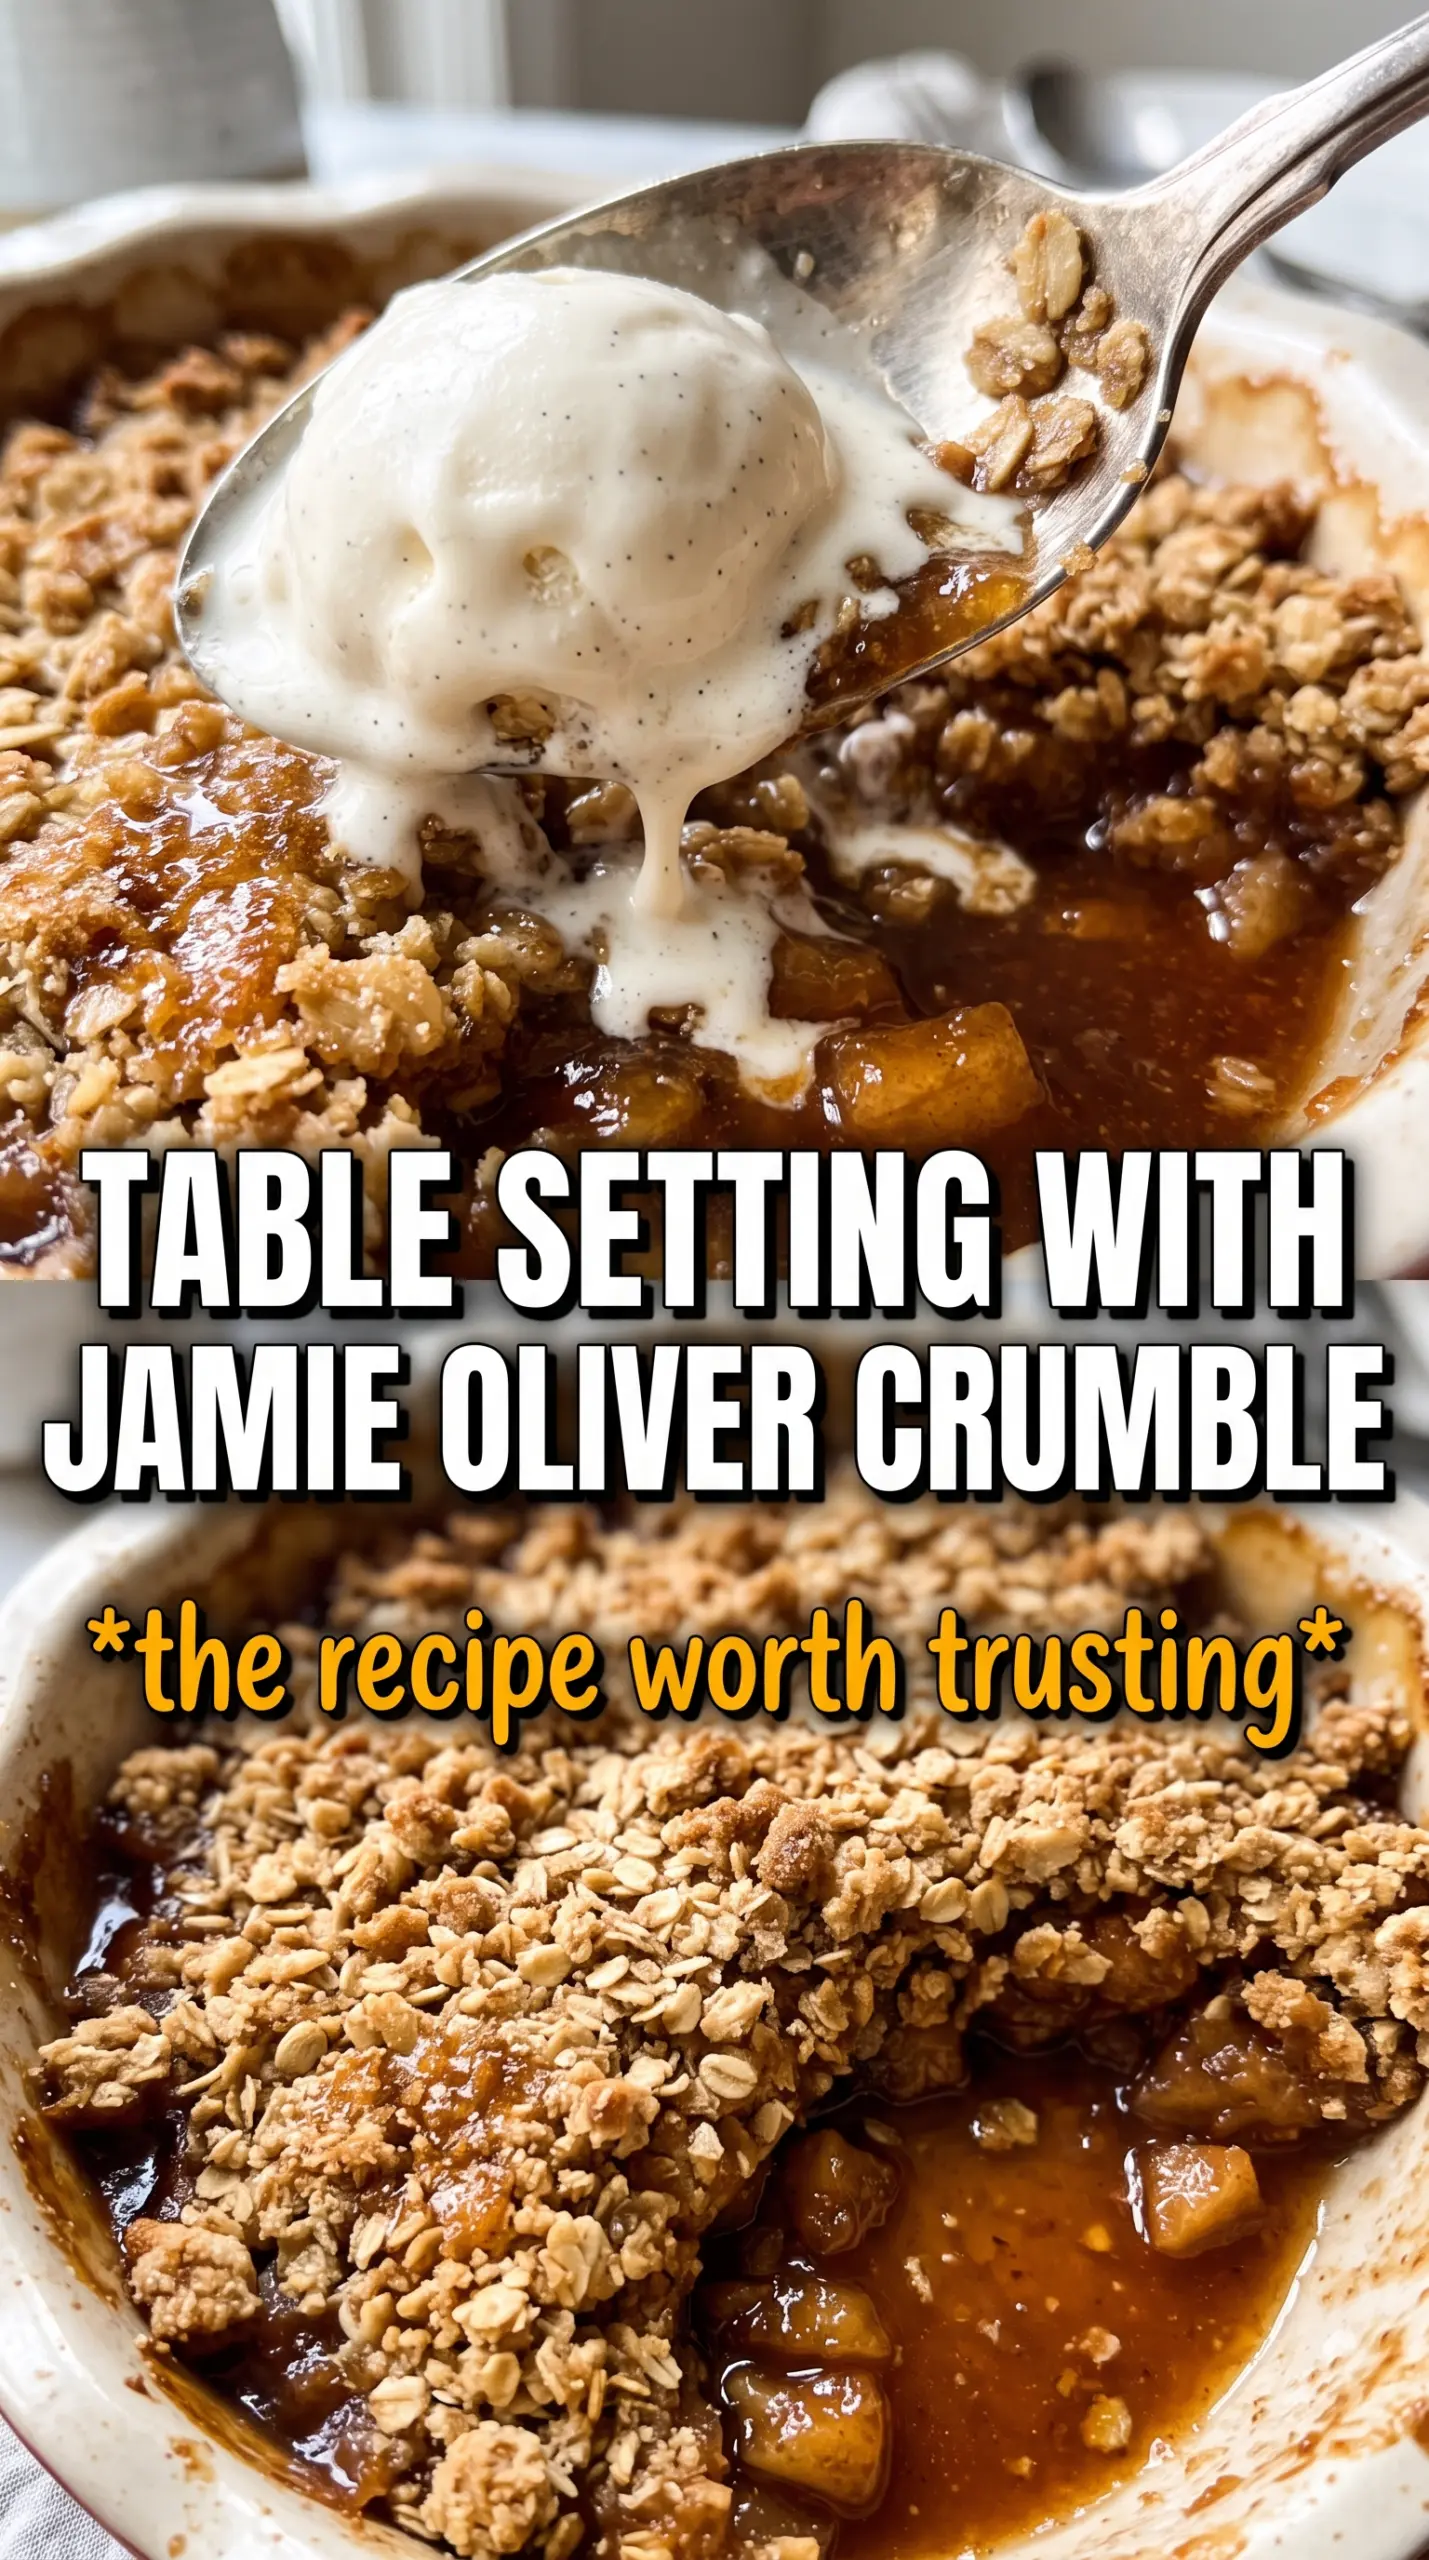
The ground almonds are one of the quiet strengths in this crumble. They add a slightly richer, nubbly texture and help the topping bake into something that feels more substantial than flour and butter alone. If you leave them out, the crumble still works, but the topping loses some of that toasty, almost shortbread-like depth.
Demerara or raw sugar gives the top a crunchy, caramel edge that finer sugar can’t quite match. Light brown sugar brings a little molasses note and helps the top color faster. Together, they create a topping that tastes layered, not just sweet. Keep the butter cold and rub it into the flour until the mix looks uneven and breadcrumb-like. That unevenness is what gives you crisp little clusters instead of a paste.
- Plain flour — It gives the crumble structure without making it tough. Self-raising flour is the wrong choice here because it can make the topping puff oddly instead of crumbling.
- Cold butter — This is non-negotiable. Cold butter melts in the oven, which creates the crisp, sandy texture. Soft butter will smear into the flour and bake up dense.
- Ground almonds — Swap in finely chopped walnuts if needed, but expect a slightly more rustic, less delicate topping.
- Both sugars — The mix of coarse and soft sugar gives the best finish. If you only have brown sugar, the topping will still work, just with a little less crunch.
Building the Crumble So It Bakes Crisp, Not Damp
Softening the Fruit Without Turning It to Jam
Melt the butter first, then stir in the apples, pears, sugar, spices, and lemon zest. Cook just until the fruit starts to release juice and the edges lose their raw look. You’re aiming for slightly softened slices, not a pot of compote. If the pan looks dry, the fruit is probably fine; if it’s swimming in liquid, keep cooking for another minute or two so some of that moisture evaporates before baking.
Rubbing the Butter Into the Flour
Use your fingertips and stop when the mixture looks like rough breadcrumbs with a few larger buttery pieces still visible. Those little bits matter because they melt in the oven and create texture. If you overwork it, the topping becomes pasty and compact. Cold hands help, but the main thing is to stop before the butter disappears completely.
Leaving the Topping Loose
Spoon the crumble over the fruit without pressing it down. The air pockets are what help it bake into a crisp top instead of a sealed lid. A packed topping traps steam from the fruit and turns soft underneath. Bake until the surface is deep golden and you can see the filling bubbling around the edges, which tells you the fruit has heated through all the way.
Make It Dairy-Free
Swap the butter in both the filling and topping for a good vegan butter block. It should stay firm when cold and melt cleanly in the oven; soft tub spreads can make the topping greasy instead of crisp. The flavor stays close, though you’ll lose a little of the round, buttery finish.
Make It Gluten-Free
Use a 1:1 gluten-free flour blend that includes xanthan gum if possible. The topping will be a little more delicate and less sandy, but it still bakes well as long as the butter stays cold and you don’t pack it down. Check the bake a few minutes early because some blends brown faster.
Use Apples Only
Skip the pears and add two more apples if that’s what you have. The filling will be a little firmer and less juicy, which some people prefer, so add an extra spoonful of sugar only if your apples taste sharp.
Storage and Reheating
- Refrigerator: Keep covered for up to 4 days. The topping softens in the fridge, but it still tastes good.
- Freezer: Freeze baked crumble for up to 2 months. Wrap it well once cooled and thaw overnight in the fridge before reheating.
- Reheating: Warm in a 180C oven until heated through and the top crisps again. The common mistake is using the microwave, which makes the crumble soggy fast.
Answers to the Questions Worth Asking
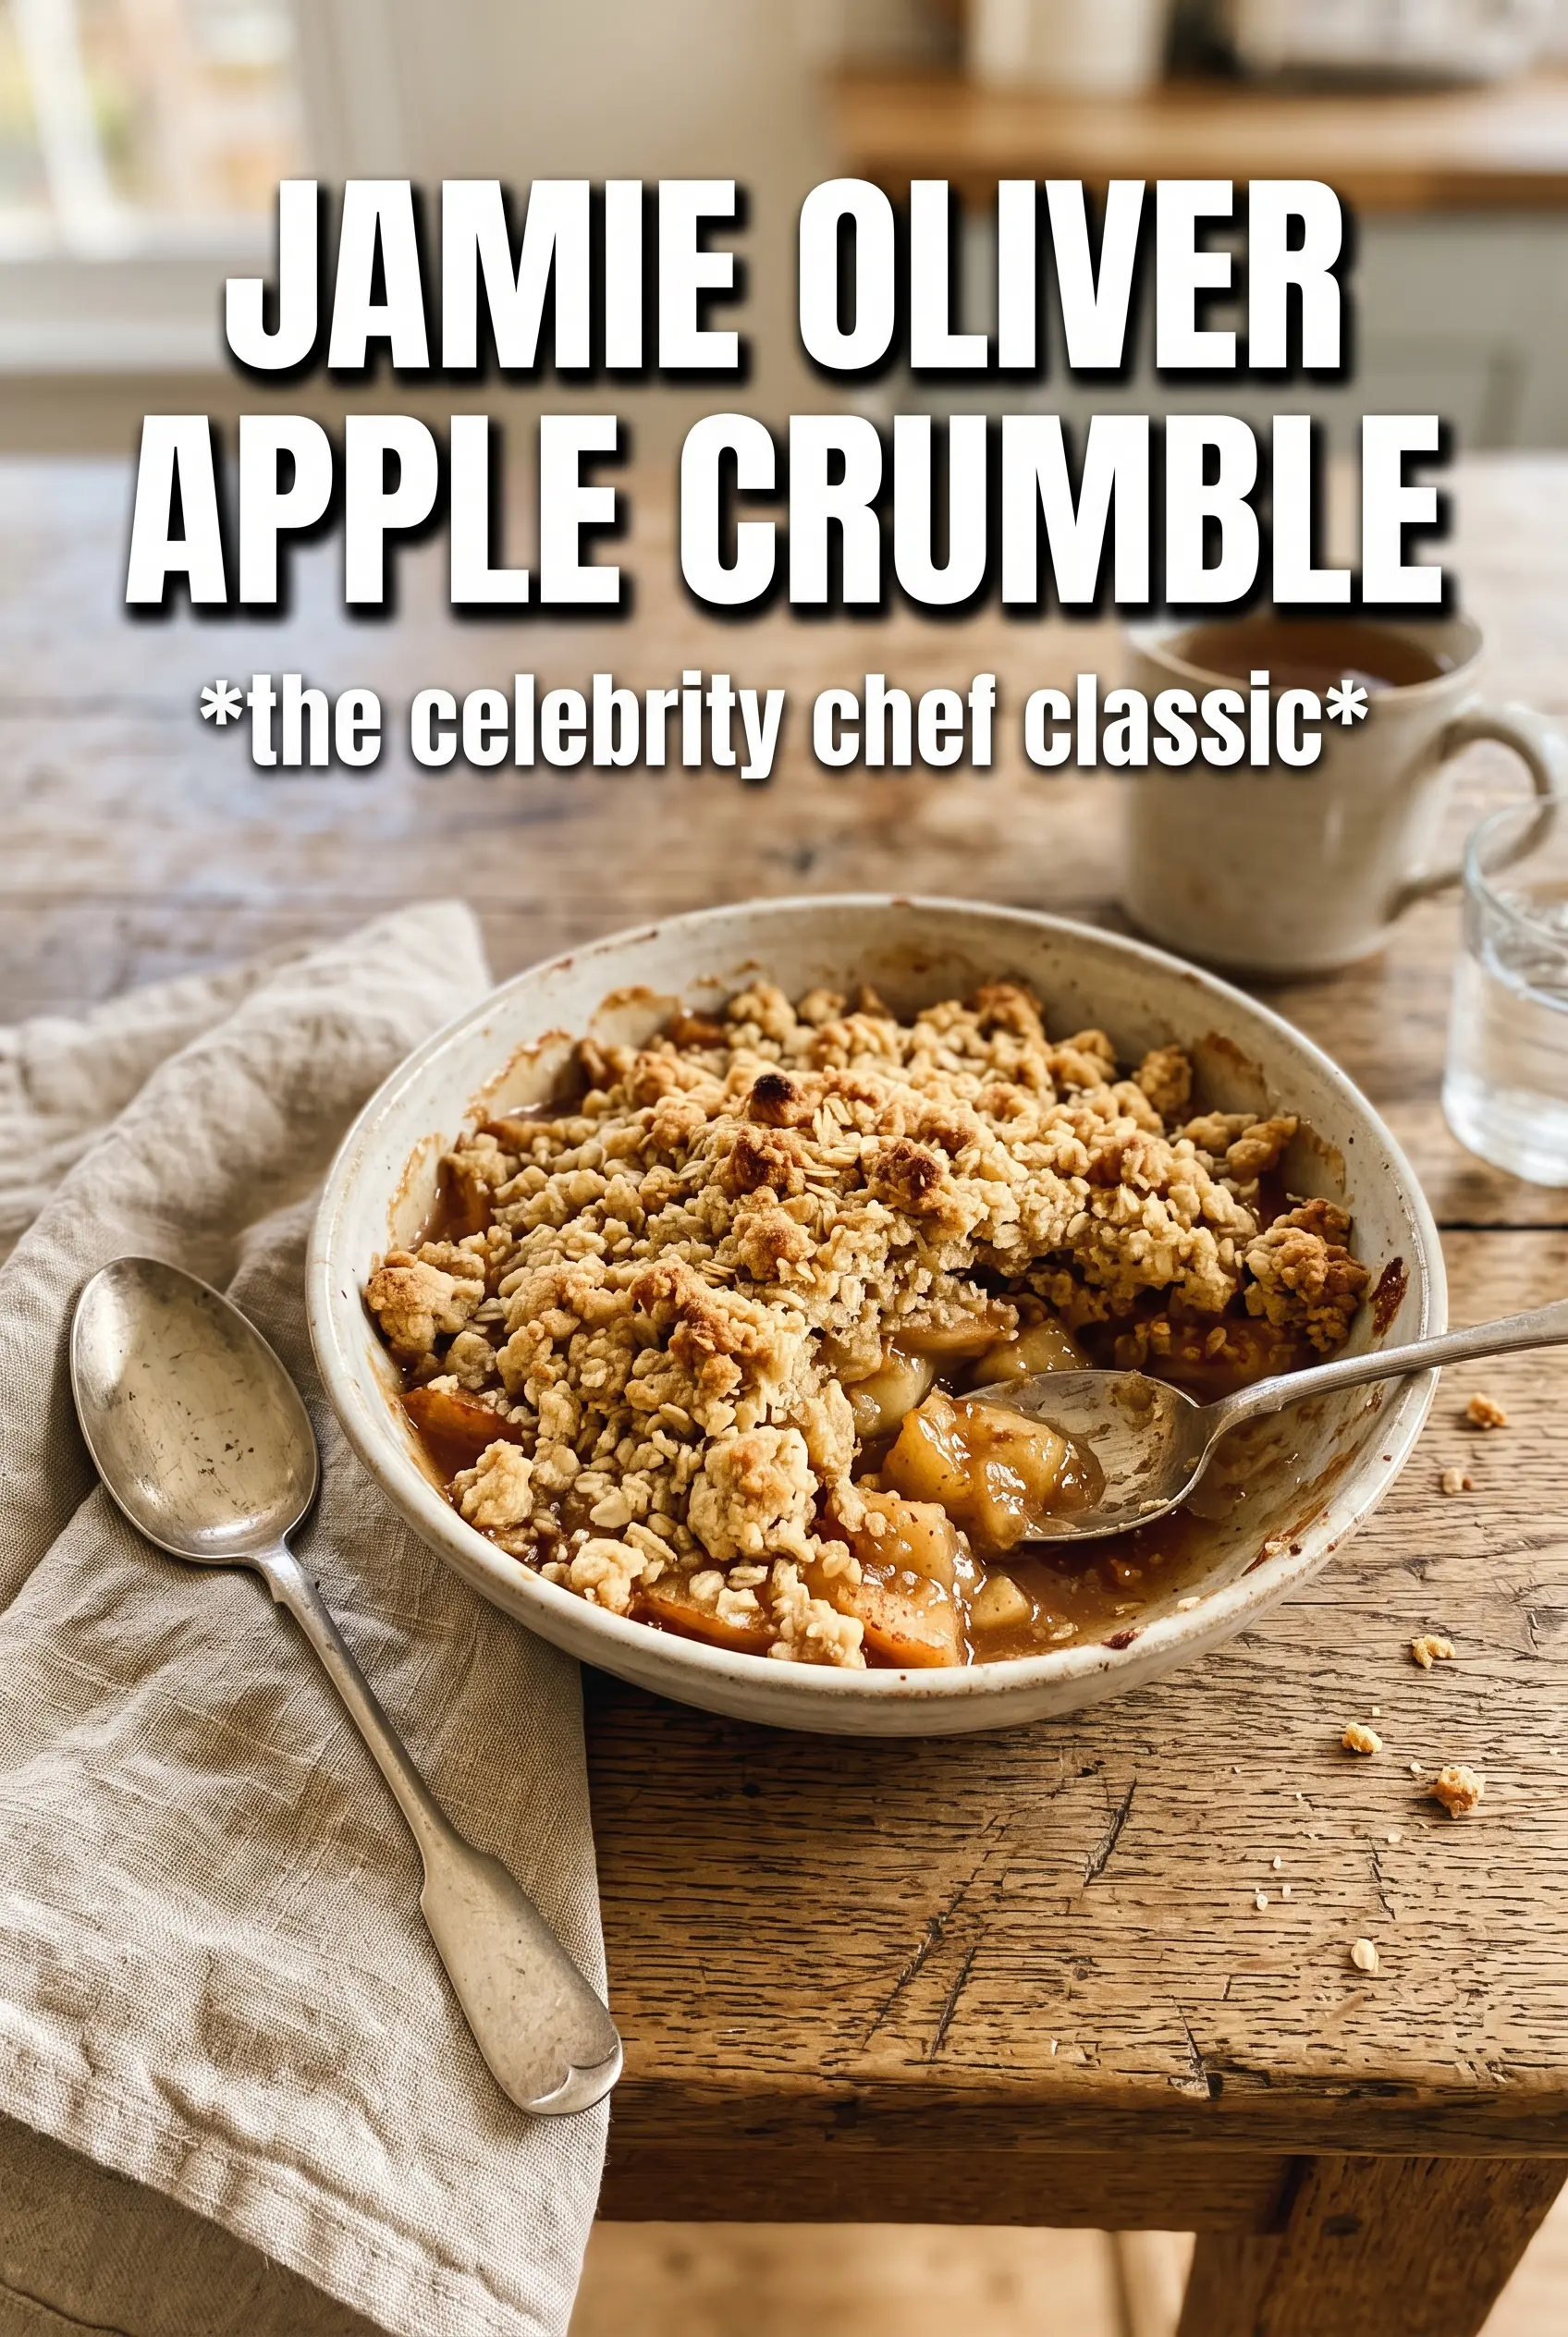
Jamie Oliver Apple Crumble
Ingredients
Equipment
Method
- Preheat the oven to 190C (375F). This gets your baking dish ready for a crisp, golden crumble top.
- Melt the 50g unsalted butter in a large ovenproof pan, then add the apples, pears, granulated sugar, ground cinnamon, mixed spice, and lemon zest. Cook for 5-7 minutes until slightly softened, then transfer the fruit to a baking dish.
- Put the flour and cold cubed butter into a bowl, then rub them together with your fingertips until the mixture resembles rough breadcrumbs. This creates the sandy texture that crisps in the oven.
- Stir in the demerara/raw sugar, light brown sugar, ground almonds, and cinnamon, mixing briefly until evenly combined. Keep the topping crumbly rather than compact.
- Spread the crumble over the fruit without packing it down. Leave an even layer so it bakes golden and airy.
- Bake for 35-40 minutes at 190C (375F) until golden and you can see the fruit bubbling at the edges. Rest briefly while you warm the custard or cream.
- Serve the crumble hot with homemade custard or pouring cream. Letting the topping crack slightly on the first spoonful is ideal.