Apple crisp earns its place when the topping turns deeply golden, the fruit underneath collapses into tender, syrupy slices, and every spoonful lands with a little crunch from the oats and a little richness from the butter. Ina Garten’s version gets that balance right. It doesn’t bury the apples under a dry streusel, and it doesn’t turn the filling into soup. You get a generous crumble that stays crisp at the edges while the fruit bubbles up around it.
The trick is in the details: tart, sturdy apples that hold some shape, plenty of citrus to brighten the filling, and a topping mixed by hand until it forms rough pebbles instead of sandy crumbs. Cold butter matters here. If the butter softens too much before baking, the topping melts flat instead of baking into those crunchy clusters that make apple crisp worth making in the first place.
Below you’ll find the one thing that keeps the topping from turning greasy, the ingredient swaps that still give you a good result, and the small timing cue that tells you the fruit is cooked through without waiting for the whole dish to collapse.
The crumble baked up with those big buttery clumps I was hoping for, and the apples were soft without turning mushy. The orange and lemon really kept it from tasting flat.
Save this Ina Garten apple crisp for the nights when you want tender apples, a thick buttery crumble, and a spoonful of warm vanilla ice cream on top.
The Secret to Crisp Topping That Stays Clumpy, Not Sandy
Most apple crisps fail in the same place: the topping gets worked too much and turns into a fine, even layer that bakes up dense instead of craggy. The goal here is pebbles, not powder. When the butter is cold and the mixture is handled with your fingertips, the flour, oats, and sugars cling to the butter in uneven pieces that bake into crunchy clusters.
The other mistake is crowding the topping so lightly that bare apple peeks through everywhere. Ina’s version works because the crumble goes on generously. It should look almost excessive before it goes in the oven. As the butter melts, those mounded spots turn crisp and browned while the filling bubbles up around the edges.
- Cold butter — This is what keeps the topping from melting into paste before it hits the oven. Dice it first and keep it cold until the last minute.
- Old-fashioned oats — They give the topping its chewy-crisp structure. Quick oats work in a pinch, but they make the crumble tighter and less nubby.
- Brown sugar — It brings deeper caramel notes and helps the topping brown. All white sugar works if that’s what you have, but the result tastes flatter.
- Macintosh or Braeburn apples — Use apples that soften without turning to applesauce. Granny Smith can work if you like more tartness, but the filling will stay firmer and less soft.
What Each Ingredient Is Actually Doing in This Apple Crisp
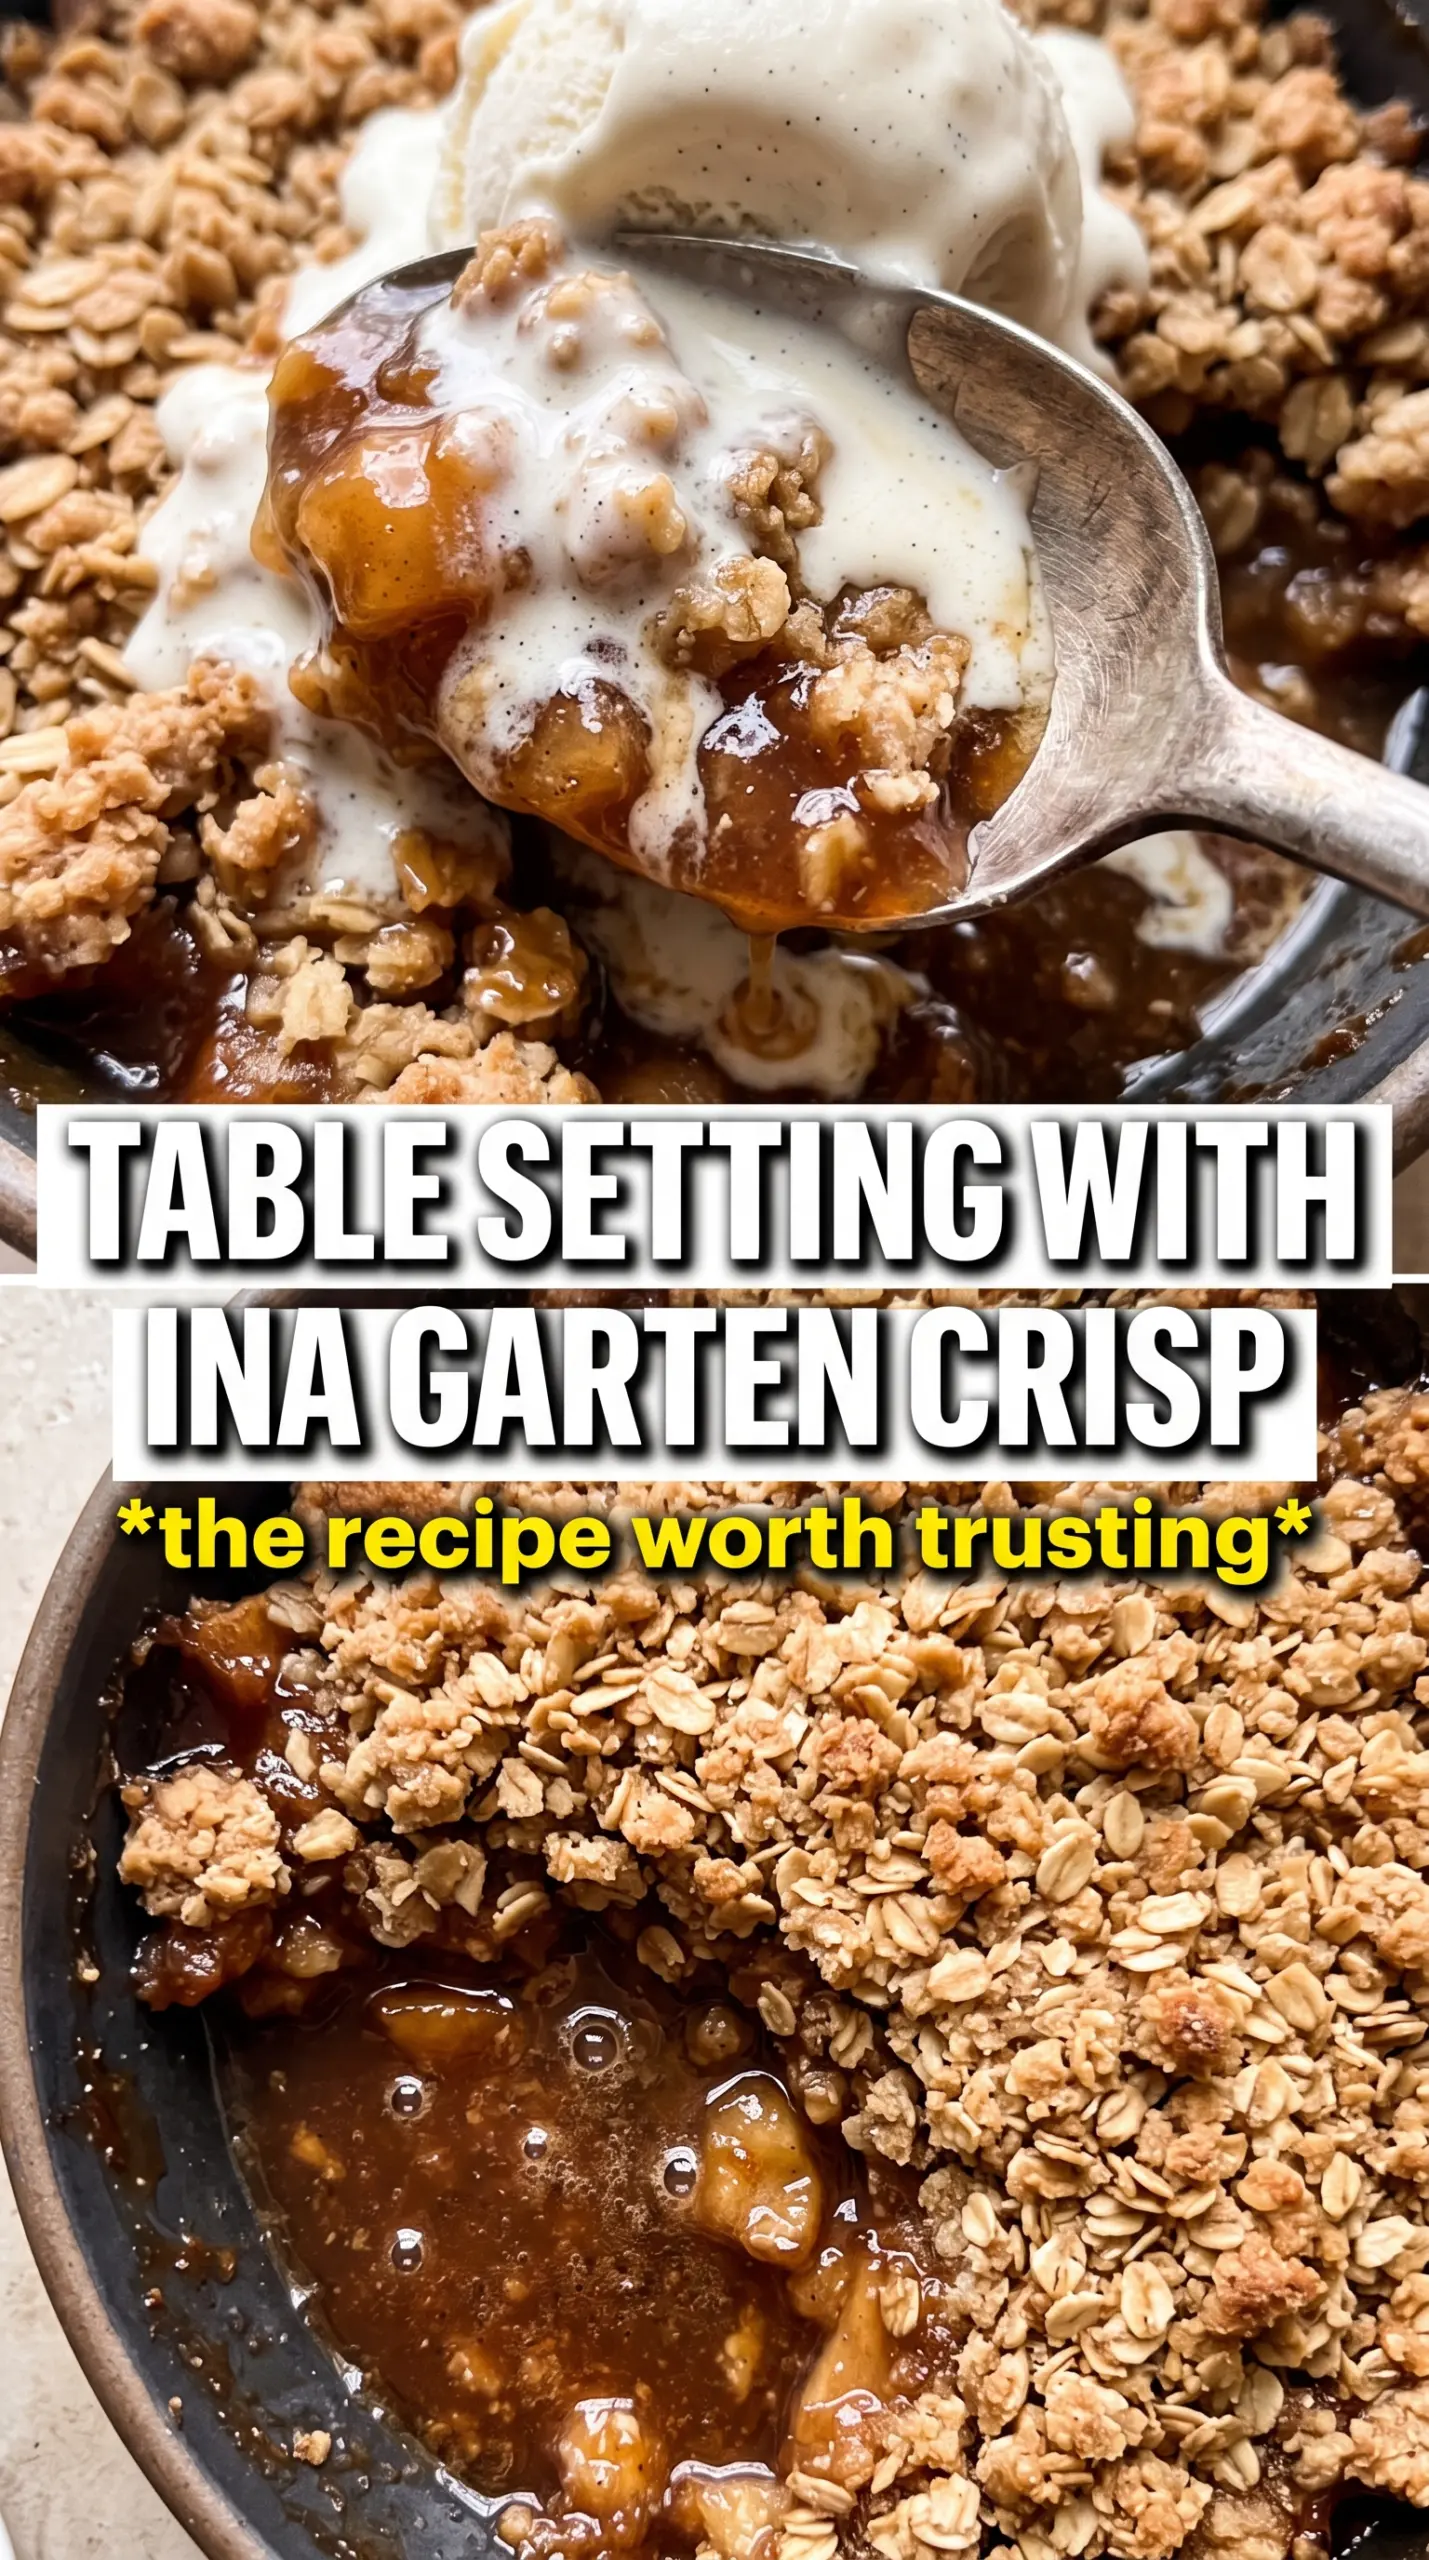
The apples aren’t just filling the dish; they’re building the syrup underneath the crisp. Macintosh gives you a softer, saucier finish, while Braeburn stays a little firmer and a little brighter. If you want the filling to hold its shape more neatly, go heavier on Braeburn. If you want it spoonable and lush, Macintosh is the better choice.
The citrus zests and juices matter more than they look like they should. Orange rounds out the apples with sweetness; lemon keeps the whole dish from tasting heavy. You need both, and the zest carries the strongest flavor, so don’t skip it unless you absolutely have to. For the topping, the oats and sugars aren’t there just for texture. They help the butter form those bakery-style clumps that stay crisp at the edges. If you don’t have light brown sugar, use dark brown sugar for a deeper molasses note, or all granulated sugar if that’s your only option, though the topping will be less rich.
- Apples — Peel them and slice them thickly so they keep some body after baking. Thin slices break down too fast and give you a softer, wetter filling.
- Orange and lemon zest — This is where the brightness comes from. Juice alone won’t give the same lift.
- Cold unsalted butter — Unsalted butter lets you control the seasoning, and cold butter is what creates the clumpy topping.
- Flour, oats, and sugars — Together they build the crumble’s structure. The flour absorbs moisture, the oats add texture, and the sugars caramelize into the crunchy top.
How to Build the Crumble So the Apples Don’t Turn Watery
Toss the Fruit Until It’s Evenly Coated
Combine the sliced apples with the zests, juices, sugar, cinnamon, and nutmeg in a large bowl, then toss until every slice looks lightly glossed. That coating does more than season the fruit; it starts the syrup that forms in the oven. If you leave dry patches, you end up with uneven sweetness and pockets of tart apple. Spread the mixture in a 14x9x2-inch baking dish so the fruit bakes in a fairly even layer instead of steaming in a deep mound.
Mix the Topping by Touch, Not by Machine
Stir the flour, sugars, salt, and oats together first, then work in the cold butter with your fingertips until the mixture holds together in pea-sized clumps. Stop when you still see uneven bits of butter. That’s the point. If the topping looks smooth and uniform, you’ve gone too far and it will bake up sandy instead of crisp.
Bake Until the Edges Bubble, Not Just the Top Browns
Scatter the topping over the apples in a thick, even layer and bake at 350°F until the top is deep golden and you can see the filling bubbling around the edges, 55 to 60 minutes. Don’t pull it out just because the crumble looks done. The apples need that bubbling time to soften and release their juices. If the top is browning too quickly, tent it loosely with foil for the last stretch.
Make It Gluten-Free with a One-to-One Flour Blend
Swap the all-purpose flour for a good cup-for-cup gluten-free blend and keep the oats certified gluten-free. The topping will still clump and brown, though it may bake a touch more crumbly than the original. Don’t use almond flour alone here; it makes the topping greasy instead of crisp.
Lean Into a More Tart Filling
Use half Braeburn and half Granny Smith if you want sharper apple flavor. The filling will hold its shape a little better and taste less sweet, which works well if you’re serving it with vanilla ice cream.
Make It Dairy-Free
Use a high-quality plant butter that stays solid when chilled. You want something with enough fat to create clumps, not a soft spread that disappears into the dry ingredients. The flavor changes a little, but the crisp texture still holds if the butter substitute is cold.
Storage and Reheating
- Refrigerator: Cover and chill for up to 4 days. The topping softens a bit as it sits, but the flavor stays strong.
- Freezer: You can freeze baked apple crisp for up to 2 months. Wrap it well, thaw in the refrigerator, and reheat uncovered so the topping can crisp back up.
- Reheating: Warm in a 325°F oven until heated through and the edges are bubbling again. The biggest mistake is microwaving it, which turns the topping soggy instead of bringing it back to life.
Answers to the Questions Worth Asking
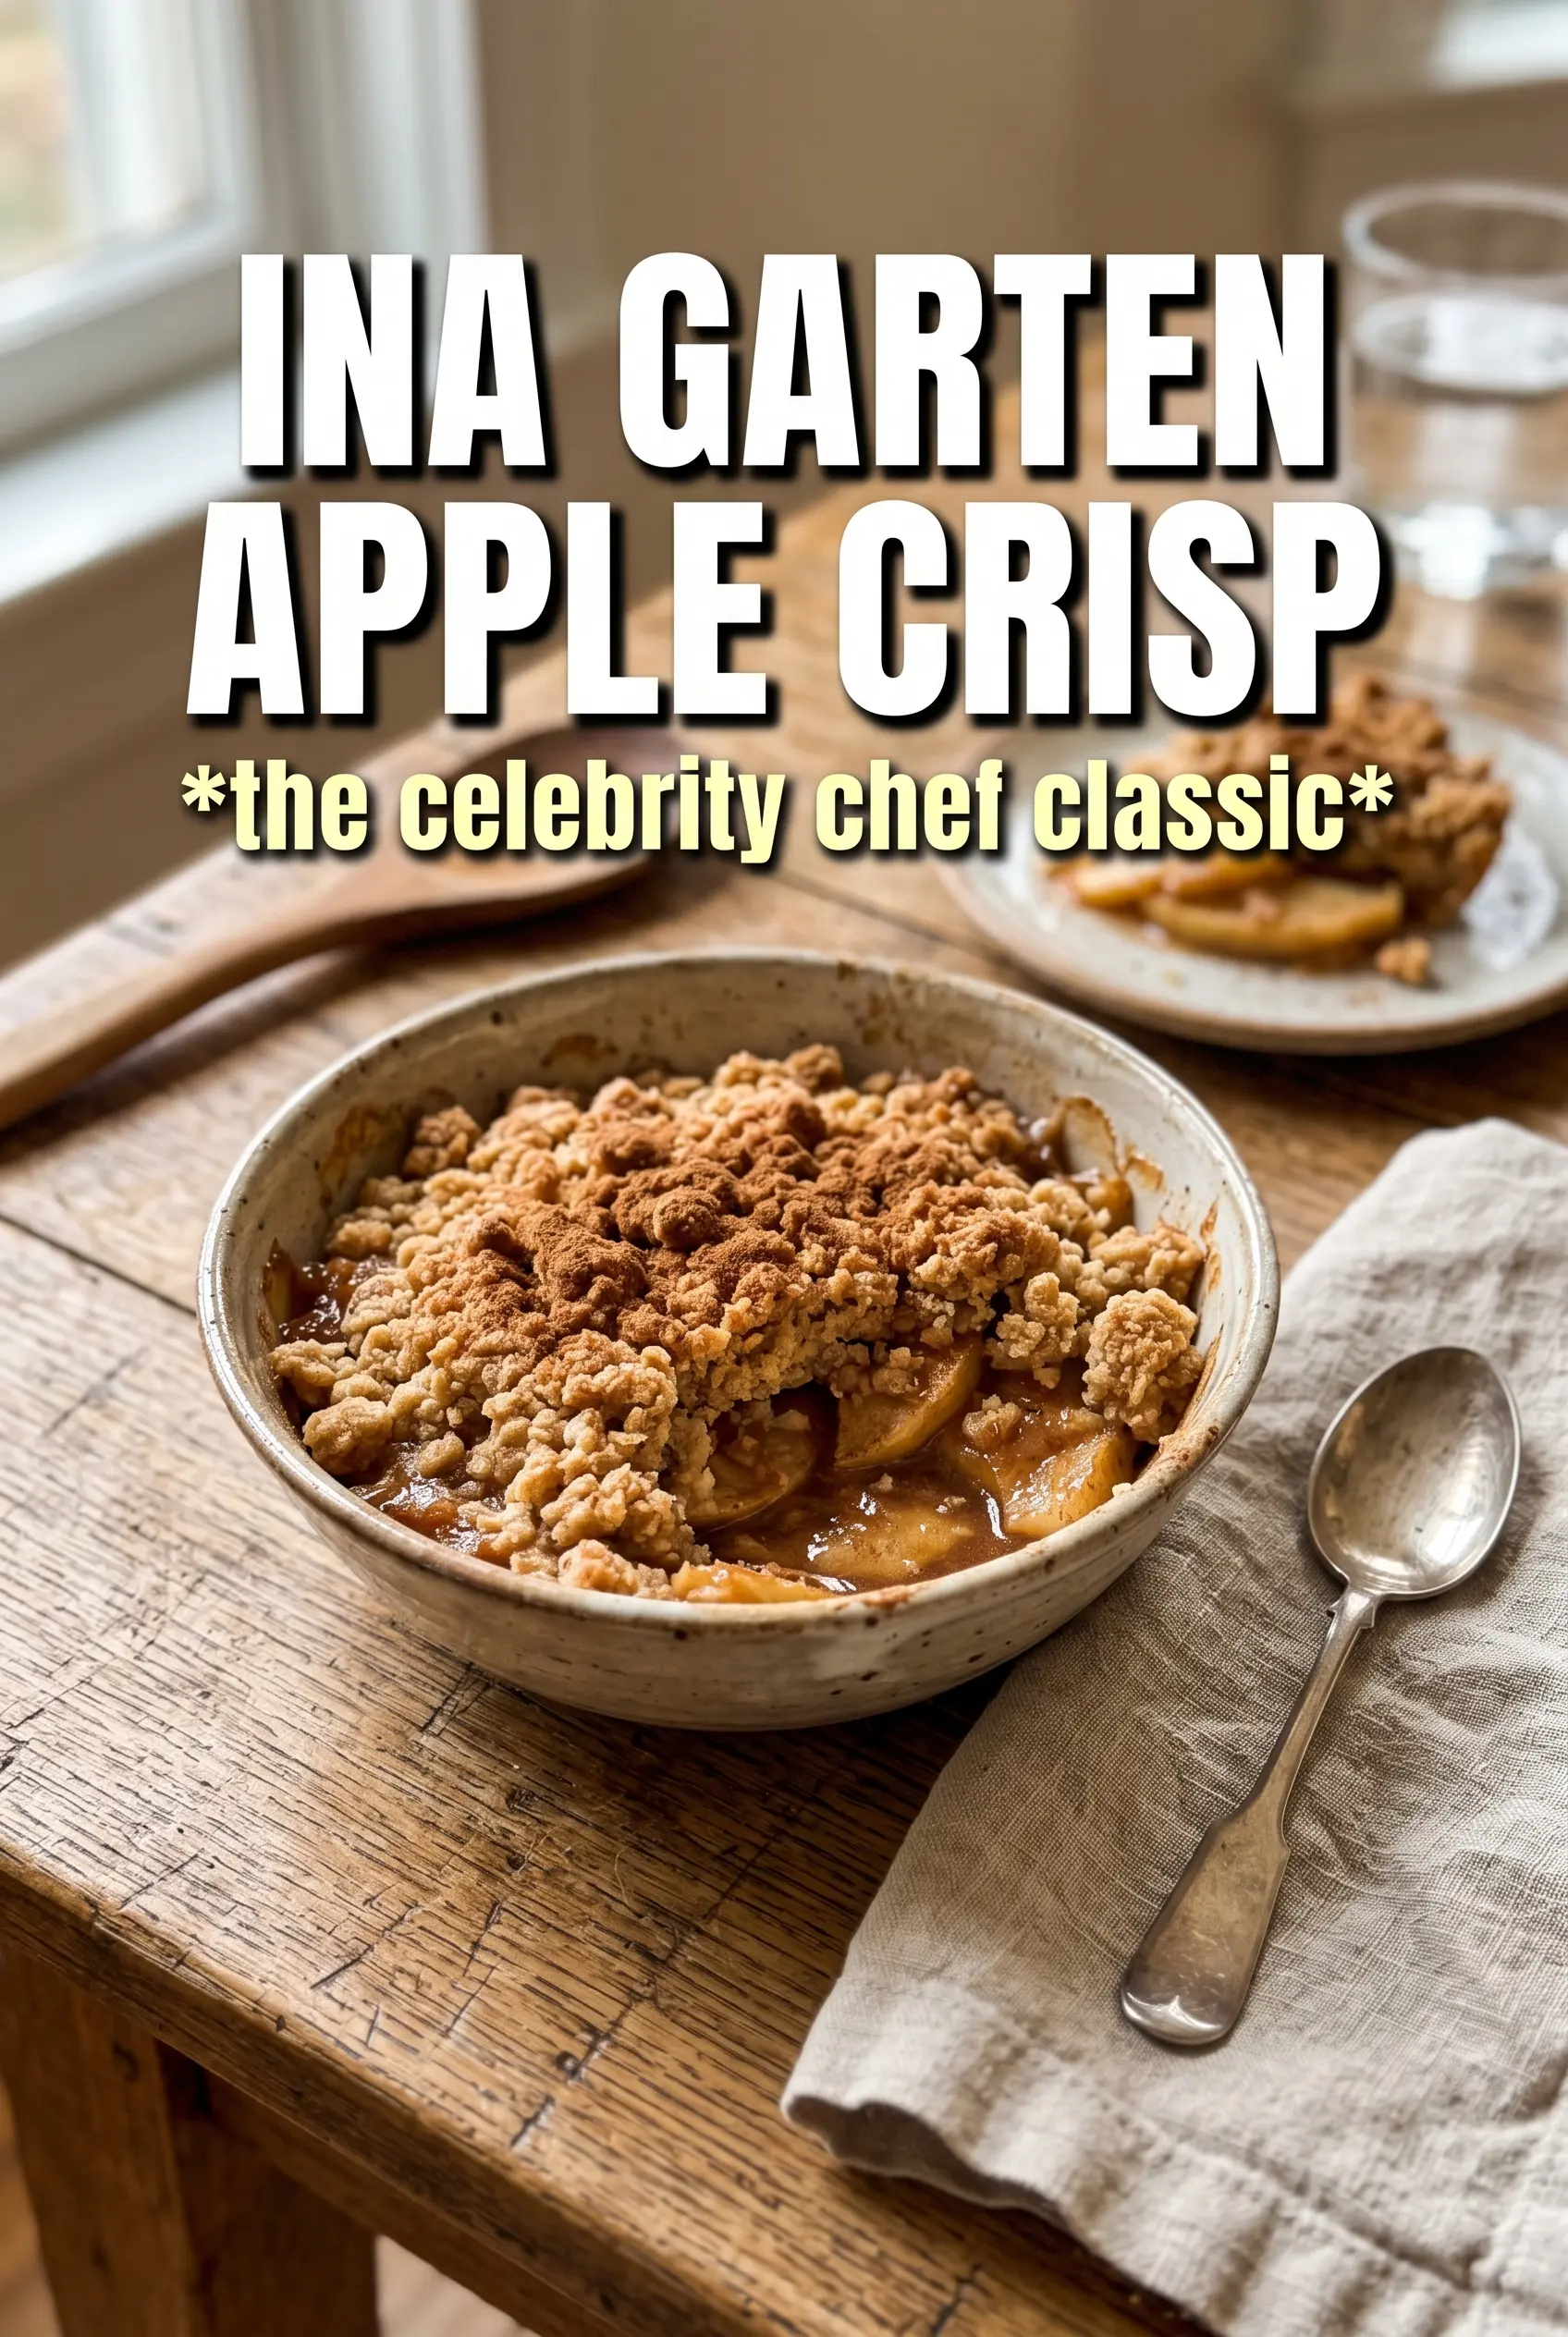
Ina Garten Apple Crisp
Ingredients
Equipment
Method
- Preheat the oven to 350F and set out a 14x9x2 inch baking dish (optional: place it on a sheet pan for easier handling).
- Toss the sliced apples with the orange zest, lemon zest, orange juice, lemon juice, granulated sugar, cinnamon, and nutmeg, then spread them evenly in the baking dish.
- Combine the flour, both sugars, salt, and oats, then add the cold diced butter and work it with your fingers until pea-sized clumps form with no dry patches.
- Scatter the crumble topping over the apples, covering every inch generously for an even golden top.
- Bake at 350F for 55-60 minutes until the top is golden brown and the apples are tender and bubbling, with visible caramelized edges.
- Serve warm with vanilla ice cream or whipped cream so the topping stays crisp while the filling is hot.