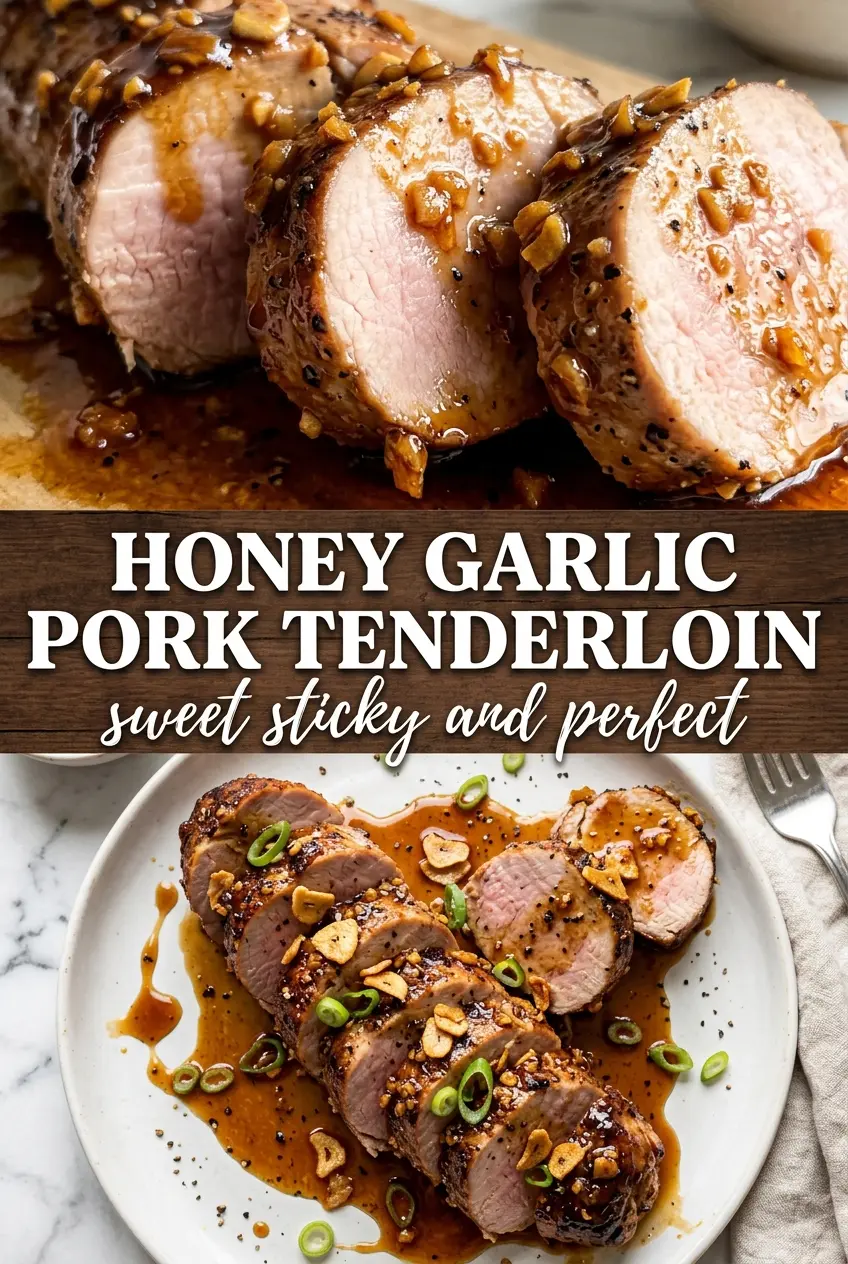
Sticky, glossy honey garlic pork tenderloin is the kind of dinner that looks like you worked much harder than you did. The glaze bakes down into a shiny amber coat, the edges caramelize just enough to taste deep and savory, and the center stays juicy instead of drying out. Sliced across the grain, the pork turns tender and blush-pink under that lacquered glaze, which is exactly why this one earns a permanent spot in my weeknight rotation.
The trick is using a fast sear before the roast. That first blast of heat builds flavor on the outside and gives the glaze something to cling to, while the oven finishes the pork gently enough that it stays tender. Honey needs the garlic, soy sauce, and Dijon to keep it from tasting flat, and the vinegar keeps the glaze from turning cloying.
Below, I’ve included the exact moments that matter most: when the glaze should go on, how to keep the pork from overcooking, and the small rest that keeps every slice juicy. If you’ve ever had pork tenderloin come out dry or bland, this version fixes both problems at once.
The glaze thickened into that sticky, shiny coating I always hope for, and the pork stayed juicy all the way through. I brushed on the second layer halfway through baking, and it made the finish taste like it came from a restaurant.
Save this honey garlic pork tenderloin for a glossy, oven-finished pork dinner with a sticky glaze and juicy center.
The Reason the Glaze Stays Sticky Instead of Burning
Honey can go from glossy to scorched fast, especially in a hot oven. The fix is to let the pork do the hard work first: a quick sear builds color without asking the glaze to carry the whole flavor load, then the oven finishes the meat at a temperature that gives the honey time to caramelize instead of blacken. That second brush of glaze halfway through the roast is what turns the surface from shiny to lacquered.
The other thing that matters here is thickness. Pork tenderloin is lean and narrow, which means it cooks fast and dries out fast. Roasting at 400°F keeps the outside moving quickly enough to develop color while the center stays tender, and pulling it at 145°F gives you pork that’s cooked through but still juicy after the rest.
What Each Ingredient Is Doing in This Glaze
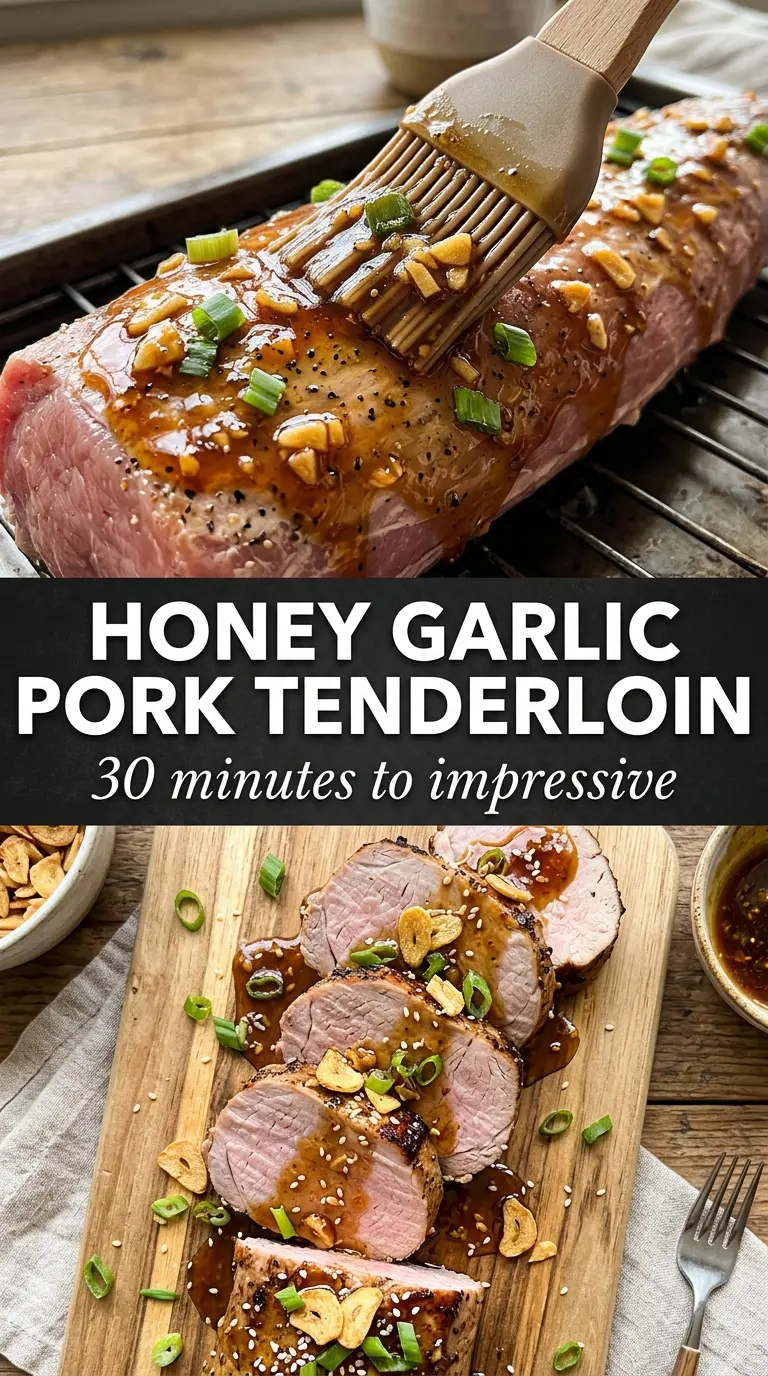
- Pork tenderloin — This cut is lean, mild, and fast-cooking, which makes it perfect for a sticky glaze. Don’t confuse it with pork loin; the shapes and cook times aren’t the same, and swapping in the wrong cut changes the whole timing.
- Honey — This is the body of the glaze and the reason it turns shiny and sticky. A mild honey works best, but any regular honey will do; just don’t cook it too aggressively or it can harden before the pork finishes.
- Garlic — Fresh minced garlic gives the glaze its sharp edge. Jarred garlic will work in a pinch, but fresh garlic tastes cleaner and browns more gracefully in the oven.
- Soy sauce, Dijon mustard, and apple cider vinegar — These three keep the glaze from tasting one-note. Soy sauce brings salt and depth, Dijon adds body and a little tang, and vinegar sharpens the sweetness so the sauce tastes balanced instead of sticky-sweet.
- Red pepper flakes — This is a small amount, but it keeps the glaze awake. If you want less heat, cut it back rather than leaving it out entirely, because the tiny bit of warmth helps the honey-garlic flavor stand up.
The 20 Minutes That Actually Matter
Searing for Color Before the Oven
Season the pork well and sear it in hot olive oil until it’s golden on all sides, about 2 minutes per side. You’re not cooking it through here; you’re building a browned crust that will hold up in the oven and catch the glaze. If the pan isn’t hot enough, the pork will pale and steam instead of sear, so wait for the oil to shimmer before adding the tenderloins.
Mixing and Brushing the Glaze
Stir the honey, garlic, soy sauce, Dijon, vinegar, and red pepper flakes until smooth, then brush on about half before the roast goes in. That first coat starts the caramelization, while the second coat keeps the surface glossy and deepens the flavor without flooding the pan. If the glaze seems thin, don’t worry; it thickens as it hits the heat.
Roasting to the Right Temperature
Transfer the skillet to the oven and roast until the thickest part reaches 145°F, brushing on the remaining glaze halfway through. Start checking early, because tenderloin can go from perfect to dry fast, especially if one piece is smaller than the other. If one tenderloin is thinner, pull both when the smaller one is ready and let the thicker one rest a little longer in the hot pan’s carryover heat.
Resting Before You Slice
Let the pork rest for 5 minutes before slicing. That short pause keeps the juices in the meat instead of spilling onto the cutting board the second your knife hits it. Slice across the grain, then spoon any glaze from the pan over the top so every piece gets that sticky finish.
How to Adapt This for Different Kitchens and Different Dinners
Make It Gluten-Free
Use tamari or a certified gluten-free soy sauce in place of regular soy sauce. The glaze will taste essentially the same, but you still get the saltiness and depth that keep the honey from taking over.
Dairy-Free and Already Naturally There
This recipe is already dairy-free, which makes it easy to serve without changes. The only thing to watch is your pan choice; an oven-safe skillet gives you the best glaze buildup because you don’t lose the browned bits when you transfer the pork.
Swap in a Spicy-Sweet Finish
Add a little more red pepper flakes or a teaspoon of chili garlic sauce if you want more heat. That change doesn’t just make it spicier; it cuts through the sweetness and gives the glaze a sharper edge that works especially well with rice or roasted vegetables.
Using One Larger Pork Loin Instead
If you only have pork loin, cook it longer and watch temperature carefully, because it’s thicker and leaner than tenderloin. The glaze still works, but the timing changes enough that you can’t rely on the same 18 to 22 minute roast window.
Storage and Reheating
- Refrigerator: Store leftovers in an airtight container for up to 3 days. The glaze will thicken as it chills, and the pork will slice a little firmer the next day.
- Freezer: It freezes well for up to 2 months, wrapped tightly and stored in a freezer bag or airtight container. Slice it first if you want faster thawing and easier portioning later.
- Reheating: Reheat gently in a covered skillet over low heat with a splash of water or extra glaze to loosen the sauce. High heat dries out tenderloin fast, so skip the microwave if you want to keep the pork juicy.
Answers to the Questions Worth Asking
Honey Garlic Pork Tenderloin
Ingredients
Equipment
Method
- Preheat the oven to 400°F so it’s ready for roasting right after searing.
- Season the pork tenderloins evenly with salt and pepper.
- Heat the olive oil in an oven-safe skillet over medium-high heat, then sear the tenderloins 2 minutes per side until golden all over.
- Mix honey, garlic, soy sauce, Dijon mustard, apple cider vinegar, and red pepper flakes, then brush half of the glaze over the seared pork.
- Transfer the skillet to the oven and roast 18–22 minutes, brushing with the remaining glaze halfway through.
- Keep roasting until the internal temperature reaches 145°F for a juicy center with blush-pink color.
- Rest the pork 5 minutes before slicing so the juices settle for cleaner cuts.
- Slice and garnish with sesame seeds and green onions to finish with a glossy, caramelized look.