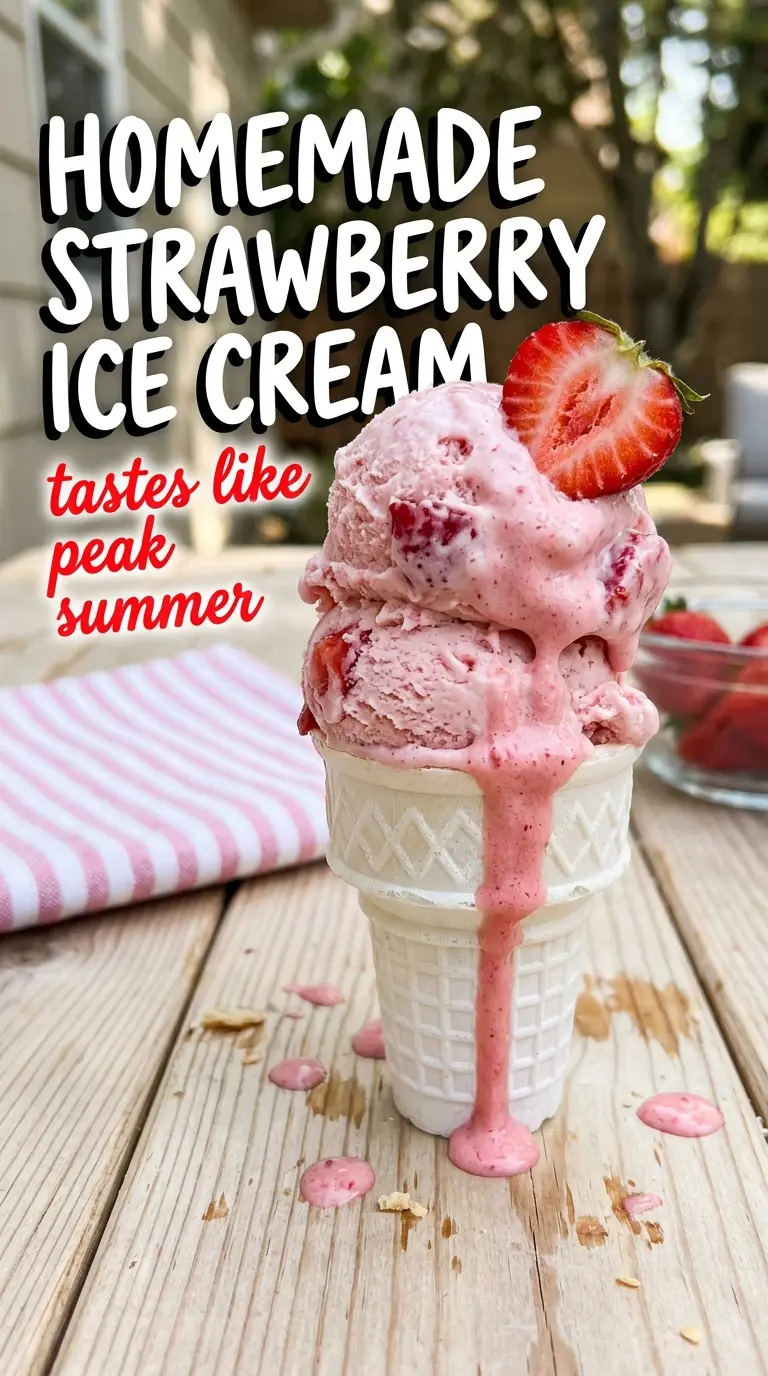
Scoops of homemade strawberry ice cream should taste like ripe berries first and cream second, with a clean strawberry flavor that stays bright instead of turning dull or icy. The best batches have a soft pink color from real fruit, a smooth custard base, and little pieces of strawberry scattered through every bite. That balance is what makes this version worth making again and again.
The key is layering the strawberry flavor instead of dumping it all in at once. Macerating the berries with sugar pulls out their juice, and adding the puree near the end of churning keeps the fruit fresh-tasting and gives you those visible berry bits instead of a fully blended pastel base. The custard also matters here: egg yolks and cooked cream give the ice cream body, which is what keeps it from freezing hard and flat.
Below, I’ve included the parts that matter most when you’re working with fresh strawberries and a custard base, plus a few variations for different ingredients and storage notes for keeping the texture scoopable.
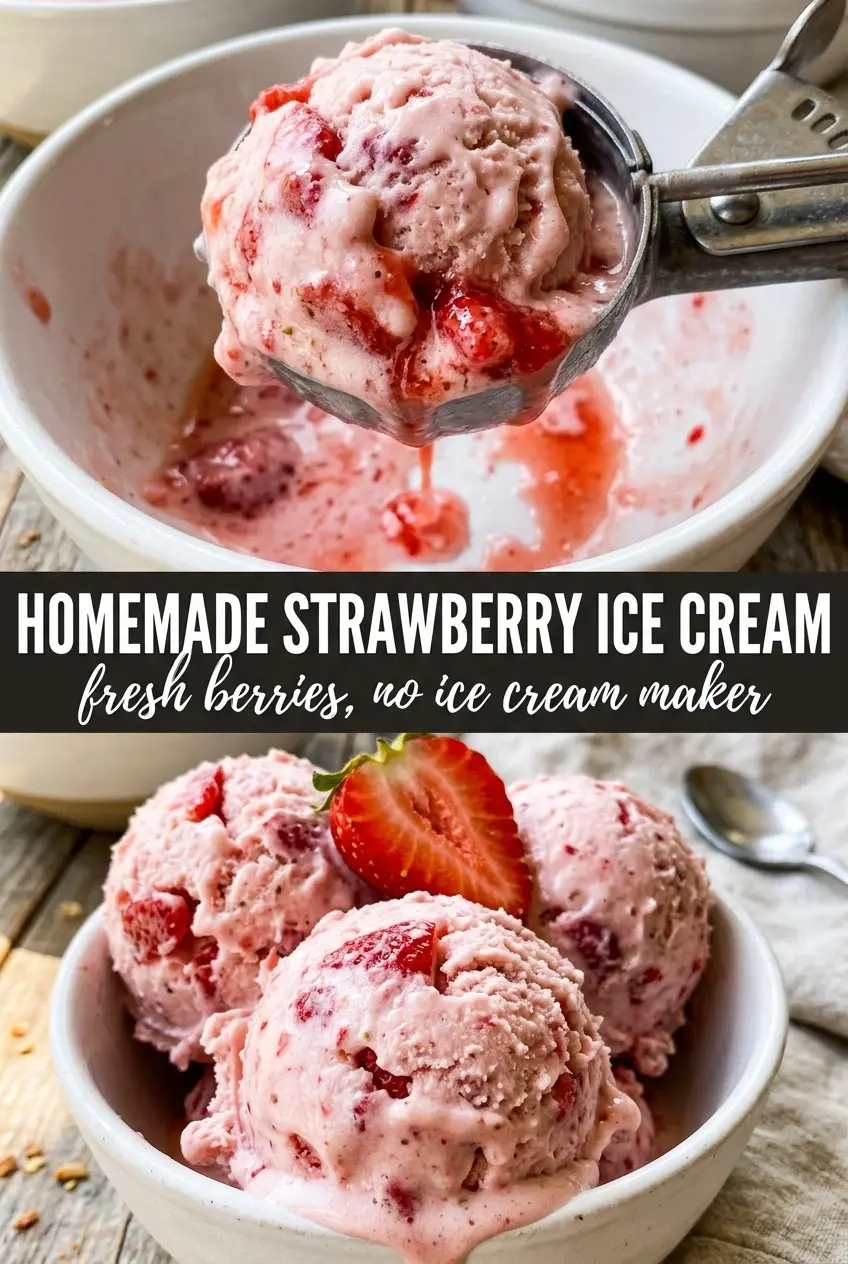
The strawberry flavor stayed bright and the custard turned out silky, not icy. I loved that the berry pieces stayed visible instead of disappearing into the base.
Save this strawberry ice cream for the days when you want real berry flavor, a creamy custard base, and visible fruit in every scoop.
The Part That Keeps Strawberry Ice Cream From Tasting Flat
The biggest mistake with strawberry ice cream is relying on the freezer to do the flavor work. Cold mutes fruit, and strawberries that taste sweet and fragrant on the counter can turn bland once they’re churned. Macerating them first pulls out their juices and concentrates the berry flavor before anything gets chilled.
The other thing that matters is when the fruit goes in. If you cook the strawberries into the custard, you lose the fresh aroma that makes this dessert taste like actual strawberries. Adding the puree in the last few minutes of churning keeps the flavor lively and leaves you with small berry flecks instead of a uniform pink base.
- Fresh strawberries — Use ripe berries with strong aroma. Pale, out-of-season berries can still work, but they’ll need the sugar and lemon more than the good ones do.
- Granulated sugar — Divided sugar does two jobs here: it draws juice from the berries and sweetens the custard base. Don’t cut it too far or the ice cream will freeze harder and taste muted.
- Lemon juice — This doesn’t make the ice cream tart. It wakes up the berry flavor and keeps the puree from tasting one-note.
- Heavy cream and whole milk — Cream gives richness, while whole milk keeps the base from becoming heavy or greasy. Swapping in lower-fat dairy will work, but the texture will be less smooth and more icy.
- Egg yolks — These thicken the custard and help it freeze with a softer scoop. If the yolks curdle, the heat was too high; strain the base before chilling.
- Vanilla extract — Just enough to round out the berry flavor without turning this into vanilla ice cream with strawberries mixed in.
What Each Ingredient Is Actually Doing in This Ice Cream
- Base ingredient (cream, milk, or custard) — This provides the foundation and richness. Quality matters.
- Sweetener (sugar, honey, or condensed milk) — This sweetens and prevents ice crystals. The ratio is critical.
- Flavor element (vanilla, fruit, chocolate, or other) — This defines the ice cream personality. Use quality ingredients.
- Egg yolks (if making custard base) — These create richness and silky texture. Optional but elevates ice cream.
- Churning (if using ice cream maker) — This incorporates air and prevents ice crystals. Critical for smooth texture.
- Freezing temperature and time — Proper freezing prevents rock-hard texture. Store at 0°F or below.
- Mix-ins (chocolate, cookies, fruit, or swirls) — These add texture and prevent one-dimensional flavor. Add near end of churning.
- Serving temperature (slightly soft, not rock hard) — This provides creamy mouthfeel. Remove from freezer 5 minutes before serving.
Cooking the Custard Without Scrambling the Eggs
Macerating the Strawberries
Toss the sliced strawberries with a portion of the sugar and the lemon juice, then let them sit until they release a glossy pool of juice and start to soften. Thirty minutes is enough to make a difference, but longer is fine if the berries are stubborn. Mash them for a chunkier ice cream or blend them for a smoother one, then chill the puree so it doesn’t warm the custard later.
Tempering the Yolks
Whisk the egg yolks with the remaining sugar until they look pale and thick. Heat the cream and milk until they’re steaming, not boiling, then drizzle the hot dairy into the yolks while whisking constantly. That slow stream is what keeps the eggs from scrambling; if you pour it in all at once, you’ll get streaks of cooked yolk instead of a silky base.
Thickening the Base
Return the mixture to the saucepan and cook it over medium-low heat, stirring without stopping, until it coats the back of a spoon and reaches 170-175°F. The custard should feel slightly heavier and leave a clear line when you run a finger through the coating on the spoon. If the heat climbs too fast, the eggs can seize, so keep the burner low and stay patient.
Chilling, Churning, and Folding in the Fruit
Strain the custard, then stir in the vanilla and salt and cool it completely before it goes into the fridge. A hot or even lukewarm base won’t churn properly and will leave you with a soft, loose mixture that takes forever to freeze. Churn according to your machine’s instructions, adding the strawberry puree in the last five minutes so it folds in without disappearing.
How to Change the Texture Without Losing the Strawberry Flavor
Dairy-Free Version With Coconut Cream
Use full-fat coconut milk in place of the cream and milk, but expect a light coconut note in the finished ice cream. The base will still churn well, though it won’t taste quite as neutral or custardy as the dairy version.
No-Churn Shortcut
Skip the custard and fold the strawberry puree into softly whipped sweetened cream, then freeze in a loaf pan. It’s quicker, but the texture will be lighter and less dense, and you won’t get the same rich scoop that comes from egg yolks.
Extra Strawberry, Less Sugar
If your berries are very sweet, trim the sugar slightly in the puree, not the custard. The custard sugar helps the ice cream stay scoopable, while the fruit sugar is the part you can adjust to match the berries you bought.
Storage and Reheating
- Refrigerator: The churned base should be frozen right away; once frozen, it keeps in the freezer for about 2 weeks with the best texture in the first 5 to 7 days.
- Freezer: Store it in a shallow, airtight container with plastic wrap pressed against the surface. Homemade ice cream gets harder than store-bought because it doesn’t have stabilizers, so this one is best eaten while the texture is still creamy.
- Reheating: Not applicable, but if it freezes too firm, let it sit at room temperature for 5 to 10 minutes before scooping. Don’t microwave it, or the edges will melt before the center softens.
Answers to the Questions Worth Asking
Homemade Strawberry Ice Cream
Ingredients
Equipment
Method
- Toss the sliced strawberries with 1/4 cup sugar and the lemon juice, then let them macerate for 30 minutes. Mash or blend to a chunky puree and refrigerate until needed.
- Whisk the egg yolks with the remaining 1/2 cup sugar until pale and thick. Keep whisking until the mixture looks lighter and slightly thicker, about the consistency of loose cream.
- Heat the heavy cream and whole milk in a saucepan over medium heat until steaming. Do not boil—look for steam rising from the surface.
- Slowly whisk the steaming dairy into the egg yolk mixture. Pour in gradually while whisking so the yolks don’t scramble.
- Return the mixture to the saucepan and cook over medium-low heat, stirring constantly, until it thickens to coat the back of a spoon (170–175°F). Watch the custard stay on the spoon when you swipe a finger through it.
- Strain the custard into a clean container and stir in the vanilla and salt. Scrape the underside of the strainer until you’ve worked through all the custard.
- Cool completely at room temperature, then refrigerate at least 2 hours. Cover to prevent a skin from forming, and refrigerate until well chilled.
- Churn the custard in an ice cream maker according to the manufacturer’s instructions. Add the strawberry puree during the last 5 minutes of churning for visible fruit throughout every scoop.
- Transfer the churned ice cream to a container and freeze at least 2 hours until firm. Freeze until scoopable and set, showing a creamy texture with strawberry pieces.