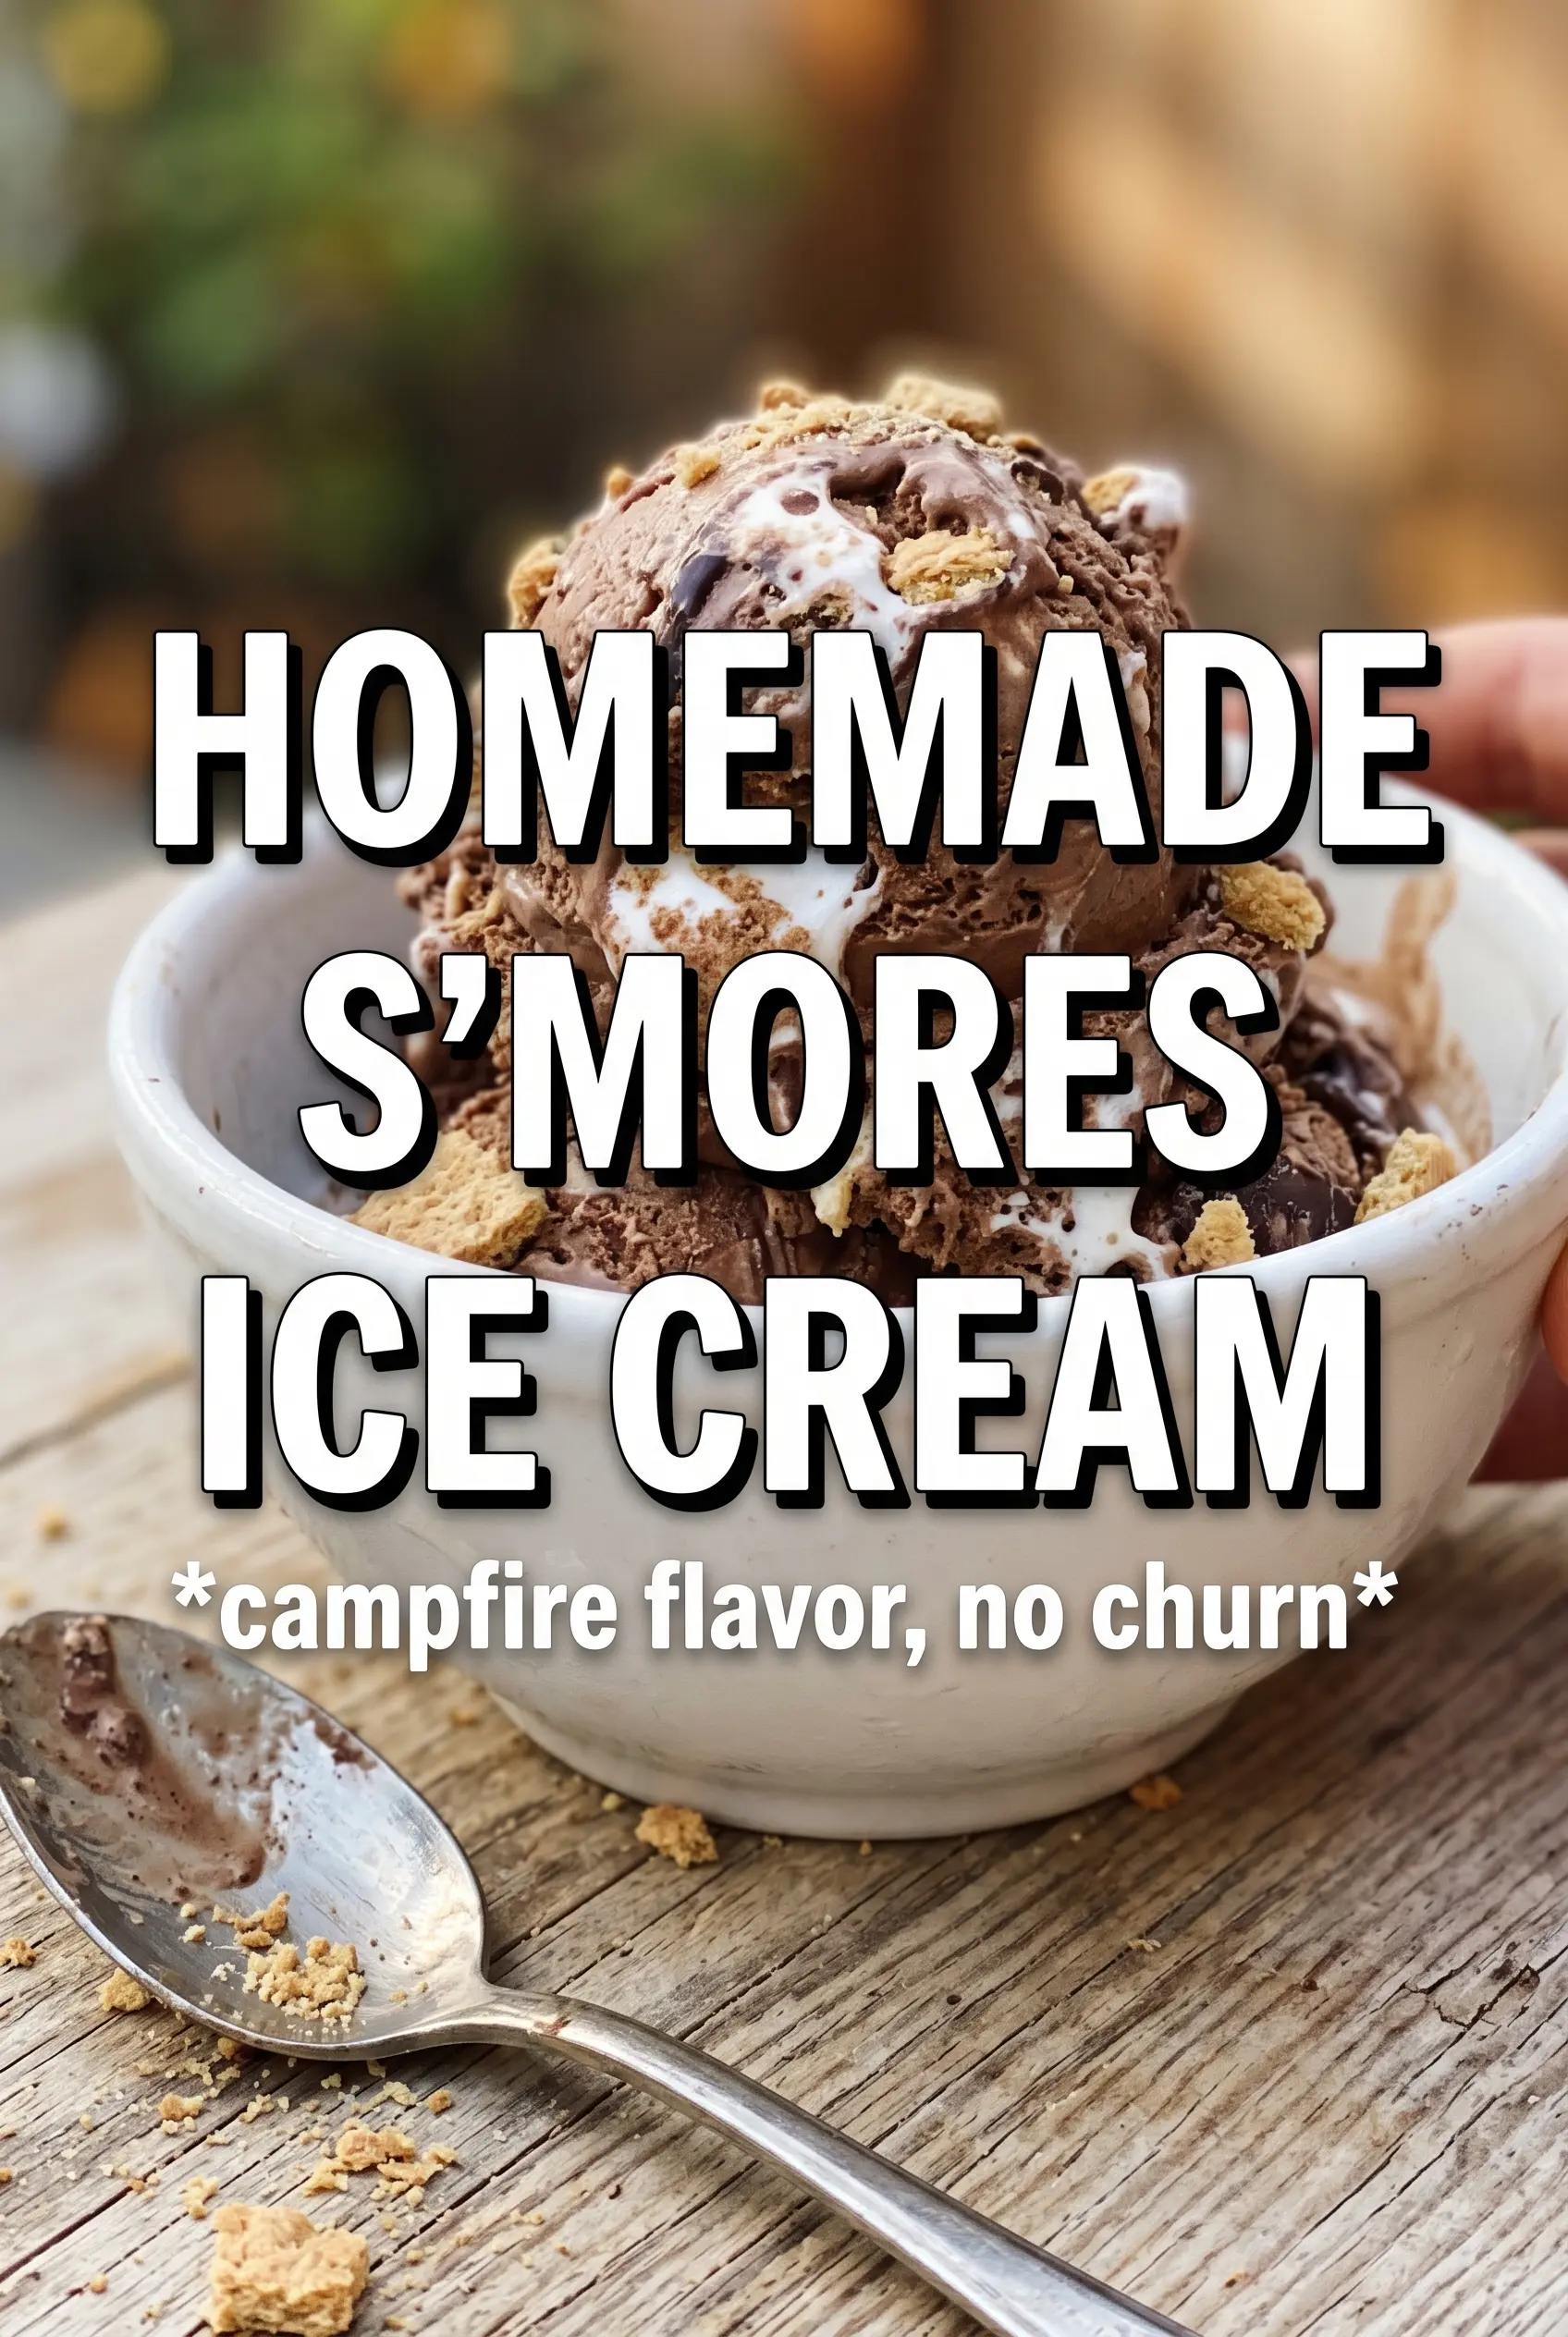
Fudgy chocolate ice cream, toasted marshmallow swirls, and graham cracker crunch come together in a no-churn dessert that tastes like the best part of a campfire without any of the smoke. Each scoop hits that classic s’mores balance: cold and creamy first, then a ribbon of sticky fudge, then a little toasted sweetness and crumbly graham texture at the finish.
What makes this version work is the way the mix-ins are handled. The marshmallows get toasted before they go into the base, which gives them a deeper flavor instead of just melting into bland little pockets. The condensed milk keeps the ice cream smooth without an ice cream machine, and the cocoa powder gives the base enough chocolate backbone to stand up to the sweetness of the fudge and marshmallows.
You’ll find the exact layering trick that keeps the fudge from disappearing into the base, plus a few swaps that help if you want a stronger chocolate hit or a gluten-free version. The freezing time matters here, and I’ll point out what the ice cream should look like when it’s ready to scoop cleanly.
The toasted marshmallows made all the difference, and the fudge stayed in little ribbons instead of mixing into the whole base. It froze up creamy, not icy, and the graham cracker pieces still had a nice crunch after a full night in the freezer.
Keep this s’mores ice cream recipe handy for the nights when you want toasted marshmallow swirls, graham cracker crunch, and no-churn chocolate cream in one scoop.
The Part Most No-Churn Ice Cream Gets Wrong: Mix-Ins That Disappear
No-churn ice cream can turn muddy fast if every mix-in gets folded straight into the base at the end. The trick here is to treat the marshmallows, fudge, and graham crackers like separate jobs. Toasting the marshmallows first gives you that campfire edge, while the fudge gets layered instead of stirred through, so you still get distinct ribbons after freezing.
Another thing that matters: the whipped cream needs to hit stiff peaks before the condensed milk mixture goes in. If the cream is soft, the base won’t hold enough air and the finished ice cream can set dense instead of scoopable. Fold gently and stop as soon as the streaks disappear. Overmixing is how you lose the light texture that makes no-churn ice cream work.
What Each Ingredient Is Actually Doing in This Ice Cream

- Heavy cream — This is the base that gets whipped into volume, and there isn’t a true stand-in if you want the same airy, creamy result. Lower-fat cream won’t hold the same structure, so the ice cream tends to freeze harder and feel less smooth.
- Sweetened condensed milk — This keeps the mixture soft enough to scoop straight from the freezer and adds the sweetness that balances the cocoa. Don’t swap in regular milk and sugar here; the texture won’t be the same because condensed milk brings body, not just sweetness.
- Unsweetened cocoa powder — Cocoa gives the base its chocolate depth without thinning the mixture. Use a good one if you can, since this is the main chocolate flavor in the base; Dutch-process cocoa will taste a little smoother and darker, while natural cocoa gives a sharper edge.
- Mini marshmallows — Toasting them is what makes this taste like s’mores instead of just chocolate ice cream with candy mixed in. Larger marshmallows can work in a pinch, but mini marshmallows toast more evenly and fold through the base more cleanly.
- Graham cracker crumbles — These add the dry, cookie-like crunch that keeps every bite from turning one-note. Crush them fairly coarse so you still get texture after freezing; fine crumbs turn paste-like once they sit in the cream.
- Hot fudge sauce — This is the ribbon that ties the whole dessert together. A thicker fudge sauce works best because it stays in swirls instead of blending into the ice cream base.
Building the Swirls So the Fudge Stays Distinct
Toast the Marshmallows First
Spread the mini marshmallows in a single layer and broil them just until the tops go golden with a few darker spots. They go from toasted to scorched fast, so keep the pan close and watch the color instead of the clock. Let them cool for a minute before folding them in, or they’ll start melting the whipped cream and make the base loose.
Whip the Cream to the Right Point
Beat the heavy cream until it holds stiff peaks and the whisk leaves defined lines. Soft peaks won’t give the ice cream enough structure, and the finished texture can turn heavy. Stop as soon as the peaks stand up on their own; if the cream looks grainy, you’ve gone too far and need to start over.
Fold Without Deflating the Base
Whisk the condensed milk, cocoa, vanilla, and salt together until the cocoa is fully dissolved, then fold that mixture into the whipped cream in gentle passes. The goal is to keep as much air in the cream as possible, so use a spatula and scrape from the bottom up. Once the mixture is mostly combined, fold in the toasted marshmallows and graham crackers just until they’re distributed.
Layer, Swirl, and Freeze
Spoon the mixture into a loaf pan in layers, drizzling hot fudge between each layer and dragging a knife through once or twice for visible ribbons. Don’t over-swirl or the fudge will disappear into the base and you’ll lose the contrast that makes each scoop interesting. Cover tightly and freeze for at least 6 hours, or overnight if you want clean scoops that hold their shape.
How to Adapt This for a Different Crowd or Diet
Make It Gluten-Free
Use certified gluten-free graham crackers and check the hot fudge label for wheat-based thickeners. The texture stays the same, and this is the easiest swap because the rest of the recipe is already gluten-free.
Go Deeper on Chocolate
Add 2 tablespoons more cocoa powder for a darker base, or swap half the hot fudge for chocolate sauce if you want a softer ribbon. The result is less candy-sweet and more like a real chocolate ice cream with s’mores pieces folded in.
Use Different Crunch
If you want a nuttier bite, replace half the graham crackers with chopped chocolate wafer cookies or a plain crunchy cookie. The flavor shifts away from classic s’mores a little, but the texture stays lively and the ice cream still freezes well.
Storage and Reheating
- Refrigerator: This ice cream isn’t meant to be stored in the fridge; it will melt and lose its structure within an hour or two.
- Freezer: Keep it covered tightly in the loaf pan or transfer it to an airtight container. It holds well for about 2 weeks, though the graham crackers soften a bit after the first few days.
- Reheating: Don’t reheat it. For the best scoop, let it sit at room temperature for 5 to 10 minutes so the edges soften slightly before serving.
Questions I Get Asked About This Recipe
Homemade S'mores Ice Cream
Ingredients
Equipment
Method
- Preheat the broiler on HIGH and place mini marshmallows on a sheet pan in an even layer. Broil for 1-2 minutes until golden, watching constantly so they don’t scorch.
- Whip the heavy cream until stiff peaks form. Stop as soon as it looks thick and holds a peak when you lift the whisk.
- Whisk sweetened condensed milk, unsweetened cocoa powder, vanilla extract, and salt until smooth and uniform in color. Stir thoroughly so no cocoa streaks remain.
- Fold the cocoa mixture into the whipped cream until no white streaks remain. Use gentle folding to keep the foam airy.
- Fold in the toasted mini marshmallows and graham cracker crumbles. Mix just until evenly distributed.
- Layer the mixture into a 9x5 loaf pan, drizzling hot fudge between layers. Swirl with a knife to create marbled streaks through the ice cream.
- Freeze uncovered for at least 6 hours or overnight until firm. Once set, scoop straight from the loaf pan.