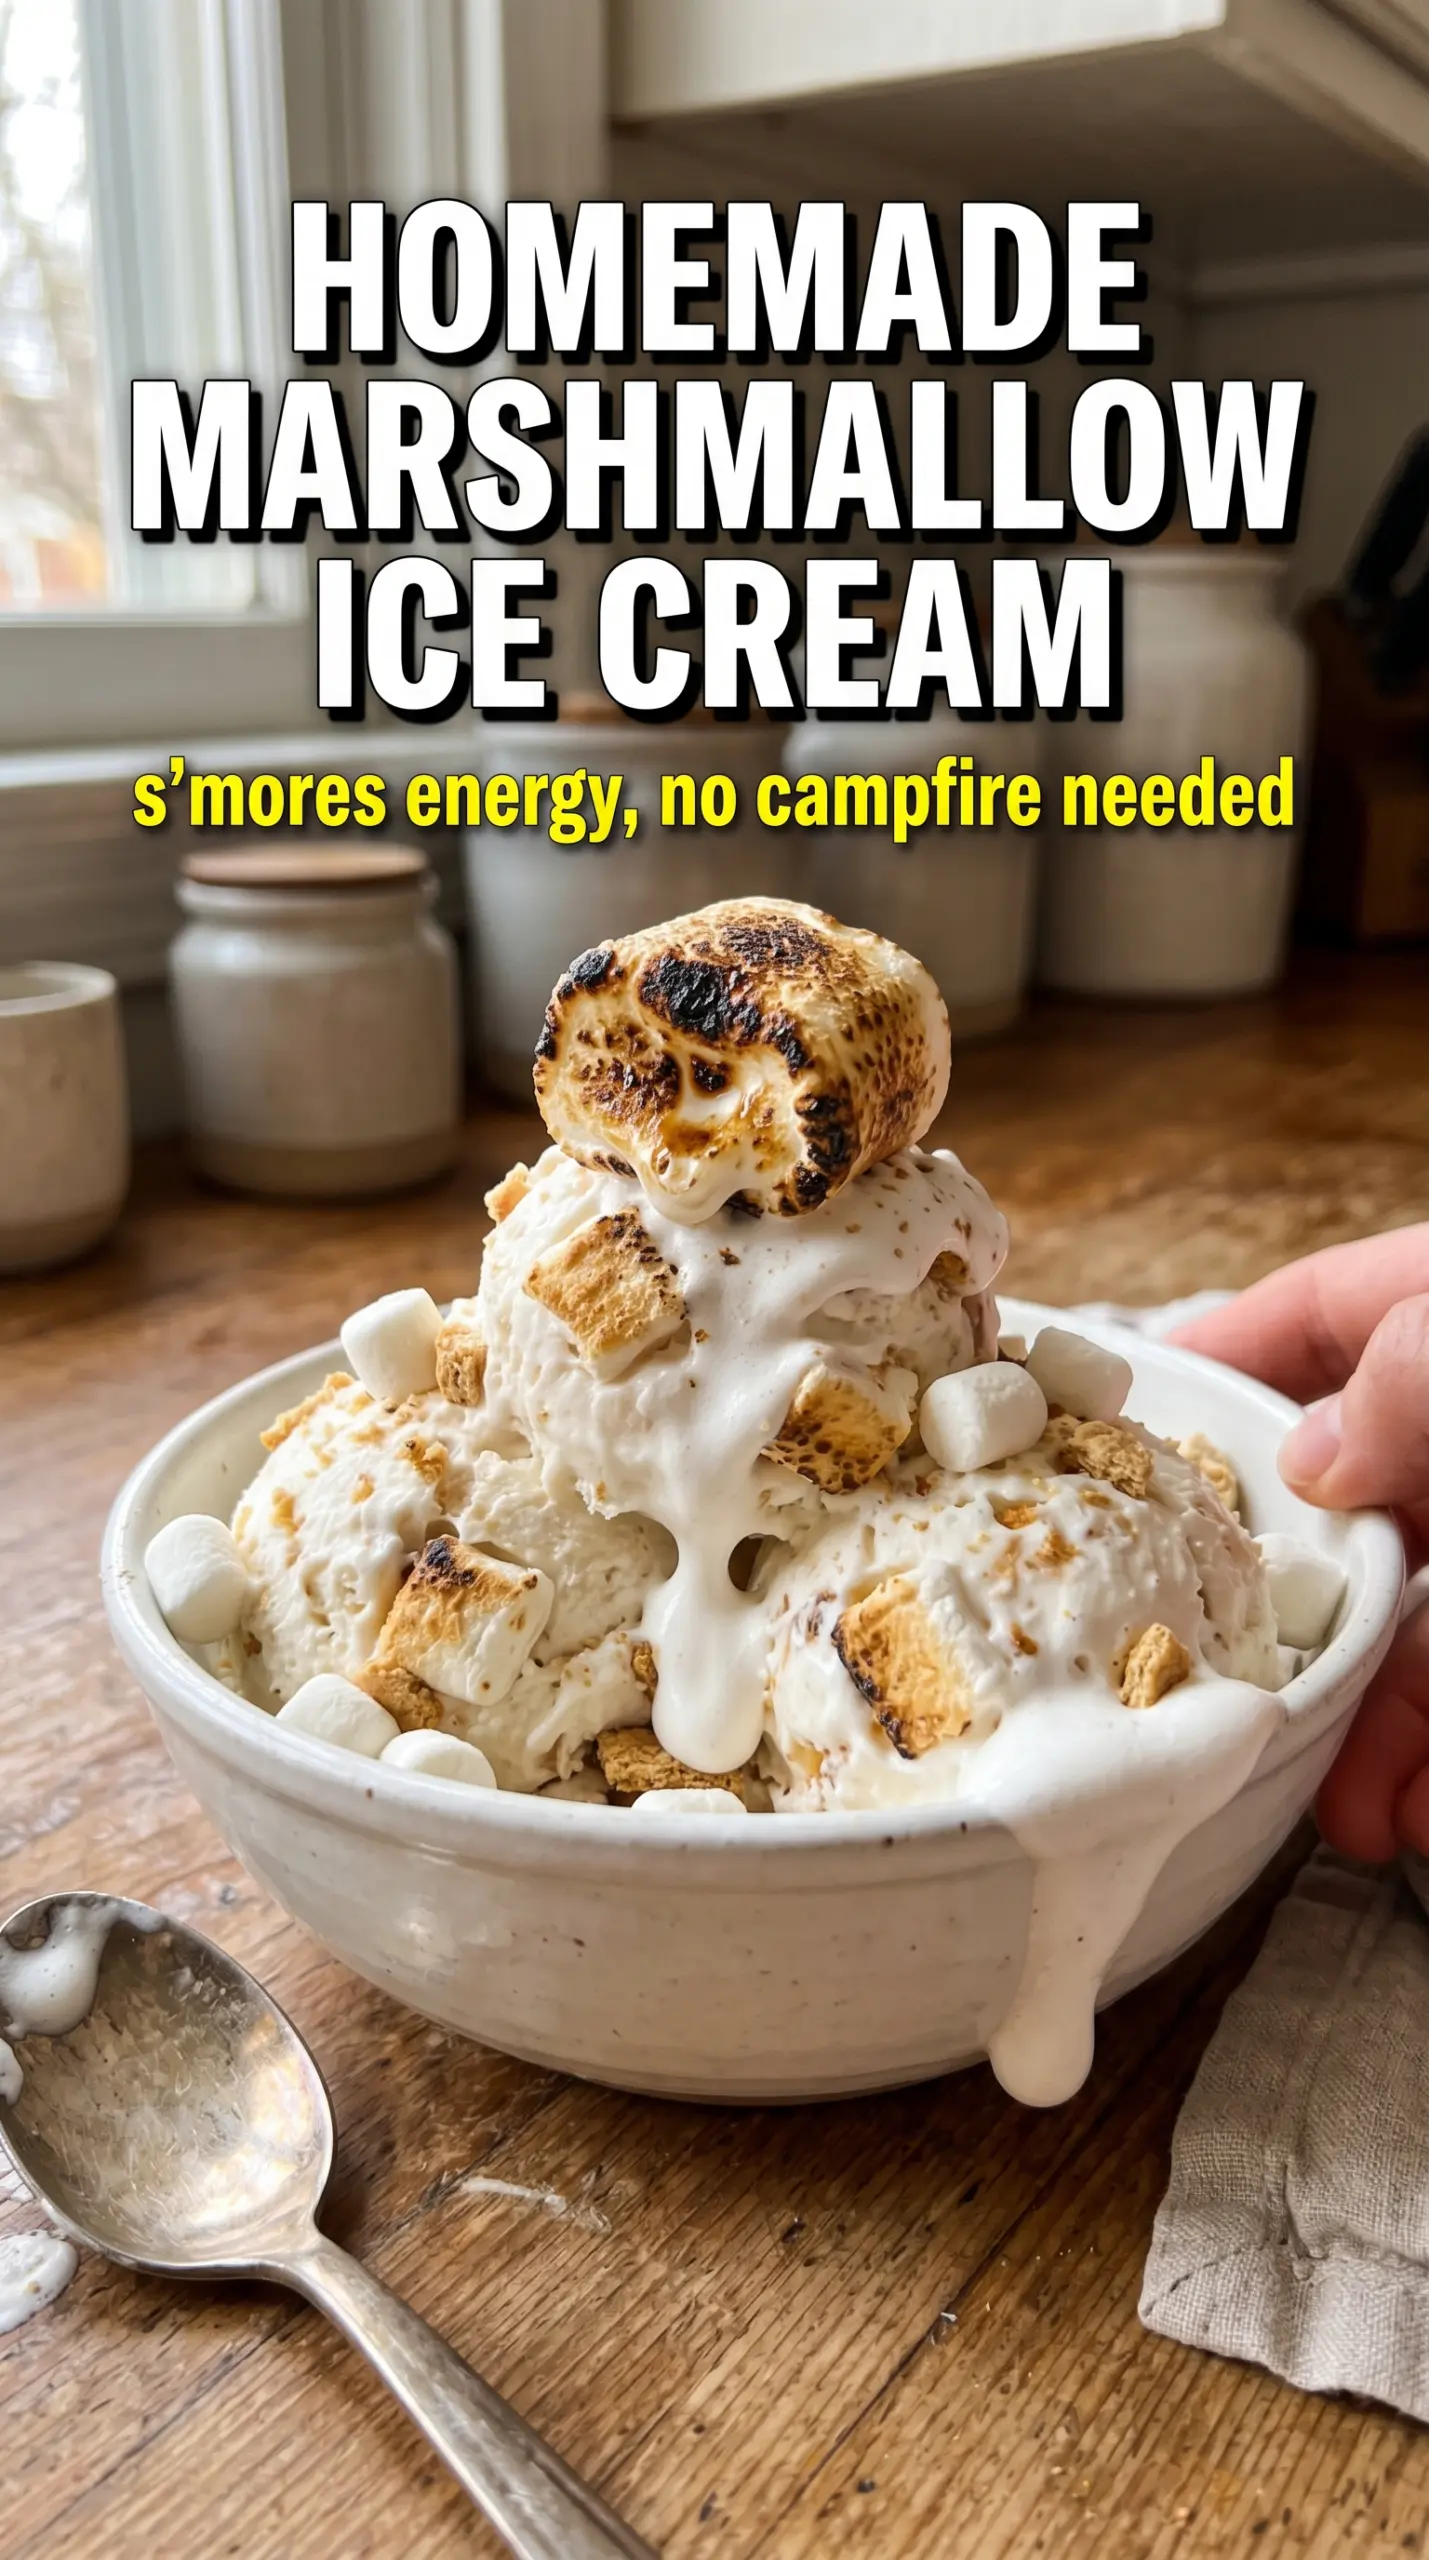
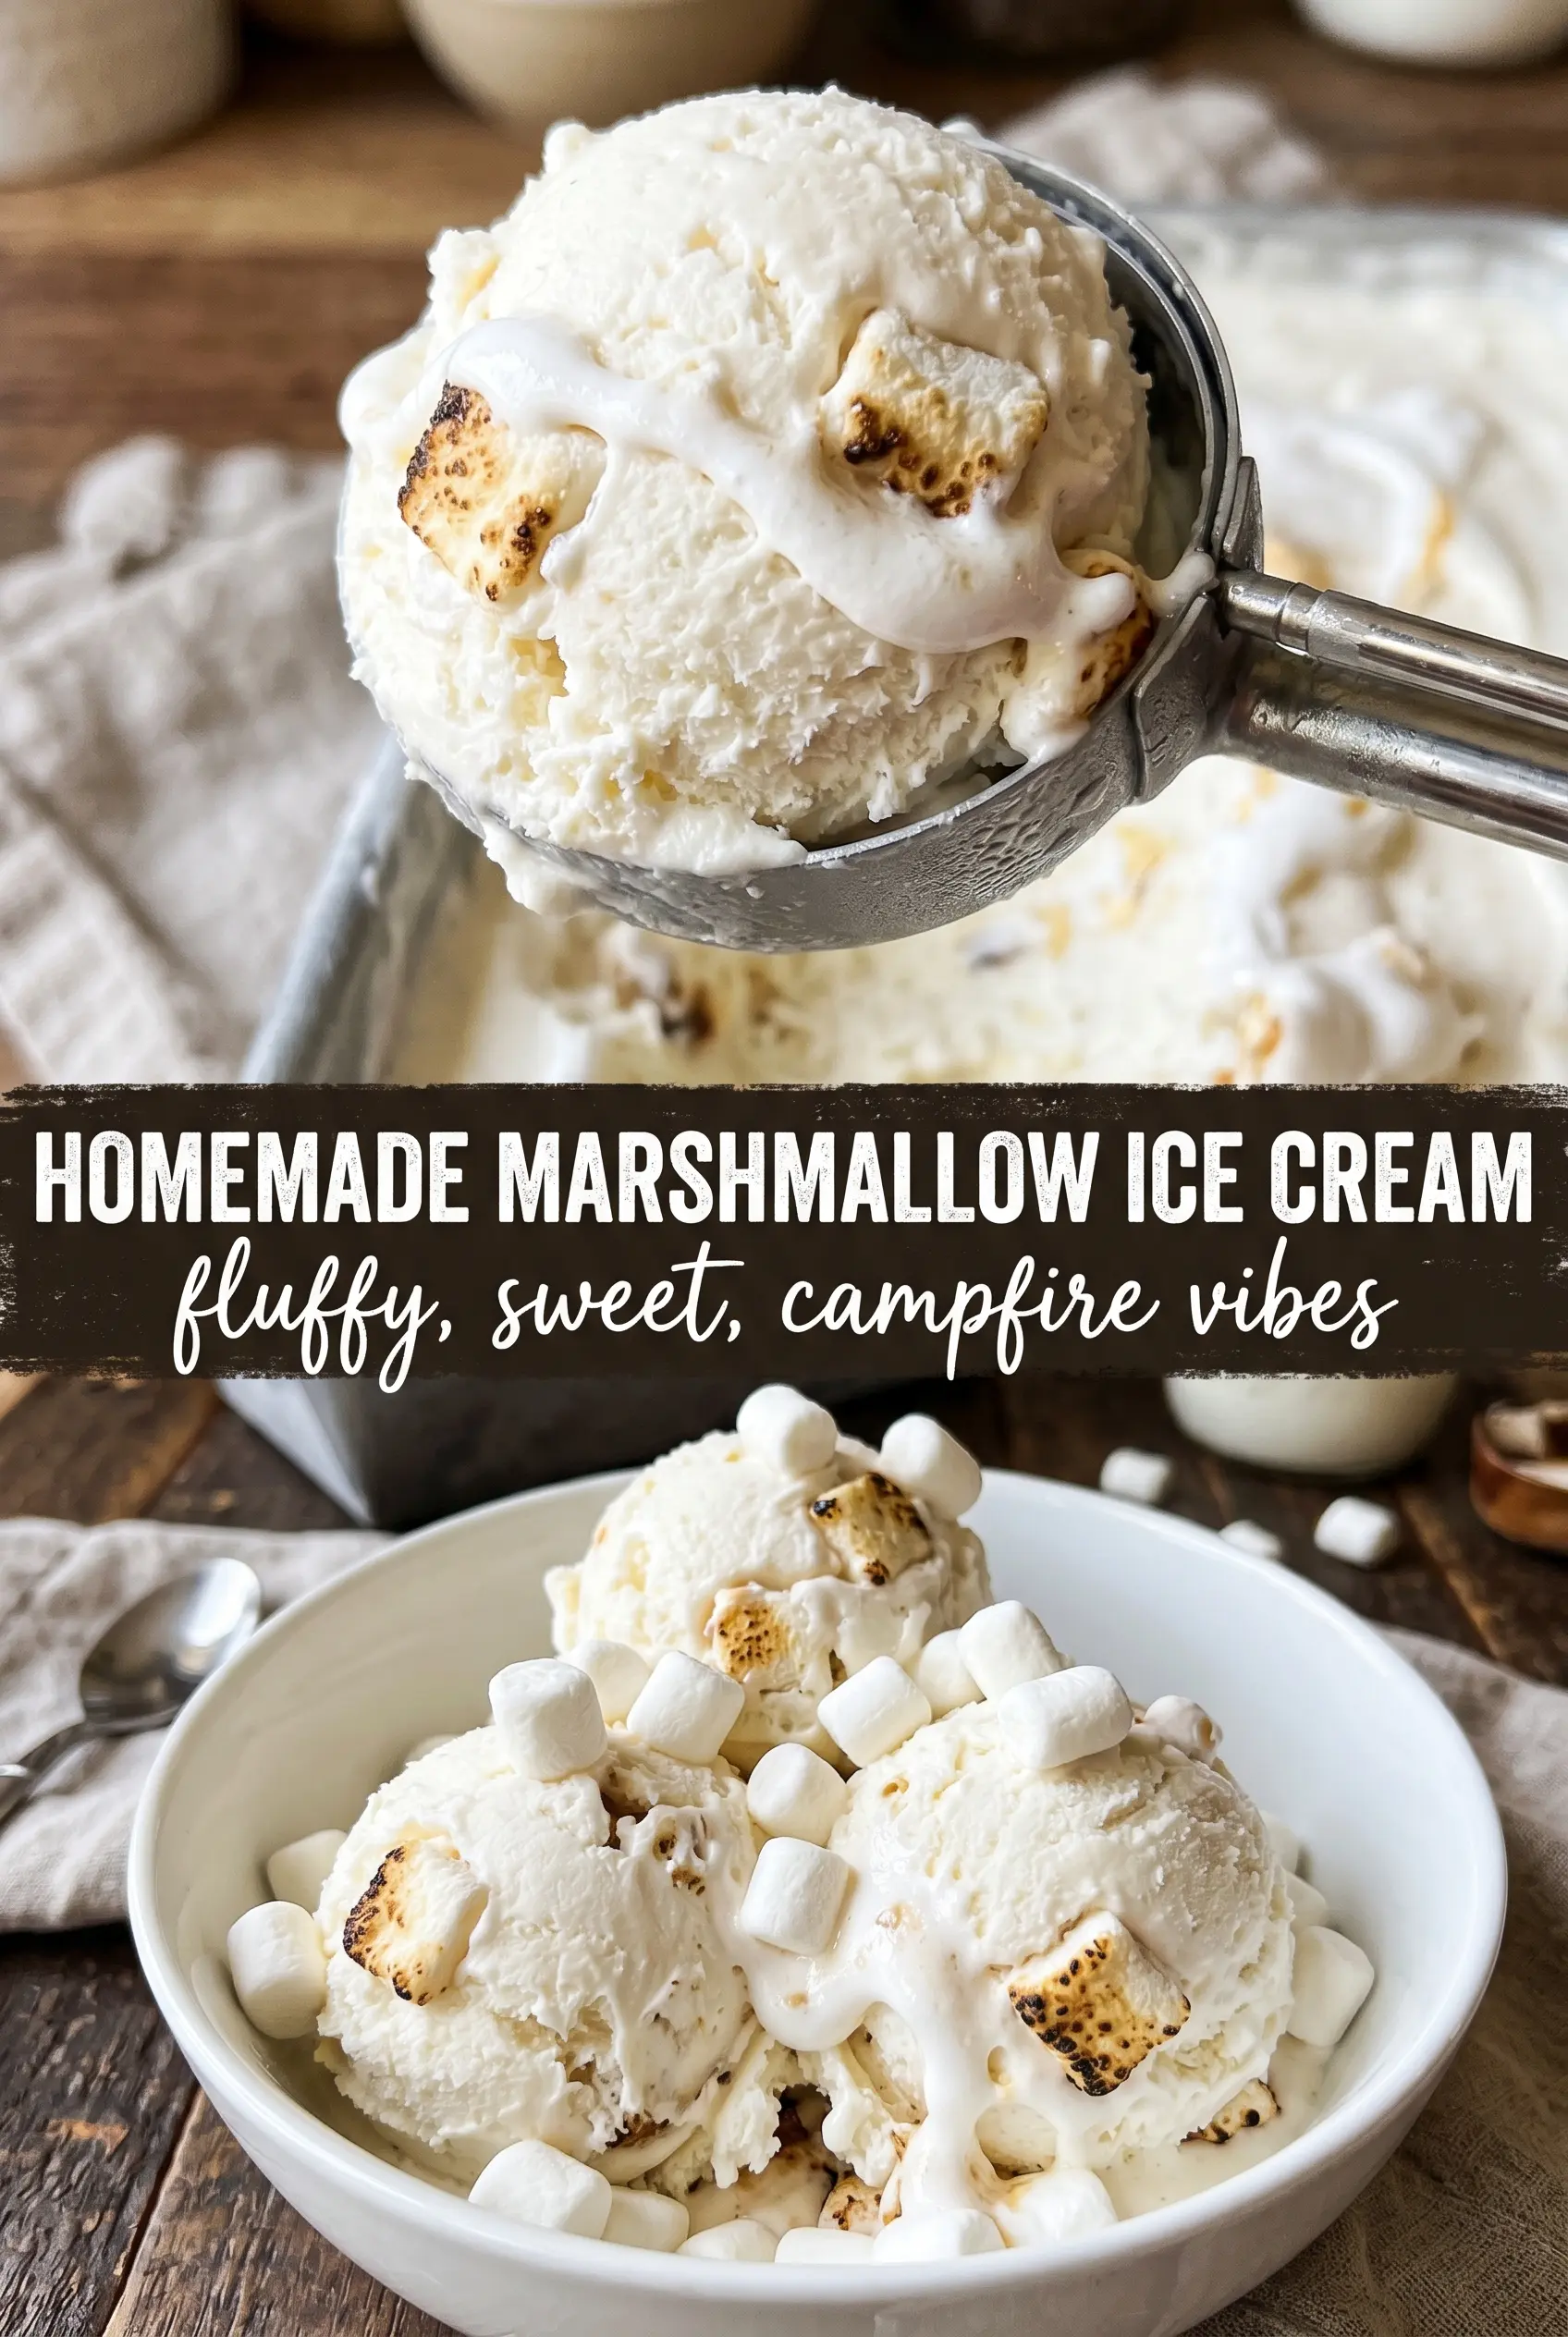
Cloud-white marshmallow ice cream lands with that soft, billowy texture you only get when the base is cooked carefully and churned cold. It tastes like a spoonful of the fluffiest part of a marshmallow, but richer, smoother, and cold enough to keep each bite light instead of sticky-sweet. The mini marshmallows folded in at the end give it little chewy pockets that make every scoop more interesting.
The custard base matters here. Egg yolks give the ice cream body, and cooking the mixture to 175°F thickens it just enough to freeze creamy instead of icy. Marshmallow creme melts right into the warm custard, which is much easier than trying to add regular marshmallows and hoping they disappear. Chill it fully before churning, though, because a cold base is what turns this from soft serve into real homemade ice cream.
Below, I’m walking through the texture cues that matter most, plus a toasted marshmallow variation if you want a deeper campfire note without losing that fluffy center.
The custard turned out silky and the marshmallow flavor stayed soft instead of getting sugary or icy. I folded in the mini marshmallows at the end and they stayed chewy even after freezing overnight.
Save this homemade marshmallow ice cream for the days when you want a cloud-soft scoop with real custard richness and chewy mini marshmallow bits.
The Trick to Keeping Marshmallow Flavor Soft Instead of Overpowering
Marshmallow desserts can tip from gently sweet to cloying fast, and the fix is balance. The custard base gives this ice cream enough richness to carry the marshmallow creme, while the salt and vanilla keep the flavor round instead of one-note. If you’ve ever had marshmallow ice cream taste flat, it usually needed either more dairy structure or a little more salt to sharpen the sweetness.
The other thing that matters is temperature. Marshmallow creme melts smoothly into warm custard, but if you add it while the base is still too hot and boiling, the texture can loosen more than you want. Pull the pan off the heat once it reaches 175°F, then whisk until the creme disappears completely and the mixture turns glossy.
- Marshmallow creme — This is the main flavor and the easiest way to get that unmistakable marshmallow taste without gritty bits. Regular marshmallows won’t melt into the base as cleanly, so they’re better saved for folding in at the end.
- Heavy cream and whole milk — The cream gives body, while whole milk keeps the ice cream from feeling heavy. Skimping on fat here makes the finished ice cream icier and less plush.
- Egg yolks — They thicken the custard and help it freeze with a smoother, denser scoop. There isn’t a perfect substitute if you want the same classic texture, though a cornstarch-based base can work in a pinch.
- Mini marshmallows — Fold these in after churning so they stay distinct. If they go into the base too early, they dissolve and vanish.
What Each Ingredient Is Actually Doing in This Ice Cream
- Base ingredient (cream, milk, or custard) — This provides the foundation and richness. Quality matters.
- Sweetener (sugar, honey, or condensed milk) — This sweetens and prevents ice crystals. The ratio is critical.
- Flavor element (vanilla, fruit, chocolate, or other) — This defines the ice cream personality. Use quality ingredients.
- Egg yolks (if making custard base) — These create richness and silky texture. Optional but elevates ice cream.
- Churning (if using ice cream maker) — This incorporates air and prevents ice crystals. Critical for smooth texture.
- Freezing temperature and time — Proper freezing prevents rock-hard texture. Store at 0°F or below.
- Mix-ins (chocolate, cookies, fruit, or swirls) — These add texture and prevent one-dimensional flavor. Add near end of churning.
- Serving temperature (slightly soft, not rock hard) — This provides creamy mouthfeel. Remove from freezer 5 minutes before serving.
Building the Custard Without Scrambling the Yolks
Warming the Dairy
Heat the cream and milk until steaming, not boiling. You want tiny bubbles around the edges and heat rising from the pan, but not a hard simmer. If the dairy boils, it can make the tempering step harsher and push the yolks toward curdling. Keep the pan moving with occasional whisking so the heat stays even.
Tempering and Thickening
Whisk the hot dairy slowly into the yolks and sugar. That gradual stream is what protects the eggs from turning into little pieces of breakfast scramble. Return everything to the saucepan and cook, stirring constantly, until it reaches 175°F and lightly coats the back of a spoon. Stop there. Going much higher gives you a thicker custard in the pot but a riskier, grainier base once frozen.
Melting in the Marshmallow Creme
Take the pan off the heat before adding the marshmallow creme. Stir until the mixture is completely smooth and glossy, with no pale streaks left behind. If you see little lumps that won’t melt, the base is probably cooling too fast, so place the pan over the lowest heat for just a few seconds and keep whisking. Vanilla and salt go in at the end so they stay bright and don’t cook off.
Chilling, Churning, and Folding
Cool the base completely, then refrigerate it for at least 4 hours. A cold base churns faster and traps more air, which is what gives you that soft, pillowy finish instead of a dense block. Churn until it looks like thick soft-serve, then fold in the mini marshmallows during the last 2 minutes. If you add them too early, the machine beats them up and they lose that chewy little bite.
How to Adapt This for Toasted, Dairy-Free, or Extra-Chewy Scoops
Toasted Marshmallow Version
Torch the mini marshmallows very briefly until the edges brown, then fold them in after churning. This adds a deeper campfire note and a little contrast against the sweet base, but don’t overdo it or they’ll turn sticky and start clumping.
Dairy-Free Swap
Use full-fat coconut milk in place of the cream and milk for a different but still creamy base. The flavor shifts slightly toward coconut, and the finished ice cream won’t taste quite as neutral, but it still freezes smoothly if you keep the custard well chilled.
Extra Marshmallow Bits
If you want more texture, add an extra 1/2 cup mini marshmallows, but don’t go much beyond that. Too many add-ins make the churned ice cream harder to scoop straight from the freezer and can turn each bite oddly chewy.
Storage and Reheating
- Refrigerator: Store the churned ice cream in a freezer-safe container, not the fridge, for up to 2 weeks for the best texture. After that, it can still be safe to eat, but the marshmallow bits may get icier.
- Freezer: It freezes well. Press parchment or plastic wrap directly on the surface before putting on the lid to limit ice crystals.
- Reheating: Let it sit at room temperature for 5 to 10 minutes before scooping. The common mistake is trying to force a scoop from a rock-hard container, which shatters the texture instead of giving you clean scoops.
The Questions That Usually Come Up Before the First Scoop
Homemade Marshmallow Ice Cream
Ingredients
Equipment
Method
- Heat the heavy cream and whole milk in a saucepan until steaming, then whisk it into the egg yolks beaten with granulated sugar.
- Return the mixture to the saucepan and cook, whisking, until it thickens to 175F, then remove from heat.
- Whisk in the marshmallow creme until completely melted and smooth, with no streaks left.
- Stir in the vanilla extract and salt, then mix until fully combined and glossy.
- Cool the custard completely, then refrigerate for 4 hours to chill.
- Churn the chilled custard in an ice cream maker until thickened to a soft-serve texture.
- If you want toasted marshmallow flavor, briefly torch the mini marshmallows until lightly toasted, then fold them in during the last 2 minutes of churning.
- Transfer the ice cream to a container and freeze until firm, with an even white set throughout.