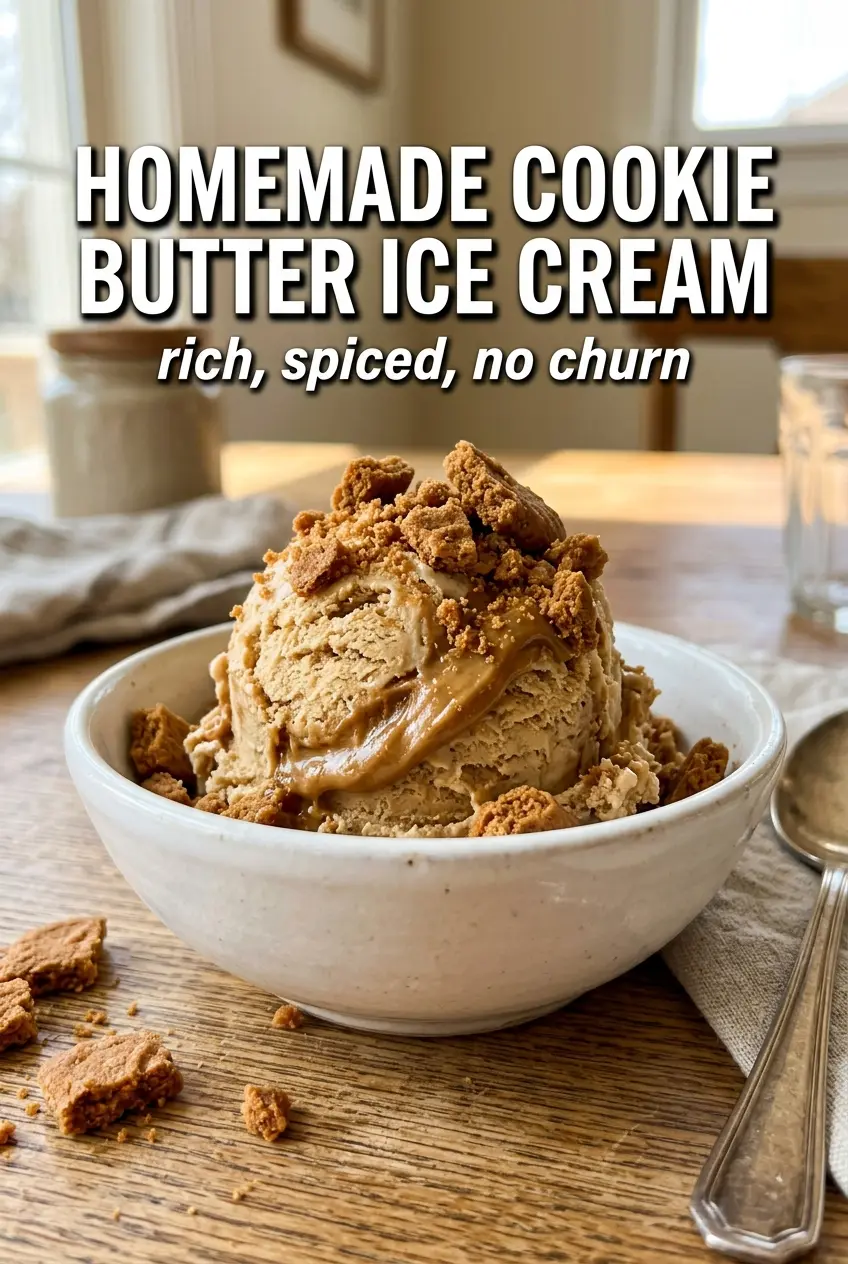
Cookie butter ice cream lands in that perfect middle ground between spiced and creamy: rich enough to feel indulgent, but still light on the spoon once it’s fully frozen. The base turns silky from the egg yolks, and the warmed cookie butter melts in with that unmistakable caramelized spice note that makes every bite taste deeper than plain vanilla ever could.
What makes this version work is the way the cookie butter goes in after the custard has cooked. That keeps the spread smooth instead of grainy and lets the flavor stay bold instead of getting cooked flat. The crushed Biscoff cookies fold in at the end for little pockets of crunch, so you get creaminess and texture in the same scoop.
Below you’ll find the part that matters most: how to keep the custard from scrambling, why the cookie butter needs to be warmed first, and what to do if you want a softer scoop or a stronger cookie finish.
The custard came out unbelievably smooth, and warming the cookie butter first kept it from seizing up. The crushed cookies stayed crunchy even after freezing overnight, which my husband kept going back for.
Love the caramelized spice and creamy texture? Save this cookie butter ice cream for the next time you want a scoopable Biscoff dessert with real crunch.
The Custard Temperature That Keeps Cookie Butter Ice Cream Silky
Ice cream custard breaks most often because the egg yolks get pushed too fast or too hot. The milk and cream should be steaming, not boiling, before you whisk them into the yolks, and then the custard needs steady stirring over medium-low heat until it reaches 175F. At that point it should coat the back of a spoon and feel thick enough to leave a clean trail when you drag a finger through it.
If you rush this stage, you get scrambled bits or a thin base that freezes icy instead of smooth. The other mistake is adding the cookie butter while the custard is still on the heat. Pull it off the burner first, then whisk in the warmed spread so it melts evenly and doesn’t cling in streaks.
What Each Ingredient Is Doing in the Bowl

- Heavy cream — This gives the ice cream its rich body and soft mouthfeel. Don’t swap in light cream if you want the same texture; the lower fat content freezes harder and gives you a less lush scoop.
- Whole milk — Milk keeps the base from becoming overly dense. You need the balance of milk and cream here, or the custard can turn heavy and buttery instead of clean and scoopable.
- Egg yolks — Yolks thicken the base and help it stay silky after churning. They also carry the spice flavor better than a yolk-free base, which is why this tastes more rounded than a simple cream mixture.
- Biscoff cookie butter spread — This is the main flavor, so use the real spread if you want that caramelized speculoos taste. Warm it first until it loosens up; cold cookie butter can clump and refuse to blend smoothly into the custard.
- Biscoff cookies — These fold in at the end for crunch and extra cookie flavor. Crush them coarsely so you still get texture after freezing instead of dusty little crumbs that disappear into the base.
- Cinnamon and vanilla — These back up the cookie butter without taking over. They should read like support, not like a spice cake, so keep the measurements tight.
Building the Base Without Curdling the Eggs
Temper the Yolks Slowly
Whisk the sugar into the egg yolks until the mixture turns pale and slightly thick, then stream in the hot cream mixture in a slow ribbon. That gradual heat transfer matters because it protects the yolks from cooking into little bits on contact. If the bowl feels hot too quickly, slow down and whisk harder.
Cook to a Real Custard, Not Just Warm Cream
Return everything to the saucepan and stir constantly, scraping the bottom and corners. The custard is ready at 175F, and it should nap the spoon instead of running straight off it. If you stop too early, the base stays thin and the finished ice cream will freeze harder.
Blend in the Cookie Butter Off Heat
Take the pan off the burner before adding the warmed cookie butter. Whisk until it disappears into the custard and the mixture looks glossy and uniform. If you see oily streaks or little specks, the spread wasn’t warm enough; keep whisking until it melts in completely, then strain the base for the smoothest finish.
Chill Until It’s Fully Cold
Cooling matters more than people think. The base needs at least 4 hours in the refrigerator, but overnight is even better if you have the time, because a cold custard churns faster and traps smaller ice crystals. If it goes into the machine warm, the texture turns softer and less refined.
Dairy-Free Cookie Butter Ice Cream
Use full-fat canned coconut milk in place of the cream and milk, then replace the yolks with a custard-style vegan ice cream base if you have one you trust. The texture will be a little less rich and the flavor will lean coconut, but the cookie butter still comes through clearly.
Extra Crunch, Less Mix-In
Fold in up to 12 crushed cookies if you want a chunkier scoop, but keep the pieces coarse rather than fine. Bigger shards stay crunchy longer and give each bite more contrast against the creamy base.
No Ice Cream Maker
Pour the chilled base into a shallow container, freeze for 30 minutes, then stir hard with a fork or whisk. Repeat every 30 minutes until it thickens, then fold in the cookies near the end. The texture won’t be quite as airy as churned ice cream, but it still freezes up smooth enough to scoop.
Storage and Reheating
- Refrigerator: Store the churned base before freezing for up to 2 days if needed, but don’t leave it much longer or the flavor starts to flatten.
- Freezer: Frozen cookie butter ice cream keeps well for about 2 weeks. Press parchment or plastic wrap directly onto the surface to reduce ice crystals.
- Reheating: Not applicable. Let the container sit at room temperature for 5 to 10 minutes before scooping; that brief thaw gives you cleaner scoops without melting the edges.
Answers to the Questions Worth Asking
Homemade Cookie Butter Ice Cream
Ingredients
Equipment
Method
- Heat the heavy cream and whole milk in a saucepan just until steaming, then whisk them slowly into the egg yolks that have been beaten with the granulated sugar while keeping the mixture smooth.
- Return the mixture to the saucepan and cook to 175F, stirring constantly until it thickens enough to coat the back of a spoon (visual cue: the custard looks lightly velvety).
- Remove from heat and whisk in the warmed Biscoff cookie butter spread until completely smooth, with no streaks left.
- Stir in vanilla extract, cinnamon, and salt, then strain the custard for a silky texture (visual cue: a smooth, even stream through the strainer).
- Cool the custard completely before chilling, leaving it at room temperature until no longer hot to the touch (visual cue: it stops steaming).
- Refrigerate the custard for 4 hours to chill thoroughly (visual cue: cold throughout, with a thicker feel).
- Churn in an ice cream maker according to the manufacturer’s directions until it reaches a soft-serve consistency (visual cue: increased volume and a creamy churned texture).
- Fold in the crushed Biscoff cookies at the end, just until evenly distributed (visual cue: cookie bits suspended throughout).
- Transfer to a freezer-safe container and freeze until firm, about 4 hours (visual cue: scoops hold shape and look dense).