Golden butterbeer cookies bake up soft in the center with edges that set just enough to hold a swirl of cream soda frosting. The butterscotch flavor runs through both the cookie and the topping, which gives each bite that bakery-style contrast: tender, sweet, a little caramel-like, and finished with a smooth frosting that stays fluffy instead of sinking into the cookie.
The trick here is keeping the cookie dough balanced so it spreads without going flat. Melted butterscotch chips add depth that plain brown sugar alone can’t give, and the splash of cream soda keeps the flavor on theme without making the dough wet. Bake them just until the tops lose their raw sheen, then let them cool all the way before frosting so the topping sits high and pretty instead of melting off the sides.
Below you’ll find the little details that matter most, including how to keep the frosting pipeable and how to swap ingredients if you need to work around what’s in the pantry.
The cookies stayed soft for days and the cream soda frosting actually held its shape after piping. That melted butterscotch in the dough made the flavor taste like butterscotch candy instead of just plain brown sugar.
Like these Harry Potter Butterbeer Cookies? Save them for the next time you want soft butterscotch cookies with a fluffy cream soda frosting.
The Part That Keeps Butterbeer Cookies Soft Instead of Dry
Most cookie recipes lean on either browned butter or a heavy sugar ratio to keep the texture tender. These cookies use a different trick: melted butterscotch chips and cream soda both bring extra moisture and flavor, but only if you handle the dough gently and don’t overbake it. Pull them when the centers still look slightly underdone. They finish setting on the tray, and that’s what keeps the middle soft instead of cakey.
The other place people run into trouble is with the frosting. If the butterbeer topping turns loose, it usually means the cream soda went in too fast or the butter was too warm. Add the liquid a little at a time, then beat until the frosting looks fluffy and holds a soft peak. You want it spreadable, not runny.
What Each Ingredient Is Actually Doing in These Butterbeer Cookies

- Butter — Use softened butter for both the cookies and the frosting. It creams with the brown sugar for a cookie that bakes up soft, and it whips into a frosting that spreads cleanly. If the butter is melted or greasy, the dough gets loose and the frosting loses body.
- Brown sugar — This gives the cookies their chewy texture and deep caramel note. Light or dark brown sugar both work, but dark brown sugar adds a little more molasses flavor, which fits the butterscotch theme.
- Melted butterscotch chips — This is the ingredient that makes the flavor taste special instead of just sweet. Let the chips cool for a minute or two after melting so they don’t cook the egg when you add them in.
- Cream soda — A small amount in the dough and frosting brings the butterbeer note without turning anything soupy. If you don’t have cream soda, use club soda plus an extra teaspoon of vanilla, but the finished cookies will taste a little less distinctive.
- Powdered sugar — This thickens the frosting fast and keeps it pipeable. If your frosting seems too stiff, add cream soda by the teaspoon. If it gets loose, stop there and beat in a little more powdered sugar.
- Gold sugar sprinkles — They don’t change the flavor much, but they give the cookies that final Harry Potter feel and a little crunch on top of the soft frosting.
Building the Dough and Frosting Without Losing the Texture
Creaming the Base
Beat the softened butter and brown sugar until the mixture looks lighter in color and slightly fluffy. That step traps air, which helps the cookies bake up tender instead of dense. Stir in the melted butterscotch chips, egg, vanilla, and cream soda just until combined. If the melted chips are too hot, they’ll make the butter look greasy, so let them cool until warm, not steaming.
Bringing in the Dry Ingredients
Add the flour mixture and mix only until the dough comes together. Overmixing at this stage develops too much gluten, and that gives you tough cookies instead of soft ones. Scoop the dough into 2-tablespoon rounds and leave space between them on the baking sheet. If the dough feels sticky, chill it for 15 minutes rather than adding extra flour, which can make the cookies dry.
Baking to the Soft Center
Bake at 375°F for 10 to 12 minutes, just until the edges look set and the centers still look a touch underbaked. That carryover heat is what finishes them. If you wait until the tops look fully dry in the oven, the cookies will end up firmer once they cool. Move them to a rack only after they’ve had a few minutes to settle on the pan.
Whipping the Frosting and Finishing the Top
Beat the butter, butterscotch sauce, powdered sugar, cream soda, and vanilla until smooth and fluffy. The frosting should hold a soft swirl, not slump off the spoon. If it looks grainy, keep beating for another minute or two; powdered sugar needs time to fully dissolve into the fat and liquid. Frost only when the cookies are completely cool, then finish with gold sugar sprinkles before the topping crusts over.
Three Ways to Work These Butterbeer Cookies Into Your Kitchen
Make Them Gluten-Free
Use a cup-for-cup gluten-free flour blend in place of the all-purpose flour. The cookies will still be soft, but they may spread a little less and taste best if you let the dough rest for 10 minutes before baking so the starches hydrate.
Dial Back the Sweetness
Skip the gold sugar sprinkles and use a slightly thinner layer of frosting if you want a less sugary finish. The cookies still carry plenty of butterscotch flavor from the chips and brown sugar, so you won’t lose the butterbeer character.
Use Butterscotch Sauce in a Pinch
If you don’t have butterscotch chips for the dough, you can use an extra tablespoon or two of butterscotch sauce in the frosting and lean harder on the brown sugar. The cookies will taste a little less candy-like and a little more like brown sugar cookies with a buttered toffee finish.
Make Them Ahead
Bake the cookies a day ahead and frost them just before serving if you want the prettiest finish. The cookies stay soft overnight, and the frosting pipes better when it hasn’t had time to sit on warm kitchen air for too long.
Storage and Reheating
- Refrigerator: Store frosted cookies in an airtight container for up to 4 days. The frosting firms up a bit in the fridge, but the cookies stay soft.
- Freezer: Freeze the unfrosted cookies for up to 2 months. Thaw at room temperature before frosting so the topping doesn’t slide off.
- Reheating: These cookies aren’t meant to be reheated once frosted. If you want a just-baked feel, warm an unfrosted cookie for 5 to 8 seconds in the microwave, then frost it after it cools slightly.
Answers to the Questions Worth Asking
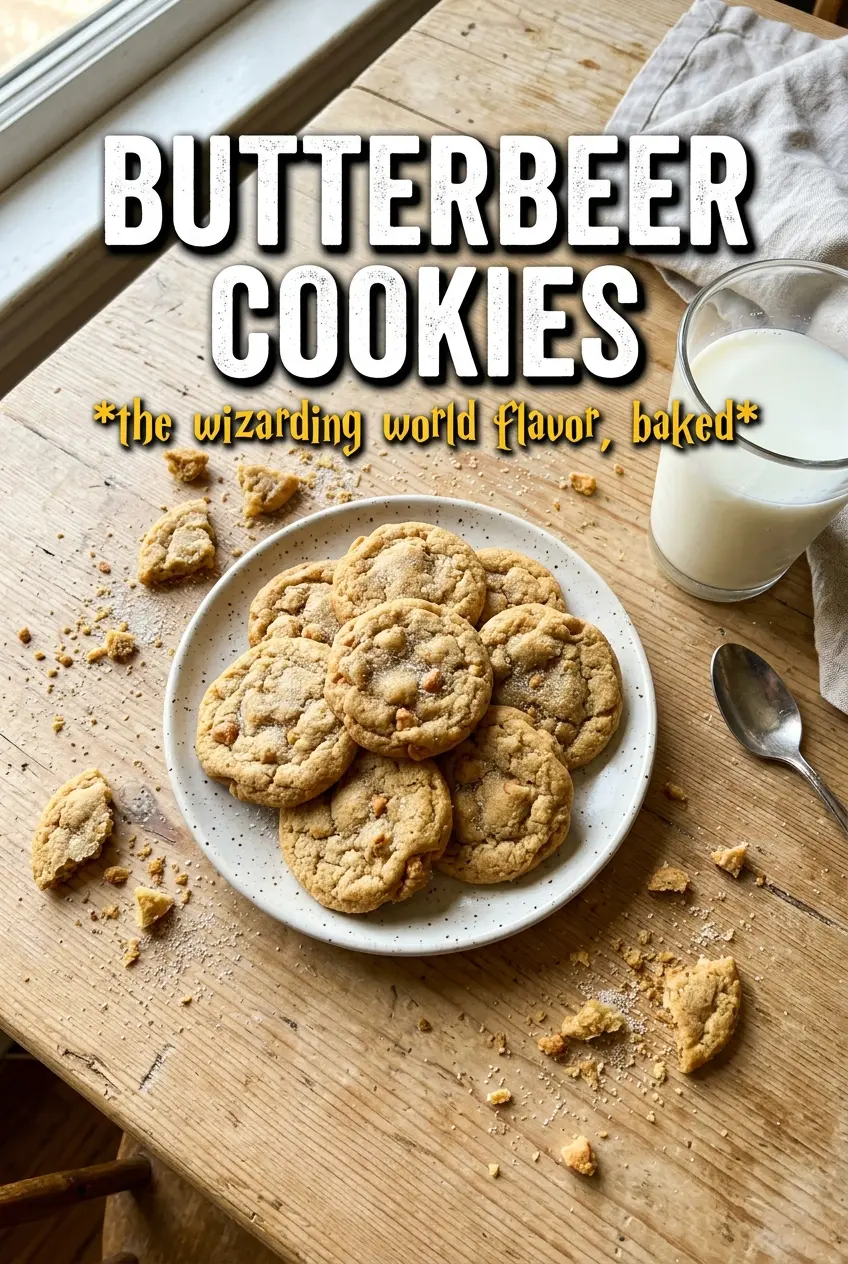
Harry Potter Butterbeer Cookies
Ingredients
Equipment
Method
- Beat butter and brown sugar until smooth and creamy. Add melted butterscotch chips, egg, vanilla, and cream soda and mix until fully combined, with the mixture looking glossy.
- Whisk flour, baking soda, baking powder, cinnamon, and salt, then fold into the wet ingredients just until no dry streaks remain. The dough should look thick and scoopable.
- Scoop 2-tablespoon rounds onto a sheet pan, spacing them evenly so they can spread slightly. Press lightly to help them hold their shape.
- Bake at 375°F for 10-12 minutes, until the edges are set and the centers still look slightly soft. Remove when the tops appear lightly set rather than fully browned.
- Cool the cookies completely on the sheet pan or a rack until they are firm to the touch. This prevents frosting from melting.
- Beat frosting ingredients until smooth and fluffy, starting slow and then increasing speed. The frosting should hold a soft peak when lifted.
- Pipe or spread frosting onto each cooled cookie. Add it in a generous swirl so the surface is covered.
- Decorate with gold sugar sprinkles immediately after frosting so they adhere. The finished cookies should look speckled with gold.