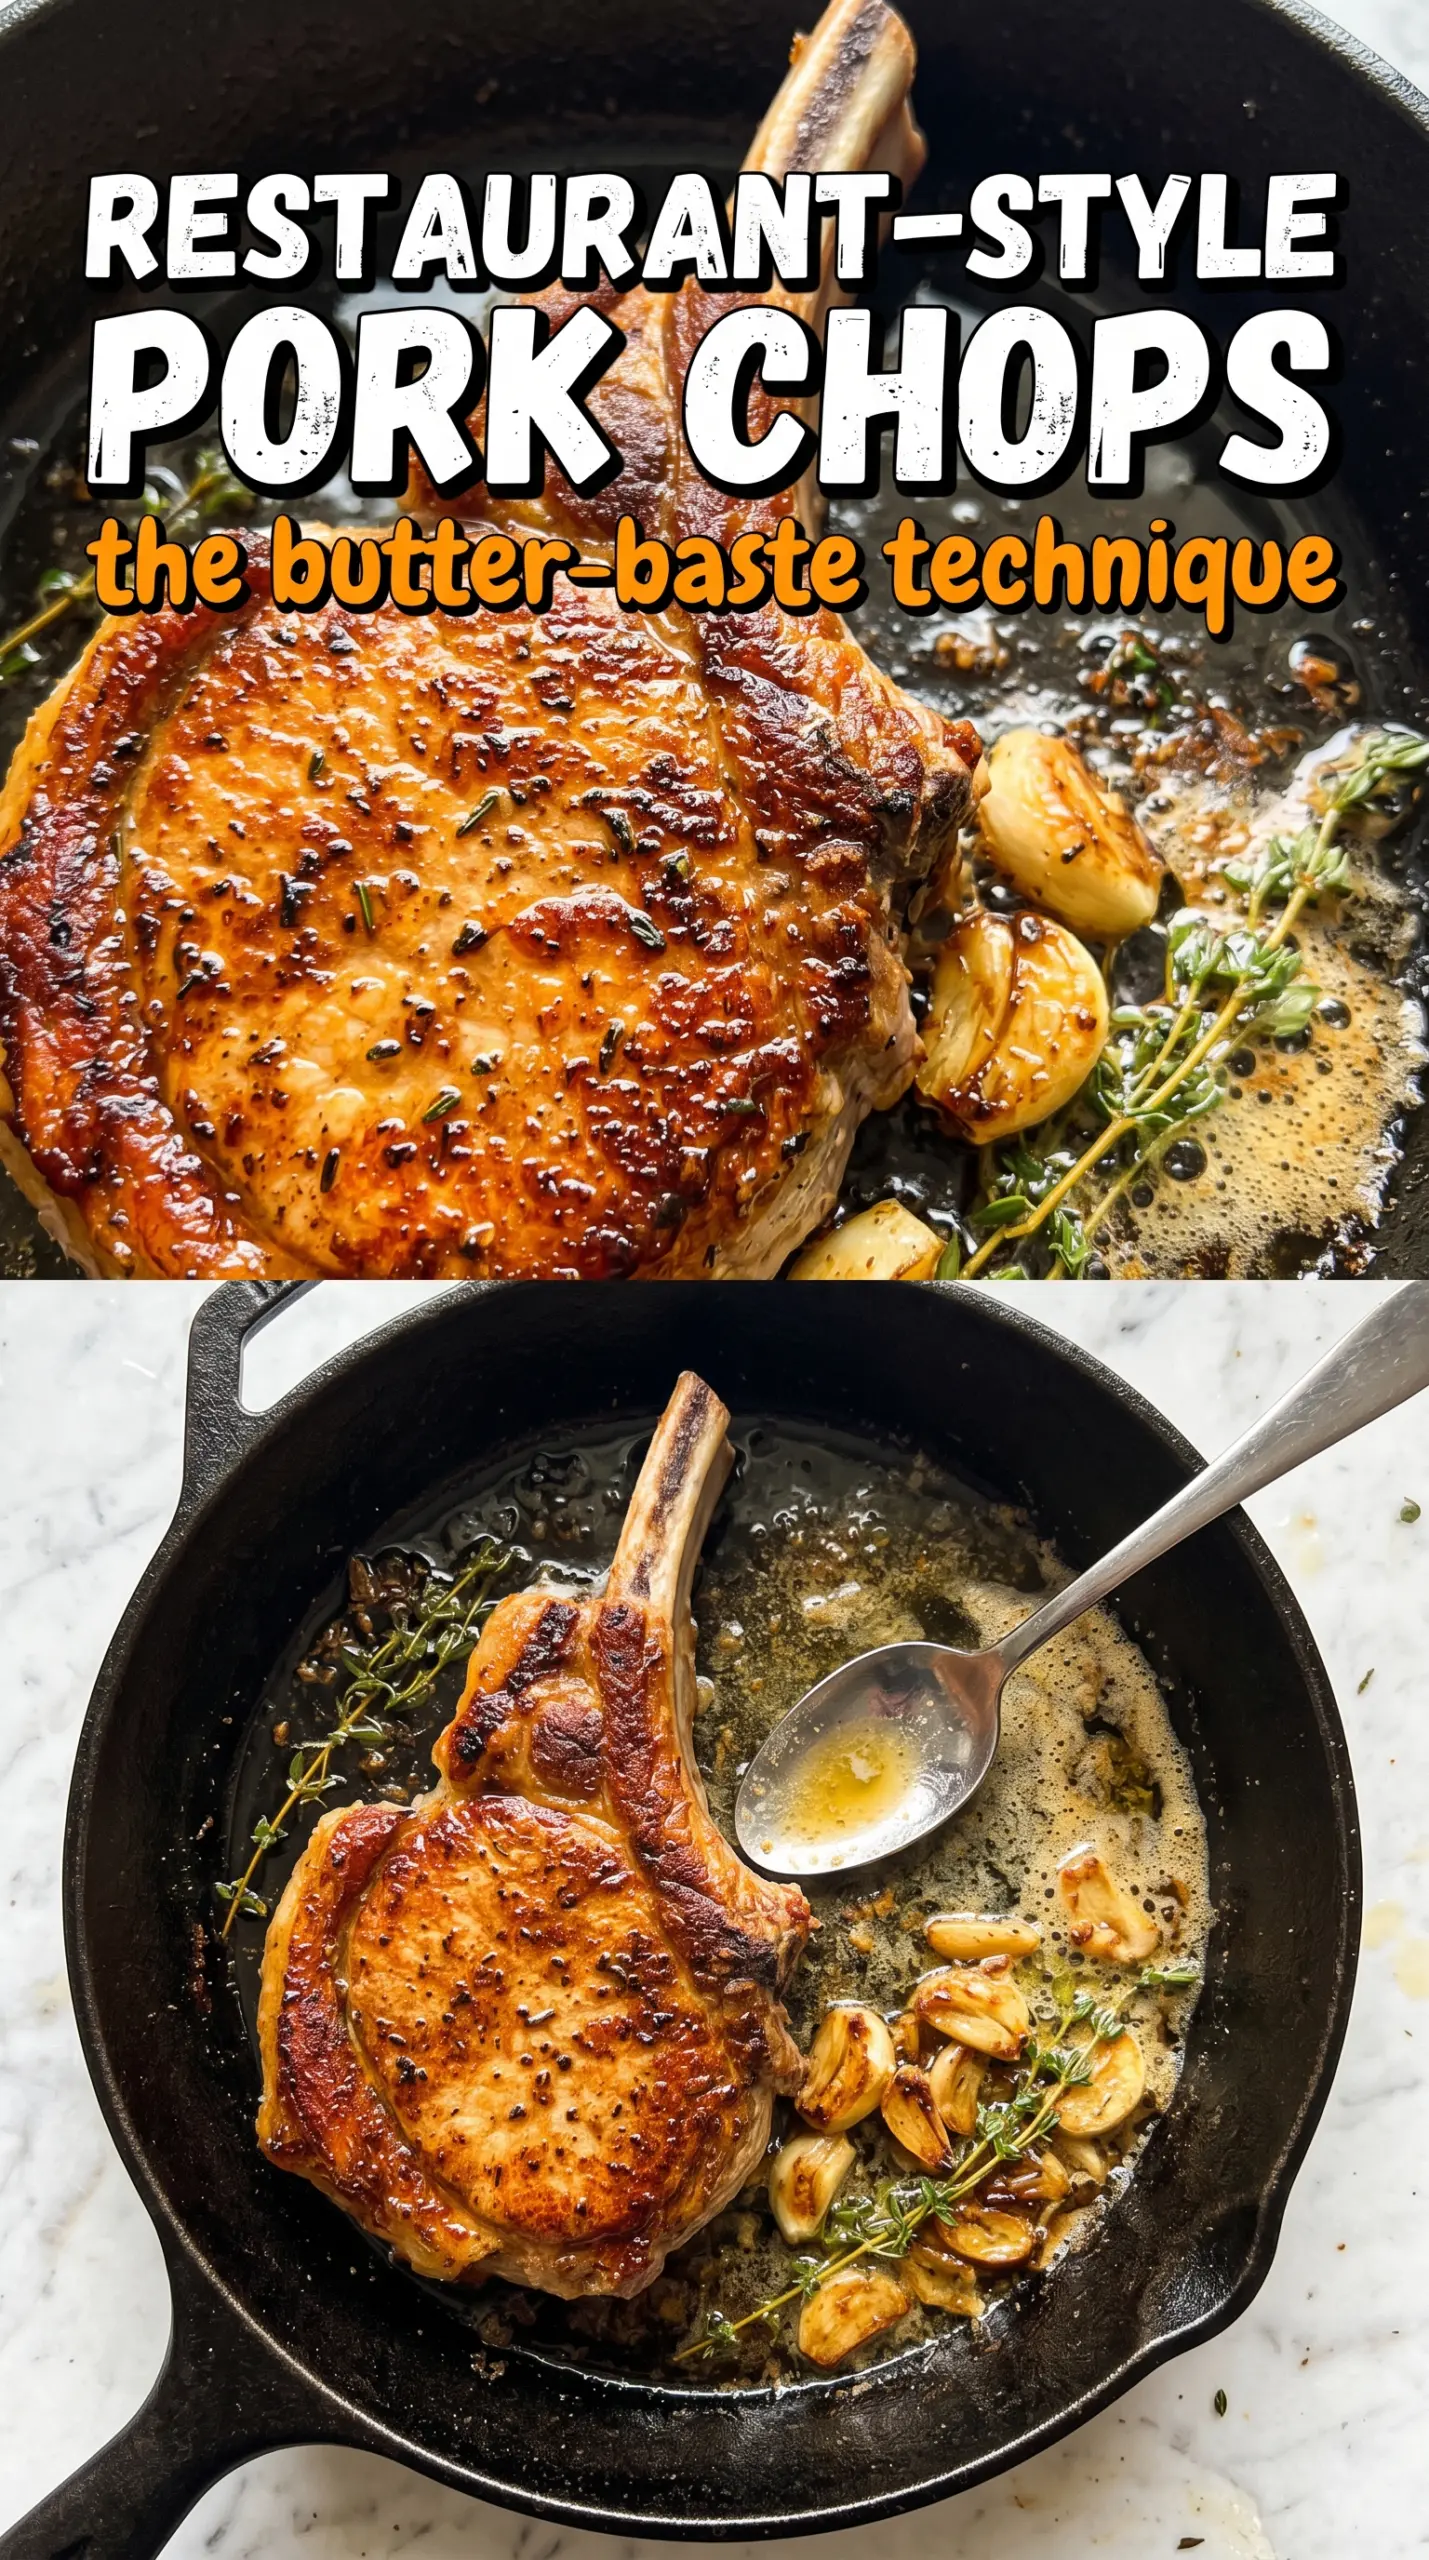
Thick pork chops only get this kind of crust when the fat cap gets treated like its own step, not an afterthought. That first vertical sear renders the edge until it turns crisp and golden, and the butter-basting at the end gives the meat a glossy finish without drowning out the pork. The result is the kind of chop that slices cleanly, stays juicy, and tastes like it came out of a restaurant skillet.
The details matter here: dry pork, a hot pan, and enough patience to let the crust form before you move the chop. Garlic, thyme, and rosemary are used for aroma more than aggression, so the butter stays savory instead of bitter. The lemon goes on at the end for brightness, which keeps the rich pan sauce from feeling heavy.
Below, I’ve included the one part that trips most people up — getting the fat cap crisp without overcooking the meat — plus the small ingredient choices that make this feel polished instead of plain.
The fat cap turned out crisp instead of rubbery, and the thyme-garlic butter spooned over the chops made the whole kitchen smell like a steakhouse. I rested them on a rack like you said and they stayed juicy all the way through.
Save these pan-seared pork chops for the night you want a crisp fat cap, garlicky thyme butter, and a steakhouse-style finish.
The Fat Cap Is the Part You Don’t Want to Rush
Most pork chop recipes lose the best texture because the chop goes flat in the pan too soon. If the fat edge never gets its own contact with heat, it stays pale and soft instead of turning crisp. Holding the chop upright for that first couple of minutes renders the fat before the main sear starts, which gives you a cleaner crust and keeps the finished chop from tasting greasy.
The other common mistake is crowding the timing once the butter goes in. Butter burns fast over high heat, so the point of the baste is fragrance and sheen, not frying the chop harder. Once the oven finishes the center, the meat stays tender and the crust stays intact.
What the Pork, Oil, and Herbs Are Actually Doing
- Thick bone-in pork chops — The thickness gives you a real window for searing and basting without drying the center. Bone-in chops hold onto juiciness better than thin boneless chops, and French-trimmed chops are easier to handle when you’re standing them up to render the fat cap.
- Vegetable oil — Use a neutral oil with a high smoke point so you can get the pan hot enough for a proper sear. Olive oil works in a pinch, but it smokes sooner and can turn the crust bitter before the chops are ready.
- Butter — This is what carries the garlic and herbs across the meat in the last few minutes. If you swap in only oil, you’ll lose the foamy basting action that gives these chops their glossy finish.
- Garlic, thyme, and rosemary — Lightly crushed garlic releases flavor without burning as fast as minced garlic, and the woody herbs stand up to the heat. Fresh herbs matter here; dried thyme won’t give you the same aromatic lift in the pan.
- Lemon juice — The acidity wakes up the butter and cuts through the richness at the end. Add it after resting so it stays bright instead of cooking off in the pan.
Build the Crust First, Then Finish the Center Gently
Drying and Seasoning the Chops
Pat the pork chops until the surface feels dry, not slick, then season them generously on both sides. Moisture is the enemy of browning, and wet chops steam before they sear. Let them sit at room temperature for about 30 minutes so the center doesn’t lag far behind the crust once the pan gets hot.
Rendering the Fat Cap
Heat the oil until it just starts to smoke, then stand the chops up on the fat edge and hold them there for about 2 minutes. You want the fat to sizzle hard and turn golden, not collapse into the pan. If the chop won’t balance, use tongs and press gently so the full edge touches the skillet.
Finishing the Sear and the Butter Baste
Lay the chops flat and sear each side until deep golden, usually 3 to 4 minutes per side depending on thickness. Add the butter, garlic, thyme, and rosemary once the crust is set, then tilt the pan and spoon the foamy butter over the meat. If the butter starts to darken too fast, lower the heat a little; burned butter tastes sharp and will overwhelm the pork.
Bringing the Chops to Temperature
Transfer the skillet to a 400°F oven and cook until the internal temperature hits 145°F, usually 4 to 5 minutes. That brief oven finish keeps the crust from overcooking while the middle comes up evenly. Rest the chops on a wire rack for 5 minutes so the juices settle instead of pooling under the meat, then finish with the lemon juice right before serving.
How to Adapt These Pork Chops Without Losing the Crisp Finish
Dairy-Free Version
Swap the butter for more vegetable oil plus a small spoonful of olive oil at the end for sheen. You’ll lose a little of the classic foamy baste, but the chops still sear beautifully and the herbs will still perfume the pan.
No Bone-In Chops on Hand
Boneless chops will work, but choose thick ones and shave a minute or two off the oven time. They cook faster and dry out sooner, so the sear needs to be brisk and the internal temperature should be checked early.
Extra Herb-Forward Finish
Add another sprig each of thyme and rosemary during the baste if you want the pan sauce more aromatic. Don’t add chopped herbs to the hot butter early or they’ll burn before the pork is done.
Storage and Reheating
- Refrigerator: Store leftovers in an airtight container for up to 3 days. The crust softens a bit, but the flavor stays good.
- Freezer: Pork chops freeze well for up to 2 months if wrapped tightly and stored with any juices. Thaw overnight in the refrigerator before reheating.
- Reheating: Warm gently in a 300°F oven, covered loosely with foil, until just heated through. High heat dries out the lean meat fast, so don’t blast them in the microwave unless you’re willing to trade texture for speed.
Questions I Get Asked About This Recipe

Gordon Ramsay Pork Chops
Ingredients
Equipment
Method
- Bring the pork chops to room temperature for 30 minutes before cooking, then pat them completely dry and season generously with salt and coarse black pepper.
- Heat the vegetable oil in a heavy cast iron skillet over high heat until just smoking.
- Place the chops in the pan and sear the fat cap first by holding the chops vertically for 2 minutes until the fat is deeply golden.
- Lay the chops flat and sear for 3–4 minutes per side, until the exterior is well browned.
- Add the butter, garlic, thyme, and rosemary, then tilt the pan and baste continuously for 2–3 minutes until the butter turns foamy and aromatic.
- Transfer the pan to a 400°F oven for 4–5 minutes, until the pork reaches 145°F internally.
- Rest the chops for 5 minutes on a wire rack, then squeeze the fresh lemon juice over right before serving, with a glossy herbal finish.