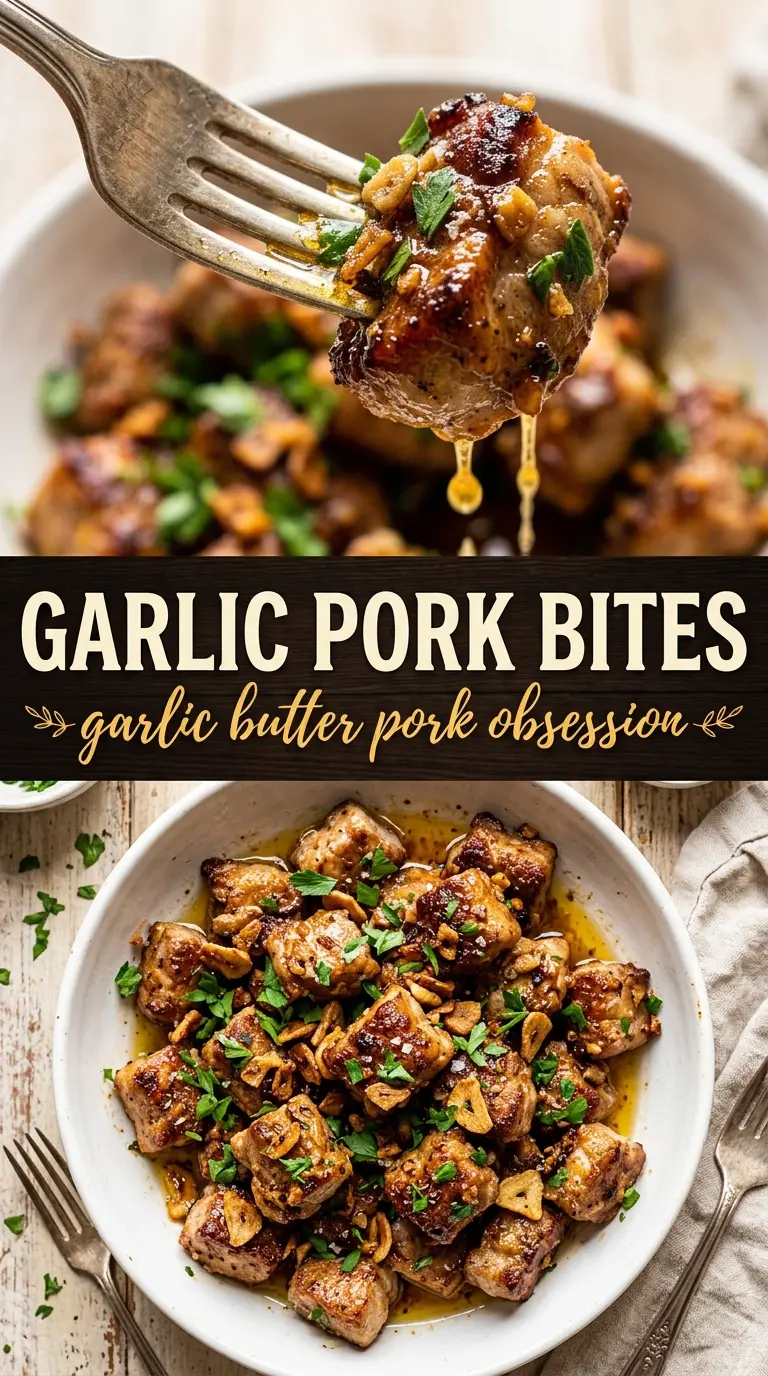
Crispy, golden pork bites hit the table fast, but the reason they disappear even faster is the garlic butter clinging to every edge. The pork stays juicy inside while the outside gets that deep, savory crust you only get when the skillet is hot enough and the pieces aren’t crowded. Finished with lemon and parsley, the whole dish tastes bright, rich, and sharp in all the right places.
The trick here is treating the pork like you would a good sear steak: dry seasoning, hot pan, and enough space for the cubes to brown instead of steam. Garlic goes in after the pork has already developed color, because minced garlic burns in a hurry and turns bitter if it sits in the pan too long. The butter, thyme, and lemon finish the dish, not the sear, which keeps the sauce glossy instead of greasy.
Below you’ll find the timing that keeps the pork tender, plus a few easy ways to adapt the skillet for what you’ve got on hand.
The pork got that crisp edge I was hoping for, and the garlic butter coated everything without turning heavy. I followed the timing exactly and the cubes stayed juicy right through the center.
Save these garlic pork bites for the night you want crisp edges, buttery garlic sauce, and dinner on the table in under 15 minutes.
The Browning Starts Before the Garlic Goes In
The biggest mistake with pork bites is crowding the pan and expecting the skillet to rescue you. It won’t. When the pieces sit on top of each other, the moisture has nowhere to go, so the pork steams and turns gray instead of getting that crisp, browned crust that makes this dish worth making. Give the cubes space and leave them alone long enough to color on the first side before you start flipping.
Medium-high heat matters here, but it needs to be hot enough to shimmer, not smoke hard. If the oil is too cool, the pork will soak it up and taste heavy. If the heat is too high, the garlic butter will scorch the second it hits the pan. The sweet spot is browned pork first, then quick garlic butter at the end.
What Each Ingredient Is Actually Doing in This Recipe
- Primary ingredient (the star) — Quality matters most. Choose the best you can find.
- Cooking medium (oil, butter, or broth) — This carries flavors and prevents dryness.
- Seasonings (salt, pepper, spices, herbs) — Layer flavors so nothing overpowers. Build depth gradually.
- Aromatics (garlic, onion, herbs) — Cook with fat to bloom flavors. Become the foundation.
- Supporting ingredients — Complement the main ingredient without overpowering it.
- Sauce or liquid (if applicable) — Brings flavors together. Balance richness with acid.
- Acid (lemon, vinegar, wine, or other) — Brightens and prevents flat-tasting results.
- Final finish (garnish, glaze, or sauce) — Prevents one-dimensional taste and adds visual appeal.
What Each Ingredient Is Doing in the Skillet
- Pork tenderloin or chops — Tenderloin gives you the most tender bite and cooks fast. Pork chops work well too, as long as they’re cut into even cubes so the pieces finish at the same time. Trim away any thick silver skin before cutting.
- Garlic powder and smoked paprika — These season the meat all the way through, not just on the surface. Garlic powder gives a roasted base note, while paprika adds color and a little warmth. Fresh garlic alone won’t do that job.
- Butter and olive oil — The olive oil handles the high heat for searing, and the butter brings the glossy finish. Using all butter from the start would brown too fast and leave you with burnt milk solids instead of a clean crust.
- Fresh garlic, thyme, parsley, and lemon juice — These are the finishers. Fresh garlic turns aromatic in seconds, thyme adds a savory herbal note, parsley keeps the sauce from tasting heavy, and lemon juice wakes everything up at the end.
Building the Crust, Then Finishing in Garlic Butter
Coating the Pork Evenly
Toss the pork cubes with the garlic powder, paprika, salt, and pepper until every piece looks lightly dusted. That thin coating seasons the outside and helps the meat brown. If the pork looks wet, pat it dry first so the spices stick and the skillet can do its job.
Getting the First Side Deep Gold
Heat the olive oil in a large cast iron skillet over medium-high heat until it shimmers. Add the pork in a single layer and leave it alone for 3 to 4 minutes, until the underside is deeply golden and releases easily. If it sticks, it needs another minute; forcing it early tears off the crust.
Flipping and Finishing the Centers
Turn the pieces and cook 2 to 3 minutes more, just until the other side colors and the pork is nearly cooked through. The center should still feel a little springy, not hard. Overcooked pork cubes go dry fast, especially this small, so pull back on the heat if the pan starts to brown too aggressively.
Making the Garlic Butter at the End
Push the pork toward the edges of the skillet and drop the butter, garlic, and thyme into the center. Stir for about 30 seconds, just until the garlic smells fragrant and the butter foams. If the garlic starts to brown, take the pan off the heat right away; burned garlic will take over the whole dish.
Coating and Serving Immediately
Toss the pork through the garlic butter until every piece is shiny, then cook for 1 more minute. Finish with lemon juice and parsley off the heat or with the burner turned down low. Serve right away while the outside is still crisp and the sauce is glossy.
How to Adapt Garlic Pork Bites for Different Kitchens
Use pork tenderloin for the softest bite
Tenderloin cooks quickly and stays the most delicate, which makes it the best choice if you want a very tender center. Keep a close eye on the pan, because tenderloin goes from juicy to dry faster than pork chops once it’s past medium.
Swap in boneless pork chops for a sturdier, meatier bite
Boneless chops bring a little more chew and a deeper pork flavor. Cut them into even cubes and trim excess fat so the edges brown instead of turning chewy. The cook time stays close, but watch the pan closely because chops can dry out if they sit too long after they’re done.
Make it dairy-free with ghee or extra oil
Use ghee for the closest buttery flavor without the dairy solids, or swap in another tablespoon of olive oil if needed. You’ll lose a little of the rich finish that butter gives, but the garlic, herbs, and lemon still carry the dish well.
Turn it into a gluten-free dinner bowl
This recipe is naturally gluten-free as written, which makes it easy to serve over rice, potatoes, or a pile of roasted vegetables. The sauce soaks into a side dish nicely, so you don’t need extra thickener or any flour at all.
Storage and Reheating
- Refrigerator: Store leftovers in an airtight container for up to 3 days. The crust softens, but the flavor holds up well.
- Freezer: Freeze cooked pork bites for up to 2 months, but expect a slight texture loss after thawing. Cool them completely first and freeze in a single layer before transferring to a bag.
- Reheating: Warm in a skillet over medium-low heat with a small splash of water or broth. Microwaving works in a pinch, but it tends to toughen the pork and can make the garlic butter separate.
Answers to the Questions Worth Asking

Garlic Pork Bites
Ingredients
Equipment
Method
- Toss pork cubes with garlic powder, smoked paprika, and salt and black pepper until evenly coated, so every surface looks lightly dusted.
- Heat olive oil in a large cast iron skillet over medium-high heat until shimmering, with a thin sheen that moves when you tilt the pan.
- Add pork in a single layer without crowding and cook undisturbed for 3–4 minutes until golden on the bottom, then flip and cook 2–3 more minutes until browned.
- Push the pork to the edges, add butter, garlic, and thyme to the center, and cook for 30 seconds until fragrant and lightly foamy in the middle.
- Toss the pork in the garlic butter to coat and cook for 1 more minute, letting the sauce cling to the cubes and gloss the surface.
- Finish with lemon juice and fresh parsley, then serve immediately while the bites are crisp and the sauce is bubbling.