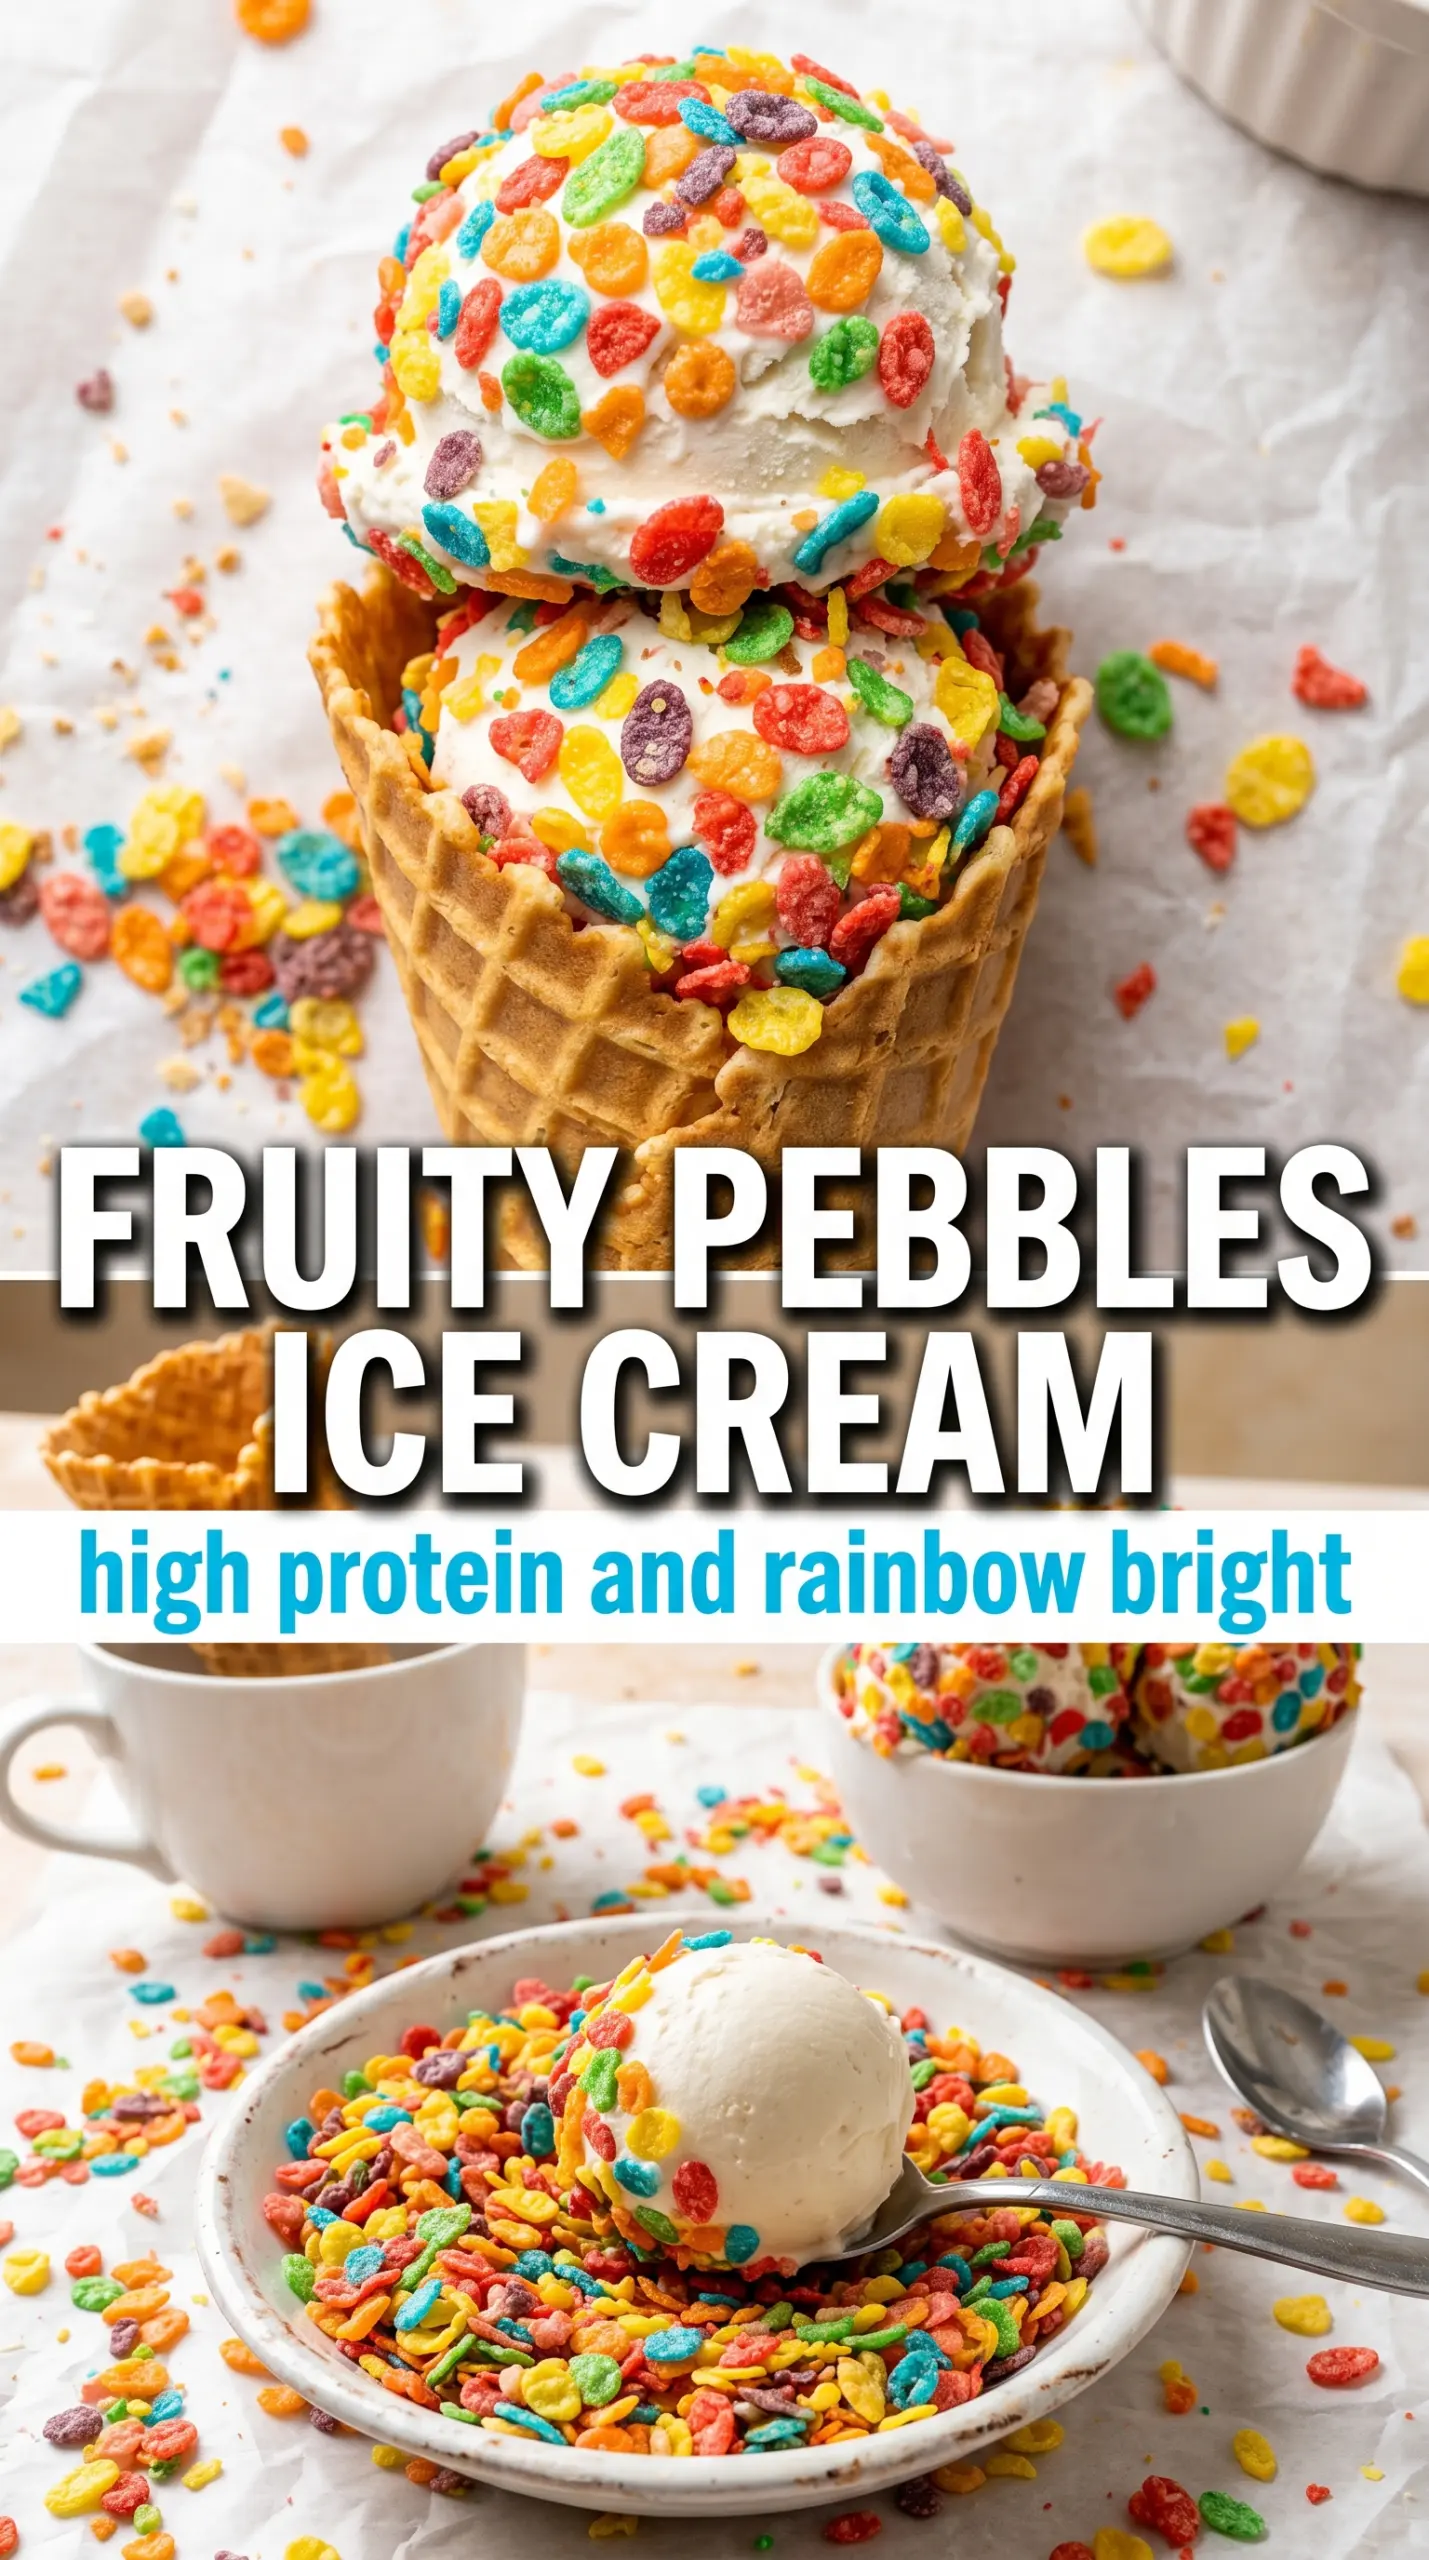
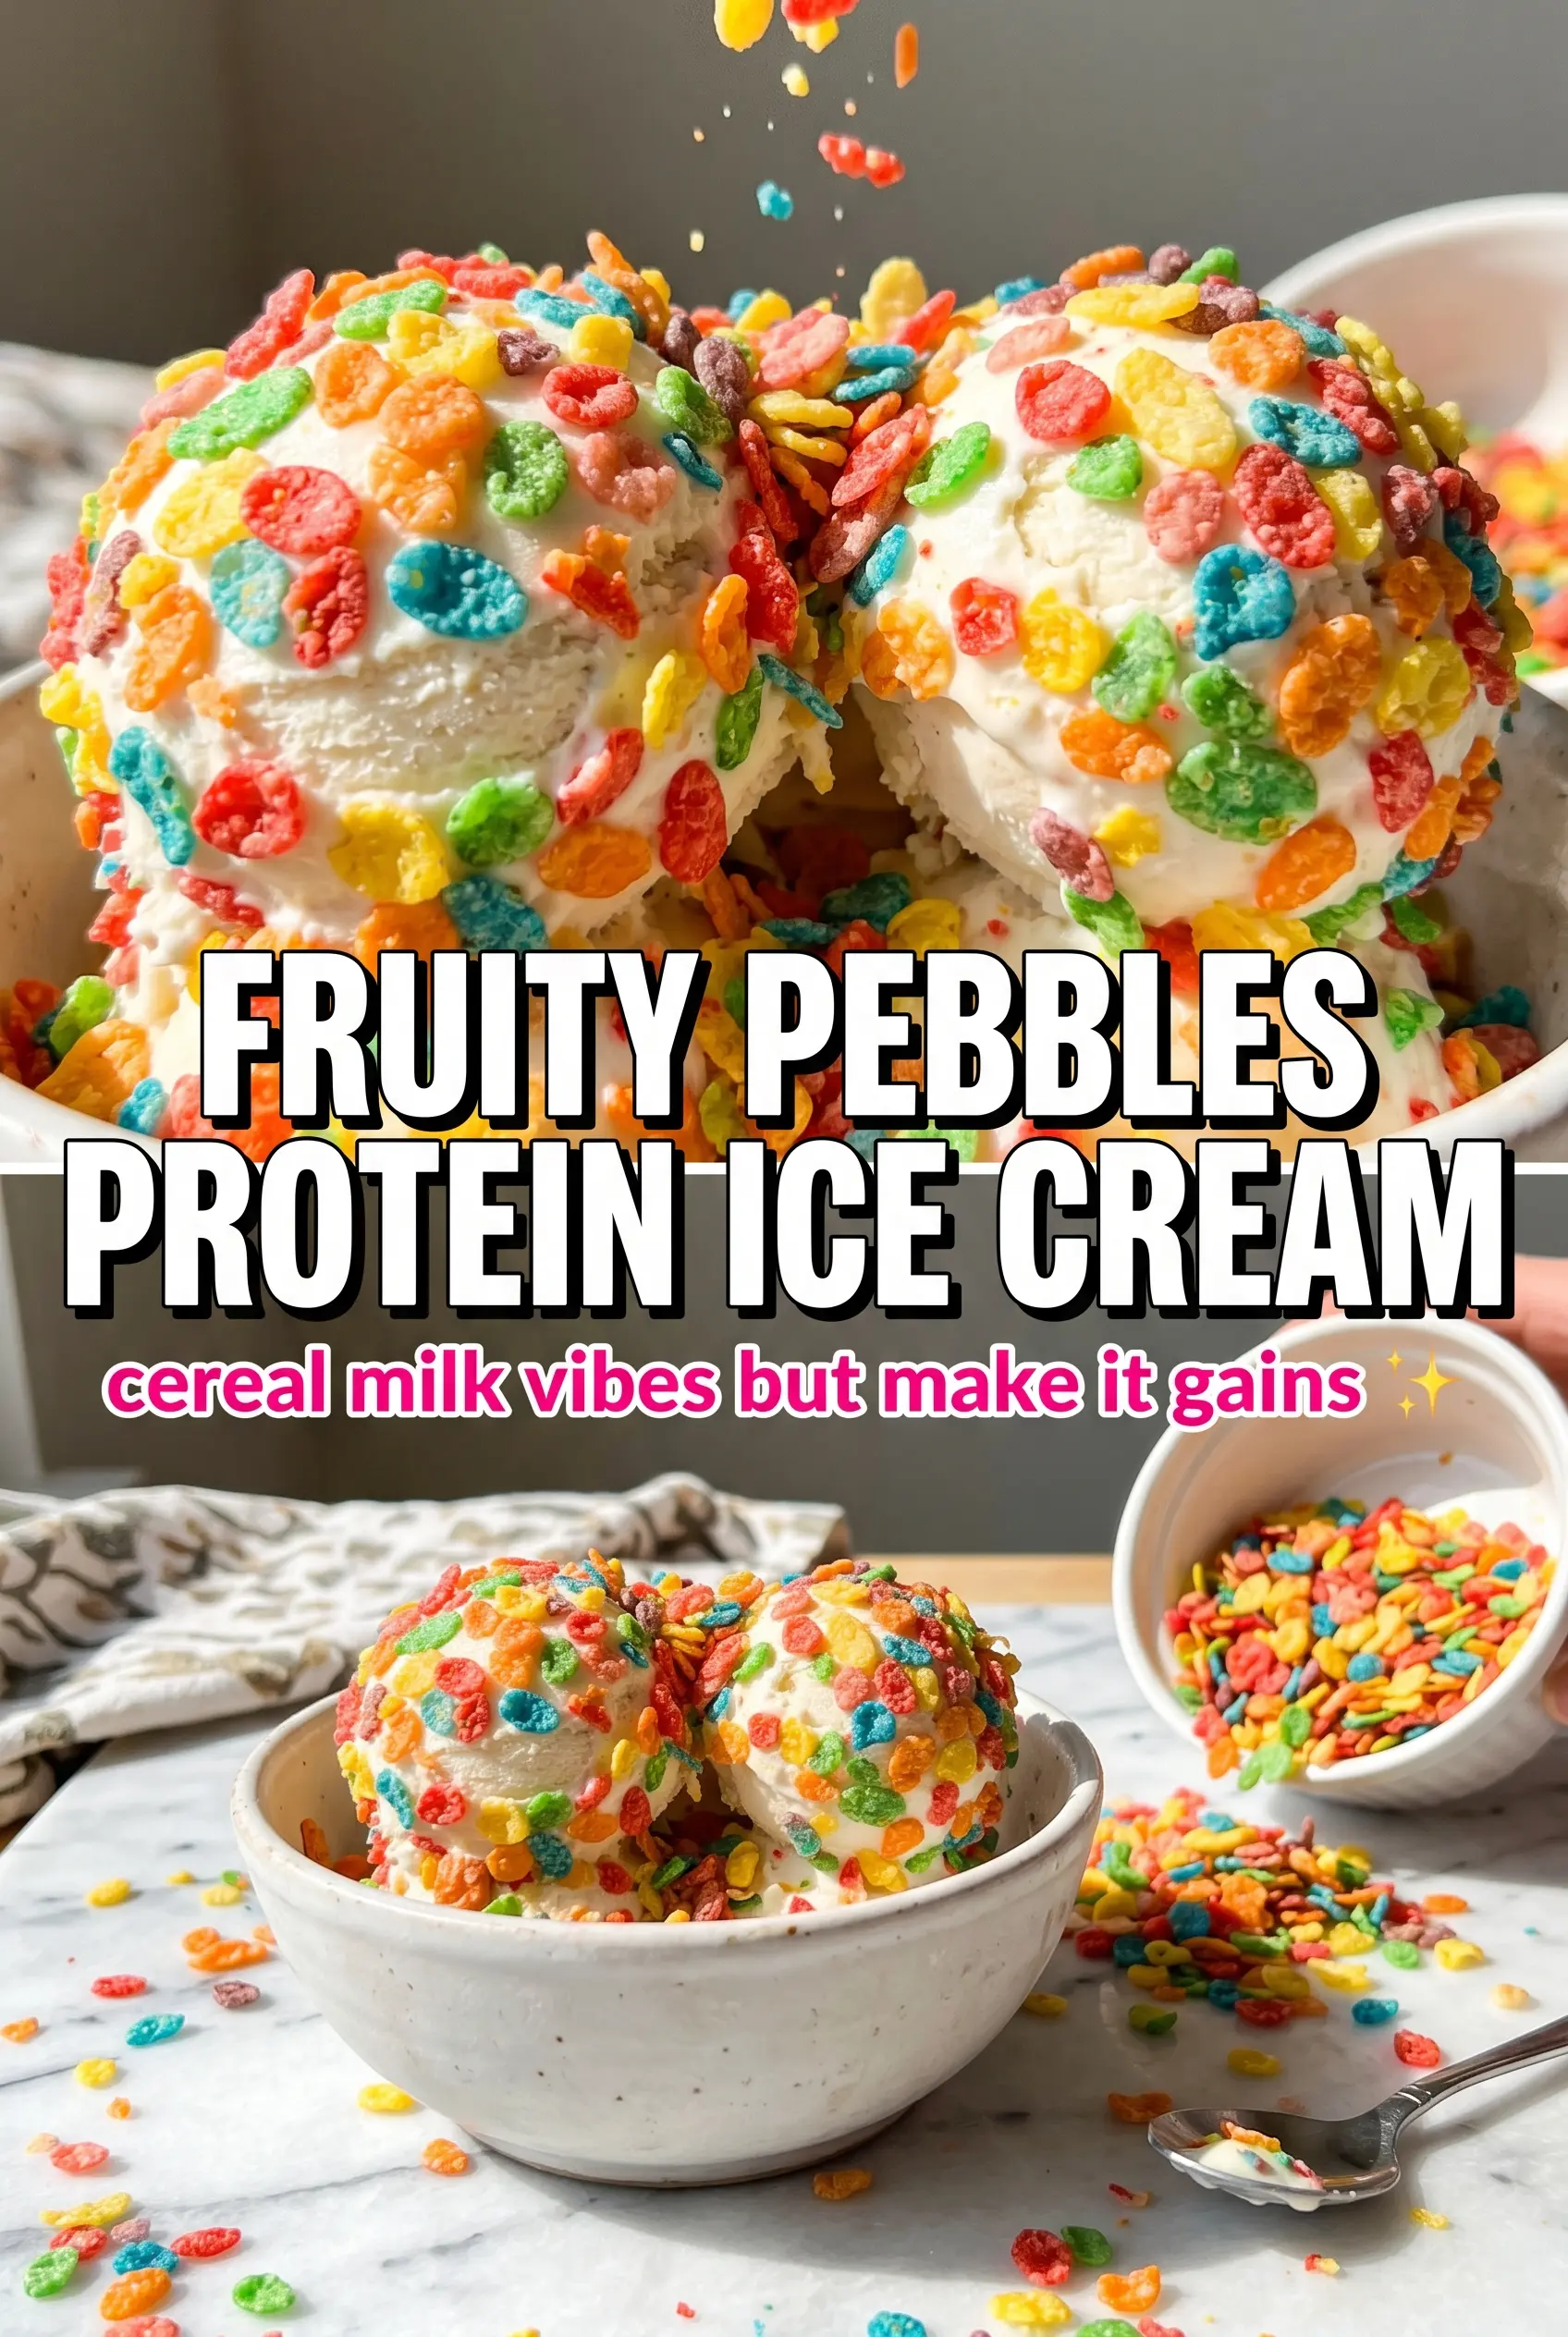
Fruity Pebbles protein ice cream turns a childhood cereal into a frozen dessert that tastes like cereal milk in scoopable form. The base comes out creamy instead of icy, with that bright, fruity flavor running all the way through, and the mix-in cereal gives you little pops of crunch in every bite. It’s playful without tasting gimmicky, and it scratches the dessert itch without feeling heavy.
The trick is building a smooth base before it ever goes into the freezer. Soaking the cereal in milk pulls out the flavor fast, and blending that milk with cream cheese and protein powder helps the texture stay rich after freezing. If you skip the cream cheese, the result can turn chalky or hollow-tasting, especially with a lean protein powder.
Below, I’ll walk through the one step people rush most, the ingredient swaps that actually work, and the best way to serve it if you’re using a Ninja Creami or a regular freezer container.
I was skeptical about cereal ice cream, but the cereal milk base gave it that real Fruity Pebbles flavor and it froze up creamy, not icy. My kids kept sneaking spoonfuls straight from the pint.
Save this Fruity Pebbles protein ice cream for the days when you want cereal-milk flavor, a creamy scoop, and a fun high-protein dessert.
The Step That Keeps Fruity Pebbles Flavor Creamy, Not Icy
Most cereal ice cream recipes miss one thing: the cereal itself doesn’t belong in the freezer base for long. If it sits too long, it turns soft and muted, and the milk can pick up a dusty sweetness instead of the bright, unmistakable cereal flavor you want. A short soak is enough to pull the flavor into the milk without wrecking the texture.
The other mistake is freezing a thin base and hoping the machine or the freezer will save it. Protein powder thickens, but it doesn’t bring body the way real dairy fat does, which is why the cream cheese matters here. It gives the ice cream a fuller finish and keeps the spoonful from tasting flat after it firms up.
- Short cereal soak — Five minutes is enough to flavor the milk. Longer than that, and the cereal starts breaking down and muddying the base.
- Cream cheese — This is the texture insurance. It smooths out protein powder and helps the frozen dessert stay creamy after chilling.
- Vanilla protein powder — Use one you already like the taste of. A chalky powder gets more obvious once frozen, so this is where quality matters.
- Whole milk or almond milk — Whole milk gives a softer, richer scoop. Almond milk works, but the finished texture will be a little firmer and less luxurious.
What Each Ingredient Is Doing in the Bowl
- Fruity Pebbles cereal — Half of it is used to make cereal milk, and the other half goes in at the end for crunch. Don’t mix all of it into the base or the color and texture will fade.
- Vanilla protein powder — Vanilla keeps the cereal flavor recognizable. Chocolate or unflavored powder changes the whole dessert into something else.
- Cream cheese — Softened cream cheese blends in smoothly and helps the base emulsify. Cold cream cheese leaves tiny lumps that stay visible after freezing.
- Sugar — Even with sweet cereal, a little sugar keeps the freezer flavor from tasting dull. If your protein powder is already sweetened, you can cut this back slightly, but don’t remove it entirely.
- Salt — Just enough to sharpen the fruity note and keep the sweetness from turning one-note.
How to Build the Base Before It Freezes
Making the Cereal Milk
Soak the cereal in milk for just 5 minutes, then strain it out. You want the milk tinted and flavored, not loaded with soggy cereal bits. If the cereal sits too long, the base gets gritty and the flavor turns dull instead of bright. Press lightly on the cereal in the strainer, but don’t mash it through.
Blending Until It Looks Completely Smooth
Blend the cereal milk with the protein powder, softened cream cheese, sugar, vanilla, and salt until no specks of cream cheese remain. The mixture should look silky and pourable. If you still see little curds, the base will freeze with tiny dense pockets. Scrape the sides once or twice and keep blending until it’s uniform.
Freezing for the Right Amount of Time
Pour the base into your pint or freezer container and freeze it flat. A level top helps it chill evenly and makes processing easier later. For a Ninja Creami, a full 24 hours gives the best result. If you try to spin it too early, the center stays soft while the edges over-freeze.
Finishing With the Mix-In Cereal
Process the frozen base on Lite Ice Cream, or let a regular freezer version sit out for about 5 minutes before scooping. Add the fresh Fruity Pebbles right before serving so they stay crisp. If you stir them in too early, they go soggy fast and you lose the best texture in the whole dessert.
How to Adapt This Fruity Pebbles Protein Ice Cream for Your Freezer, Your Diet, or Your Sweet Tooth
Dairy-Free Version
Use unsweetened almond milk and swap the cream cheese for a dairy-free cream cheese that softens well. The result will be a little less rich, but it still freezes into a smooth, spoonable dessert if you blend until completely lump-free.
Higher-Protein, Less Sweet Base
Use an unflavored or lightly sweet vanilla protein powder and cut the sugar to 2 teaspoons. You’ll get a firmer, less candy-like finish, which works well if you want the cereal flavor without pushing the sweetness too far.
No Ninja Creami
Freeze the blended base in a shallow container instead of a pint, then let it sit at room temperature for 5 to 10 minutes before scooping. It won’t have the same whipped finish, but the flavor and creamy texture still hold up well if you use enough fat from the cream cheese.
Storage and Rechurning
- Refrigerator: The base can sit in the fridge for up to 1 day before freezing, but the cereal milk flavor is best when it goes straight into the freezer.
- Freezer: Store the frozen base for up to 2 weeks. After that, ice crystals start to show up and the texture gets less creamy.
- Reheating: Let the container rest at room temperature for 5 minutes, then process again if needed. Don’t microwave it, or the edges will melt before the center softens.
Questions I Get Asked About This Recipe
Fruity Pebbles Protein Ice Cream
Ingredients
Equipment
Method
- Soak 1/2 cup Fruity Pebbles in the milk for 5 minutes, then strain the cereal out so the milk is tinted and fragrant like cereal milk.
- Reserve the strained cereal out and set it aside; keep the cereal milk ready for blending so it stays smooth.
- Blend the cereal milk with the vanilla protein powder, softened cream cheese, sugar, vanilla extract, and salt until completely smooth and glossy.
- Taste the base and ensure no cream cheese lumps remain, then stop blending once fully uniform.
- Pour the mixture into a Ninja Creami pint or freezer container, cover, and freeze for 24 hours until firm.
- When ready, let the pint sit for 5 minutes at room temperature so it loosens slightly for easier processing.
- Process in the Ninja Creami on Lite Ice Cream to achieve a thick, spoonable texture with visible pastel streaks.
- Mix in 1/4 cup fresh Fruity Pebbles just before serving so the cereal stays crunchy rather than fully dissolving.